Brown butter pumpkin chocolate chip cookies bake up thick at the edges, soft in the center, and packed with those warm, nutty notes that make the whole kitchen smell like you’ve been baking all afternoon. The pumpkin brings a gentle earthiness, but the brown butter keeps the flavor deep and toasty instead of flat or cakey. Add pockets of melted chocolate and a finish of flaky salt, and you’ve got a cookie that disappears fast from the cooling rack.
The trick is treating the pumpkin like a supporting player, not the main event. Blotting it dry keeps the dough from turning loose, and chilling the brown butter until it’s solid again gives the cookies structure so they spread in that controlled, bakery-style way. That step matters. If you skip it, the dough gets greasy and the centers bake up soft instead of plush.
Below, I’ve laid out the one step that keeps these cookies from going dull and soft, plus a few swaps that still give you a strong pumpkin cookie without losing the chocolate or the chew.
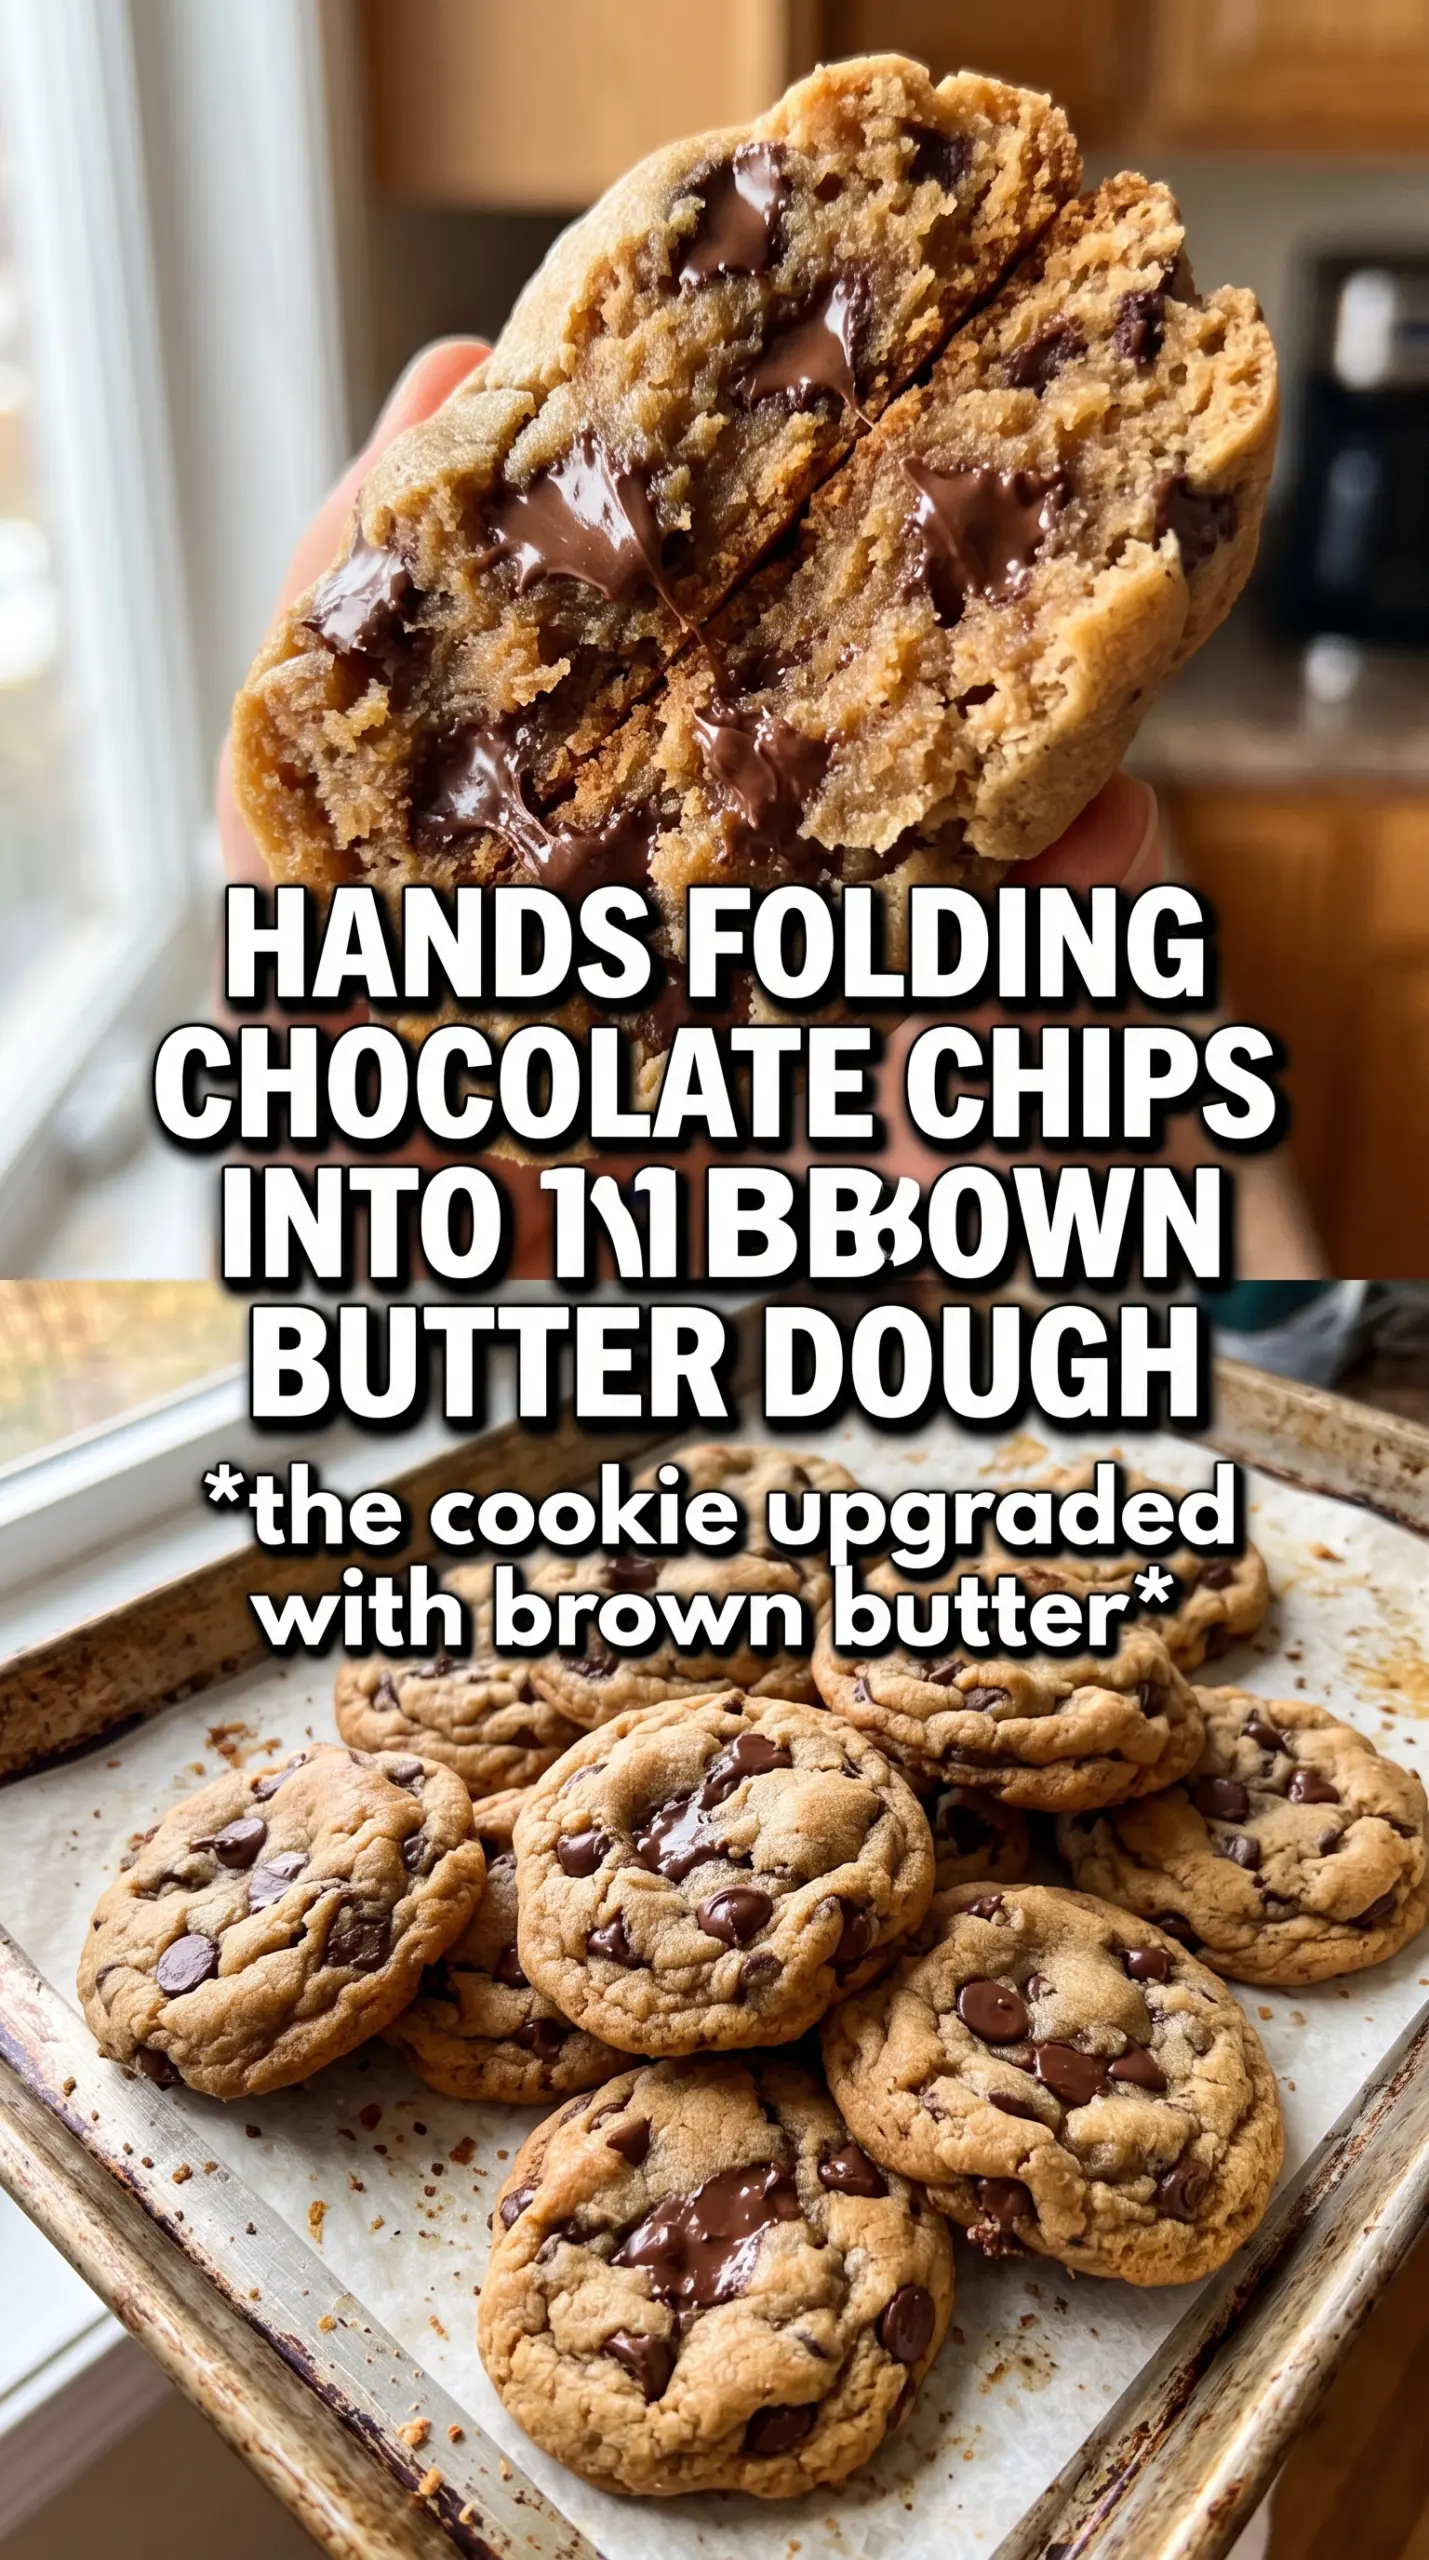
The cookies stayed thick, and the pumpkin flavor came through without making them cakey. Browning the butter first gave them this toasted, almost caramel note, and the chocolate stayed in those perfect melted pockets.
Brown butter pumpkin chocolate chip cookies with thick centers and salted chocolate puddles
The Trick to Keeping Pumpkin Cookies Thick Instead of Puffy
Most pumpkin cookies drift in one of two directions: they spread too much because the dough is soft, or they bake up cakey because the pumpkin brings in too much moisture. This version stays balanced because the butter is browned for flavor, then cooled until solid again before it ever gets mixed with the sugars. That solid fat behaves like softened butter in the dough, which gives you a cookie that spreads enough to look finished but still keeps a chewy center.
The other thing that matters here is the pumpkin puree. A wet spoonful of pumpkin can ruin the texture fast. Blot it until it looks dense and matte, almost like a thick paste. That small step keeps the dough from turning slack, and it lets the chocolate chip cookie texture stay in charge instead of letting the pumpkin steam the cookies from the inside.
What the Brown Butter and Dry Pumpkin Are Doing Here
- Unsalted butter — Browning it gives the cookies a toasted, nutty depth that regular butter can’t match. Use unsalted so you control the salt level, then cool it all the way back to solid before mixing or the dough will spread too fast.
- Pumpkin puree — This adds that soft pumpkin background flavor and the warm color, but it brings a lot of water with it. Blot it on paper towels until it looks thick and compact; canned pumpkin is the right choice here, but only if you dry it first.
- Brown sugar — It helps the centers stay chewy and adds a little molasses depth that plays nicely with the browned butter. If you need to swap, keep at least part brown sugar in the dough or the cookies lose that soft, rich middle.
- Chocolate chips — Dark or semi-sweet both work. Dark chocolate makes the pumpkin spice taste sharper and less sweet, while semi-sweet leans more classic cookie-shop. Use chips for obvious pockets, or chop a bar if you want more uneven chocolate puddles.
- Pumpkin pie spice — This is the simplest way to give the cookies that familiar warm spice note without building your own blend. If yours tastes stale, the whole cookie will fall flat, so use a fresh jar if you can.
Building the Dough So the Cookies Bake Up Chewy, Not Cakey
Browning and Re-Solidifying the Butter
Cook the butter over medium heat until the milk solids turn amber and smell nutty, with tiny browned bits at the bottom of the pan. Pull it off the heat before it goes too dark; those solids burn fast once the color starts changing. Then chill it until it’s solid again, not just thick. If it’s even partially liquid, the dough will be greasy and the cookies will spread into flat puddles.
Mixing the Dough Without Overworking It
Beat the solid brown butter with the sugars until it looks creamy and a little fluffy, then add the dry pumpkin, eggs, and vanilla. Once the flour mixture goes in, mix only until the last streaks disappear. Overmixing tightens the dough and gives the cookies a tougher bite, while a gentle fold keeps the centers tender and the edges chewy.
Watching for the Right Bake
Scoop the dough into even 2-tablespoon rounds so the cookies bake at the same pace. They’re done when the edges look set and golden, but the centers still look slightly soft and puffy. That’s the moment to pull them. They finish on the hot pan, and if you wait until the centers look fully baked in the oven, they’ll end up dry once they cool.
The Salt Finish
Sprinkle flaky salt on top the second the cookies come out of the oven so it sticks to the warm chocolate and butter. This is not just garnish. It sharpens the chocolate and keeps the pumpkin spice from tasting one-note sweet. Let the cookies sit on the pan for five minutes before moving them, or they’ll break while they’re still soft in the middle.
Gluten-Free Version
Use a 1:1 gluten-free baking blend that includes xanthan gum. The cookies will still hold together, but they’ll be a little more delicate at the edges and may need an extra minute in the oven to set up fully.
Dairy-Free Swap
Use a plant-based butter that browns well, or use a high-quality vegan butter alternative if yours won’t brown. You’ll lose some of the nutty depth from real browned butter, but the cookies still bake with a soft center and good spread if the fat is solid before mixing.
Extra-Spiced Cookies
Add another 1/2 teaspoon of pumpkin pie spice if you want a stronger spice edge. That makes the pumpkin read more clearly, especially if you use semi-sweet chocolate, but don’t push it too far or the spice will cover the brown butter.
Storage and Reheating
- Refrigerator: Store in an airtight container for up to 5 days. They stay soft, though the chocolate will firm back up once chilled.
- Freezer: Freeze baked cookies for up to 2 months, or freeze dough balls and bake straight from frozen with 1 to 2 extra minutes.
- Reheating: Warm a cookie in the microwave for 8 to 10 seconds or in a 300F oven for a few minutes. Too much heat dries out the centers and makes the chocolate seize instead of turning glossy again.
Answers to the Questions Worth Asking
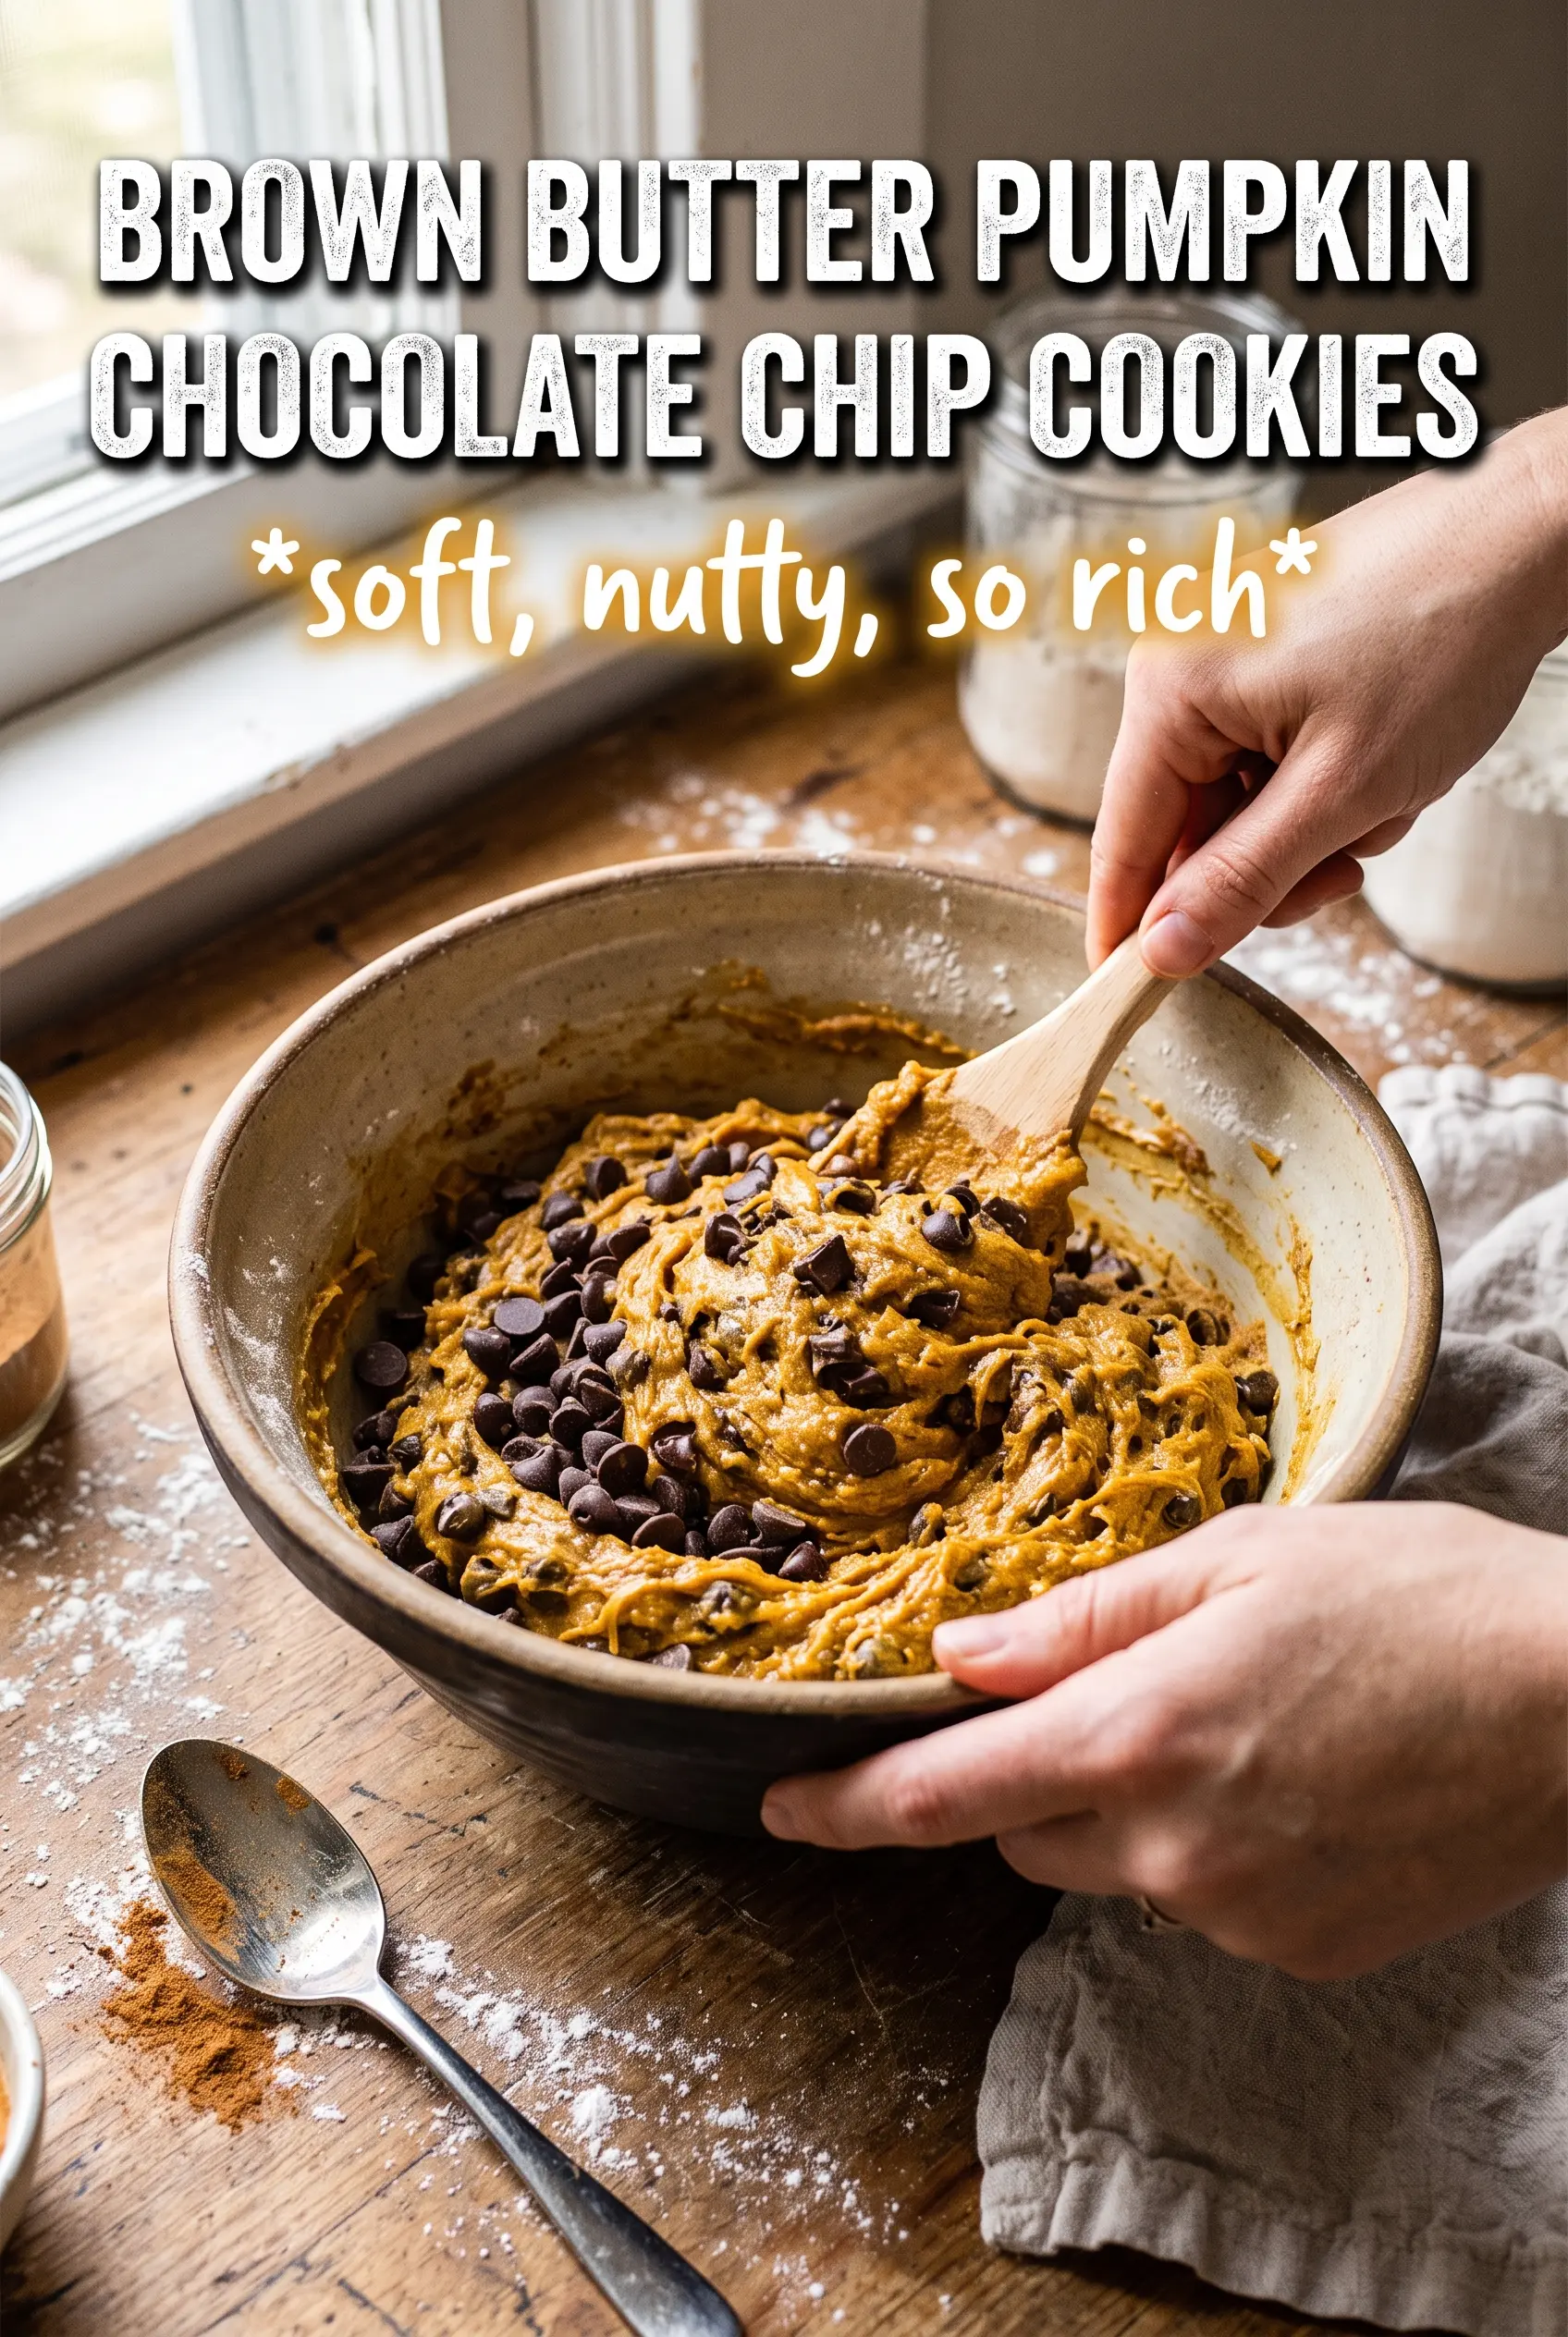
Brown Butter Pumpkin Chocolate Chip Cookies
Ingredients
Equipment
Method
- Brown the butter in a saucepan until it turns golden-brown and smells nutty, then cool it in the fridge until solid, about 1 hour.
- While the butter solidifies, prep and measure the remaining ingredients so everything is ready to mix when the butter is firm.
- Preheat the oven to 375F and line baking sheets with parchment.
- Whisk together all-purpose flour, baking soda, pumpkin pie spice, and salt until evenly combined.
- Beat the solidified brown butter with the brown sugar and granulated sugar until creamy.
- Add the blotted pumpkin puree, then beat in the eggs and vanilla extract until smooth.
- Fold in the flour mixture just until no dry streaks remain, then fold in the chocolate chips.
- Scoop dough into 2-tablespoon rounds and place on the lined sheets, spacing them apart.
- Bake for 10-12 minutes, until the cookies are golden at the edges.
- Sprinkle with flaky sea salt immediately, then cool on the pan for 5 minutes before transferring.