Brown butter sage dinner rolls come out soft and pillowy inside with a deep, nutty crust that tastes like you spent all afternoon on them. The rolls pull apart in warm strands, and the sage-butter glaze soaks into the tops just enough to make every bite rich without turning greasy. They’re the kind of side dish people hover over before the main course even hits the table.
The trick is starting with browned butter in the dough, then finishing the baked rolls with a second batch of brown butter that carries fried sage and a little garlic. That layered approach gives you real sage flavor instead of a flat herbal note, and the browned milk solids add depth you can’t get from plain melted butter. The dough itself is straightforward, but it needs enough kneading to turn smooth and elastic so the rolls bake up light instead of tight.
Below, I’ve included the small details that matter most: how to keep the butter from getting too hot for the yeast, what the dough should look and feel like before its first rise, and how to get that glossy, fragrant finish right before serving.
The rolls baked up unbelievably soft, and the brown butter sage glaze soaked into the tops without making them soggy. I loved the crispy sage leaves on each one — they looked fancy but were actually easy.
Brown butter sage dinner rolls are the kind of side dish worth saving for holidays, Sunday dinners, and any night you want a soft roll with a crisp, buttery finish.
The Browning Step That Gives These Rolls Their Depth
Most dinner rolls rely on butter for richness, but browned butter gives these a toasted, almost caramel-like edge that makes them taste far more complex than the ingredient list looks. The important part is cooling it slightly before it goes into the dough. If the butter is too hot, it can kill the yeast or make the eggs start to scramble at the edges, and either one will throw off the dough.
The second place people run into trouble is the rise. These rolls should double and then puff noticeably again after shaping, but they don’t need to look huge before baking. Overproofed rolls can collapse in the oven and bake up dry, while underproofed ones stay dense in the center. Watch the dough, not the clock.
- Browned butter — This is where the nutty flavor comes from. Let it cool until warm, not hot, before mixing.
- Instant yeast — It works fast and makes these rolls manageable in one afternoon. Active dry yeast can work, but it needs a little extra time to wake up.
- Whole milk — The fat helps keep the dough tender. Low-fat milk will work in a pinch, but the rolls won’t be quite as soft.
- Flour — Start with the full amount, then stop if the dough already feels soft and elastic. Too much flour is the quickest way to make rolls heavy.
What the Brown Butter Sage Glaze Is Doing on Top
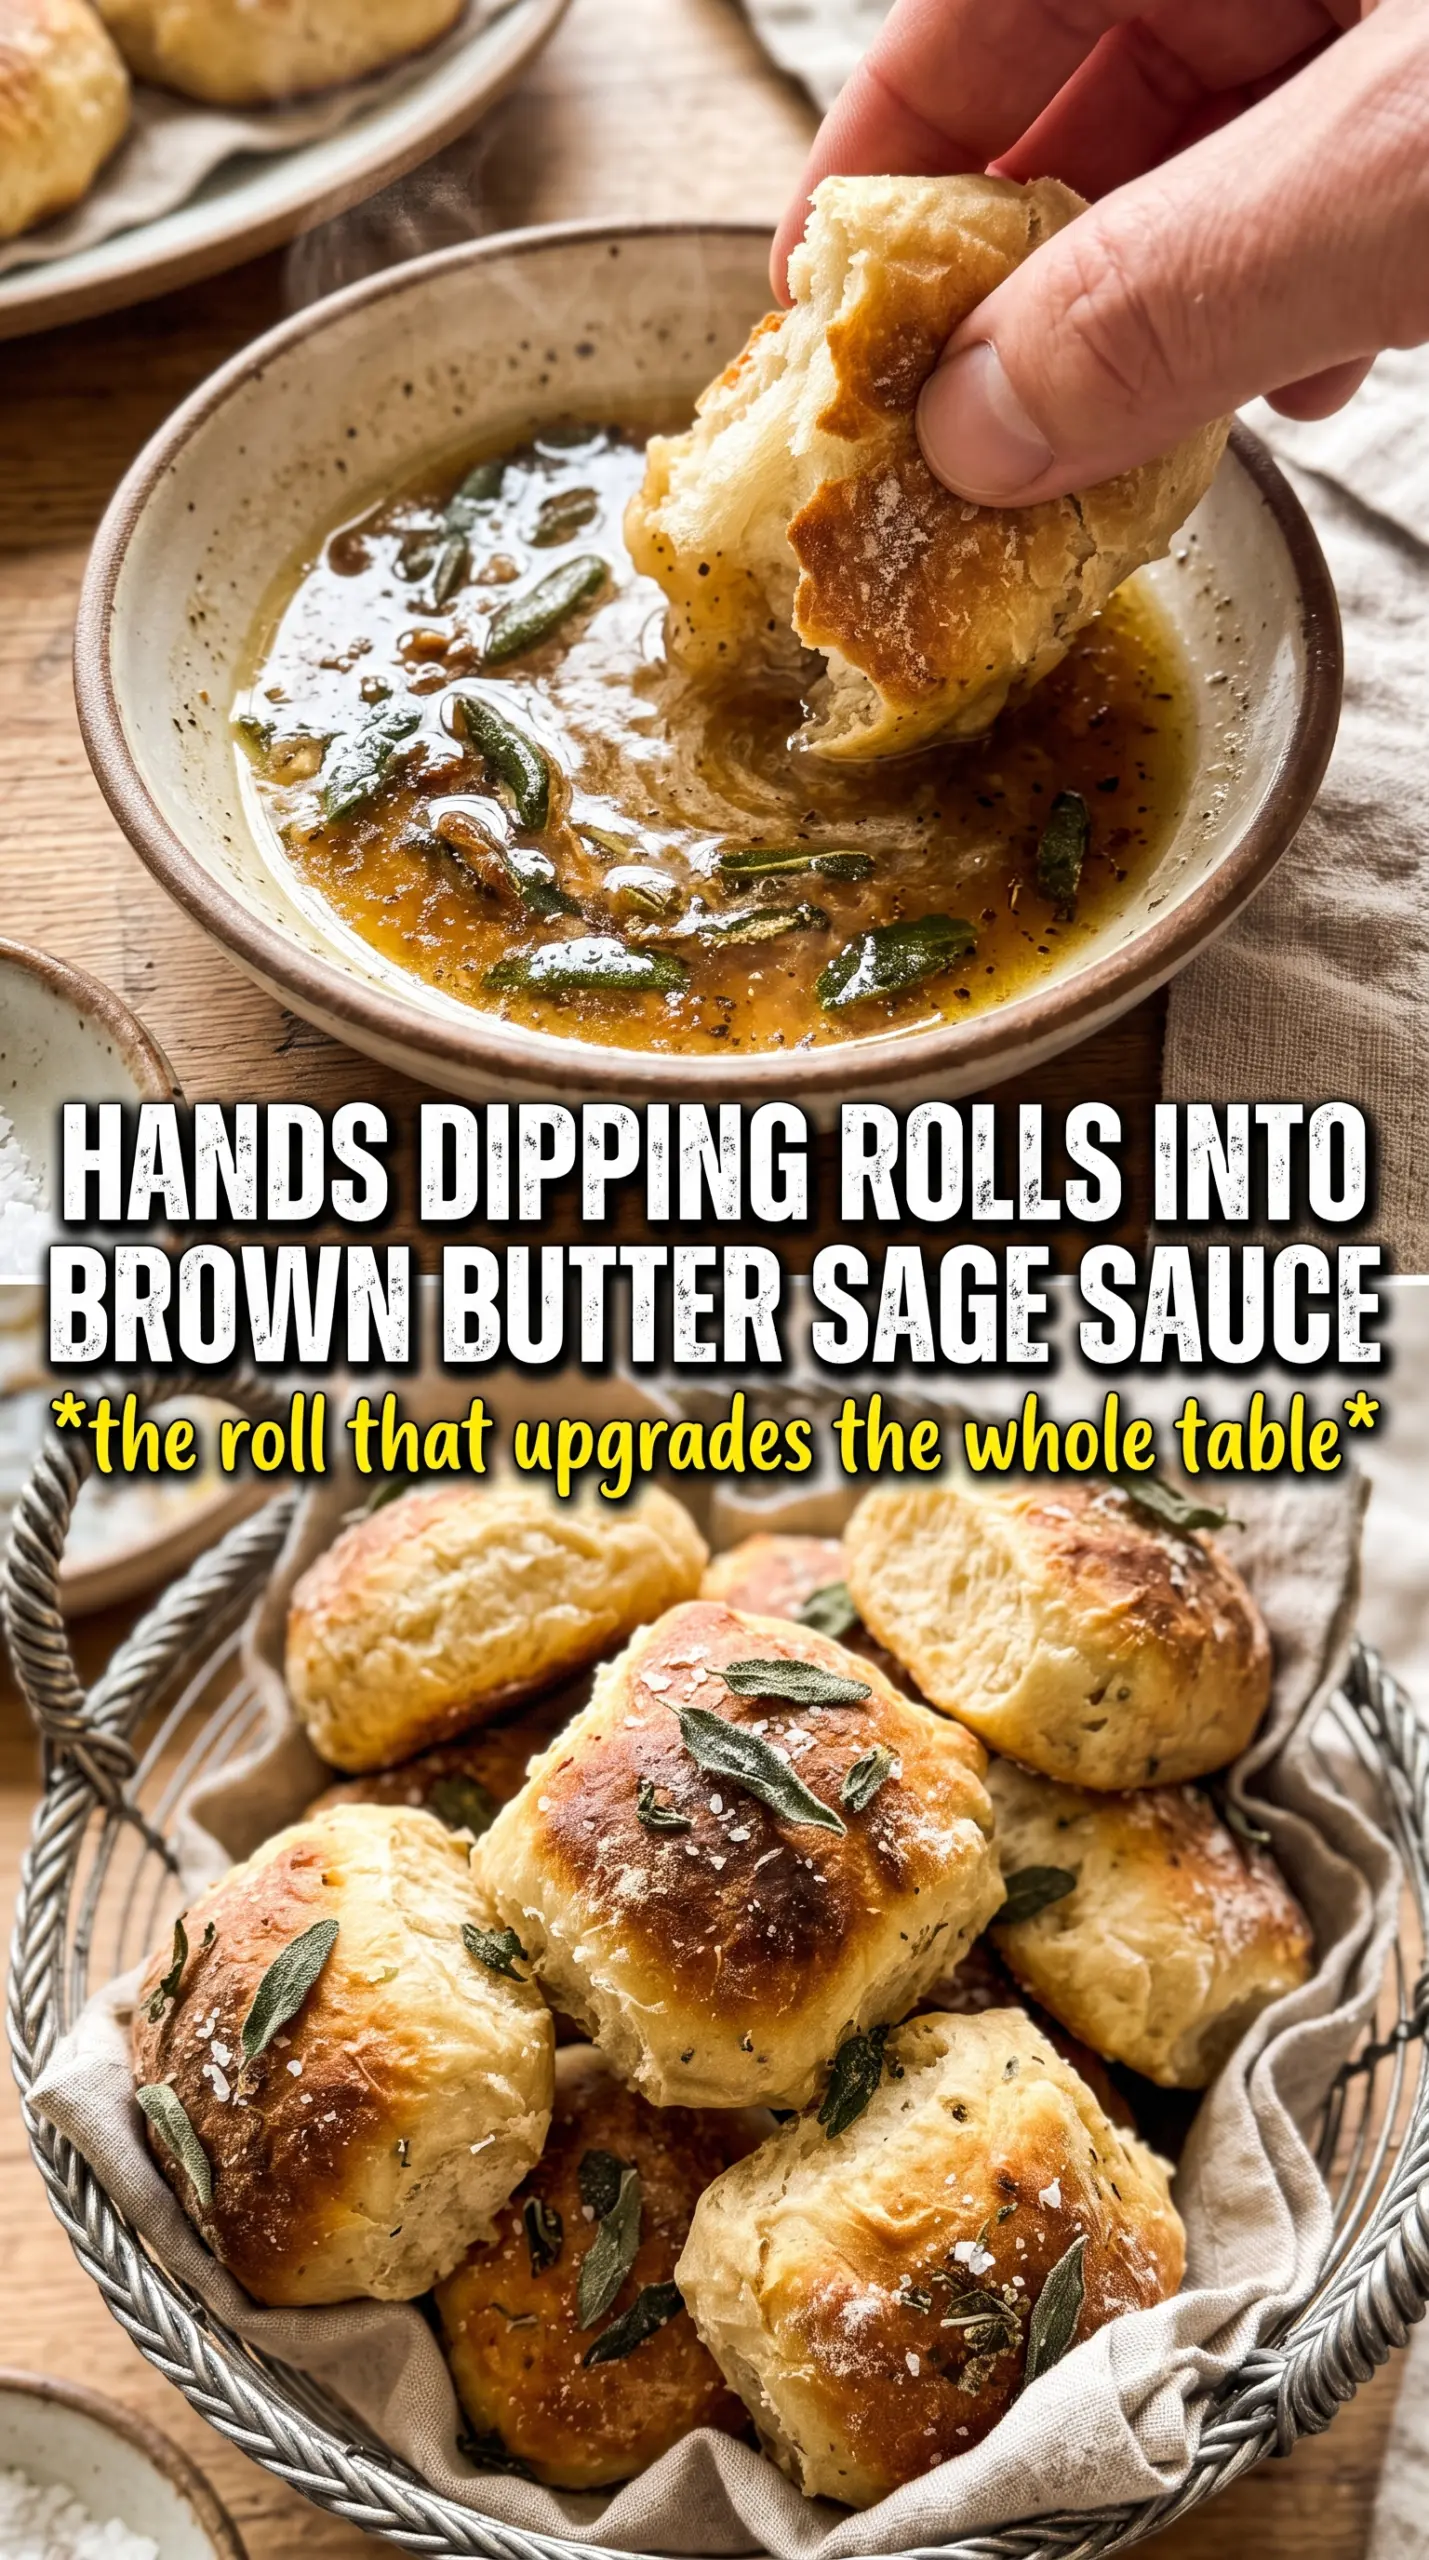
The glaze is not just for shine. The browned butter carries the sage flavor across the whole top of the rolls, while the garlic gives the finish a savory edge that keeps them from tasting like sweet bread with herb butter on it. Frying the sage leaves in the butter makes them crisp and fragrant, and pressing them onto each roll gives you both texture and a clear visual cue that these are special.
The flaky sea salt matters more than it looks like it should. A small pinch right at the end wakes up the browned butter and keeps the rolls from tasting flat. Use fresh sage here; dried sage won’t give you the same crisp leaves or clean herbal note.
- Fresh sage leaves — They crisp in the hot butter and bring the signature flavor. Dried sage won’t behave the same way in the glaze.
- Garlic — It should be minced fine so it perfumes the butter without burning. Add it after the butter browns, not before.
- Flaky sea salt — This finishes the rolls with little pops of salt that balance the richness.
Getting the Dough Soft Enough Without Making It Sticky
Building the base
Stir the warm milk, yeast, and sugar first, then add the browned butter and eggs once the milk is no longer hot. The mixture should look smooth and smell buttery, not foamy and cooked. If the milk feels hot on your wrist, wait a few minutes before going on. Heat control matters here because yeast likes warmth, not steam.
Kneading until the dough turns elastic
Add the flour and salt, then knead for about 8 minutes until the dough feels smooth and springs back when pressed. It should be soft and slightly tacky, but it shouldn’t smear across the counter or cling in long wet strands. If it seems too loose, give it a minute before adding more flour; dough often firms up as it rests. Too much extra flour makes the baked rolls tighter and less fluffy.
Shaping and giving the rolls room
After the first rise, divide the dough into 12 even pieces and roll them into tight balls. Nestle them into a greased 9×13 dish with just a little space between each one. During the second rise, they should puff and touch one another, which helps create that pull-apart texture. If they spread more than they rise, the dough was too soft or the shaping was too loose.
Baking to a deep golden top
Bake until the tops are golden bronze and the rolls look set through the center, about 18 to 22 minutes. The tops should spring back lightly when touched. If they color too quickly, the oven is running hot, so tent the pan loosely with foil for the last few minutes. Brush on the glaze while the rolls are still warm so it sinks into the tops instead of sitting on the surface.
Make Them Ahead for a Dinner Party
Shape the rolls, place them in the baking dish, and refrigerate before the second rise. Let them come back to room temperature and puff up before baking. This keeps the schedule easy and still gives you fresh, warm rolls with a soft crumb.
Dairy-Free Version
Use a rich unsweetened plant milk and a dairy-free butter that browns well. The flavor won’t be identical, because plant-based fats don’t develop the same nutty depth, but the rolls will still bake up soft and the sage glaze can still carry the herb flavor.
If You Want a Stronger Sage Finish
Add one or two extra sage leaves to the glaze, but don’t crowd the pan. The leaves need space to fry crisp, and too many at once will drop the butter temperature and make them soggy instead of crackly.
Storage and Reheating
- Refrigerator: Store in an airtight container for up to 3 days. The tops soften a little as they sit, but the rolls stay tender.
- Freezer: Freeze baked rolls without the final glaze for up to 2 months. Wrap tightly and thaw at room temperature before reheating.
- Reheating: Warm in a 300°F oven, covered loosely with foil, until heated through. The biggest mistake is blasting them in the microwave, which turns the crumb chewy and dulls the browned butter flavor.
Questions I Get Asked About This Recipe

Brown Butter Sage Dinner Rolls
Ingredients
Equipment
Method
- Brown 1/2 cup butter in a pan, then cool slightly until warm and fragrant.
- In a bowl, combine warm whole milk, sugar, the browned butter, and eggs, then add instant yeast and let it foam for 5 minutes.
- Add all-purpose flour and salt to the yeast mixture and knead until smooth and elastic, about 8 minutes.
- Form the dough into a ball, cover, and let it rise for 1 hour until doubled.
- Divide the dough into 12 equal balls and place them in a greased 9x13 dish.
- Cover and let the rolls rise again for 30–40 minutes until puffy.
- Preheat the oven to 375F while the rolls finish rising.
- Bake the rolls for 18–22 minutes, until golden and they sound hollow when tapped.
- For the glaze, brown the remaining butter, then fry fresh sage leaves until crispy, adding minced garlic briefly to perfume the butter.
- Stir in flaky sea salt, then brush the rolls generously with the brown butter sage glaze.
- Press the fried sage leaves onto each roll and let them stand 5 minutes before serving.