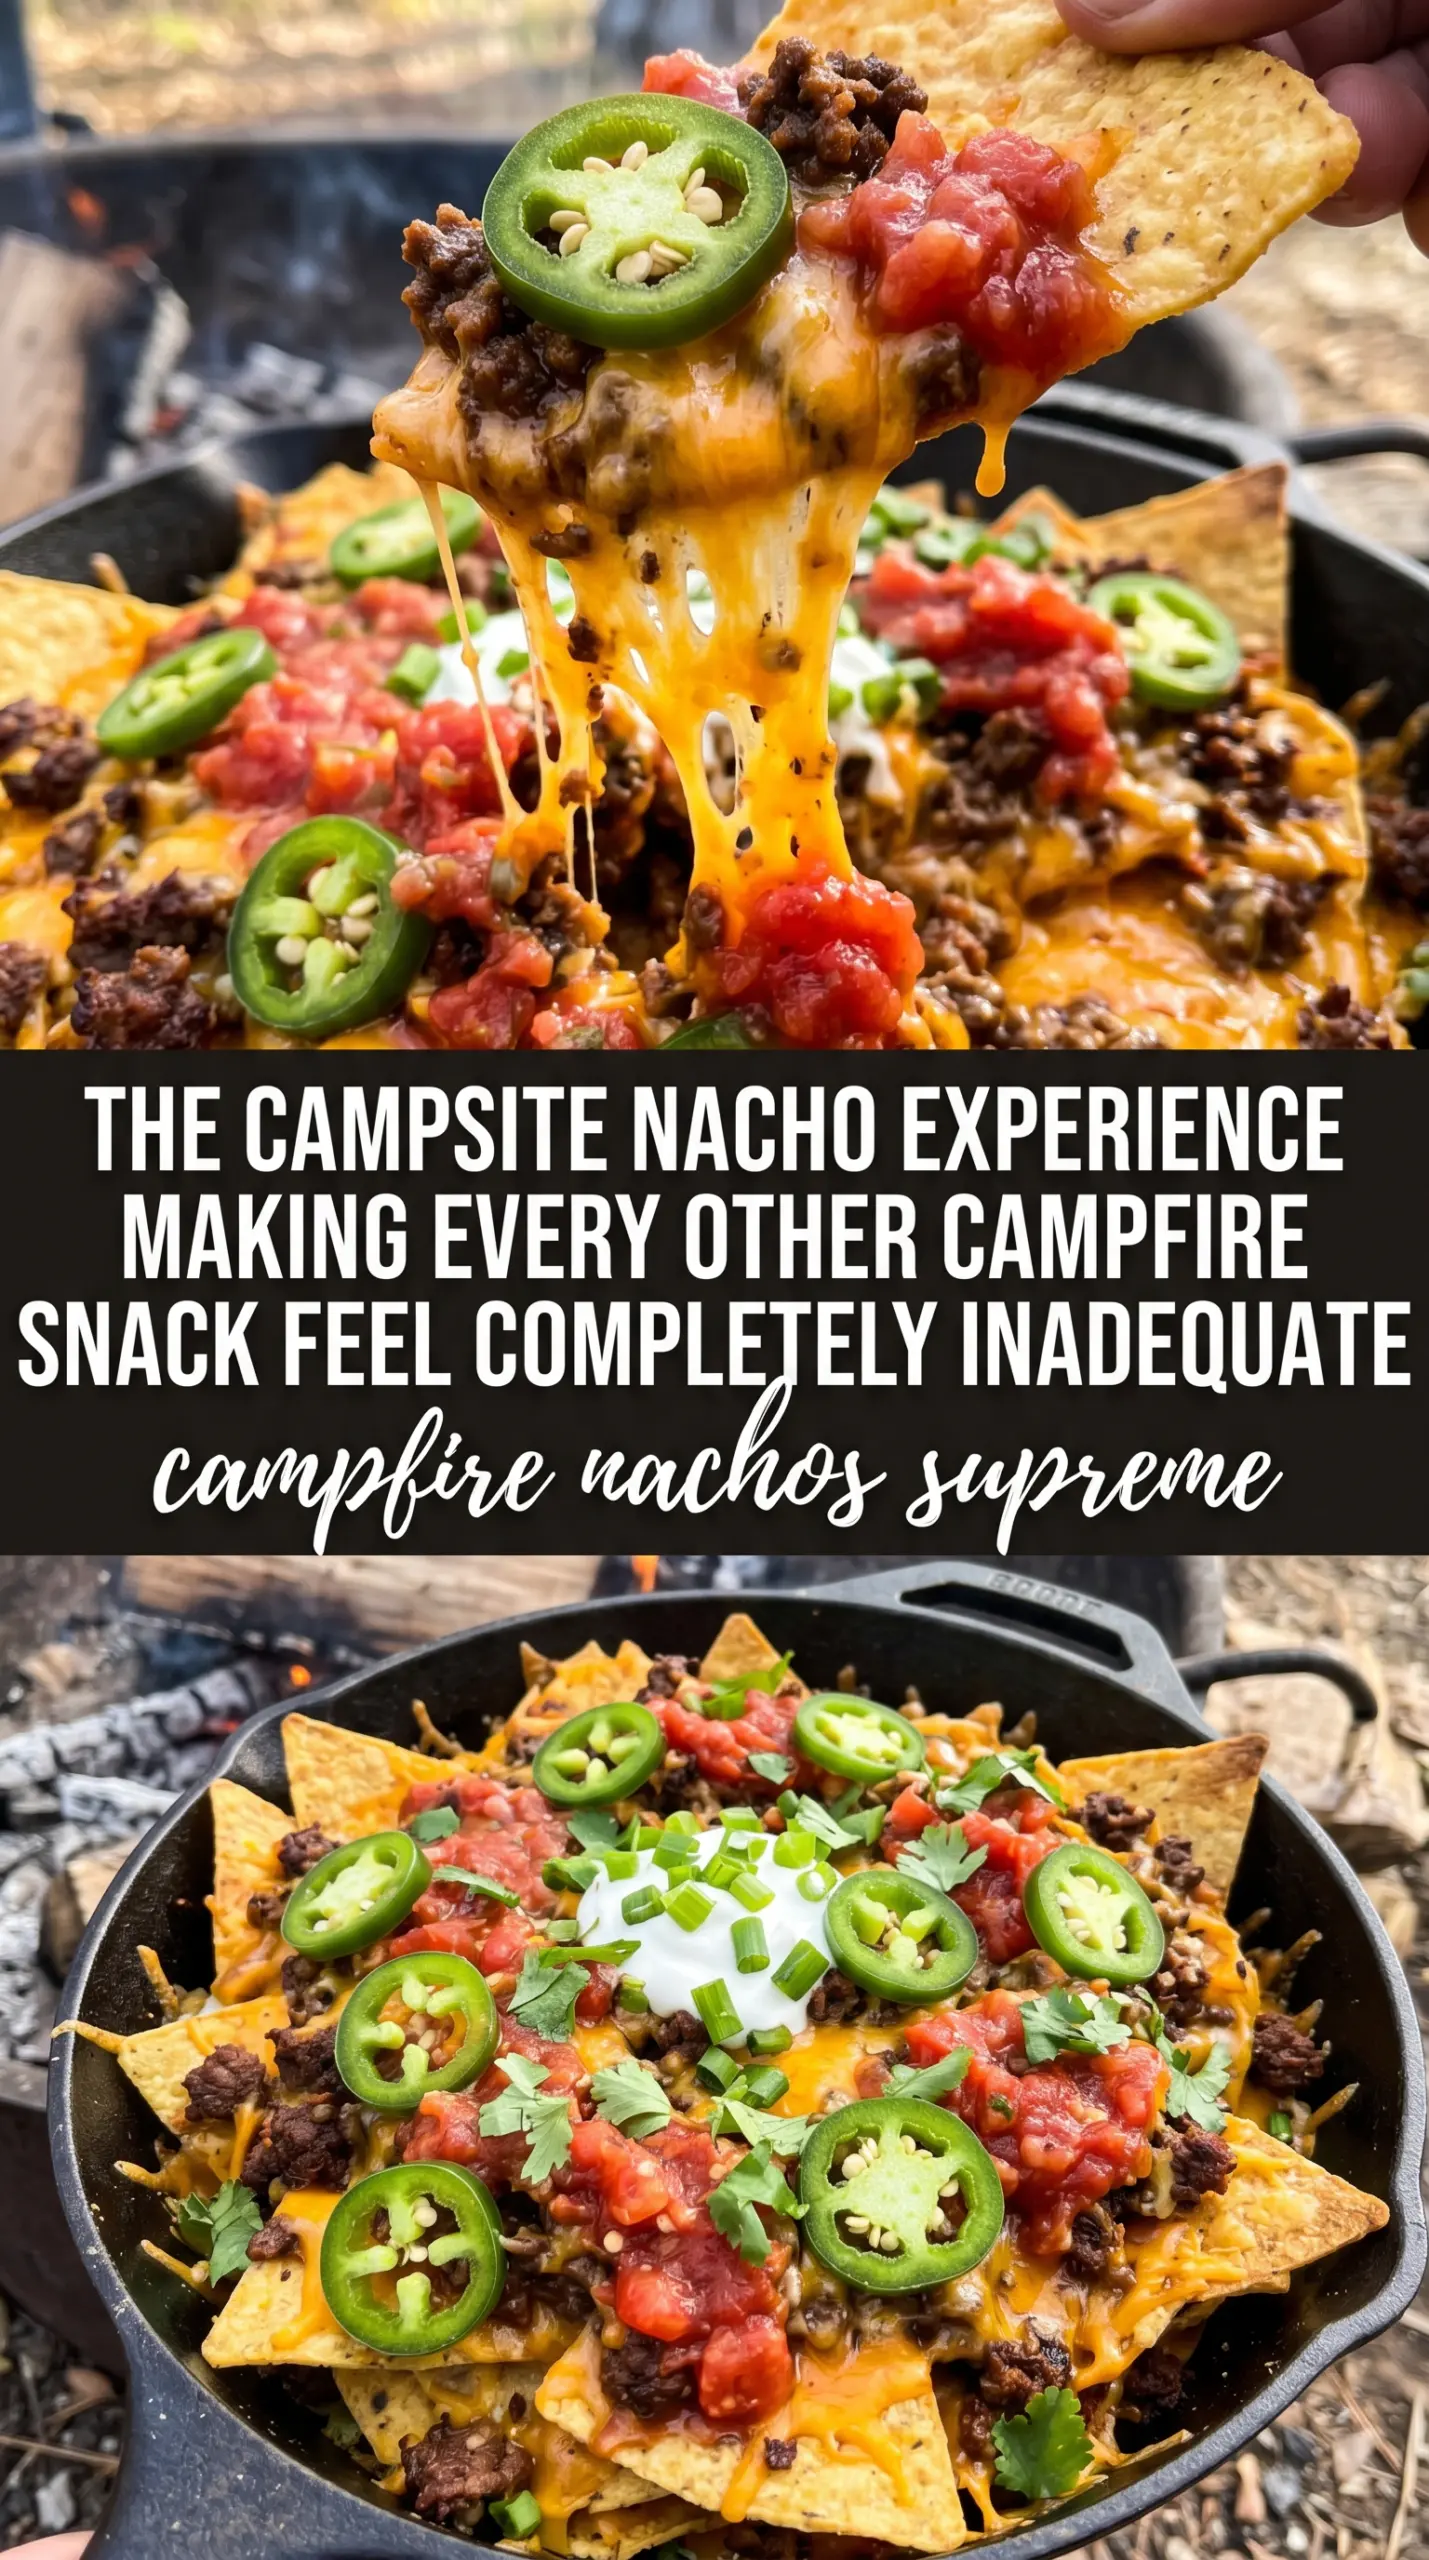
Campfire nachos hit the table with the kind of messy, bubbling payoff that makes people crowd around the skillet before it even leaves the fire. The chips underneath stay sturdy enough to hold their weight, the cheese melts into the beef and beans, and the cold toppings on top give each bite a sharp, creamy finish. It’s the kind of food that disappears fast because every scoop feels loaded.
What makes this version work is the layering. Half the chips go down first, then half the toppings, then the rest, so the bottom chips don’t all collapse into one soggy layer. The cheese is used as the glue, and the campfire heat does the rest. A cast iron skillet gives you steady heat and a crisp edge, but an aluminum pan works too if that’s what you’ve got at the campsite.
Below, you’ll find the timing that keeps the cheese melted without burning the chips, plus a few smart swaps if you’re feeding a bigger group or adjusting for what’s already in the cooler.
Save these campfire nachos supreme for the next cookout when you need a skillet full of melted cheese, taco beef, and crowd-pleasing toppings.
The Layering Trick That Keeps the Bottom Chips Worth Eating
Nachos fail when everything gets dumped into one pile and the heat has nowhere to go. The bottom layer steams, the top layer stays bare, and the whole skillet turns into a soft jumble before the cheese melts. This version avoids that by spreading the filling across two rounds, which gives the chips more surface area for cheese and toppings while keeping the center from sinking too fast.
Cast iron helps because it holds steady heat long enough to melt the cheese without blasting one spot. If you use an aluminum pan, keep the skillet over medium heat and don’t walk away. The biggest mistake is cranking the heat higher to speed things up; that just burns the chips on the edges before the middle is done.
What Each Layer Is Doing in the Skillet
- Tortilla chips: Use sturdy, restaurant-style chips if you can. Thin chips break down fast under the weight of beef and beans, especially once the heat starts working through the pan.
- Ground beef with taco seasoning: This is the backbone of the recipe, so season it well. A little fat is good here because it carries flavor and helps the cheese melt into the filling instead of sitting dry on top.
- Mexican cheese blend: Pre-shredded cheese is convenient and it melts smoothly enough for campfire cooking. If you grate your own, it melts a touch better, but it’s not necessary for this dish.
- Black beans and corn: These stretch the skillet and give every scoop more texture. Drain them well or they’ll add moisture that softens the chips faster than you want.
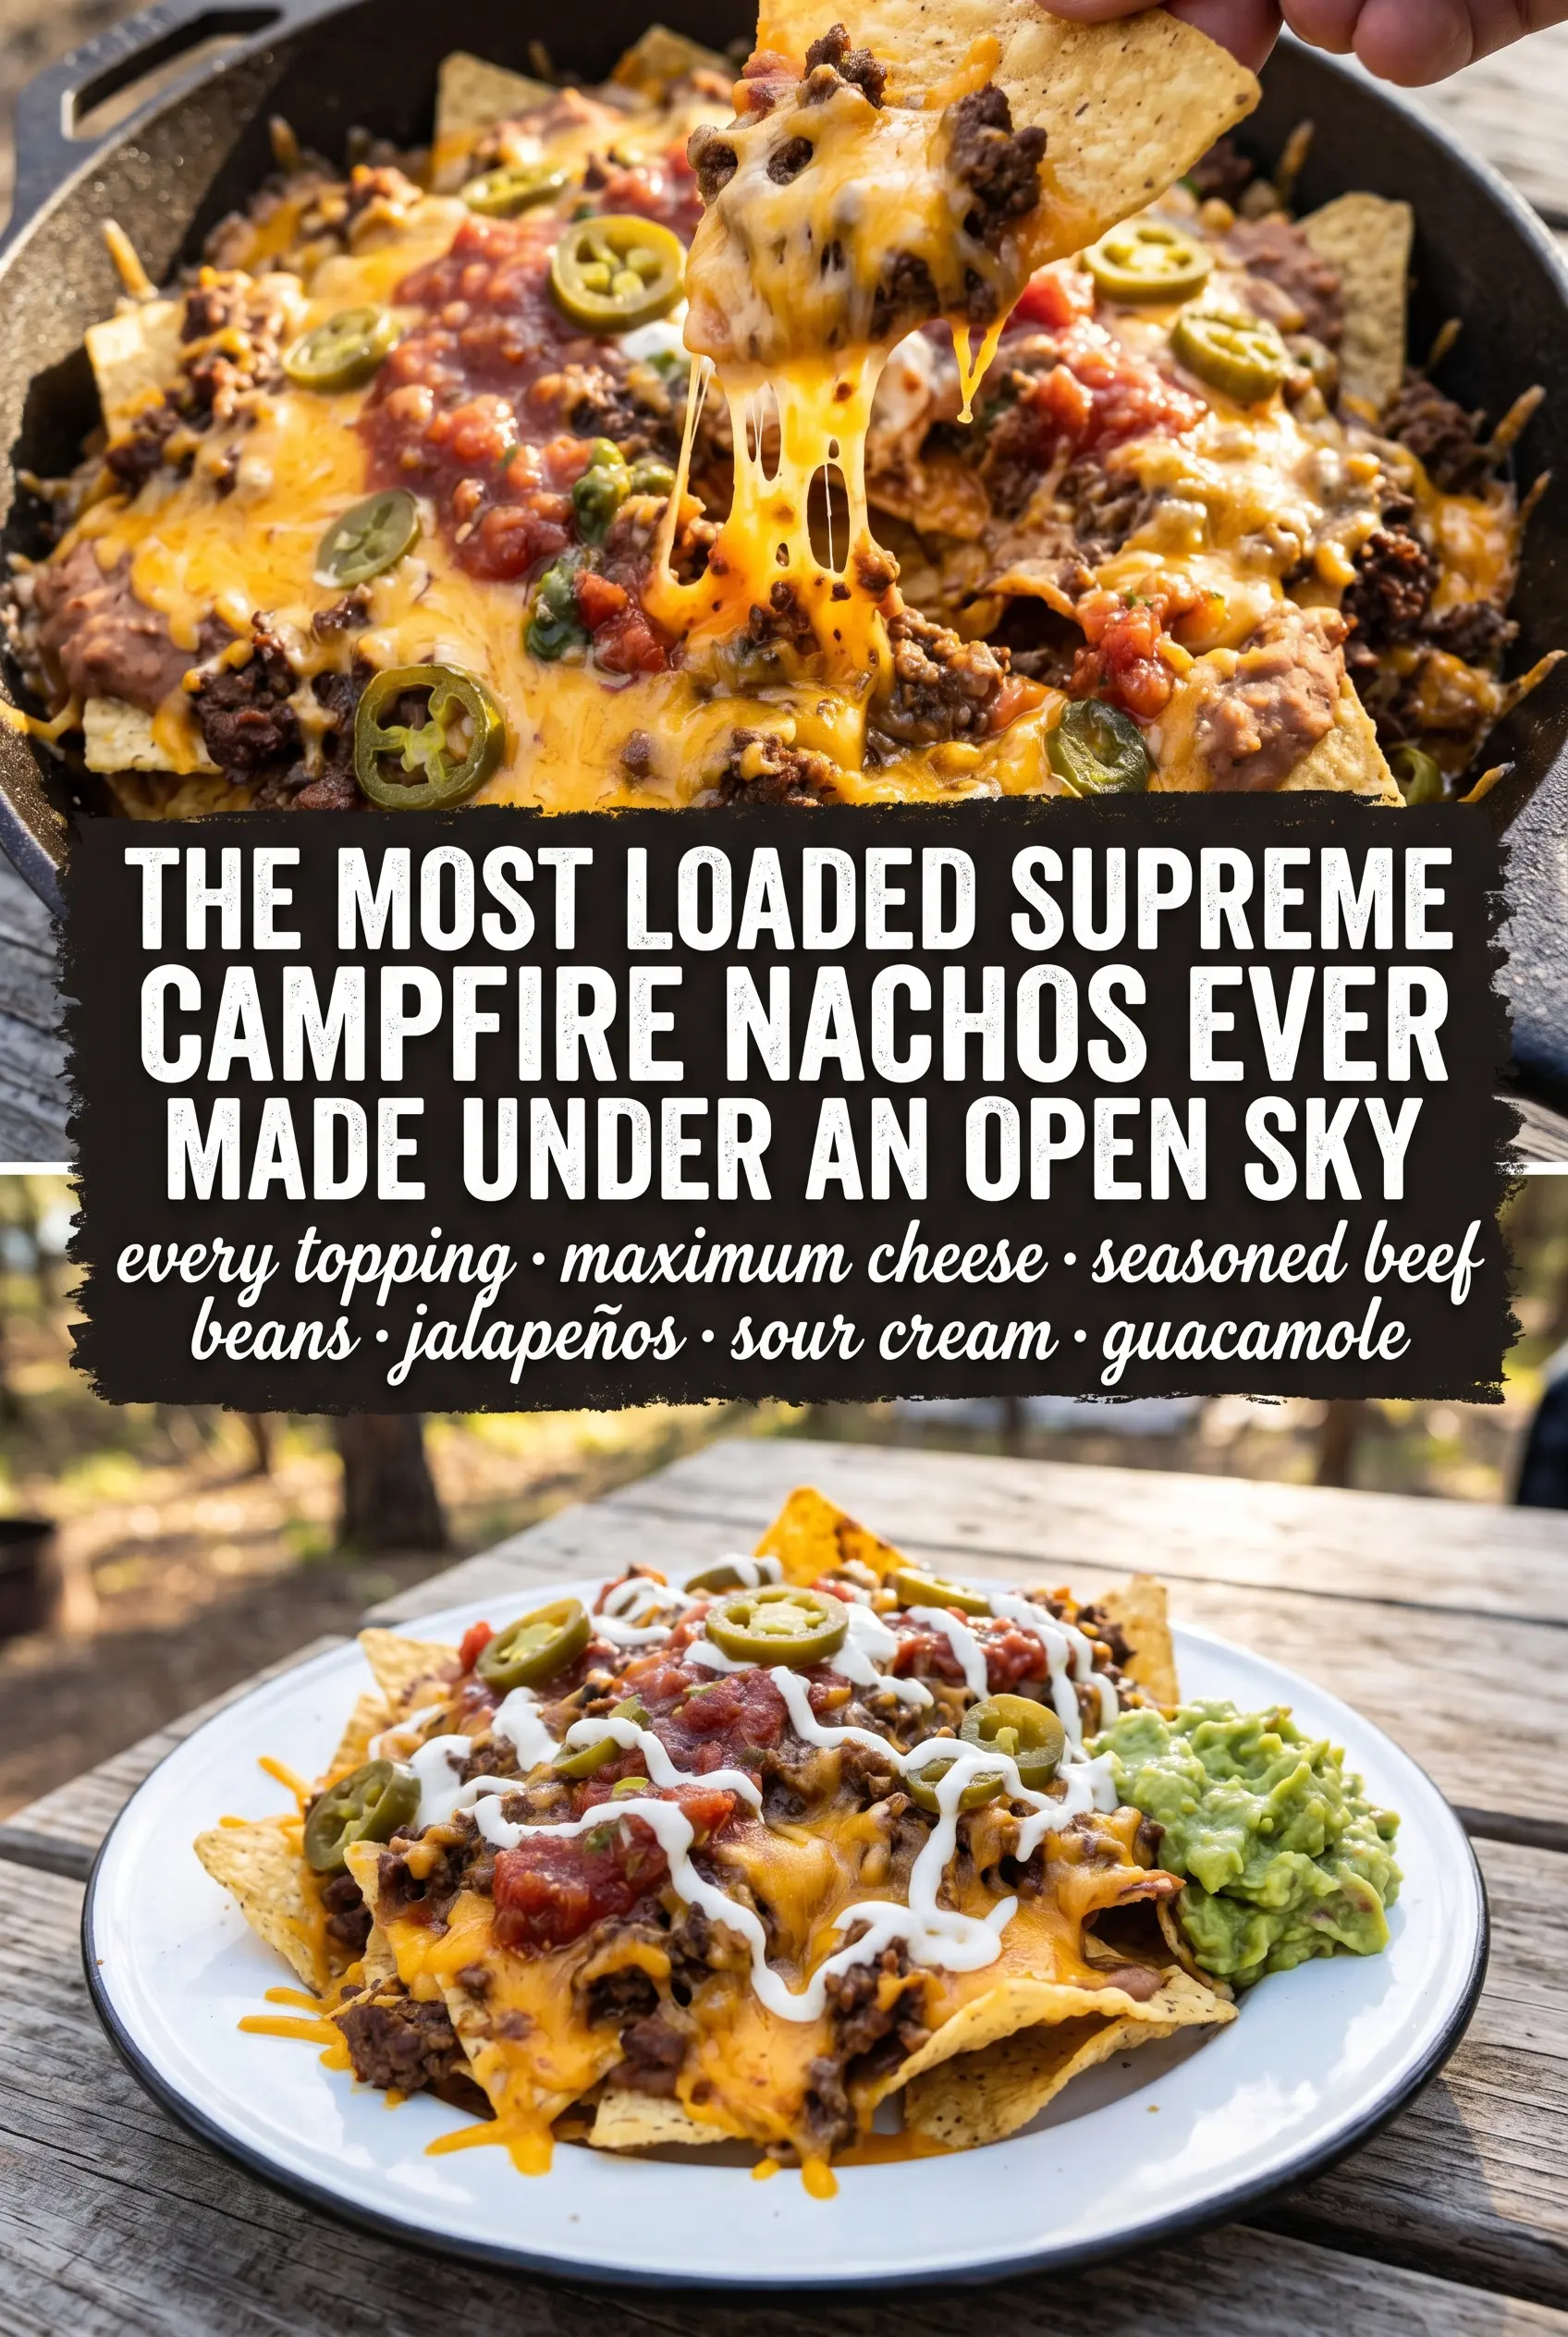
- Tomatoes, jalapeño, sour cream, guacamole, cilantro, and lime: Keep these for the end. The cold toppings balance the hot skillet, and the lime wakes everything up right before serving.
Building the Skillet So the Cheese Melts Before the Chips Give Up
Start with the first layer of chips
Spread half the chips in a large cast iron skillet or aluminum pan so they cover the bottom in a loose layer. You want some overlap, but not a packed mound, because the heat needs paths to move through the skillet. If the chips are crumbled too fine before they even go on the heat, they’ll disappear under the toppings.
Stack the beef, beans, corn, and cheese
Add half the beef, beans, corn, and cheese over the chips, then repeat with the rest. Keep the cheese on top of the filling where the heat can reach it evenly. If you bury the cheese under all the toppings, it takes longer to melt and the bottom layer gets soggy while you wait.
Heat until the cheese is bubbling at the edges
Set the skillet on a campfire grate over medium heat for 12 to 15 minutes. You’re looking for fully melted cheese with a few bubbling spots and chips that are just beginning to toast at the edges. If the fire runs hot, shift the pan farther from the coals; direct high heat is what burns the bottom before the center is ready.
Finish with the cold toppings and serve fast
Take the skillet off the heat and scatter on the tomatoes, jalapeños, sour cream, guacamole, and cilantro. Add lime wedges right at the end so people can squeeze them over their portion. These nachos wait for nobody, and once the steam hits the fresh toppings, the best texture window is short.
How to Make These Nachos Fit the Cooler, the Crowd, or the Weather
Ground turkey instead of beef
Ground turkey works well if you season it generously and cook off the moisture before assembling. It tastes a little lighter than beef, so a pinch more taco seasoning and a good squeeze of lime at the end helps bring the flavor back.
Vegetarian campfire nachos
Skip the beef and double the beans and corn, or add seasoned black beans plus sautéed peppers if you’ve got a skillet nearby. The result is a little softer and less rich, so don’t skimp on the cheese or the fresh toppings.
Dairy-free version
Use your favorite melting dairy-free shreds and skip the sour cream and guacamole topping if needed, though guacamole is naturally dairy-free. The cheese won’t stretch quite the same way, but it still melts into a good camping skillet if you keep the heat moderate.
Keeping them warm for a crowd
If you need to serve a larger group, build the skillet in two smaller pans instead of one overloaded one. That keeps the cheese melting evenly and gives you more surface area for crispy chips, which is what people actually fight over.
Storage and Reheating
- Refrigerator: Store leftovers in an airtight container for up to 2 days. The chips soften, so expect a much less crisp texture.
- Freezer: I don’t recommend freezing assembled nachos. The chips and fresh toppings break down badly, and the result turns muddy when thawed.
- Reheating: Reheat only the beef, beans, corn, and cheese portion in a skillet or oven, then add fresh chips and toppings after. Microwaving the whole tray makes the chips limp in minutes.
Questions I Get Asked About This Recipe
Campfire Nachos Supreme
Ingredients
Equipment
Method
- Layer half the tortilla chips in a large cast iron skillet. Spread them evenly so they form a crisp base under the toppings.
- Top the first chip layer with half the ground beef, black beans, corn, and shredded Mexican cheese blend. Add it in an even mound so cheese melts to bind the layers.
- Layer the remaining tortilla chips over the beef-and-veg mixture. Press lightly to help the chips settle before heating.
- Repeat with the remaining ground beef, black beans, corn, and shredded Mexican cheese blend. Make sure the cheese is on top for the bubbly, stretching melt.
- Place the skillet on a campfire grate over medium heat for 12-15 minutes. Cook until the cheese is melted and bubbly, with visible stretching across the top.
- Remove the skillet from the heat. Keep it steady so toppings stay fresh and don’t over-wilt.
- Top with diced tomatoes and sliced jalapeño. Scatter them across the surface for bright color and fresh bite.
- Add sour cream in spoonfuls over the nachos. Let it sit on the warm cheese so it slightly softens but keeps its shape.
- Spoon guacamole over the top. Add it in dollops for creamy texture on every scoop.
- Sprinkle chopped cilantro over the nachos. Finish with a fresh green cue just before serving.
- Serve immediately with lime wedges. Squeeze lime over individual bites for the final pop of flavor.