Caramel apple crisp lands in that sweet spot between rustic and indulgent: tender apples in a thick caramel sauce, all tucked under a buttery oat topping that bakes into crisp, craggy clumps. The best part is the contrast. You get soft fruit, a bubbling edge of caramel, and a topping that stays nubby and golden instead of turning sandy or flat.
This version works because the apples are coated with cornstarch before baking, which keeps the filling from turning watery. The caramel sauce goes right into the fruit instead of waiting for the finish, so every bite tastes layered and rich, not just sweet on top. Cold butter in the crumble matters too. It creates little pockets that melt, brown, and leave behind that sturdy crisp texture everyone wants.
Below, I’ve included the small details that keep the filling thick and the topping crunchy, plus a few smart swaps if you need to work around what’s in your pantry.
The filling thickened up instead of running all over the pan, and the oat topping stayed crisp even after we had seconds with ice cream.
Save this caramel apple crisp for the nights when you want bubbling apples, a crunchy oat topping, and plenty of caramel on the plate.
The Trick to Keeping the Apples Thick Instead of Soupy
The filling here needs enough structure to hold up under the topping, but not so much starch that it turns pasty. Cornstarch does the heavy lifting, and the lemon juice keeps the apples tasting bright instead of flat once the caramel and sugar melt together. If your crisp ever came out loose at the bottom, the usual problem is underthickened fruit or apples cut too thick to soften evenly before the topping finishes browning.
Use apples that can stand up to baking. A mix of tart and sweet varieties works best because the tart fruit keeps the caramel from taking over. Slice them evenly so they soften at the same rate. Uneven slices leave you with some mushy pieces and some that still hold a hard bite when the topping is already done.
What the Oats, Butter, and Caramel Are Each Doing
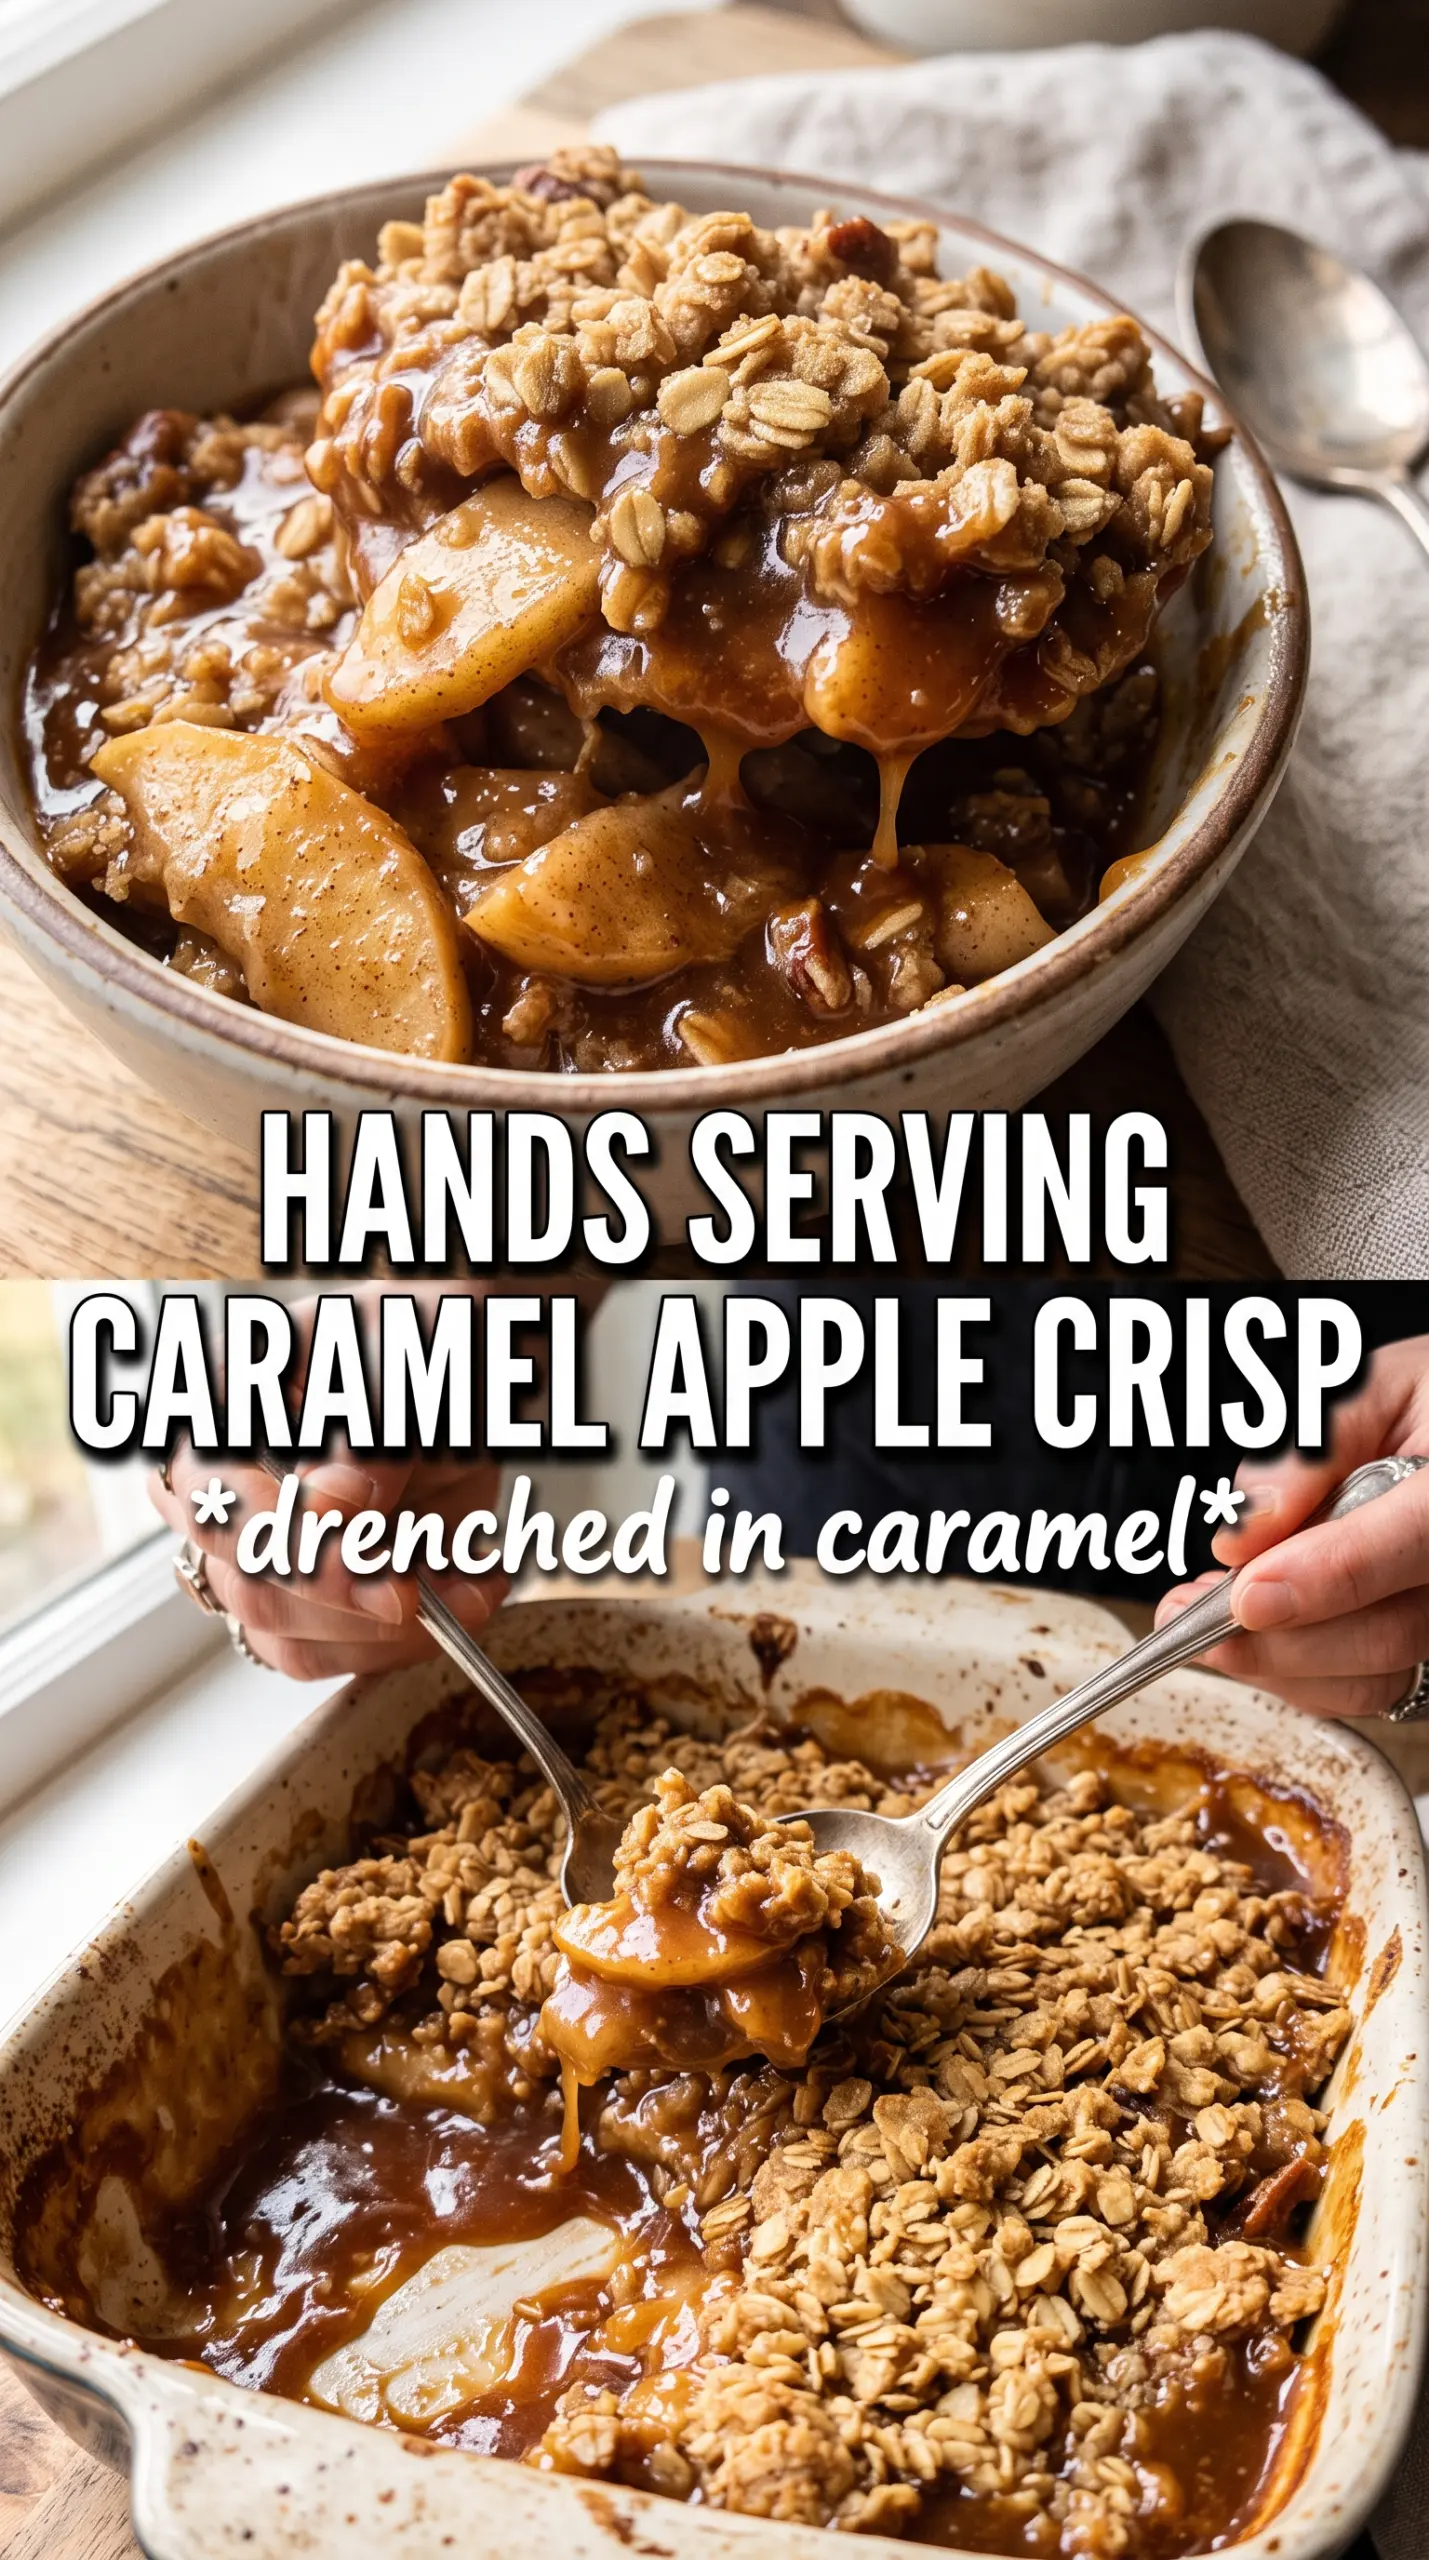
- Apples — Firm baking apples hold their shape and give you distinct slices instead of apple sauce. If you only have softer apples, shorten the bake a few minutes and keep the slices on the thicker side so they don’t collapse completely.
- Caramel sauce — This adds depth that plain sugar can’t match. Use a sauce that pours smoothly; if yours is very thick, warm it slightly so it coats the apples evenly before baking.
- Cornstarch — This is what turns the juices into a spoonable filling. Arrowroot can work in a pinch, but it can look a little glossier and loosens faster if the crisp sits a long time.
- Rolled oats — They give the topping its hearty, craggy texture. Quick oats will work, but the crumble will be finer and less rustic.
- Cold butter — Cold cubes are what create those crisp, buttery clusters. If the butter softens before it goes in the oven, the topping bakes up dense instead of crisp.
Building the Crunch Before the Apples Start Bubbling
Coating the Apples
Toss the sliced apples with the sugar, caramel, spices, cornstarch, lemon juice, and salt until every slice looks glossy. The cornstarch needs to hit the fruit before it hits the oven, not after, or it won’t have enough time to thicken the juices as they release. Spread the apples in an even layer so the filling cooks consistently across the dish.
Making the Crumble
Mix the oats, flour, brown sugar, cinnamon, and salt, then cut in the cold butter until you have chunky clumps with some sandy bits mixed in. Those clumps are what bake into crisp pieces. If the mixture looks like wet paste, the butter was too warm. If it stays floury and dry, keep working it a little longer or pinch in a few extra butter pieces until it starts to hold together.
Baking Until the Edges Bubble
Scatter the crumble over the apples and bake until the top is deeply golden and the filling is bubbling around the edges. That bubbling matters. It tells you the cornstarch has activated and the fruit juices have thickened. If the top browns before the filling bubbles, tent it loosely with foil for the last part of baking so the apples can finish without the crumble scorching.
Finishing with Caramel and Ice Cream
Drizzle extra caramel over the crisp during the last few minutes of baking so it melts into the topping instead of sitting in a sticky puddle on top. Let the pan rest for a few minutes before serving; the filling tightens as it cools. Spoon it warm into bowls and add vanilla ice cream right away so you get that cold-and-hot contrast in every bite.
How to Adapt This for Different Kitchens and Different Apples
Make It Dairy-Free
Swap the butter for a solid plant-based baking stick with a similar fat content. You’ll still get a crisp topping, though the flavor will be a little less rich and buttery. Keep the pieces cold and work them into the dry ingredients the same way so the crumble still forms clumps.
Use What Apples You Have
Tart, firm apples give the best texture, but you can mix in sweeter varieties if that’s what’s on hand. If your apples are softer and tend to break down fast, cut them a little thicker and keep an eye on the bake time so the filling stays recognizable instead of turning mushy.
Gluten-Free Version
Use a 1:1 gluten-free baking flour in place of the all-purpose flour and check that your oats are certified gluten-free. The topping may be a touch more delicate, but the bake will still come out crisp and spoonable.
Make It Ahead
Assemble the crisp a few hours ahead and keep it chilled until baking time. If it sits overnight, the apples will release more liquid, so toss everything together right before it goes in the oven for the thickest filling and best topping texture.
Storage and Reheating
- Refrigerator: Store covered for up to 4 days. The topping will soften a bit as it sits, but the flavor stays good.
- Freezer: Freeze baked crisp in an airtight container for up to 2 months. Thaw overnight in the fridge before reheating.
- Reheating: Warm in a 325F oven until the filling is hot and the top starts crisping again. The microwave works for speed, but it softens the crumble fast, so use the oven if you want the texture back.
Answers to the Questions Worth Asking
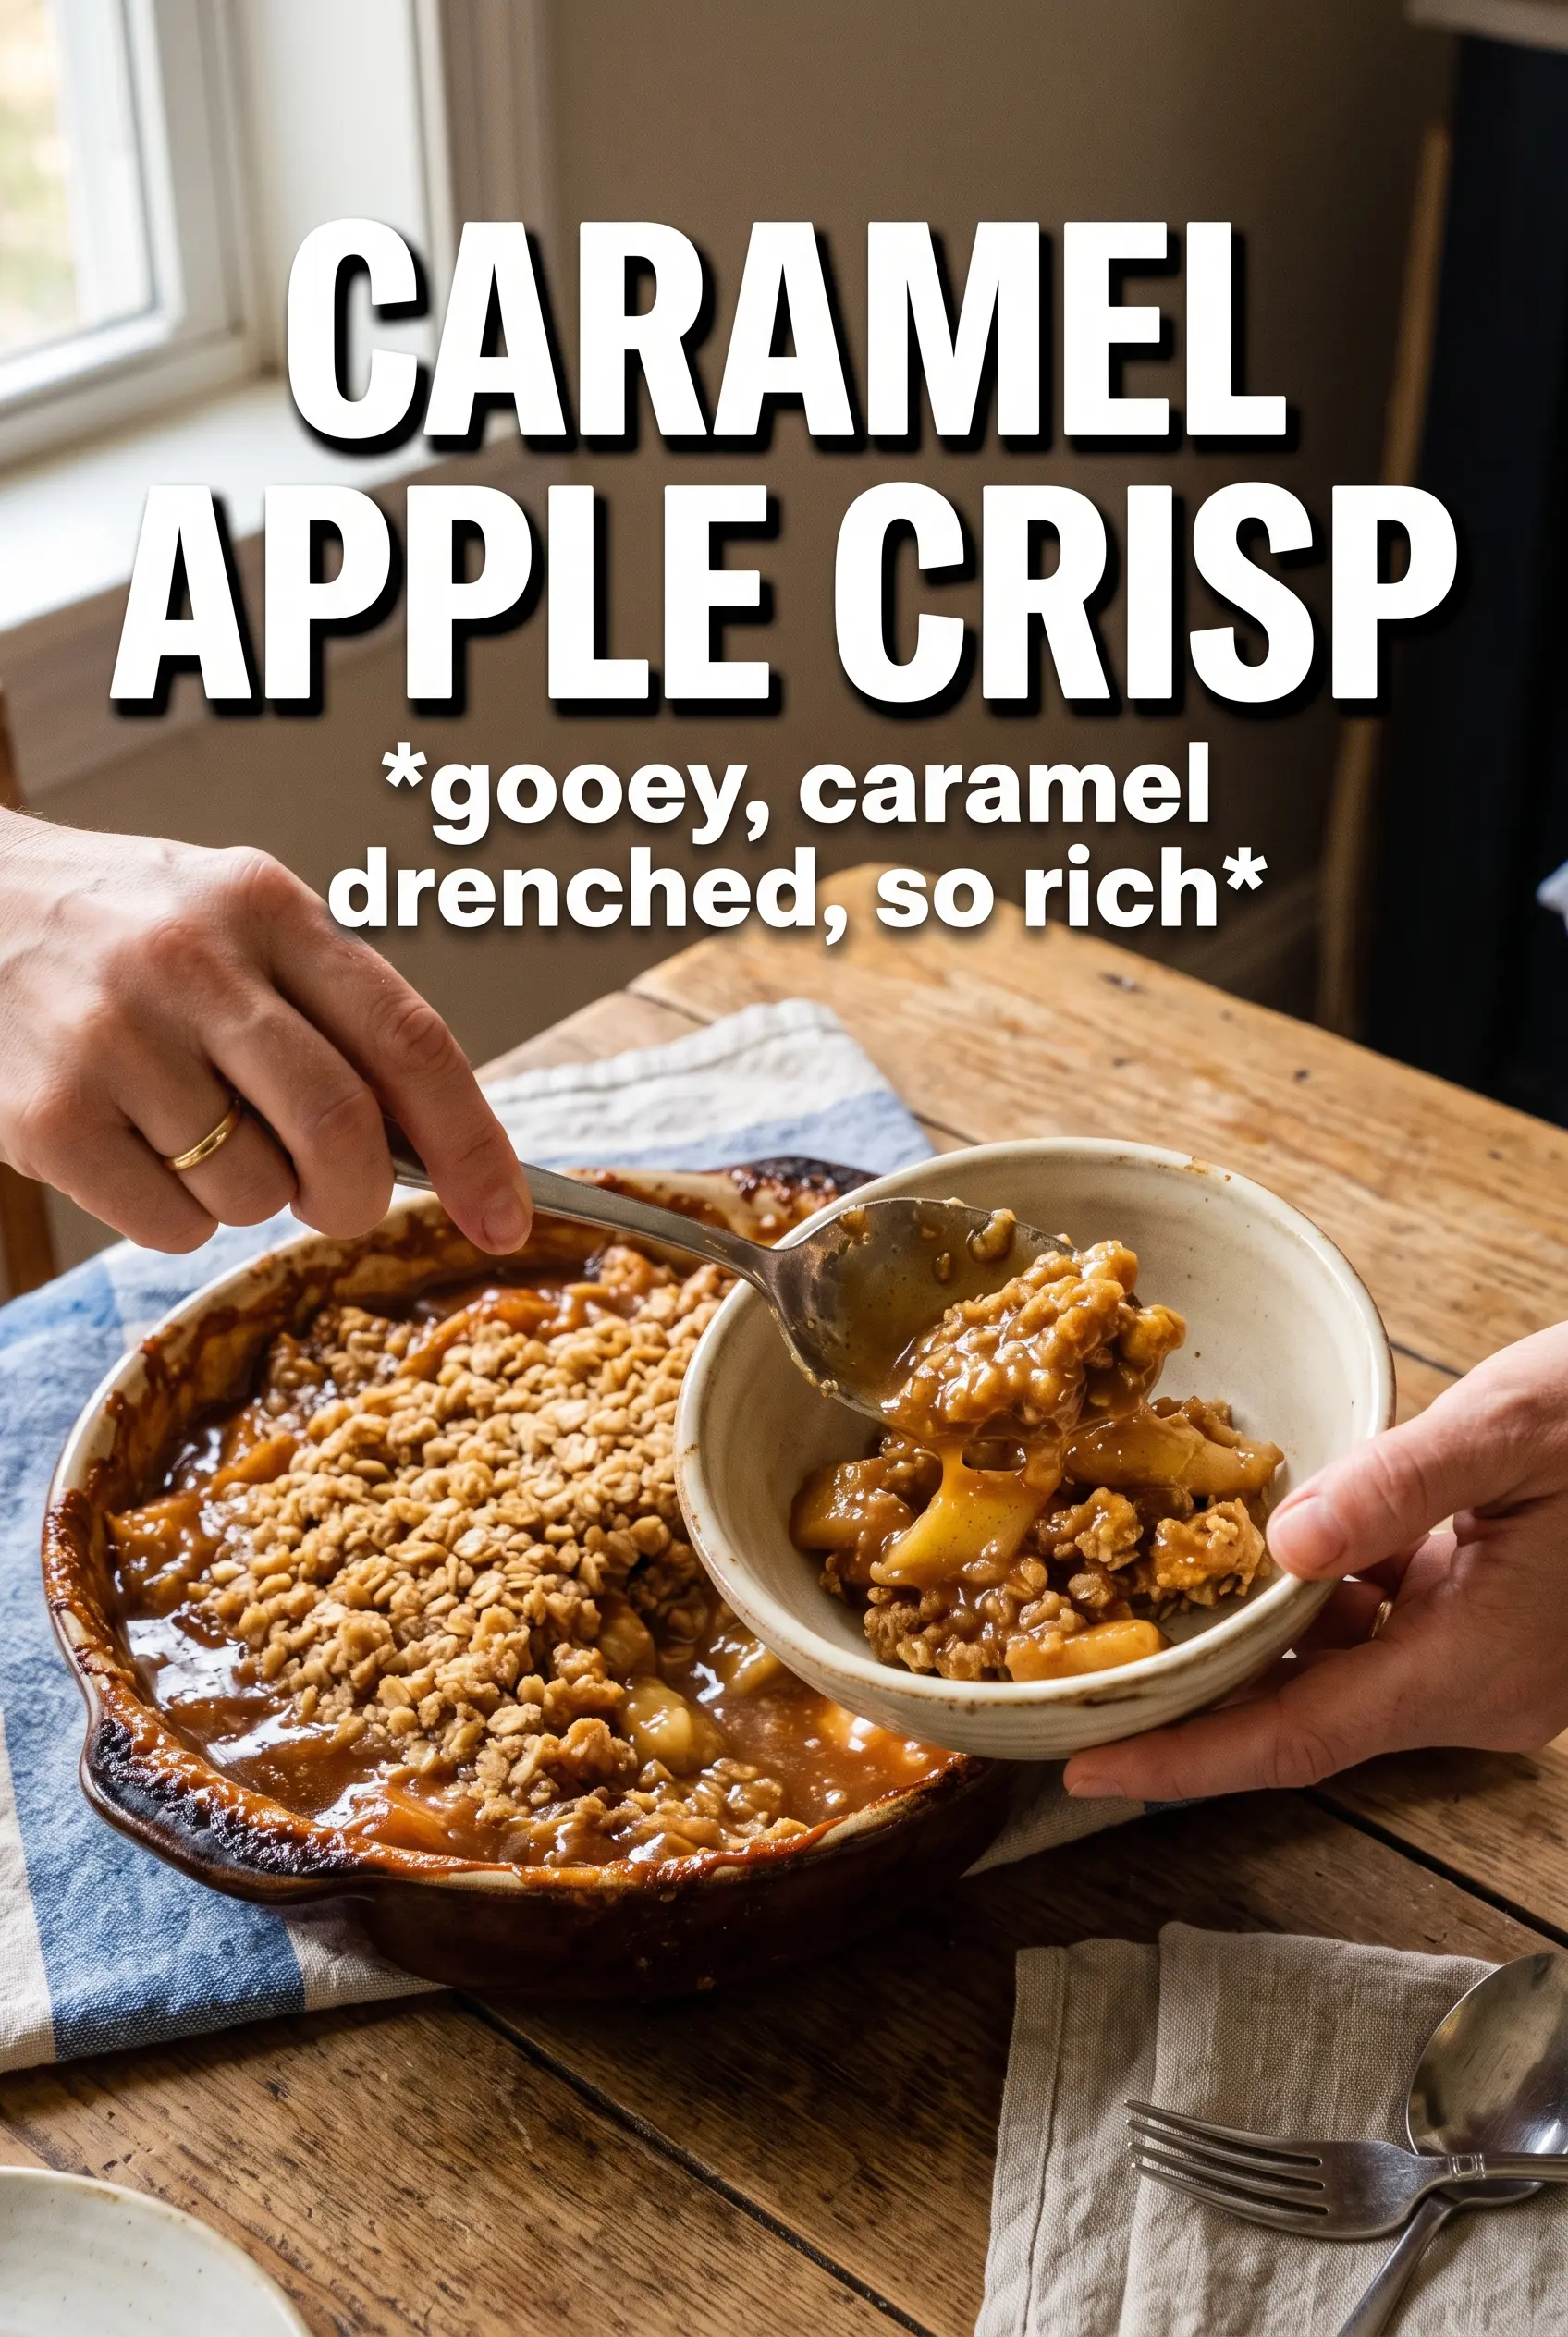
Caramel Apple Crisp
Ingredients
Equipment
Method
- Preheat the oven to 375F and grease a 9x13 baking dish.
- Spread the apple slices in the greased dish so the later caramel stays close to the apples.
- Toss apple slices with granulated sugar, caramel sauce, cinnamon, nutmeg, cornstarch, lemon juice, and sea salt until evenly coated.
- Arrange the coated apples in the dish in an even layer.
- Combine rolled oats, all-purpose flour, brown sugar, cinnamon, and salt in a bowl.
- Cut in cold cubed butter until chunky clumps form.
- Scatter the crumble evenly over the caramel apples.
- Bake for 40-45 minutes, until deeply golden and bubbling at the edges.
- Drizzle extra caramel sauce over the top during the last 5 minutes of baking.
- Serve warm with vanilla ice cream and more caramel sauce.