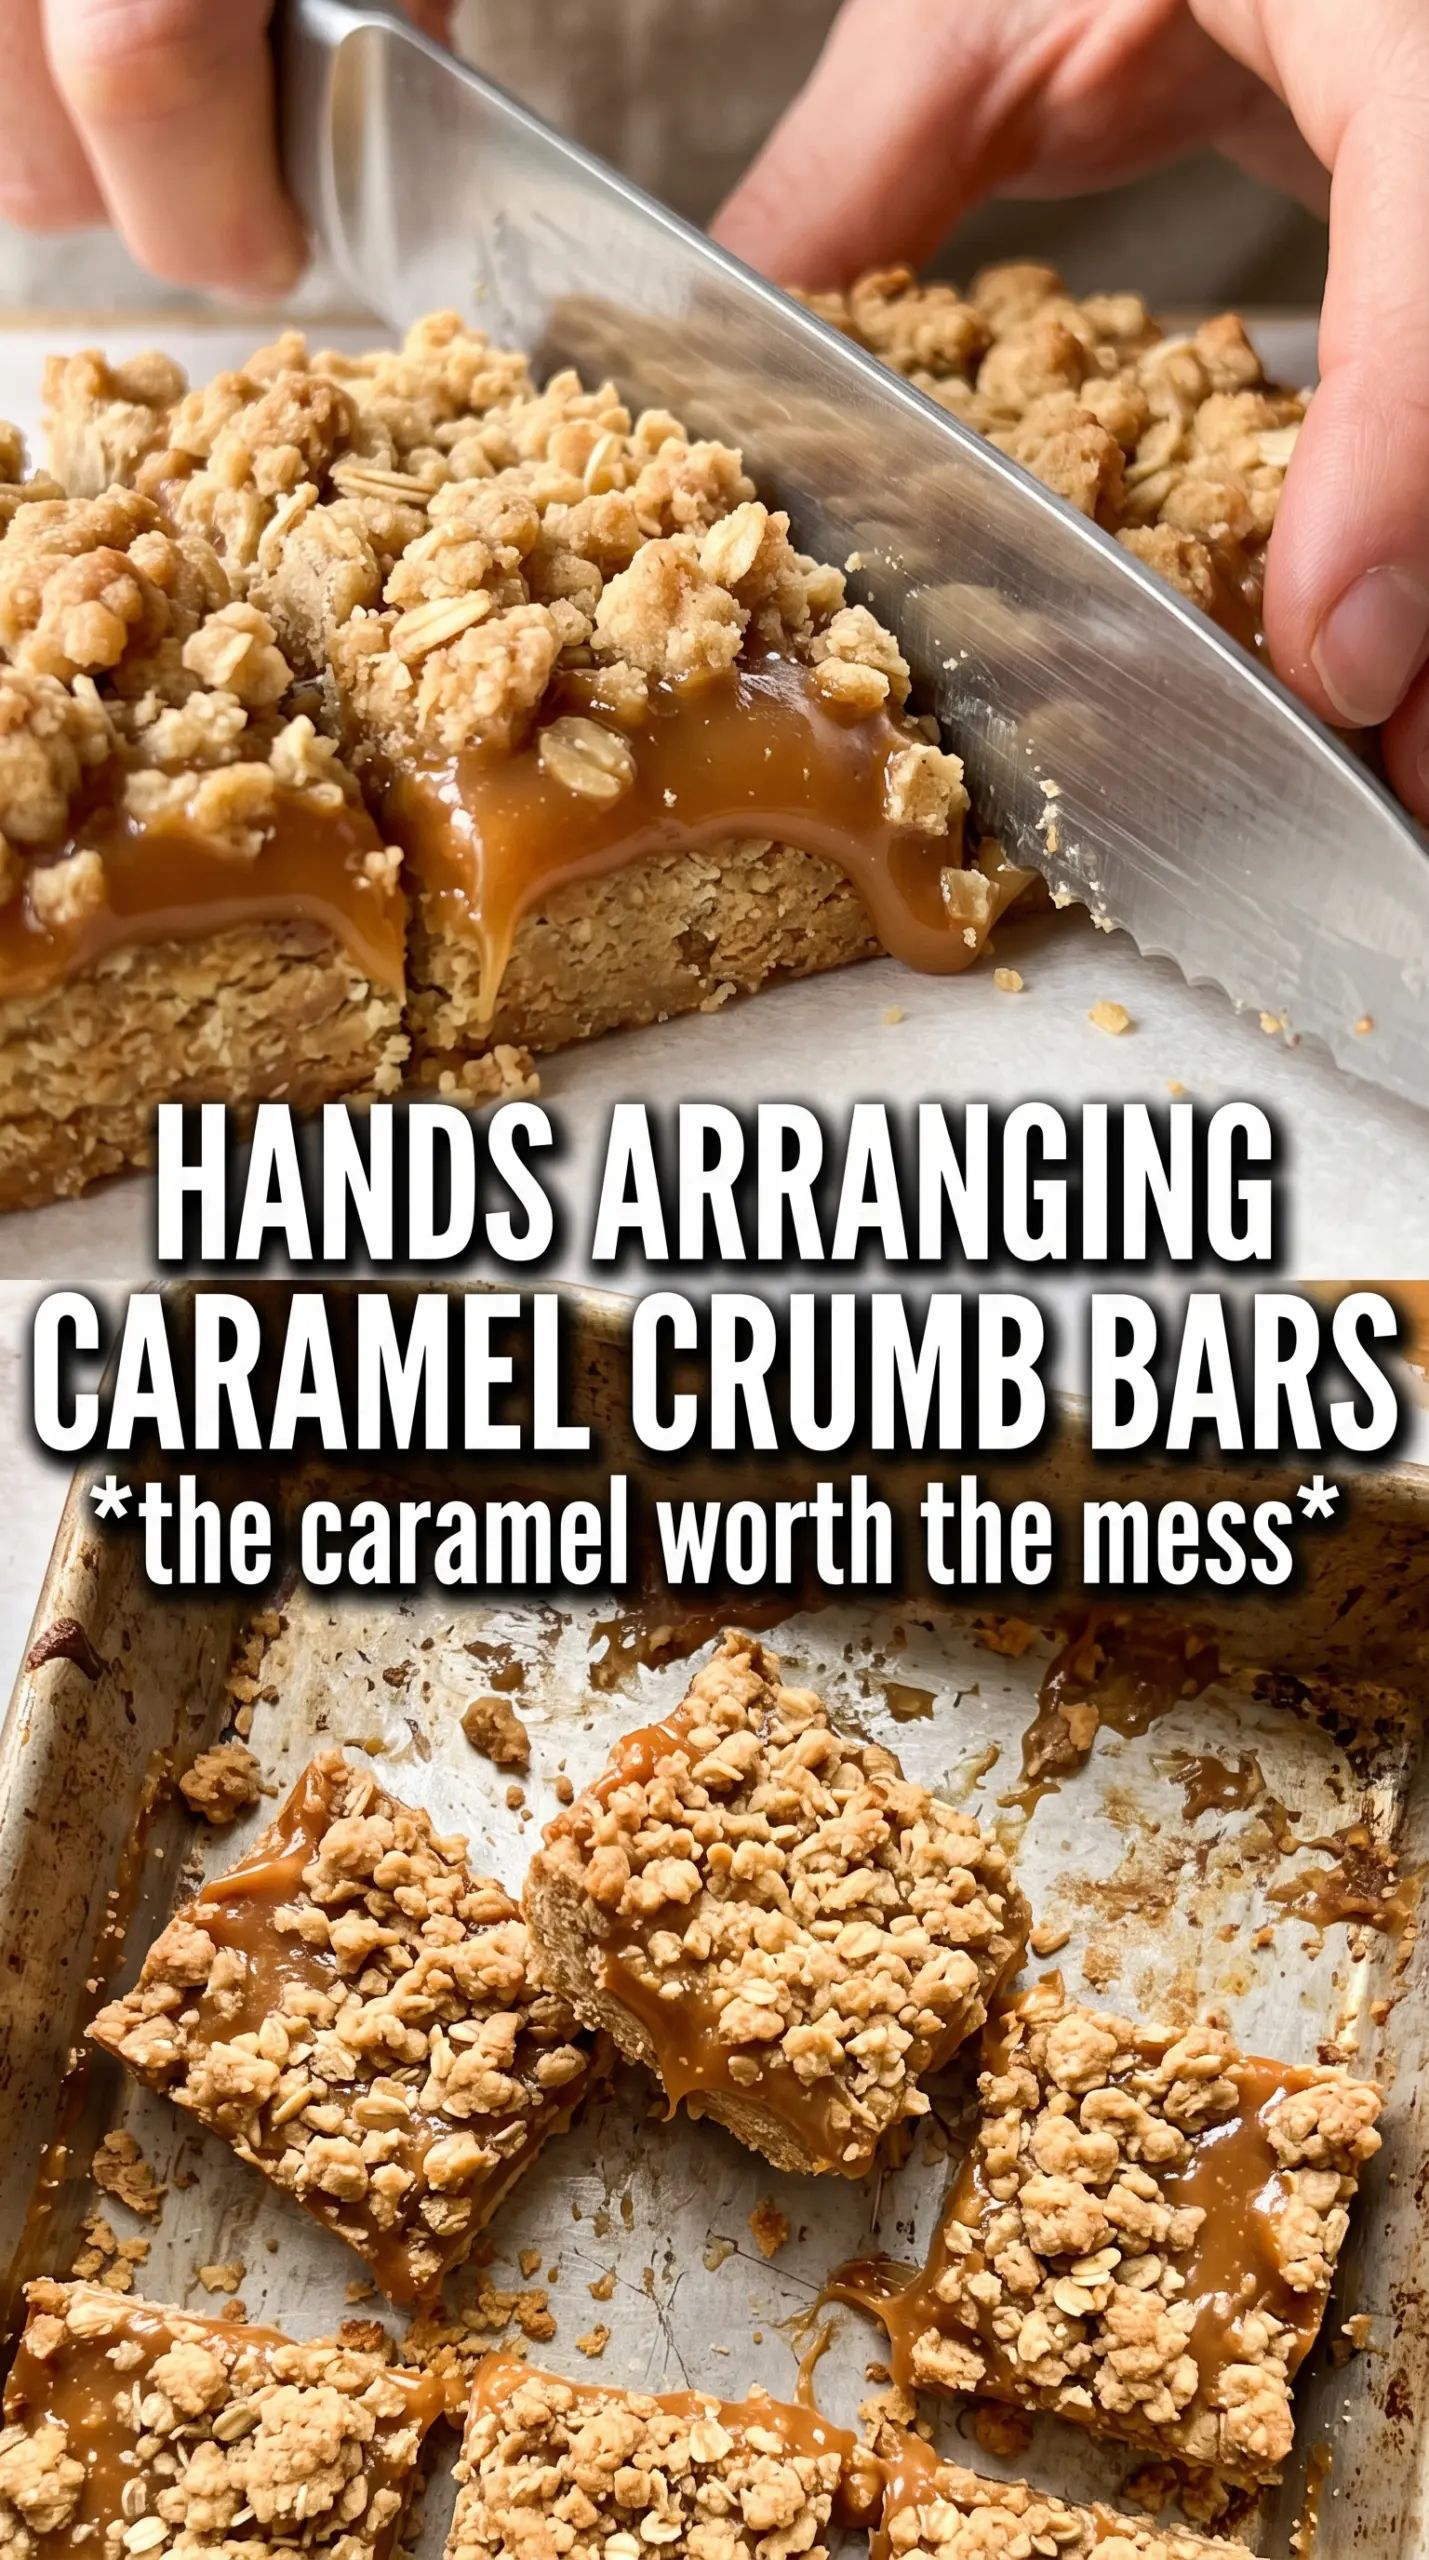
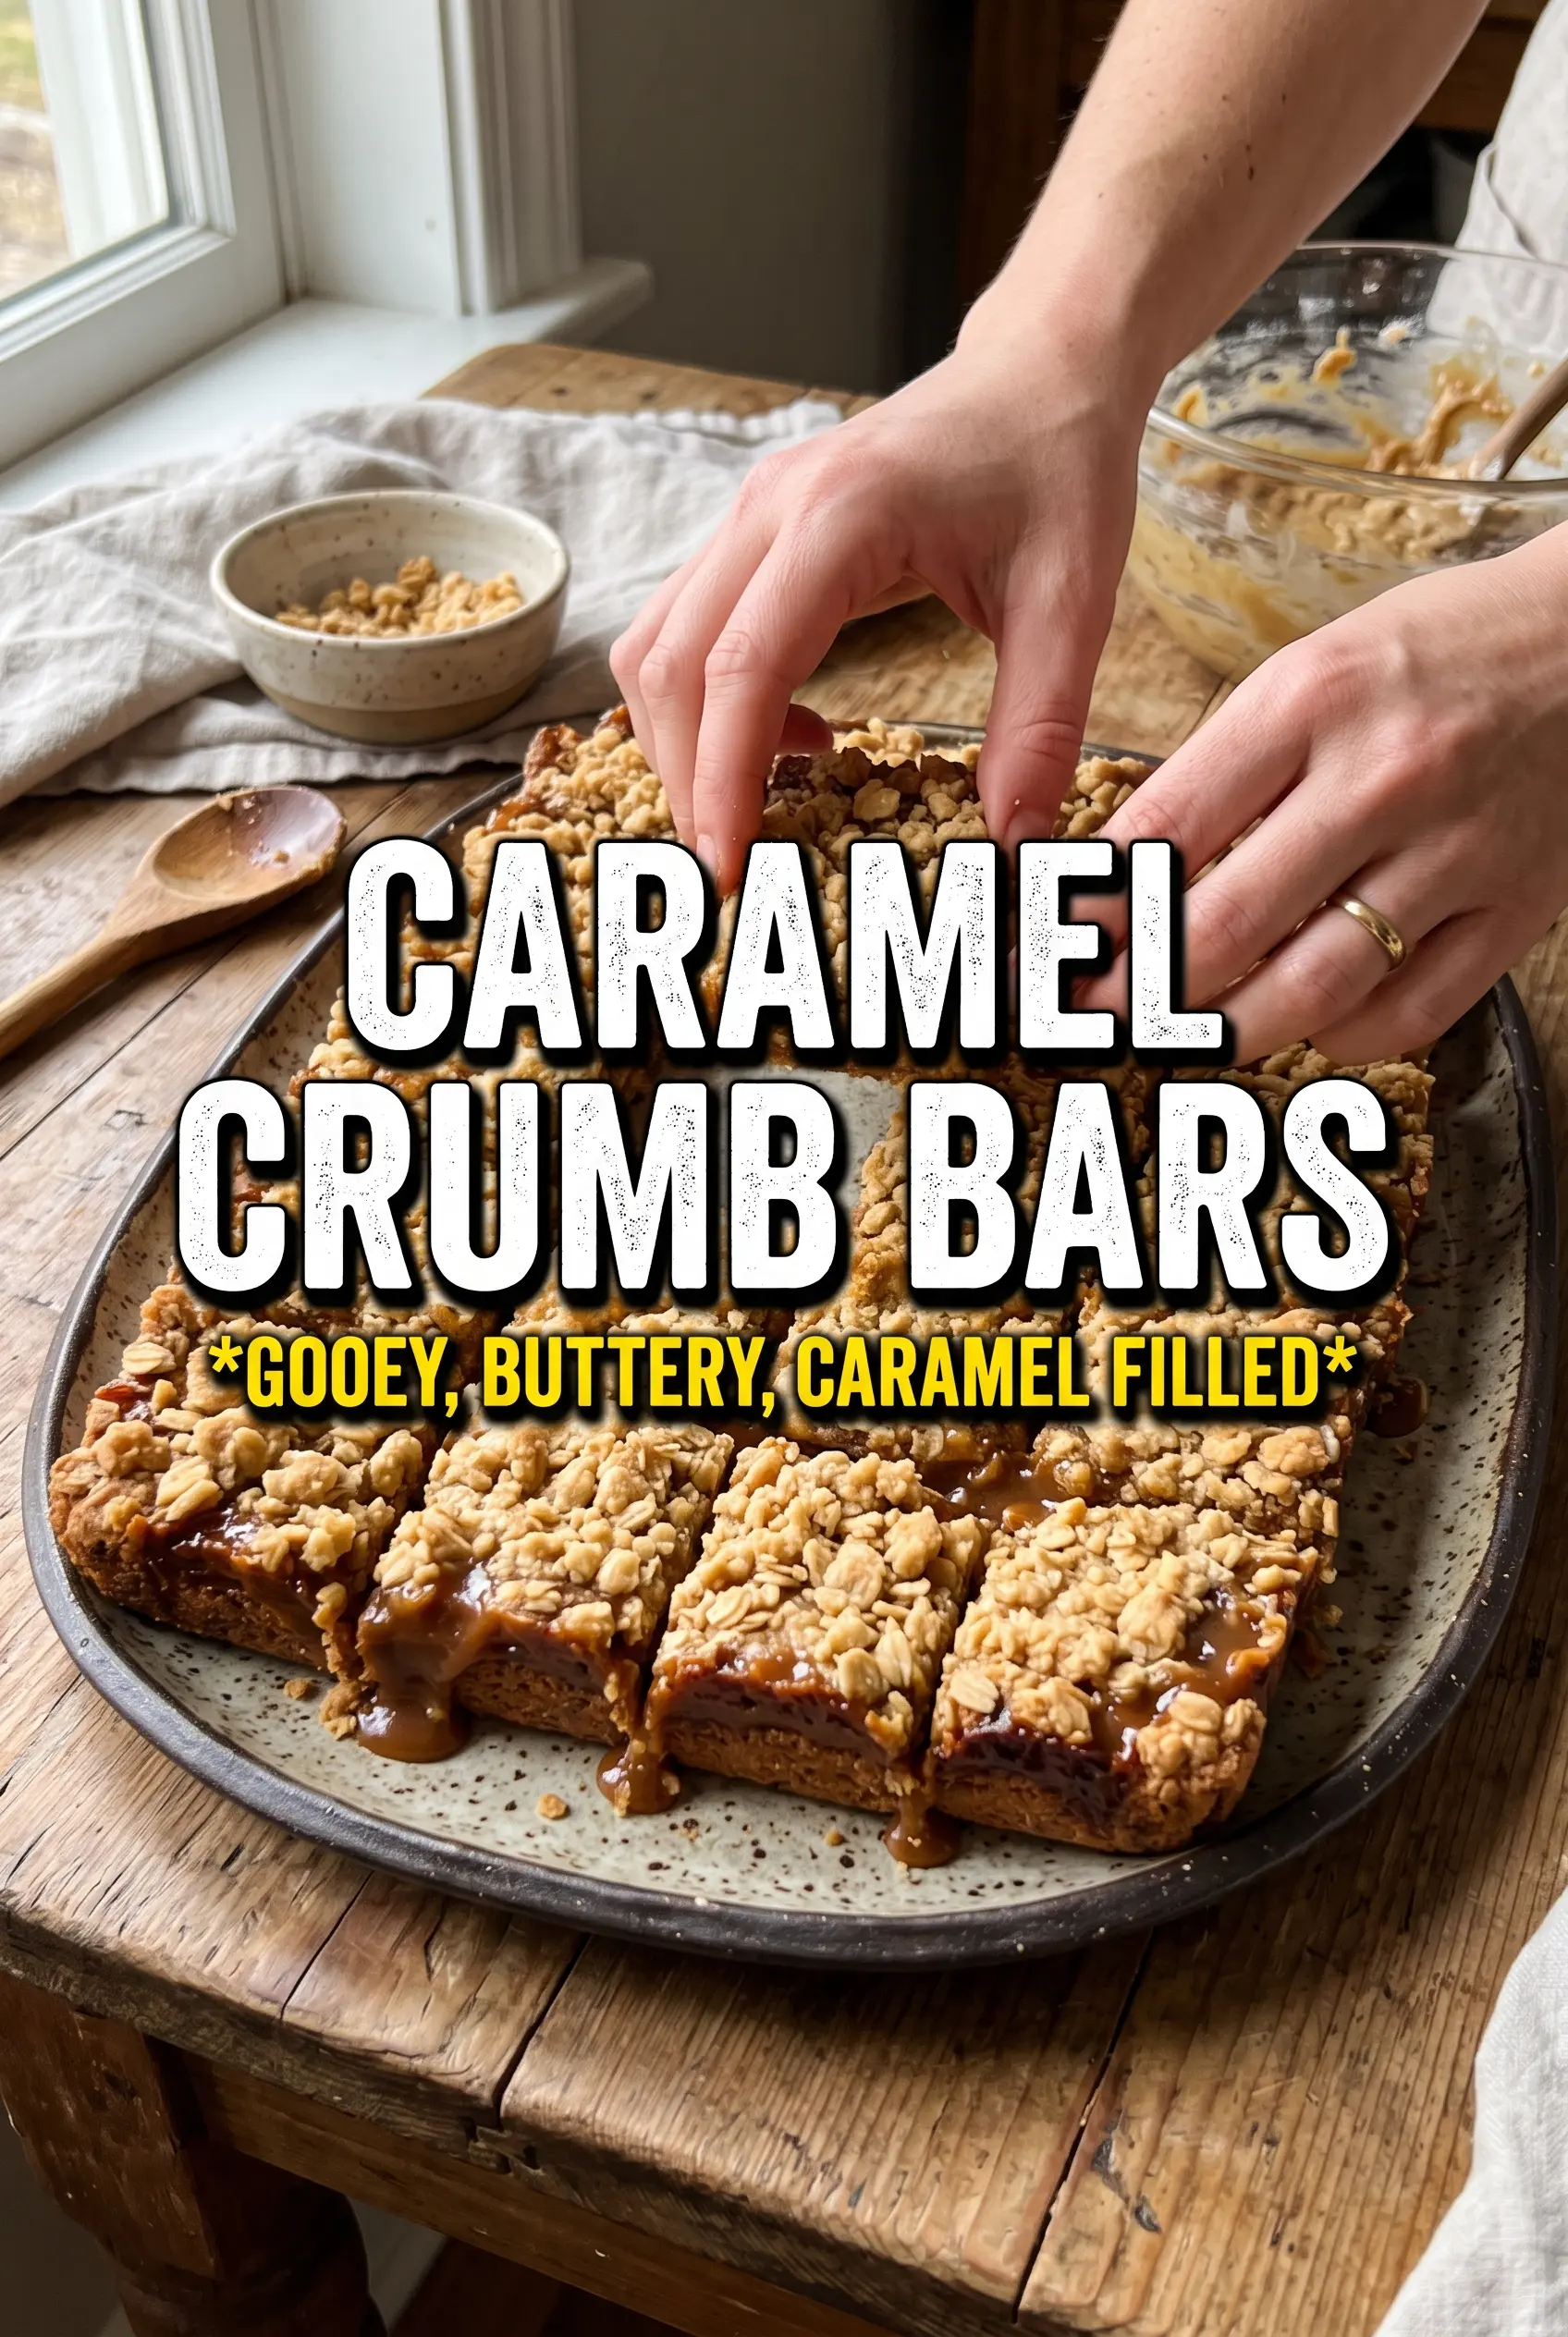
Caramel crumb bars bake into a thick, buttery square with a crisp oat topping, a soft shortbread-like base, and a caramel center that stays gooey without running all over the pan. The best part is the contrast: the edges turn deeply golden and a little crisp, while the middle settles into that sweet, sticky layer people keep going back for “just one more” slice of.
This version works because the crumb mixture does double duty as both the base and the topping, so every bite tastes cohesive instead of feeling like separate layers stacked together. The caramel gets cooked to the right temperature before it goes into the pan, which matters more than most people think; undercook it and the bars slide apart, overcook it and the filling turns firm and candy-like instead of soft and chewy. Letting the base bake first also keeps the bottom from going gummy under all that caramel.
Below, I’ll walk through the little details that keep the bars neat, the caramel smooth, and the crumb topping golden instead of dry. If you’ve ever had bar cookies fall apart as soon as you cut them, this one is worth a closer look.
The caramel set up perfectly once the bars cooled, and the oat crumble stayed tender instead of getting hard. I cut them after a full chill and got clean squares with that thick gooey middle everyone loved.
Save these caramel crumb bars for when you want a buttery oat crumble and a thick, gooey caramel layer in one pan.
The Part That Stops the Bars From Falling Apart
The caramel layer is the whole reason these bars work, and it needs to reach the right temperature before it goes into the pan. If it stays too loose, the bars ooze when you cut them; if it cooks too far, the filling firms up like soft candy and loses that stretch. A thermometer takes the guesswork out, and 235F gives you a caramel that holds its shape while still tasting soft and rich.
The other thing people get wrong is skipping the par-bake on the bottom crust. That first 12-minute bake sets the base so it can support the caramel without turning soggy. You want the surface just beginning to look dry and lightly set before you pour the filling over it.
- Cold butter in the crumble — This is what gives you those distinct buttery pockets instead of a paste. Cube it first, then cut it in until the mixture looks sandy with some larger crumbs still visible.
- Rolled oats — They give the bars structure and that hearty texture on top. Quick oats can work in a pinch, but the bars will be denser and less nubby.
- Light corn syrup — It helps keep the caramel smooth and prevents crystallization. There isn’t a perfect swap here if you want the same glossy, sliceable center.
- Flaky sea salt — Use it at the end, not in the filling. It sharpens the caramel and keeps the bars from tasting flat.
What Each Ingredient Is Doing in the Pan
- All-purpose flour — This gives the crumble its shortbread backbone. A 1:1 gluten-free flour blend can work here if it contains xanthan gum, though the texture will be a little more delicate.
- Brown sugar — It brings moisture, chew, and a deeper caramel note to both the crumble and the filling. Light or dark brown sugar both work; dark brown sugar will give you a stronger molasses flavor.
- Cinnamon — It doesn’t make the bars taste like spice cake; it just rounds out the sweetness and makes the caramel taste warmer.
- Heavy cream — This softens the caramel so it stays silky after baking. Don’t swap in milk unless you want a looser filling that sets less firmly.
- Vanilla — Stir it in off the heat so it keeps its aroma. Boiling it with the caramel dulls the flavor.
Building the Layers Without Softening the Crust
Mixing the Crumble
Combine the flour, oats, brown sugar, cinnamon, baking soda, and salt first, then cut in the cold butter until the mixture looks like damp sand with plenty of pebble-sized crumbs. If the butter starts melting in your hands, stop and chill the bowl for a few minutes; warm butter turns the crust dense instead of crumbly. You want enough texture left in the mix that some of it bakes into a sandy base and some of it stays chunky for the topping.
Par-Baking the Bottom
Press about two-thirds of the crumb mixture firmly into the parchment-lined pan and bake it until the edges look set and the top is just beginning to dry out. Don’t pack it like concrete, but don’t leave it loose either or the caramel will seep through. A short par-bake keeps the bottom sturdy and gives the bars cleaner slices later.
Cooking the Caramel to the Right Point
Melt the butter and brown sugar together over medium heat, then add the cream and corn syrup and keep cooking until the mixture reaches 235F. Stir enough to keep it moving, but not so aggressively that sugar splashes up the sides of the pan. If you don’t have a thermometer, the caramel should look thickened and glossy and coat a spoon in a way that drips slowly, not like syrup.
Finishing the Bars
Pour the hot caramel over the baked base right away, then scatter the remaining crumble over the top and bake until the surface is deeply golden and the caramel is bubbling at the edges. Let the pan cool completely before cutting; if you rush it, the caramel will run and the bars will smear. A little flaky salt on top after baking makes the sweetness taste fuller and keeps every bite from feeling heavy.
How to Adapt These Bars for Different Kitchens and Cravings
Gluten-Free Version
Use a good 1:1 gluten-free flour blend in place of the all-purpose flour and check that your oats are certified gluten-free. The bars will still hold together, but the crumble will be a little more tender and less chewy than the original.
Dairy-Free Swap
Replace the butter with a high-quality plant-based butter stick and use full-fat coconut cream in place of the heavy cream. The bars will still be rich, but the caramel will pick up a faint coconut note and won’t taste exactly like the original.
Extra Gooey Center
Pull the bars from the oven as soon as the top crumb turns golden and the caramel is bubbling around the edges. They’ll be softer in the middle, which is great if you’re serving them warm, but they need a full chill before cutting.
Storage and Reheating
- Refrigerator: Store in an airtight container for up to 5 days. The caramel firms up when cold, so the bars will slice cleanly and taste a little chewier straight from the fridge.
- Freezer: These freeze well. Wrap individual bars tightly and freeze for up to 2 months, then thaw in the refrigerator so the caramel doesn’t get sticky from condensation.
- Reheating: Warm a bar for 10 to 15 seconds in the microwave if you want the caramel soft again. Longer heat makes the filling too loose and can turn the crumble tough around the edges.
Answers to the Questions Worth Asking
Caramel Crumb Bars
Ingredients
Equipment
Method
- Preheat the oven to 350°F and line a 9x13 pan with parchment, ensuring overhang for easy lifting. (Visual cue: parchment sits flat with no wrinkles.)
- Make the crumble by combining all-purpose flour, rolled oats, brown sugar, cinnamon, baking soda, and salt, then cut in cold unsalted butter until crumbly. (Visual cue: mixture resembles damp sand with no large butter chunks.)
- Press 2/3 of the crumble firmly into the pan to form an even layer. (Visual cue: surface is tightly packed and smooth.)
- Bake the pressed base for 12 minutes at 350°F, until it looks set and lightly golden at the edges. (Time range: about 12 minutes.)
- Make the caramel by melting unsalted butter and brown sugar over medium heat until smooth. (Visual cue: mixture turns glossy and uniform.)
- Add heavy cream and light corn syrup, then continue cooking to 235°F. (Time range: about 8-12 minutes, depending on your pan; cue: candy thermometer reads 235°F.)
- Remove the caramel from the heat and stir in vanilla and salt until fully incorporated. (Visual cue: caramel becomes glossy and slightly thickened.)
- Pour the caramel over the hot base. (Visual cue: caramel settles into an even layer.)
- Crumble the remaining oat mixture over the caramel, covering it as evenly as possible. (Visual cue: top is shaggy and fully covers the caramel.)
- Bake for 18-20 minutes at 350°F until the topping is golden. (Time range: 18-20 minutes; cue: crumbs look crisp and browned.)
- Sprinkle flaky sea salt over the warm bars. (Visual cue: salt flakes visibly dot the golden top.)
- Cool completely before cutting so the caramel sets cleanly. (Visual cue: bars look firm, not wobbly, when the pan is gently moved.)