Cheesy root vegetable gratin is the kind of side dish that disappears fast because it lands on the table with creamy layers underneath and a deeply browned, bubbling top that cracks when you spoon through it. The potatoes turn tender and silky, the parsnips bring a little sweetness, and the turnip or celery root keeps the whole dish from tasting heavy. It looks elegant, but what makes it worth making is how well the vegetables hold their shape while the cream turns into a sauce right in the pan.
The trick is slicing the vegetables evenly enough that they finish at the same time, then giving the dish enough covered time for the roots to soften before the cheese ever goes on top. Gruyere brings nutty melt, parmesan adds a sharper crust, and the thyme and nutmeg keep the richness from feeling flat. If you’ve ever had a gratin that looked browned on top but still had a stubborn, undercooked center, the method below fixes that.
Keep reading for the layering pattern that helps the vegetables cook evenly, plus the storage notes that keep leftovers from turning watery the next day.
The top got beautifully golden and the vegetables were tender all the way through without falling apart. I used the full 10-minute rest and the gratin sliced cleanly instead of puddling on the plate.
Like this cheesy root vegetable gratin? Save it for the nights when you want a bubbling French-American side with a crisp, golden top and tender layers underneath.
The Layering Trick That Keeps the Center Tender
Gratin fails in one of two ways: the top browns before the vegetables soften, or the dish turns watery because the sliced roots never had a chance to cook through evenly. This version avoids both problems by using a long covered bake before the cheese goes on. That first stretch matters more than the final browning. It gives the cream time to heat through the whole dish and lets the starch from the potatoes thicken the liquid instead of leaving it loose.
The other piece that matters is the cut. Thin, even slices are what keep the carrots, parsnips, potatoes, and turnip on the same schedule. If the slices are too thick, the center stays firm and the top gets overcooked while you wait. Slight overlap is fine, but don’t pack the vegetables so tightly that the cream can’t move between the layers.
- Even slicing keeps the roots cooking at the same pace. A mandoline helps, but a sharp knife works if you stay consistent.
- Covered baking softens the vegetables before the cheese browns. Skipping that step is how you get a pretty top and a stubborn center.
- Resting after baking lets the sauce settle. Straight from the oven, it looks loose; after 10 minutes, it tightens into that creamy sliceable texture.
What Each Ingredient Is Actually Doing in This Gratin
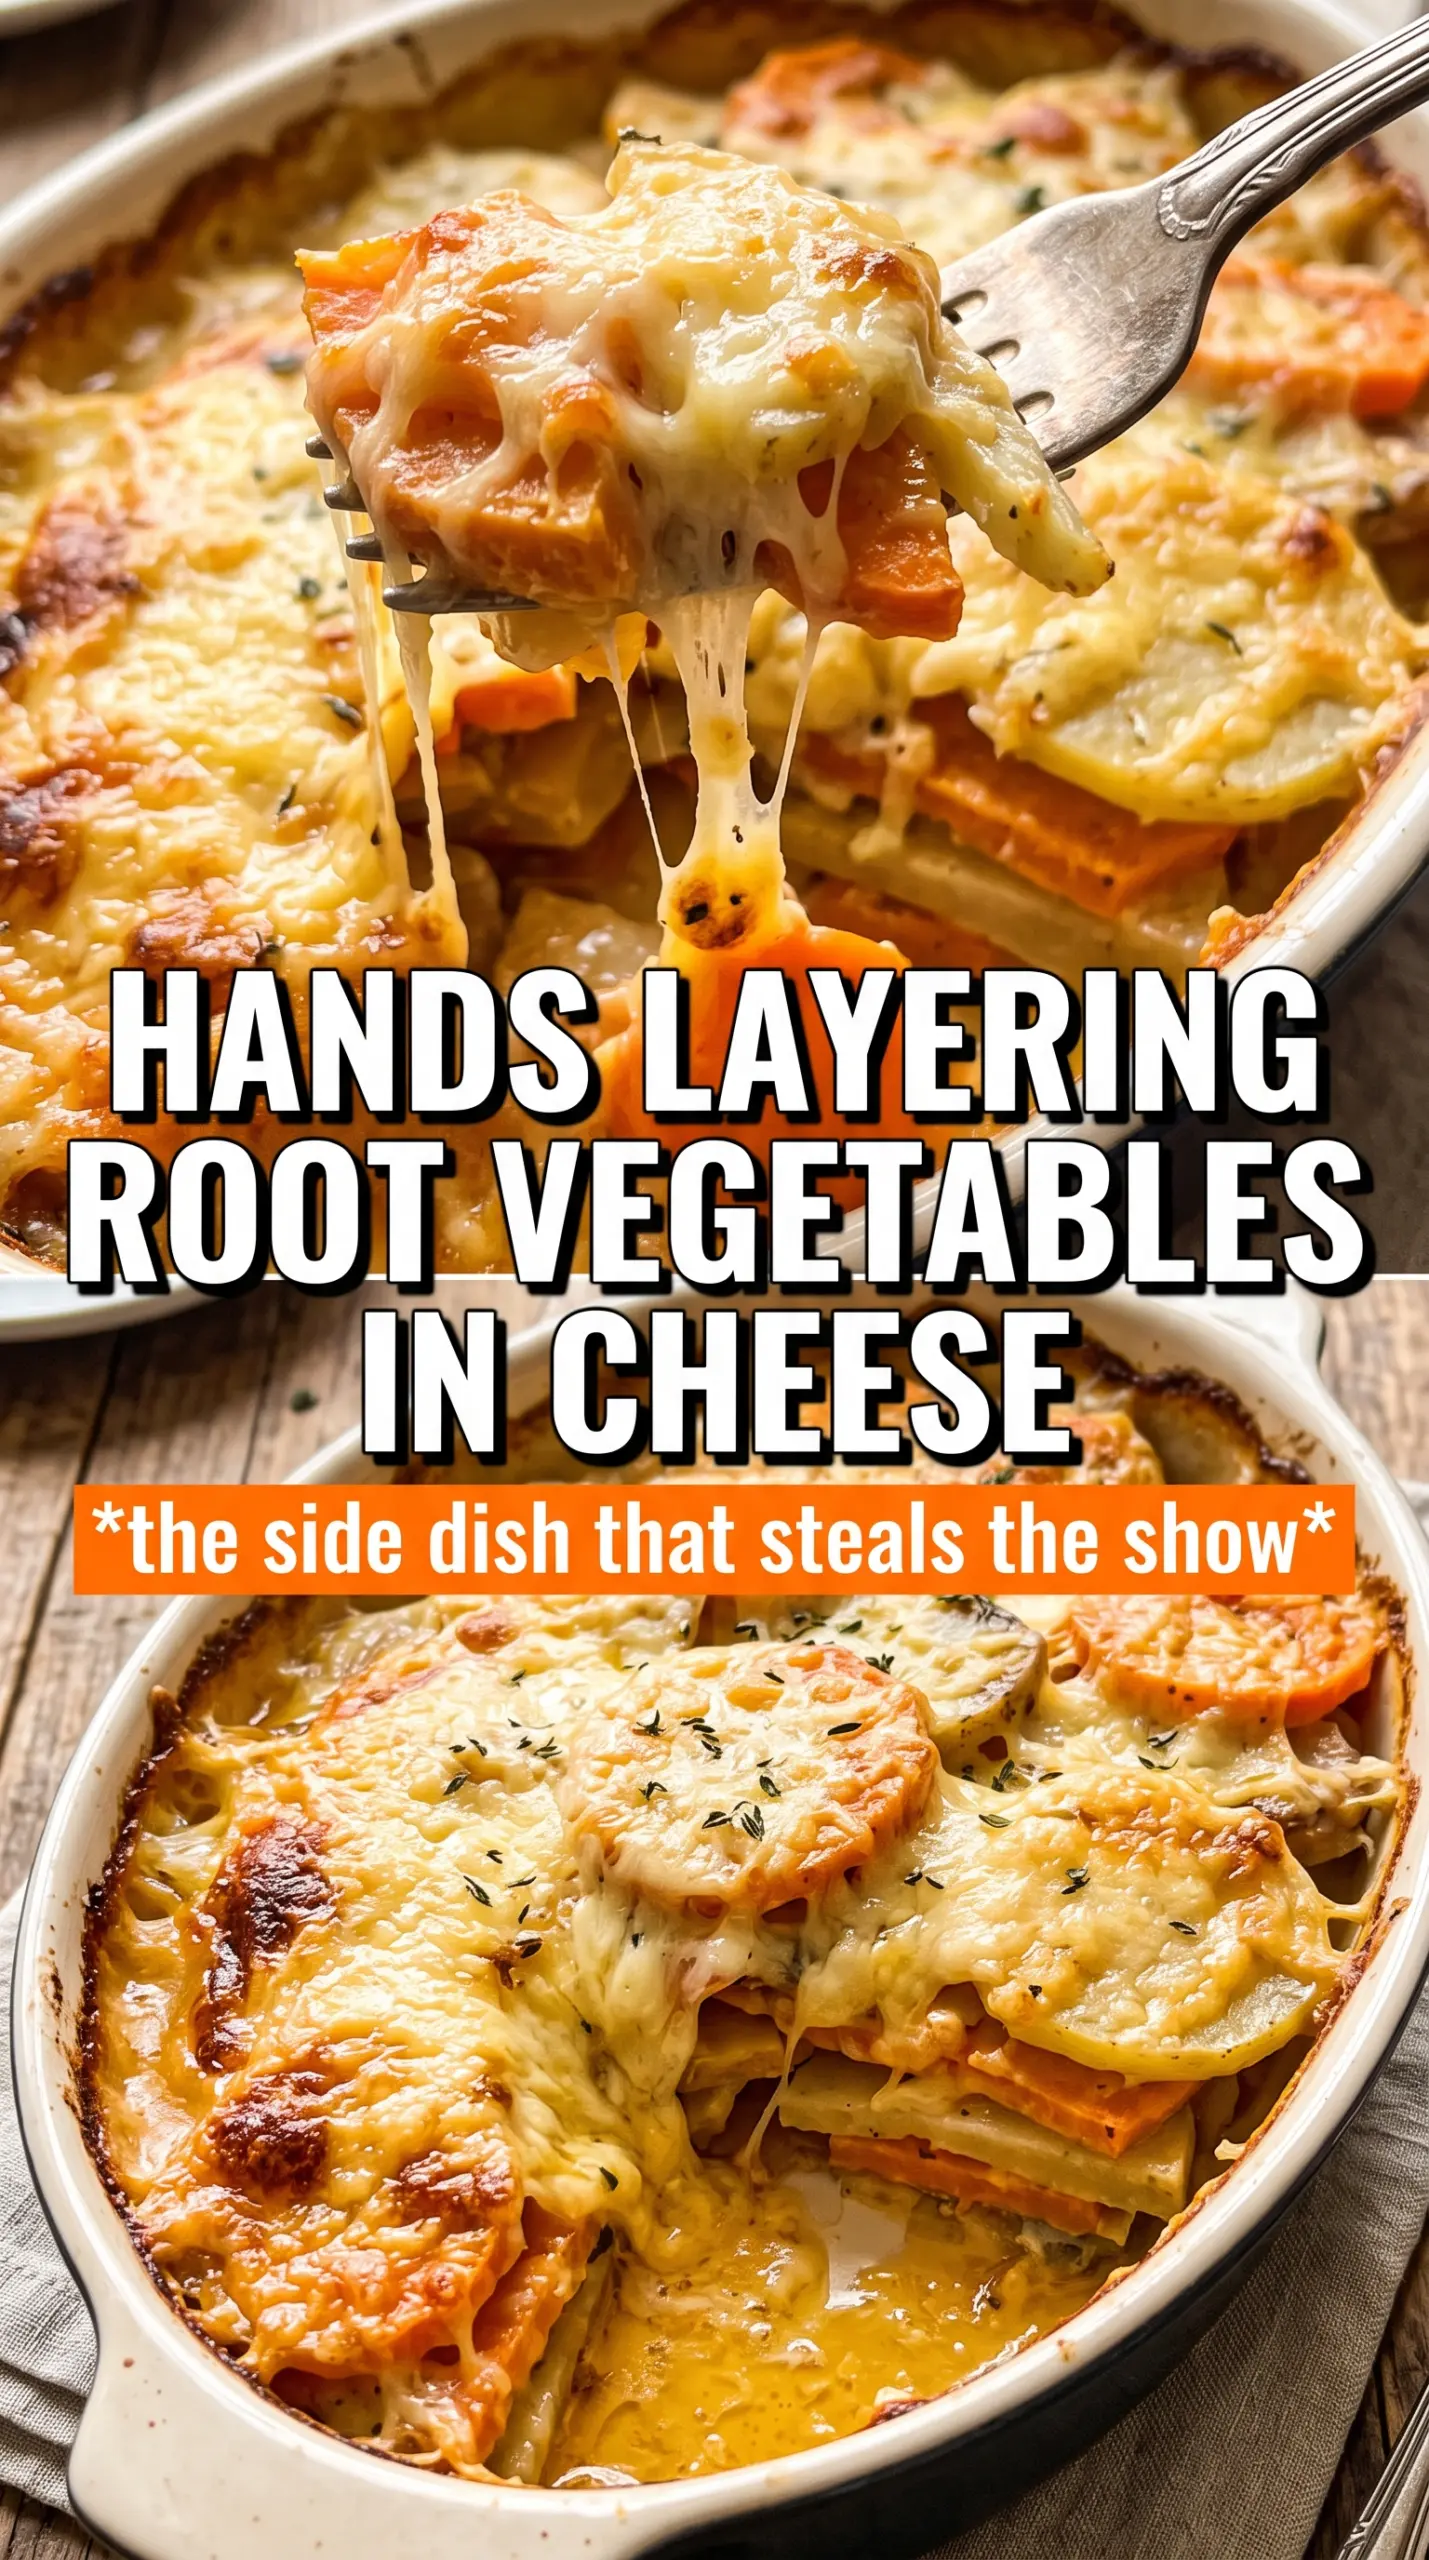
- Yukon gold potatoes bring the starch that helps thicken the cream and gives the gratin its soft, cohesive body. Russets work in a pinch, but they break down more and can turn the dish a little fluffier and less structured.
- Parsnips, carrots, and turnip or celery root add sweetness, earthiness, and a little contrast so the dish doesn’t taste like plain potatoes under cheese. Use a mix if you can; that balance is what makes the gratin taste layered instead of one-note.
- Heavy cream and whole milk create a sauce that stays rich without turning heavy. Don’t swap in low-fat milk unless you’re willing to lose body, because the sauce won’t cling to the vegetables the same way.
- Gruyere and parmesan do different jobs. Gruyere melts into the layers and gives that nutty, stretchy finish, while parmesan dries into a sharp, crisp top. If you only have one, use Gruyere first and add extra parmesan for browning.
- Fresh thyme and nutmeg keep the cream from tasting flat. Dried thyme works, but use less because it can take over fast once it bakes.
Building the Gratin So It Cooks Through Before It Browns
Season the cream before anything hits the dish
Whisk the garlic, thyme, nutmeg, salt, and pepper into the cream and milk before you pour it over the vegetables. That gives the seasoning a head start and keeps you from ending up with bland spots between the layers. The mixture should taste lightly seasoned on its own because the vegetables are going to soak up a good bit of it. If the garlic is minced too coarsely, it can stay sharp instead of melting into the sauce, so keep it fine.
Layer the vegetables with some movement, not pressure
Alternate the sliced roots in slightly overlapping rows, but don’t tamp them down hard. You want the cream to seep between the layers and reach the bottom of the dish. A gentle press is enough once the liquid is added. If the vegetables are crammed in too tightly, the middle steams unevenly and the sauce can pool on top instead of sinking in.
Use the foil-covered bake to do the real work
Cover the dish tightly and bake until the vegetables are starting to soften. That first 40 minutes is where the gratin becomes a gratin. The steam trapped under the foil cooks the roots through and helps the cream thicken without scorching. If the foil is loose, the top dries out too early and the bottom may still be firm.
Finish with cheese after the vegetables are tender
Uncover the dish only after a knife slides through the center with little resistance. Then add the Gruyere and parmesan and return it to the oven until the top is golden and bubbling at the edges. If you add the cheese too soon, it can brown before the vegetables are ready. Let the finished gratin rest before serving so the sauce sets instead of running across the plate.
How to Adapt This Gratin for Different Tables
Make it dairy-free with a richer plant-based finish
Use full-fat oat milk or unsweetened cashew milk plus a plant-based cream, and swap in a good melting vegan cheese if you have one that browns well. The gratin will still bake up tender, but it won’t have the same silky depth as the dairy version, so the seasoning matters more.
Make it gluten-free without changing the method
This recipe is naturally gluten-free as written, so you only need to check your cheese if you’re buying pre-shredded. Freshly grated cheese melts more smoothly and avoids the starchy coating that can dull the sauce.
Use what’s left in the crisper
Swap in rutabaga, sweet potato, or more potatoes if that’s what you have. Keep the total thickness of the slices similar so the bake time doesn’t shift too much. Sweeter roots will make the gratin taste softer and rounder; more turnip or celery root gives it a sharper edge.
Make it ahead for a dinner party
Assemble the gratin up to a day ahead, cover it, and refrigerate it unbaked. Add about 10 to 15 minutes to the covered bake since it’s starting cold from the fridge. The cheese goes on only after the vegetables are already tender, or the top will overbrown before the center catches up.
Storage and Reheating
- Refrigerator: Store covered for up to 4 days. The sauce will tighten as it chills, so expect the texture to be a little firmer the next day.
- Freezer: It can be frozen, but the cream sauce may separate a bit on thawing. Freeze in tight portions, then thaw overnight in the fridge before reheating.
- Reheating: Warm covered in a 350°F oven until hot through, then uncover for the last few minutes if you want the top to crisp again. The common mistake is blasting it in the microwave, which makes the potatoes go watery and the cheese greasy.
Answers to the Questions Worth Asking

Cheesy Root Vegetable Gratin
Ingredients
Equipment
Method
- Preheat the oven to 375F and butter a 9x13 baking dish generously.
- Whisk the heavy cream, whole milk, garlic, fresh thyme, nutmeg, 1 teaspoon salt, and pepper together until evenly combined.
- Layer the Yukon gold potatoes, parsnips, carrots, and turnip or celery root in the dish, alternating types in slightly overlapping rows.
- Pour the cream mixture over the vegetables and press down gently so the slices are well coated.
- Cover tightly with foil and bake for 40 minutes.
- Uncover and scatter Gruyere cheese and Parmesan over the top.
- Bake 20-25 minutes more, until the vegetables are completely tender and the top is golden and bubbly.
- Rest for 10 minutes before serving.