Chicken pot pie casserole hits the table with the kind of comfort that makes people lean in for a second scoop before they’ve finished the first. The filling is creamy and rich without turning gluey, the vegetables stay distinct, and the biscuit topping bakes up golden and crisp on top while soaking in just enough of the sauce underneath to taste like true pot pie, not a shortcut version. It’s the kind of dish that disappears fast because it eats like a full meal, not a side.
The trick is building the sauce before it goes into the oven. A quick flour cook gives you a clean, cooked base, and adding the broth and cream gradually keeps the filling smooth instead of grainy. The vegetables also matter here: onion, carrot, and celery need that head start in the pan so they soften enough to blend into the sauce, while the frozen peas and corn go in later so they keep their color and texture.
Below you’ll find the little details that keep the topping from going soggy and the filling from breaking. If you’ve ever had a pot pie casserole come out flat, watery, or underseasoned, this version fixes the parts that usually go wrong.
The sauce thickened up perfectly and the biscuit topping stayed crisp instead of getting soggy. I made it on a weeknight and my husband went back for seconds before I even sat down.
Save this chicken pot pie casserole for the nights when you want creamy filling, crisp biscuit topping, and one pan that feeds a crowd.
The Sauce Has to Be Thick Before the Oven Sees It
Most pot pie casseroles go wrong because the filling goes in too loose. The oven will not rescue a thin sauce; it only makes a thin sauce more frustrating once the biscuits bake and release steam into the dish. You want the filling to coat a spoon and hold its shape for a second when you drag a spatula through the pan.
The flour needs a full minute in the butter and vegetables so it loses that raw chalky taste and can actually thicken the broth. Then the broth and cream go in gradually, which keeps the mixture smooth instead of lumpy. If it still looks too loose after a few minutes of simmering, keep it on the stove until it tightens a bit more, because it should look a touch thicker than you want in the finished casserole.
- Butter and flour — This is your roux, and it’s what keeps the casserole from turning soupy. Cook it long enough to look sandy and smell faintly nutty before adding the liquid.
- Heavy cream — Cream gives the filling body and a round, rich finish that milk won’t fully match. Half-and-half works in a pinch, but the sauce will be a little lighter and less velvety.
- Cooked chicken — Use already-cooked chicken so it doesn’t dry out in the oven. Rotisserie chicken is perfect here because it brings seasoning and saves time.
- Biscuits or puff pastry — Biscuits give a heartier, more rustic top, while puff pastry bakes into lighter layers. Either one works, but keep the topping on the surface of the filling so it can brown instead of steaming underneath it.
What Each Ingredient Is Actually Doing in This Recipe

- Primary ingredient (the star) — Quality matters most. Choose the best you can find.
- Cooking medium (oil, butter, or broth) — This carries flavors and prevents dryness.
- Seasonings (salt, pepper, spices, herbs) — Layer flavors so nothing overpowers. Build depth gradually.
- Aromatics (garlic, onion, herbs) — Cook with fat to bloom flavors. Become the foundation.
- Supporting ingredients — Complement the main ingredient without overpowering it.
- Sauce or liquid (if applicable) — Brings flavors together. Balance richness with acid.
- Acid (lemon, vinegar, wine, or other) — Brightens and prevents flat-tasting results.
- Final finish (garnish, glaze, or sauce) — Prevents one-dimensional taste and adds visual appeal.
Building the Filling So the Topping Stays Crisp
Sauté the onion, carrots, and celery first until they soften and lose their raw edge. That step does more than add flavor; it keeps them from leaking water into the filling while the casserole bakes. If you rush them, you’ll get a watery base and a topping that goes soft before it has time to brown.
Softening the Vegetables
Cook the onion, carrots, and celery in butter over medium heat until the onion turns translucent and the celery loses its sharp crunch. You’re not looking for color here, just tenderness. If the heat is too high, the butter will brown before the vegetables soften, and that can throw the flavor off in a dish that should taste mellow and balanced.
Thickening the Sauce
Stir in the flour and let it cook for a minute, then add the broth and cream a little at a time while whisking. The mixture should go from thin to glossy and start clinging to the spoon. If you dump in all the liquid at once, the flour can clump, and if you stop before it thickens, the casserole will bake up loose instead of creamy.
Finishing the Filling
Add the chicken, peas, corn, thyme, and garlic powder once the sauce has thickened. The frozen vegetables go in at the end so they stay bright and don’t turn mushy. Taste for salt and pepper at this point, because the filling should taste slightly more seasoned than you think; the biscuit or pastry topping will soften the overall salt level once it bakes.
Baking Until the Top Is Deep Golden
Spread the filling in a 9×13 dish and arrange the biscuits or puff pastry on top with a little space for steam to move around. Bake until the topping is deeply golden and the filling is bubbling at the edges. If the top is browning too fast before the center is hot, lay a loose piece of foil over it for the last stretch of baking.
How to Adapt It When You Need a Different Topping or a Lighter Dish
Use puff pastry for a flakier finish
Puff pastry gives you a lighter, more delicate top than biscuits. Cut it to fit the dish, lay it over the filling, and bake until the top is crisp and browned. The tradeoff is less of that hearty, biscuit-style comfort, but the payoff is a more elegant crust.
Make it gluten-free with a one-to-one flour blend
A good gluten-free all-purpose flour blend can replace the flour in the roux without changing the method. Stir it into the butter and vegetables the same way, then simmer until it thickens. The filling may need an extra minute or two on the stove, but the texture stays close to the original.
Swap in turkey after the holidays
Leftover turkey works exactly the same way as chicken. Use the same amount and add it at the end so it warms through without drying out. The flavor ends up a little leaner, which is nice if the turkey already has plenty of seasoning.
Go dairy-free with unsweetened canned coconut cream
Use unsweetened coconut cream in place of the heavy cream and keep the rest of the method the same. It will add a subtle coconut note, so this works best if you want richness more than a strictly classic flavor. The sauce still thickens well, but it won’t taste quite as neutral as the dairy version.
Storage and Reheating
- Refrigerator: Store covered for up to 4 days. The biscuit topping softens a bit, but the filling reheats well.
- Freezer: Freeze the baked casserole in portions or freeze the filling separately for best texture. Biscuits and puff pastry both lose some crispness after freezing, so a fresh topping bakes up better than a fully assembled frozen dish.
- Reheating: Reheat covered in a 350°F oven until hot in the center, then uncover for the last few minutes to bring back some top texture. Microwaving works for leftovers, but it softens the topping and can make the filling separate at the edges.
Questions I Get Asked About This Recipe
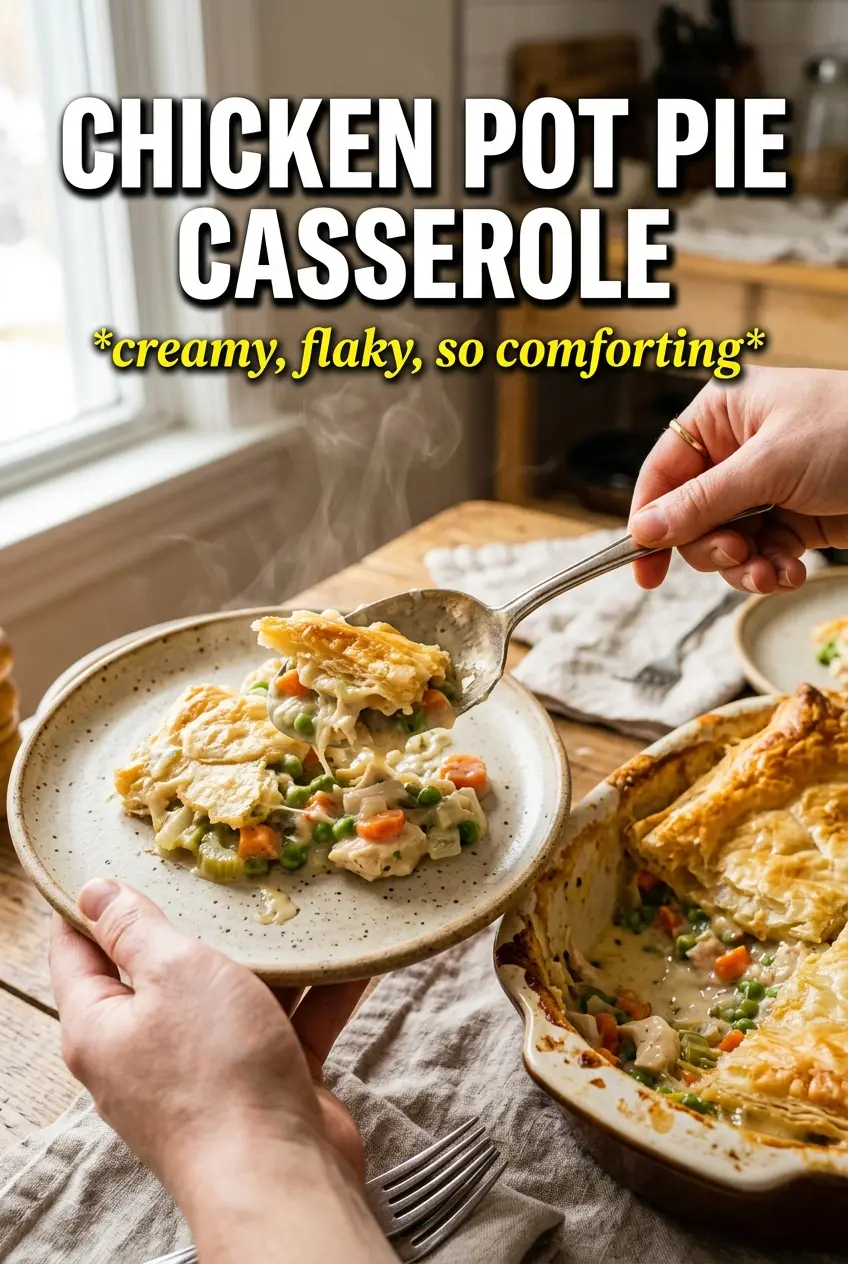
Chicken Pot Pie Casserole
Ingredients
Equipment
Method
- Preheat your oven to 400°F. Heat 4 tablespoons unsalted butter in a Dutch oven and sauté the diced onion, cooked diced carrots, and diced celery for 5 minutes, until softened and fragrant.
- Whisk in 3 tablespoons flour and cook for 1 minute, stirring constantly, until it smells toasty and looks slightly smoother.
- Gradually add 2 cups chicken broth and 1 cup heavy cream, stirring as you pour. Simmer until thickened, so the sauce coats the back of a spoon.
- Stir in shredded cooked chicken, frozen peas, frozen corn, fresh thyme, and garlic powder. Season with salt and pepper to taste, then simmer briefly until everything is heated through.
- Pour the filling into a 9x13 dish. Top with refrigerated biscuits or puff pastry sheet, arranging it evenly over the surface with edges sealed where needed.
- Bake for 25-30 minutes at 400°F, until the top is golden and the filling is bubbling around the edges. Let stand for 5 minutes before serving so it sets up slightly.