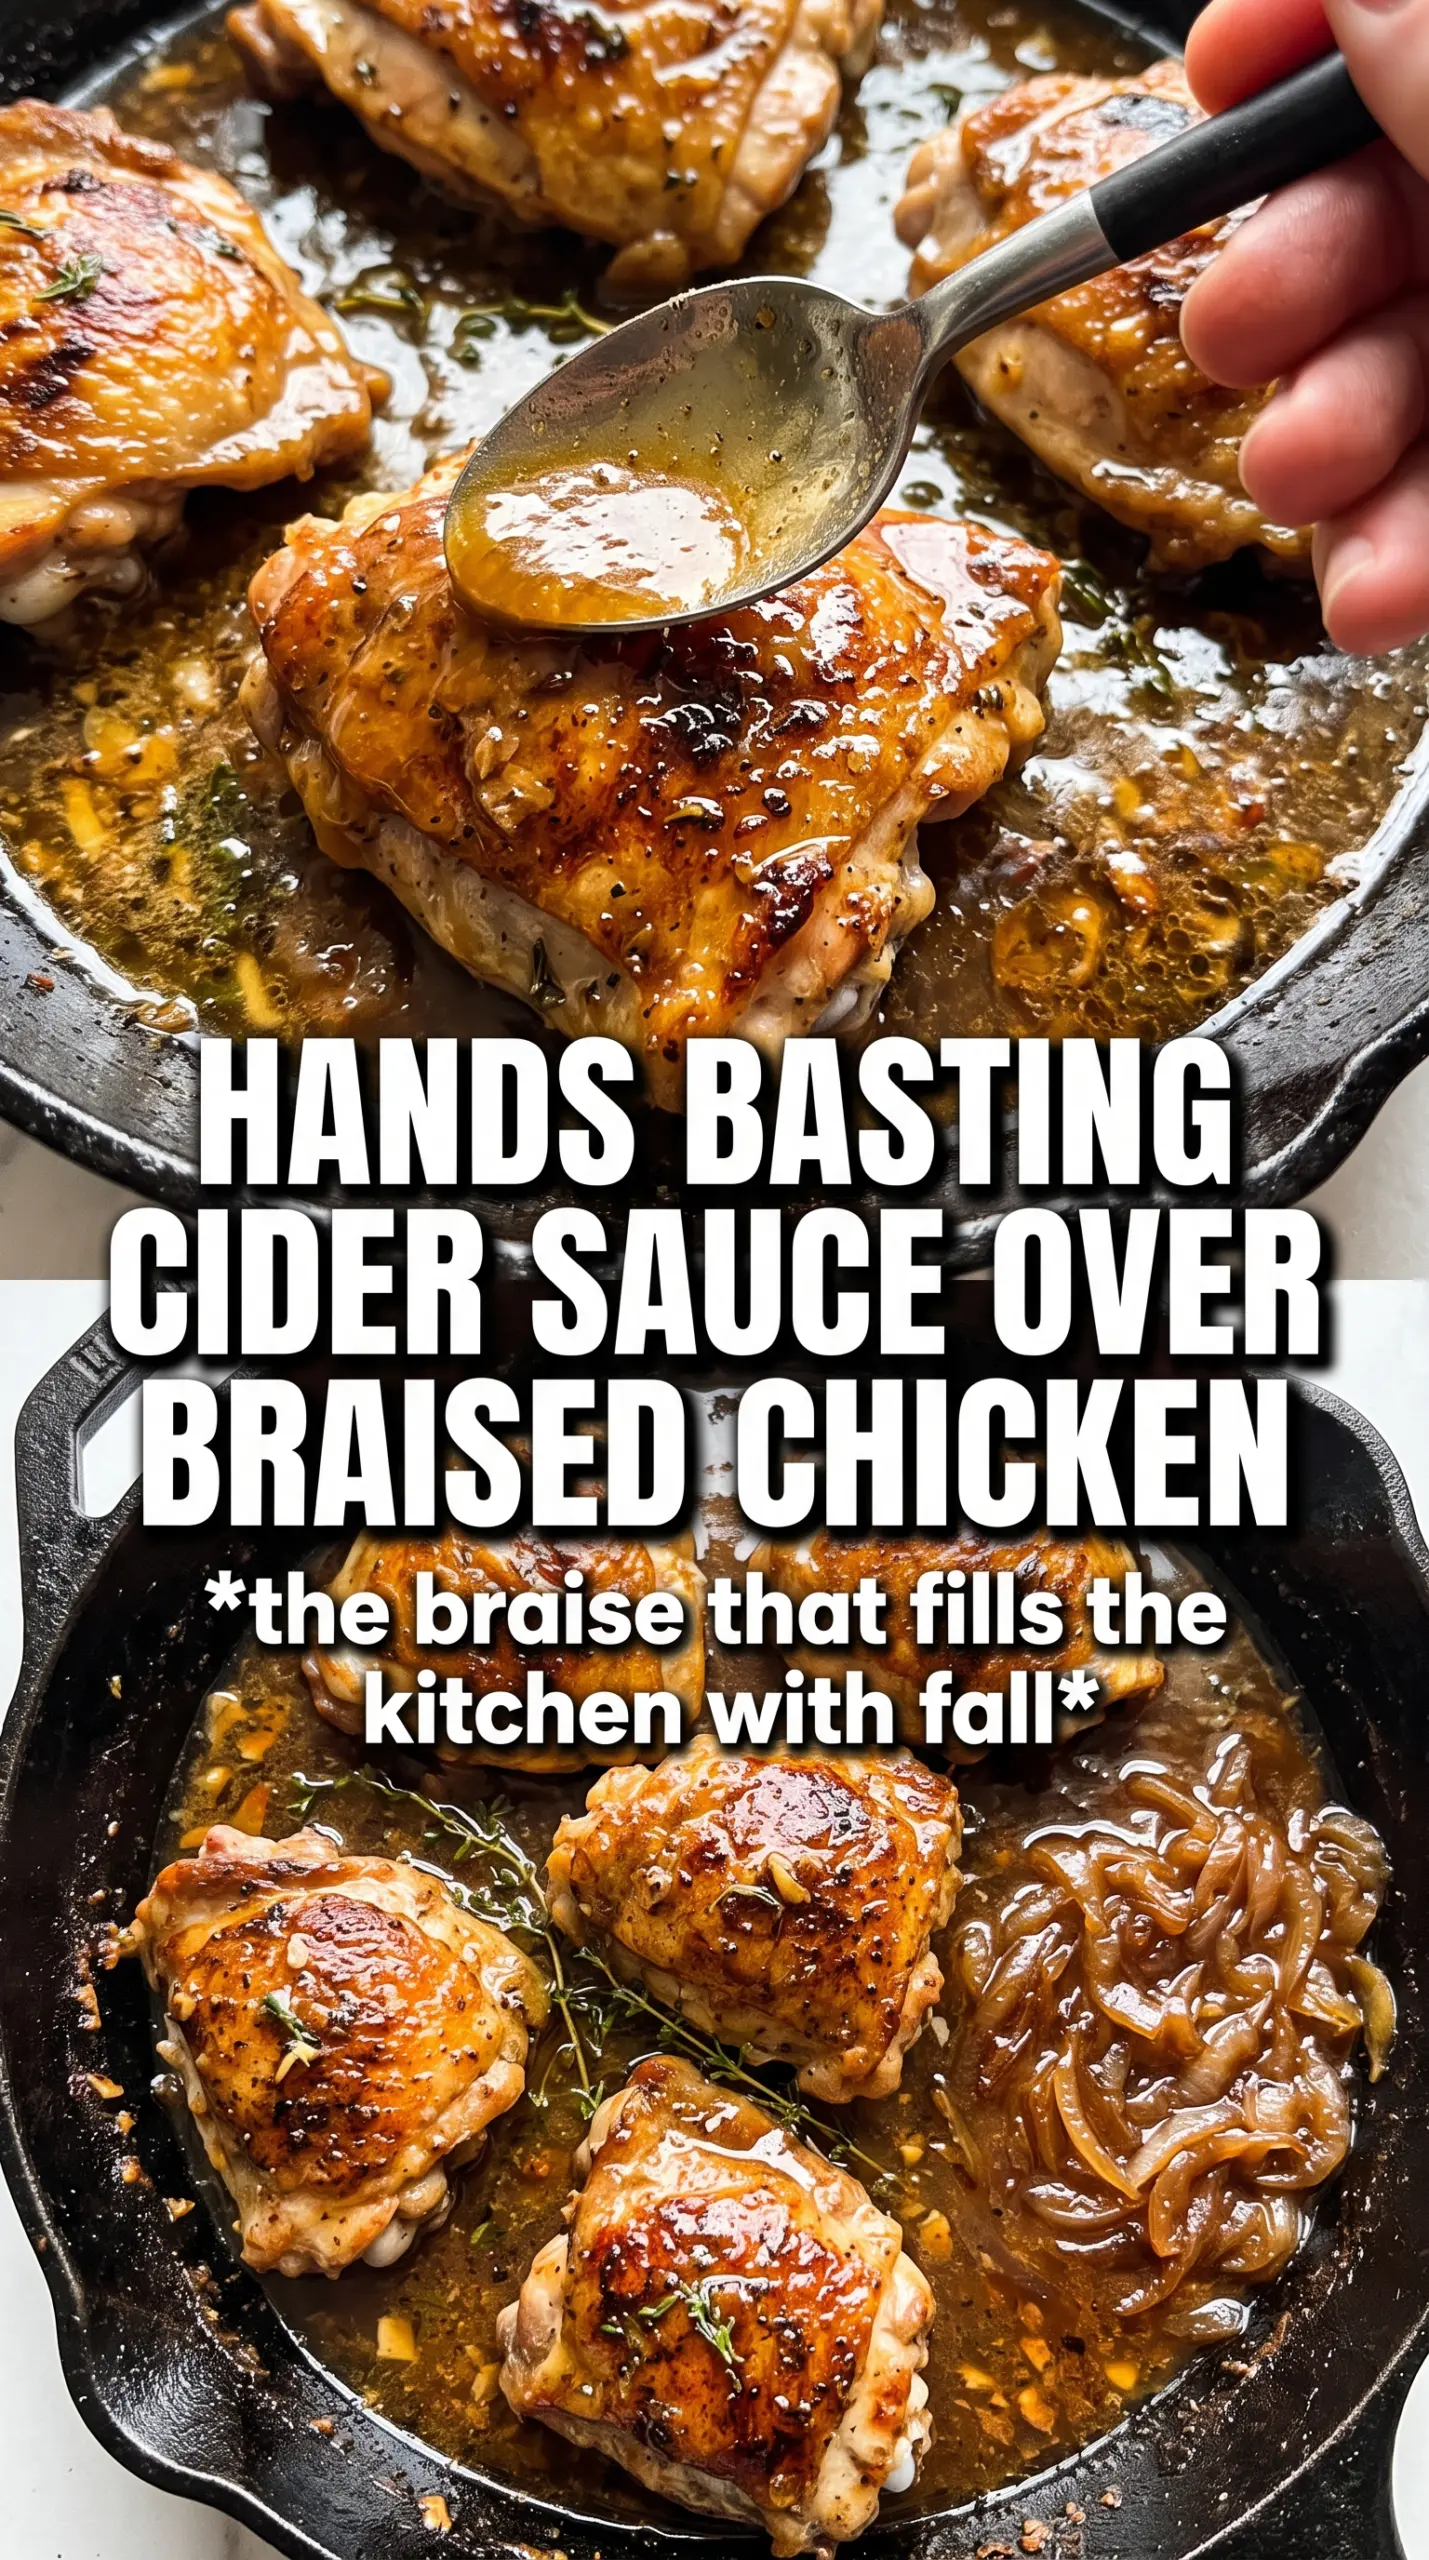
Golden chicken thighs, sweet onions, and sharp cider make a braise that lands somewhere between rustic comfort and dinner-party worthy. The chicken stays juicy under its crisped skin, while the onions melt into the pan sauce and give it a deep, savory sweetness that tastes like it took all day, even though most of the work is patient stovetop cooking.
What makes this version work is the layering. The chicken gets a hard sear first, which gives the finished dish color and keeps the skin from turning limp in the braise. Then the onions cook in the same pan long enough to pick up the browned bits and turn jammy, which is where the sauce gets its backbone. The cider adds brightness, the Dijon sharpens the edges, and a splash of vinegar keeps the whole dish from reading too sweet.
Below you’ll find the small technique details that matter most: how dark to take the onions, when to add the apples so they hold their shape, and how to know the sauce is ready to coat the back of a spoon without getting muddy.
The onions turned silky and sweet, and the sauce thickened just enough after resting. I served it with crusty bread and everyone kept going back for more of the pan sauce.
Love the glossy cider sauce and caramelized onions? Save this Cider Braised Chicken for the nights when you want a one-pan braise with real depth.
The Skillet Can Only Do Its Job if the Chicken Browns First
The biggest mistake in a braise like this is rushing the sear. If the chicken never gets deep color on the skin, the finished sauce tastes flatter and the fat in the pan doesn’t have enough browned drippings to carry the onions. You want the skin side to go in and stay put until it’s a deep golden brown and releases easily from the pan.
Once the chicken comes out, the onions need time. Not just a quick sweat. They should soften, then collapse, then turn bronze and jammy at the edges. That slow build is what keeps the sauce from tasting like cider poured over chicken instead of a finished dish.
What Each Ingredient Is Actually Doing in This Recipe
- Primary ingredient (the star) — Quality matters most. Choose the best you can find.
- Cooking medium (oil, butter, or broth) — This carries flavors and prevents dryness.
- Seasonings (salt, pepper, spices, herbs) — Layer flavors so nothing overpowers. Build depth gradually.
- Aromatics (garlic, onion, herbs) — Cook with fat to bloom flavors. Become the foundation.
- Supporting ingredients — Complement the main ingredient without overpowering it.
- Sauce or liquid (if applicable) — Brings flavors together. Balance richness with acid.
- Acid (lemon, vinegar, wine, or other) — Brightens and prevents flat-tasting results.
- Final finish (garnish, glaze, or sauce) — Prevents one-dimensional taste and adds visual appeal.
What the Cider, Dijon, and Apples Each Bring to the Pan
- Chicken thighs — Bone-in, skin-on thighs are worth using here because they stay tender through the simmer and give you enough fat for a flavorful sauce. Boneless thighs work in a pinch, but you’ll lose some of the richness and the skin-on crust that makes the dish feel finished.
- Apple cider — Hard cider gives a little more complexity and edge, while fresh cider keeps the sauce rounder and sweeter. Either works, but if you use fresh cider, the vinegar at the end matters because it balances the sweetness and keeps the sauce from feeling heavy.
- Onions — Slice them thin so they break down evenly and melt into the braise. Yellow onions are the best choice for sweetness, but white onions will work if that’s what you have.
- Dijon mustard — This isn’t just for flavor. It helps the sauce emulsify and keeps the cider from tasting one-note. Grainy mustard can stand in, but the sauce will look a little more rustic and less smooth.
- Apples — Add them after the onions have caramelized so they soften without disappearing. Use a firm apple like Honeycrisp or Pink Lady if you want slices that hold their shape through the braise.
How to Build the Braise Without Losing the Skin
Seasoning and Searing
Season the chicken well before it hits the pan, then lay it skin-side down in the hot oil and butter and leave it alone. If you move it too early, the skin sticks and tears instead of browning cleanly. You want the fat to render and the surface to turn deep gold, not pale beige, before you flip it. The second side only needs a short sear because the chicken finishes in the sauce later.
Caramelizing the Onions
Keep the heat at medium-low and use the chicken fat left in the pan. The onions should soften first, then slowly take on color as the moisture cooks off. If they start to scorch, the heat is too high and the sauce will taste bitter instead of sweet and rounded. This stage is where the whole dish gets its depth, so give it the time it asks for.
Bringing the Sauce Together
Stir in the garlic and thyme just long enough to smell them, then add the apples for a short cook so they stay intact. Pour in the cider, broth, mustard, and vinegar and scrape the bottom of the pan until the browned bits dissolve into the liquid. That’s the flavor base. When the chicken goes back in skin-side up, keep it partially uncovered if you can so the skin doesn’t turn rubbery from trapped steam.
The Final Simmer
Simmer gently until the chicken is cooked through and the sauce has a glossy, lightly thickened look. If it boils hard, the onions can break down too far and the sauce can look muddy. Rest the dish uncovered for a few minutes before serving. That short pause helps the sauce settle and thicken without needing flour.
How to Adapt This for Different Tables and Different Pan Sizes
Make it dairy-free without losing richness
Use all olive oil instead of the butter when you sear the chicken. You’ll lose a little roundness, but the caramelized onions and cider still give the sauce plenty of body.
Use boneless thighs for a faster dinner
Boneless thighs cook faster and are easier to serve, but they won’t hold up quite as long in the braise. Start checking them early so they stay juicy and don’t go stringy.
Swap the cider if you only have broth
You can braise with extra broth and a little more apple cider vinegar, but the sauce will lose the soft apple sweetness that makes this dish distinctive. Add a few thin apple slices for more fruit character if you’re going that route.
Scale it up for a crowd
Use a wide Dutch oven or braiser so the chicken stays mostly in one layer. If you crowd the pan, the onions steam instead of caramelizing and the sauce never reduces the way it should.
Storage and Reheating
- Refrigerator: Store leftovers for up to 4 days. The sauce will thicken as it chills and the onions will get even softer.
- Freezer: This freezes well for up to 2 months. Cool it completely first and freeze in airtight containers with some sauce so the chicken stays moist.
- Reheating: Warm gently on the stovetop over low heat, covered, with a splash of broth or cider if the sauce has tightened up. High heat can make the chicken tough and break the sauce.
Questions I Get Asked About This Recipe
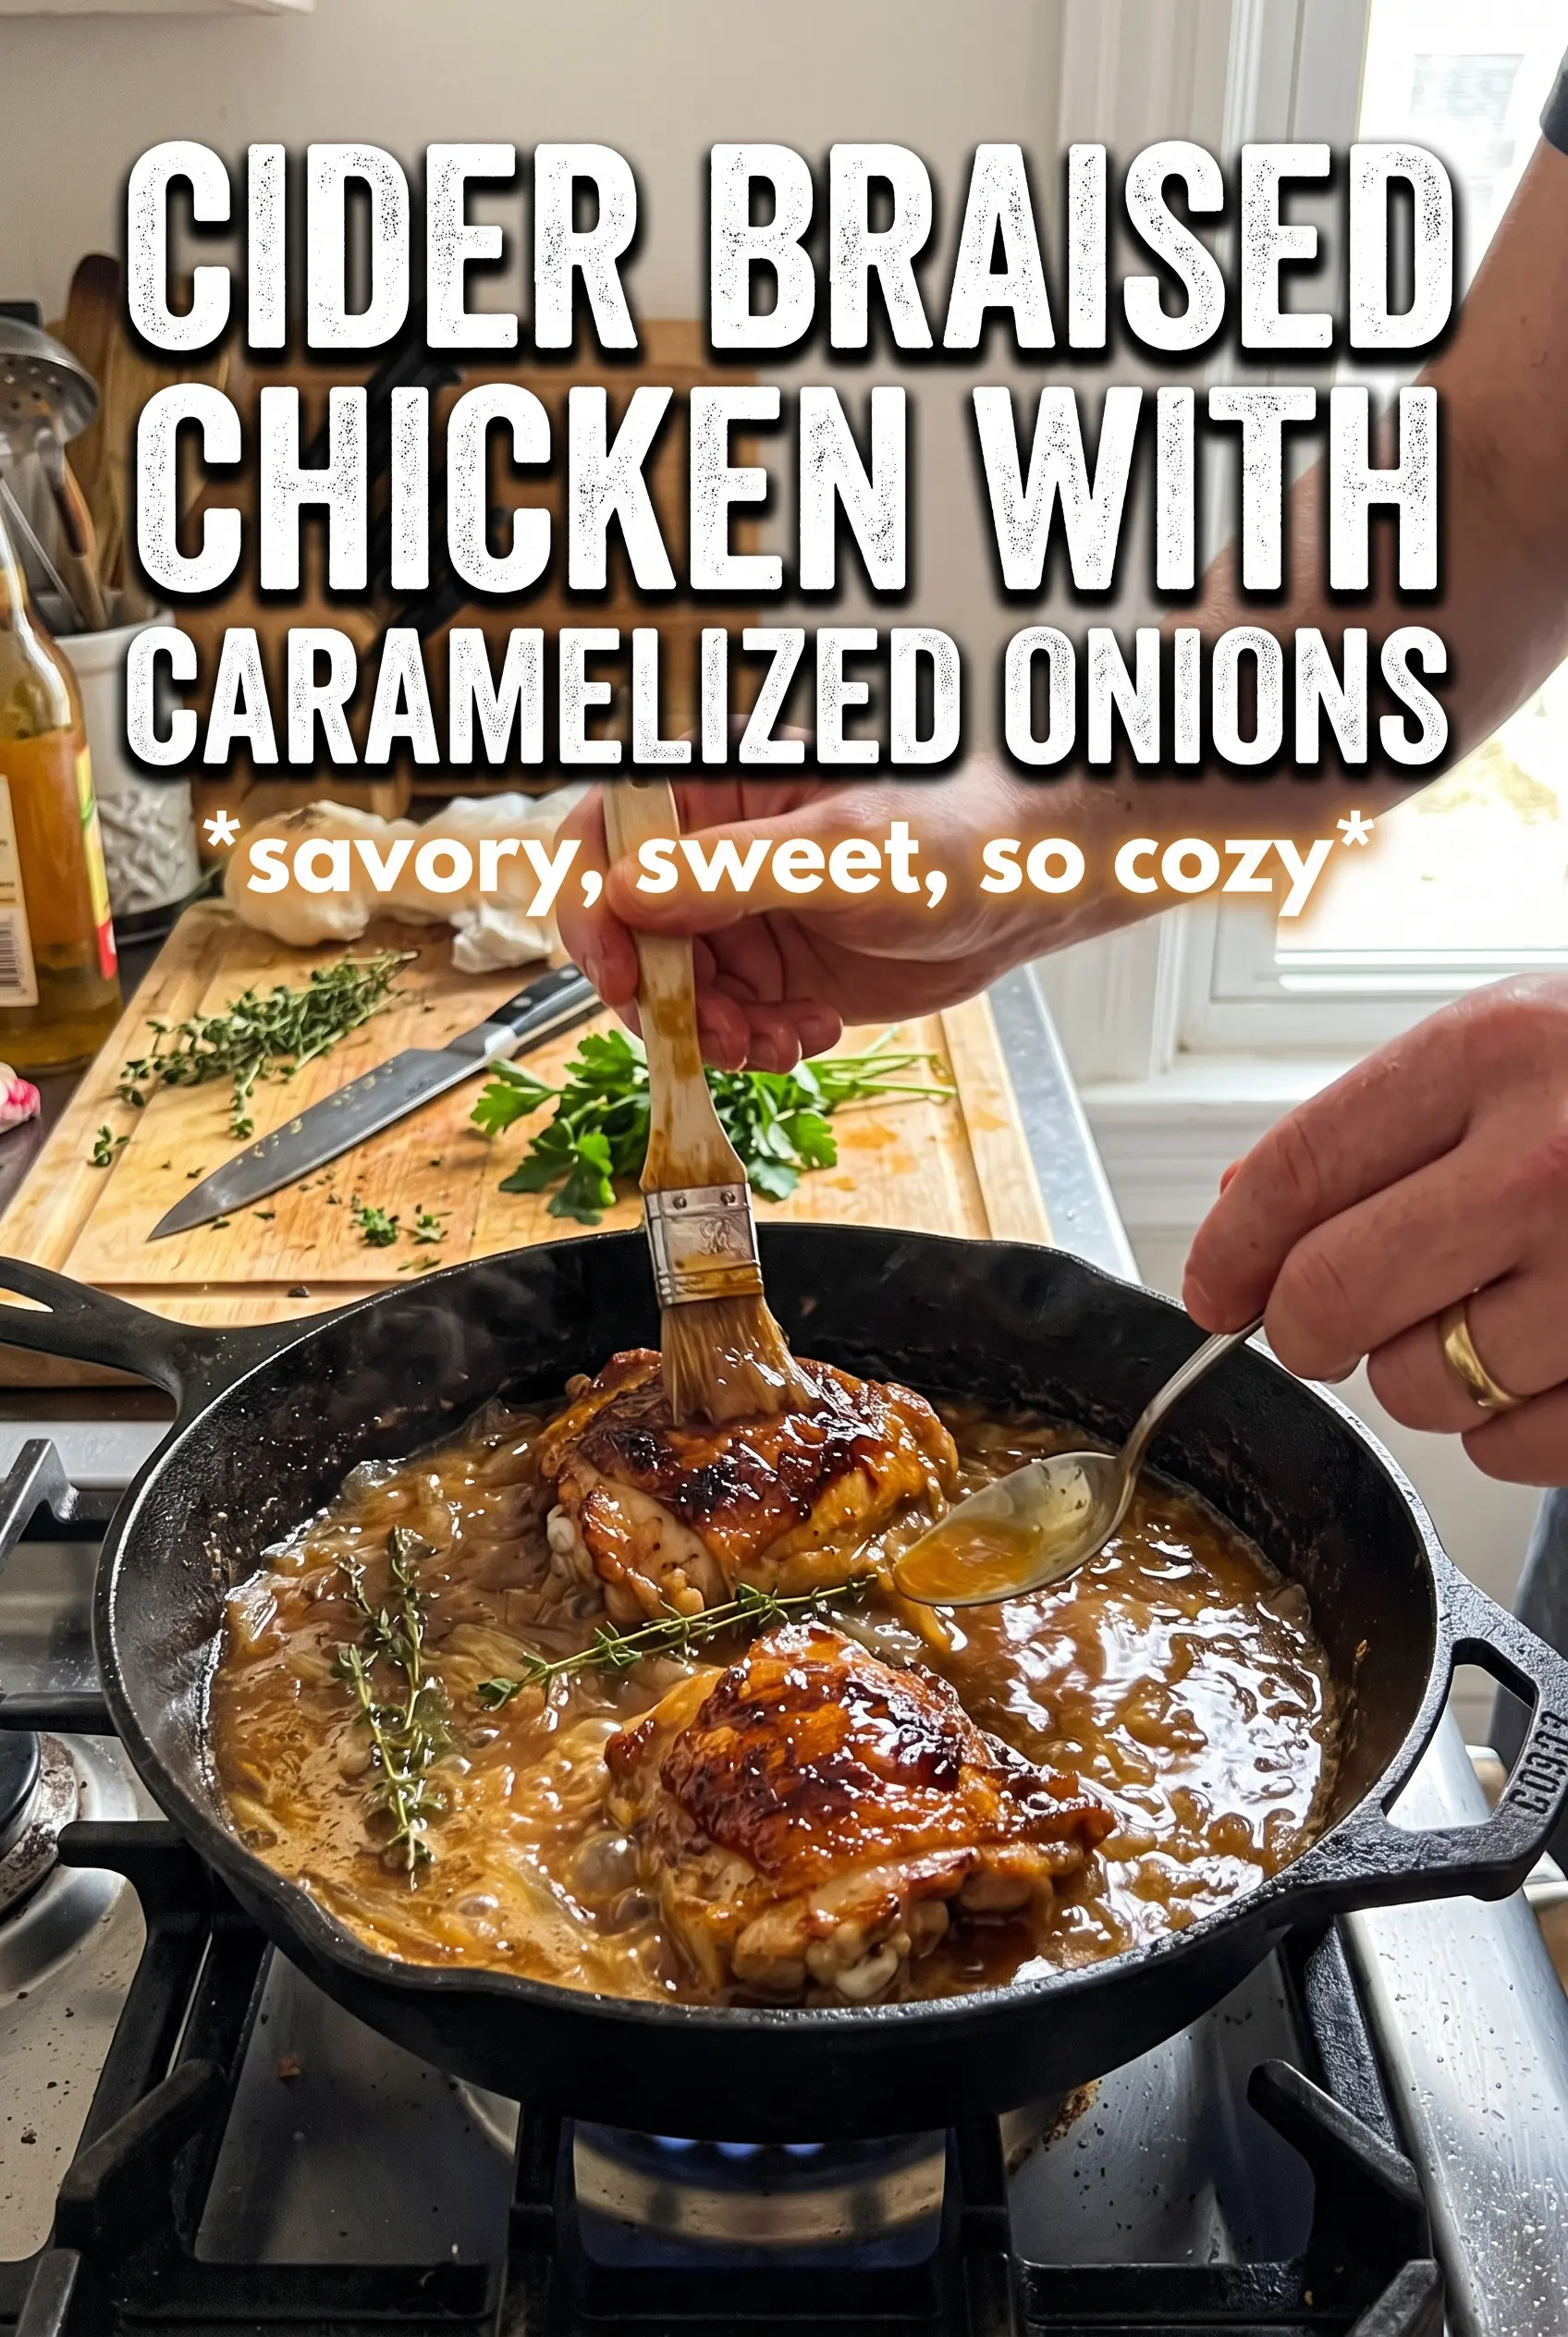
Cider Braised Chicken With Caramelized Onions
Ingredients
Equipment
Method
- Heat olive oil and 1 tablespoon butter in a Dutch oven over medium-high heat. Season chicken with salt and pepper, then sear skin-side down for 7-8 minutes until the skin is deep golden.
- Flip the thighs and sear for 3 minutes more until browned all over. Remove chicken to a plate.
- Reduce heat to medium-low and add the sliced onions to the same pan. Cook, stirring occasionally, for 20 minutes until deeply caramelized.
- Add minced garlic and fresh thyme, cooking for 1 minute until fragrant. Stir in sliced apples and cook for 2 minutes, just until slightly softened.
- Pour in the apple cider to deglaze the pan, scraping up browned bits. Continue by adding chicken broth, Dijon mustard, and apple cider vinegar.
- Return chicken skin-side up to the pan. Cover and simmer for 25 minutes until the chicken is cooked through.
- Uncover and rest the chicken for 5 minutes so the sauce thickens slightly. Spoon the glossy cider sauce over the thighs to serve.