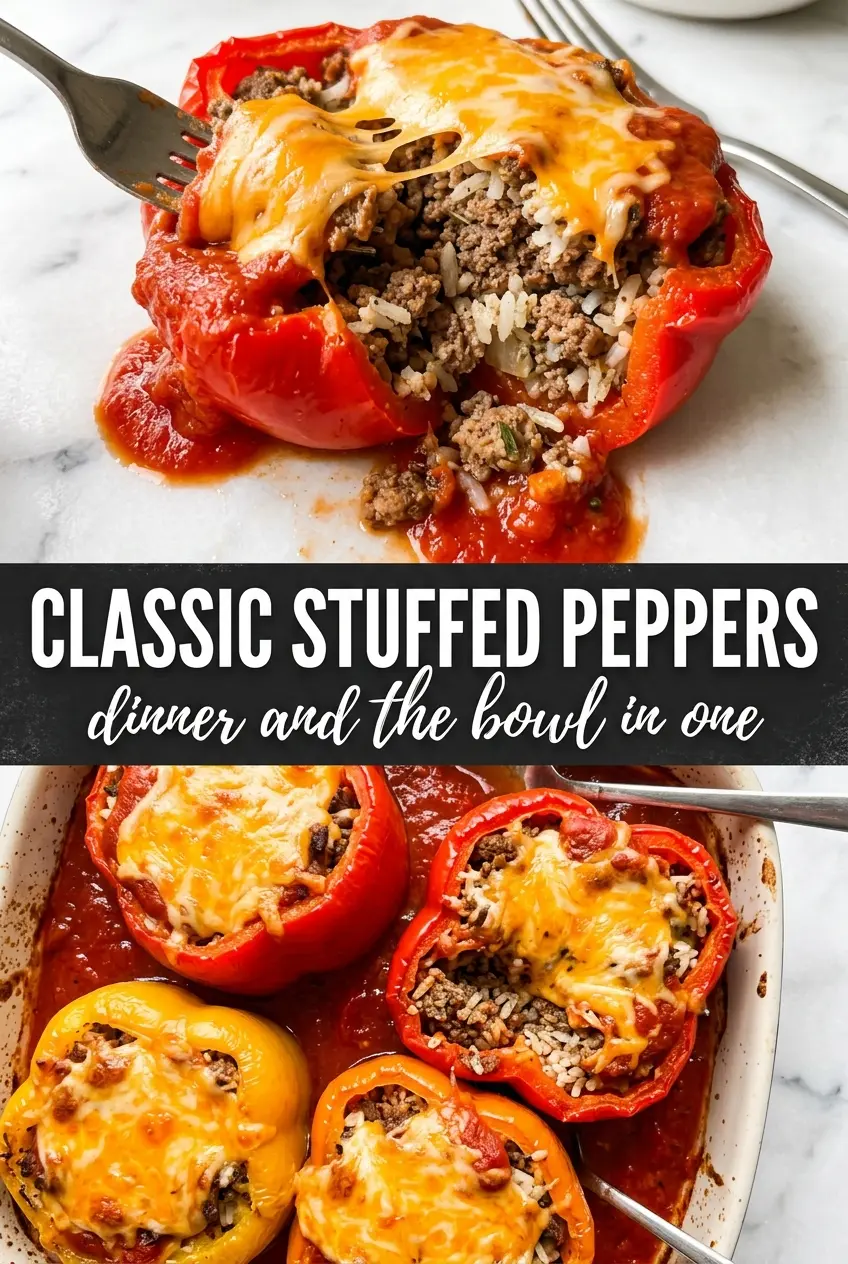
Classic stuffed peppers earn their place because they give you a full dinner in one neat, edible package: tender peppers, savory beef and rice filling, and a blanket of melted mozzarella that pulls everything together. The peppers soften just enough in the oven to hold their shape, but they still keep a little bite at the edges, which keeps the whole dish from turning mushy.
What makes this version work is the way the filling is seasoned before it goes into the peppers. Browning the beef with onion first builds flavor, and the tomato sauce gets split so some goes into the filling and the rest stays on top, keeping everything moist while the peppers bake. Draining the diced tomatoes matters too; too much liquid and the filling gets loose instead of hearty.
Below, I’ll walk through the part that matters most: how to keep the peppers tender without collapsing them, how to keep the filling balanced, and what to change if you want to make them a little lighter or use what’s already in your kitchen.
The peppers held their shape perfectly and the filling was thick instead of watery. I loved that the mozzarella got golden after the foil came off, and my husband went back for a second one.
Save these classic stuffed peppers for a comforting baked dinner with savory beef, rice, and melted mozzarella.
The Trick to Stuffed Peppers That Hold Their Shape
Most stuffed peppers fail in one of two ways: the peppers stay too firm, or they collapse into soft shells before the filling is heated through. The fix is to give them a head start in the oven without overbaking them. Here, the peppers bake covered first, which traps steam and softens the walls, then they finish uncovered with cheese on top so you get that tender-but-not-blown-out texture.
The other mistake is packing the filling too loosely or too wet. Cook the beef until the onion has lost its raw bite, then stir in the rice and tomatoes only after the pan has been drained. That keeps the mixture hearty enough to mound inside the peppers without sliding around once it bakes.
What Each Ingredient Is Actually Doing in the Filling

- Bell peppers — Large, sturdy peppers are important because they need to stand upright and keep their shape after almost an hour in the oven. Red, yellow, or orange peppers taste a little sweeter than green, but any color works.
- Ground beef — This brings the savory base. An 80/20 blend has enough fat for flavor, but drain the excess after browning so the filling doesn’t turn greasy.
- Cooked white rice — Rice bulks out the filling and absorbs the sauce. Cold leftover rice works fine here because it stays separate and doesn’t turn gummy in the pan.
- Tomato sauce and drained diced tomatoes — The sauce gives the filling moisture and body, while the drained tomatoes add texture without flooding the mixture. If your filling looks loose, it’s usually because the tomatoes weren’t drained well enough.
- Mozzarella — Use shredded mozzarella for the best melt. Pre-shredded is convenient, but freshly shredded gives you a smoother, silkier top if you have the extra minute.
- Worcestershire and Italian seasoning — Worcestershire deepens the beefy flavor without making the dish taste like sauce, and Italian seasoning brings in the herb note that ties the filling to the tomato.
Building the Filling Before the Peppers Go Into the Oven
Softening the Peppers First
Cut the tops off the peppers and remove the seeds and white ribs, then stand them upright in the baking dish. If they wobble, trim a very thin slice from the bottom so they sit flat, but don’t cut too deep or the filling will leak. The goal is a pepper that can hold its own without tipping once it’s stuffed.
Getting the Beef Mixture Right
Brown the ground beef with the onion over medium-high heat until the meat is no longer pink and the onion looks translucent. Drain off the fat before adding the garlic, because garlic burns fast in greasy pan drippings. Once the garlic smells fragrant, stir in the seasoning, Worcestershire, rice, tomatoes, and most of the sauce until the mixture looks cohesive and thick enough to spoon cleanly.
Finishing With Heat and Cheese
Spoon the filling into the peppers and top each one with the remaining tomato sauce. Cover the dish tightly with foil for the first bake; that trapped steam is what softens the peppers without drying out the filling. After 30 minutes, uncover, add the mozzarella, and bake until the cheese is melted and lightly browned at the edges and the peppers give easily when pierced with a fork.
How to Adapt These Stuffed Peppers Without Losing the Good Part
Ground turkey instead of beef
Swap in ground turkey for a lighter version, but add a drizzle of oil to the pan because turkey is leaner and can taste dry if it’s cooked bare. You’ll lose some beefy richness, so the Worcestershire and tomato sauce matter even more here.
Dairy-free stuffed peppers
Leave off the mozzarella or use a dairy-free shred that melts well. The peppers still work beautifully because the filling carries the dish, but the top won’t brown quite the same way, so watch the bake time and pull them when the peppers are tender.
Using brown rice or cauliflower rice
Brown rice gives you a nuttier bite and a little more chew, but it needs to be fully cooked before it goes in. Cauliflower rice works for a lower-carb version, though it releases more moisture, so cook it off in the skillet first until the excess steam is gone.
Make-ahead stuffed peppers
Assemble the peppers up to a day ahead, cover, and refrigerate before baking. Add about 10 minutes to the covered bake time if they go into the oven cold, and wait to add the cheese until the final uncovered stretch so it doesn’t overbrown.
Storage and Reheating
- Refrigerator: Store leftovers in an airtight container for up to 4 days. The peppers soften a little more after chilling, but the flavor holds up well.
- Freezer: They freeze well after baking. Cool completely, wrap each pepper tightly, and freeze for up to 2 months. Thaw overnight before reheating for the most even texture.
- Reheating: Warm in a 350°F oven, covered with foil, until heated through. The mistake to avoid is blasting them in the microwave for too long, which makes the peppers rubbery and the filling dry around the edges.
Questions I Get Asked About This Recipe
Classic Stuffed Peppers
Ingredients
Equipment
Method
- Preheat oven to 375°F.
- Cut tops off peppers and remove seeds, then place peppers in a baking dish and set aside.
- Brown ground beef with diced onion over medium-high heat until the beef is cooked through, then drain fat.
- Stir in minced garlic, Italian seasoning, Worcestershire sauce, salt, and pepper.
- Stir in cooked rice, drained diced tomatoes, and 3/4 of the tomato sauce until combined.
- Spoon filling into each pepper.
- Top peppers with remaining tomato sauce, then cover the baking dish with foil.
- Bake 30 minutes, then uncover.
- Sprinkle shredded mozzarella on top and bake 15 more minutes until peppers are tender and cheese is golden.