Cranberry apple crisp lands with the kind of contrast that keeps people going back for another spoonful: soft baked apples, tart cranberries, and a buttery oat topping that turns deeply golden at the edges. The filling bubbles up around the sides while the crumble stays crunchy on top, so every bite gives you something a little different.
The orange zest matters here. It lifts the fruit without making the crisp taste citrusy, and it keeps the cranberries from reading too sharp. Cornstarch is the other piece that earns its place; it thickens the juices as the fruit bakes so you get a glossy, spoonable filling instead of a watery puddle in the pan.
Below, I’ve included the little details that make this crisp work reliably, plus a few useful swaps if you need to adjust the fruit or make it ahead.
The filling set up beautifully and the topping stayed crisp even after we went back for seconds. I loved the orange zest with the cranberries — it kept the whole pan from tasting too sweet.
Cranberry Apple Crisp with orange zest is the one to bookmark for bubbling fruit and a crisp oat topping that stays crunchy.
The Trick to Keeping the Fruit Juicy, Not Watery
The filling needs enough cornstarch to catch the apple and cranberry juices, but not so much that it turns pasty. The fruit releases a lot of liquid as it bakes, especially if you use frozen cranberries, and that liquid has to thicken while the crisp finishes in the oven. If you pull it too early, the juices will still look loose at the center of the dish and the topping will seem done before the filling is.
Apples matter here too. Use a firm baking apple that keeps its shape, not a soft eating apple that collapses into applesauce. The goal is tender slices with some body left in them, so you get clean bites of fruit instead of a jammy layer that disappears under the crumble.
What Each Ingredient Is Actually Doing in This Crisp
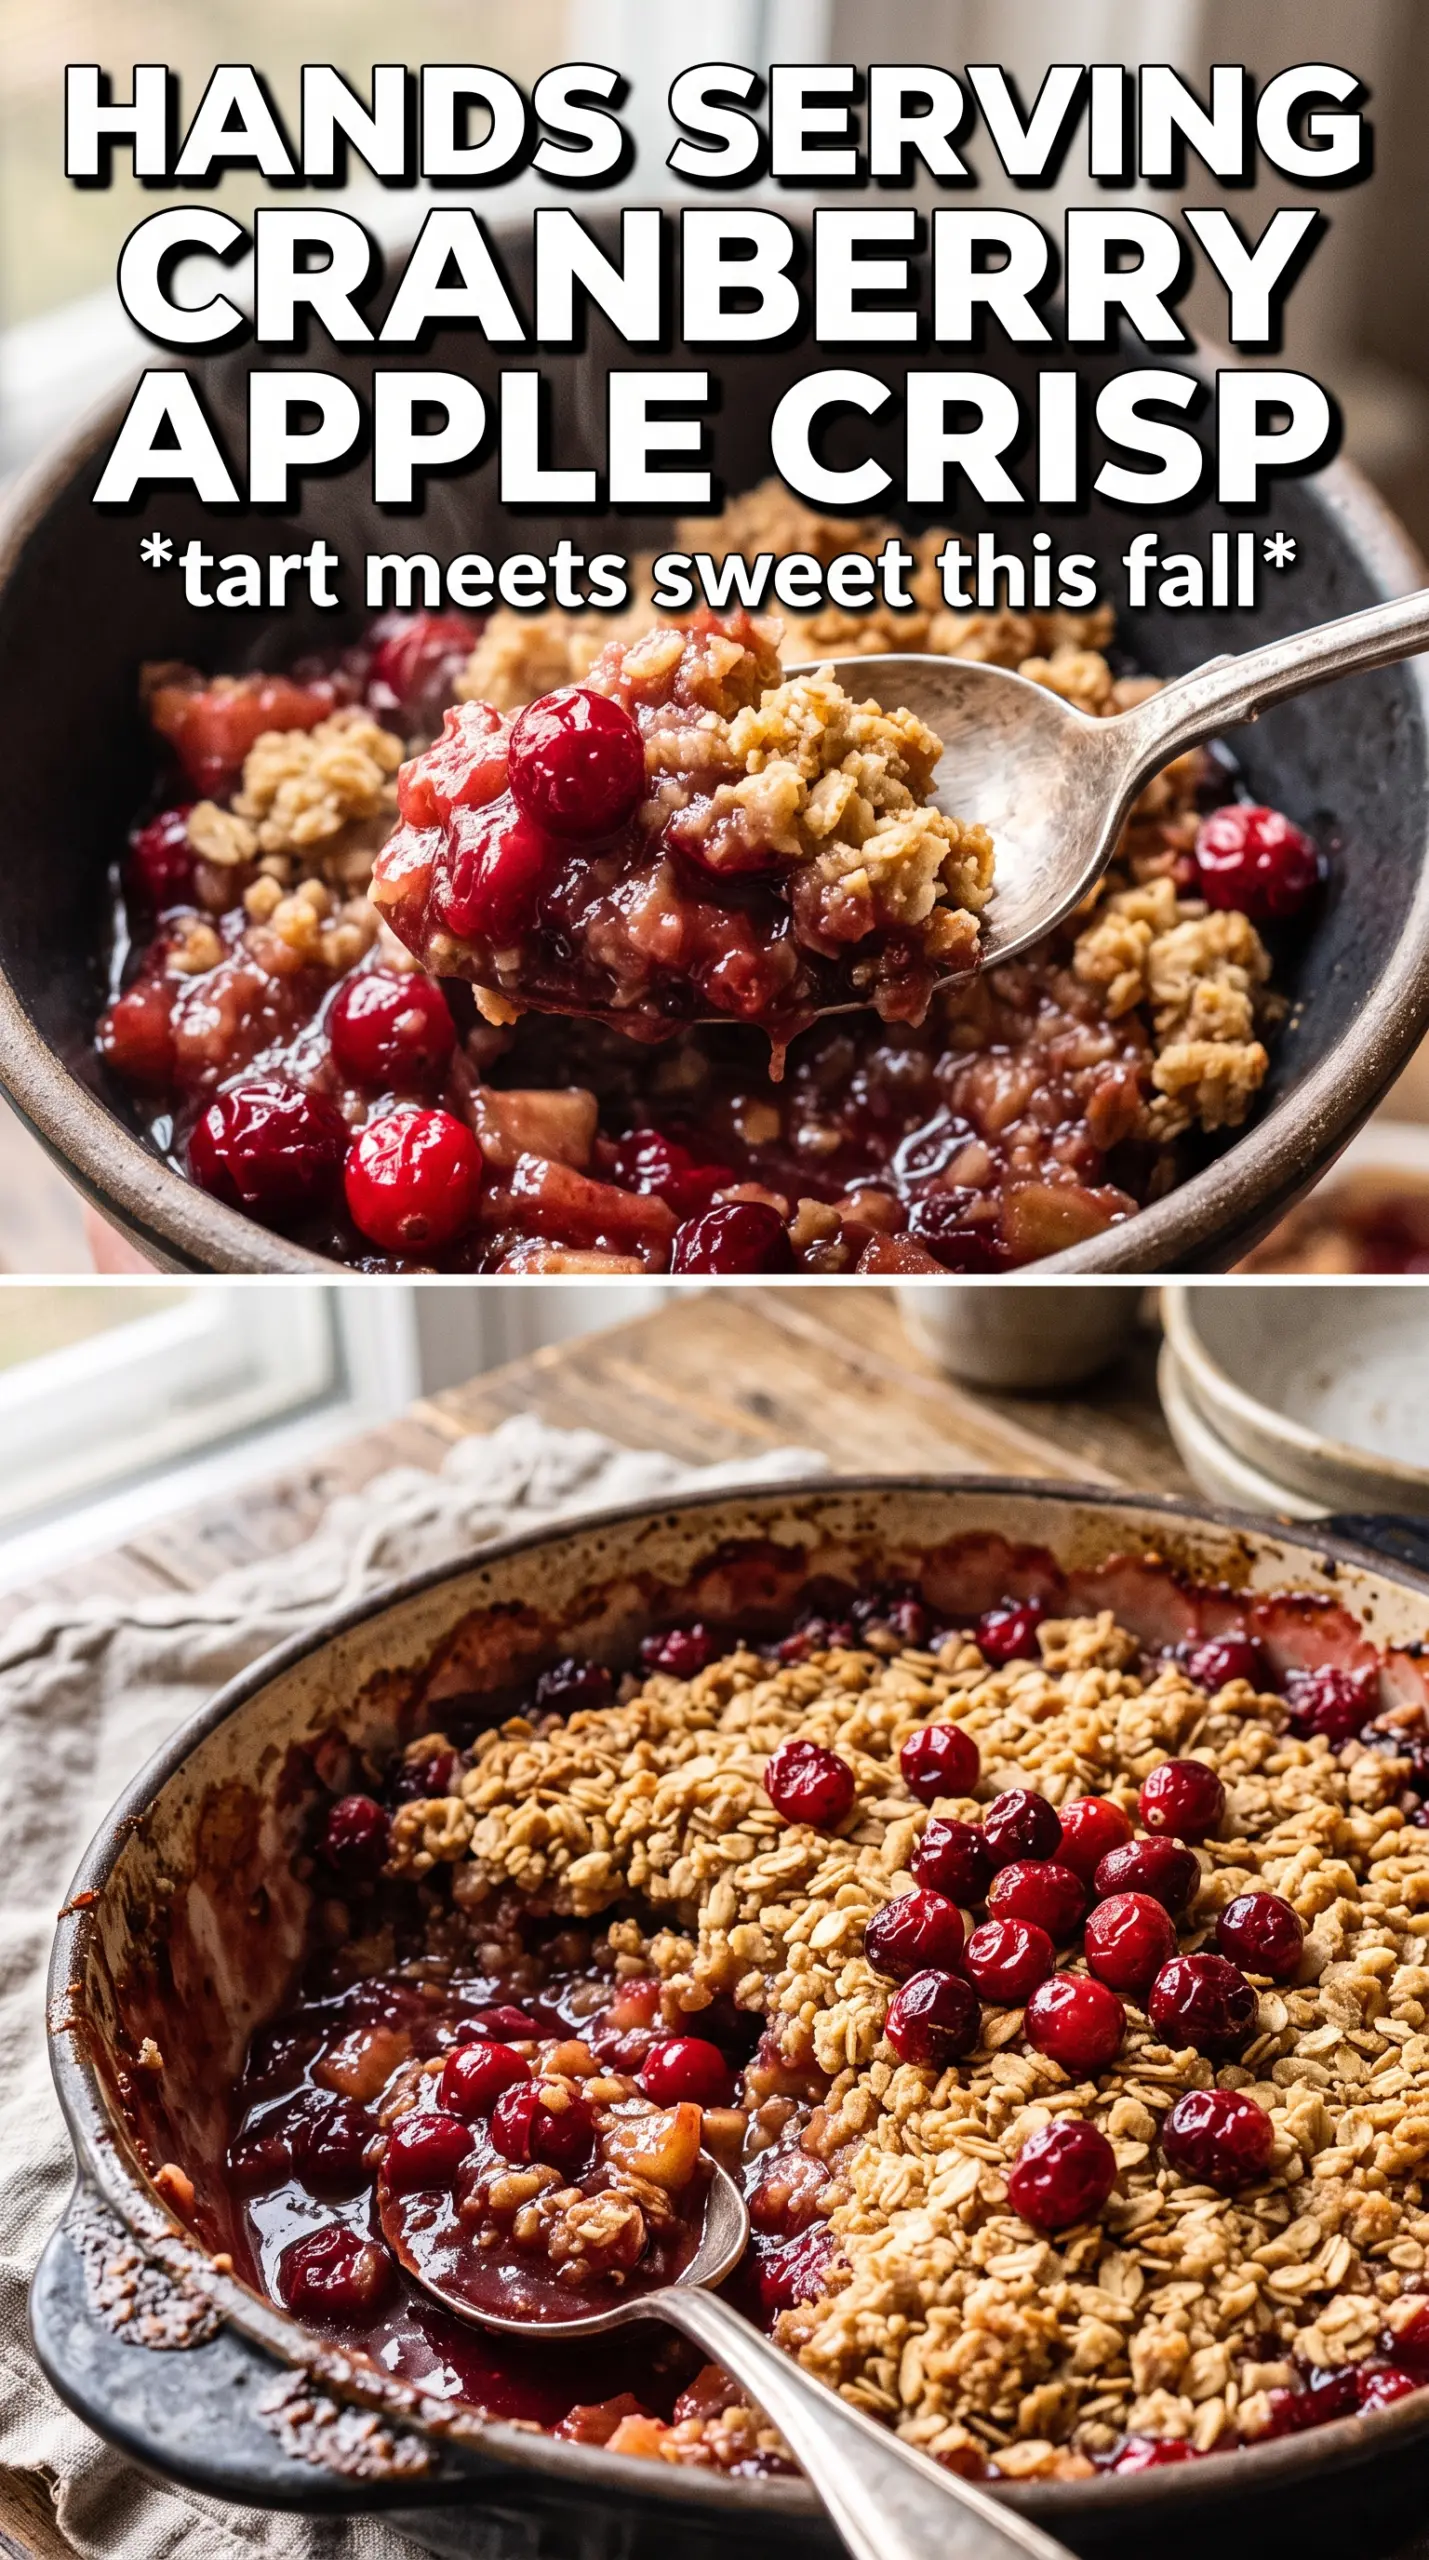
- Apples — These give the crisp its bulk and soft, sweet base. A firm variety like Honeycrisp, Braeburn, or Granny Smith holds its shape better than mealy apples, which matters once the fruit starts breaking down in the oven.
- Cranberries — Fresh or frozen both work, and frozen cranberries don’t need thawing. They add the sharp, bright pop that keeps the dessert from tasting flat, and they burst as they bake, which helps flavor the whole pan.
- Orange zest and juice — The zest carries most of the aroma, while the juice loosens the sugar mixture just enough to help the fruit start releasing its own liquid. If you skip the zest, the crisp tastes heavier and sweeter.
- Cornstarch — This is what turns the fruit juices into a proper filling. Arrowroot can work in a pinch, but cornstarch gives the cleanest set here and stays stable during the full bake.
- Rolled oats — Old-fashioned oats give the topping its nubby texture and a better crunch than quick oats. Quick oats will work, but the crumble will bake up tighter and softer.
- Cold butter — Cold cubes are nonnegotiable. They melt in the oven and leave little pockets that create those crisp, chunky crumbles instead of a sandy blanket.
Building the Crumble So It Stays Chunky in the Oven
Mix the fruit before anything else
Toss the apples and cranberries with the sugars, spices, orange zest, orange juice, and cornstarch until the fruit looks evenly coated. You want every slice slicked with the sugar mixture so the juices start pulling out right away in the oven. Spread the filling in an even layer in the baking dish, because piled-up fruit at the center takes longer to bubble and thicken.
Cut the butter into cold crumbs
Combine the oats, flour, brown sugar, cinnamon, and salt first, then work in the cold butter until you have chunky clumps mixed with smaller crumbs. Stop before the topping turns into a paste. If the butter softens too much, the crust bakes up dense instead of crumbly, so use your fingertips or a pastry cutter and keep the pieces visible.
Bake until the filling is active at the edges
Scatter the topping over the fruit and bake at 375°F until the top is deeply golden and the filling is bubbling around the edges and through the center. The bubbling matters more than the clock because that’s the sign the cornstarch has had time to thicken the juices. Let it rest for 10 minutes before serving so the filling can settle instead of running across the plate.
Make it more tart
Use all Granny Smith apples or increase the cranberries slightly if you like a sharper finish. The dessert will taste brighter and less candy-sweet, but you may want to add a spoonful more sugar if your apples are very tart.
Dairy-free crumble
Swap the butter for a solid plant-based butter that comes in stick form. The topping still browns and crisps, though it may bake a touch softer than one made with dairy butter.
Gluten-free version
Replace the flour with a 1:1 gluten-free baking blend and use certified gluten-free oats. The topping keeps the same structure, though it may brown a little faster, so check the color near the end of baking.
Make-ahead storage
- Refrigerator: Store covered for up to 4 days. The topping softens a little, but the flavor stays great.
- Freezer: Freeze baked crisp tightly wrapped for up to 2 months, or freeze the unbaked assembled crisp for the same amount of time. Bake from frozen, adding extra time until the filling bubbles through the center.
- Reheating: Warm in a 325°F oven until heated through and the topping crisps back up. The microwave will soften the crumble, so use it only if you don’t mind losing that crunch.
Answers to the Questions Worth Asking
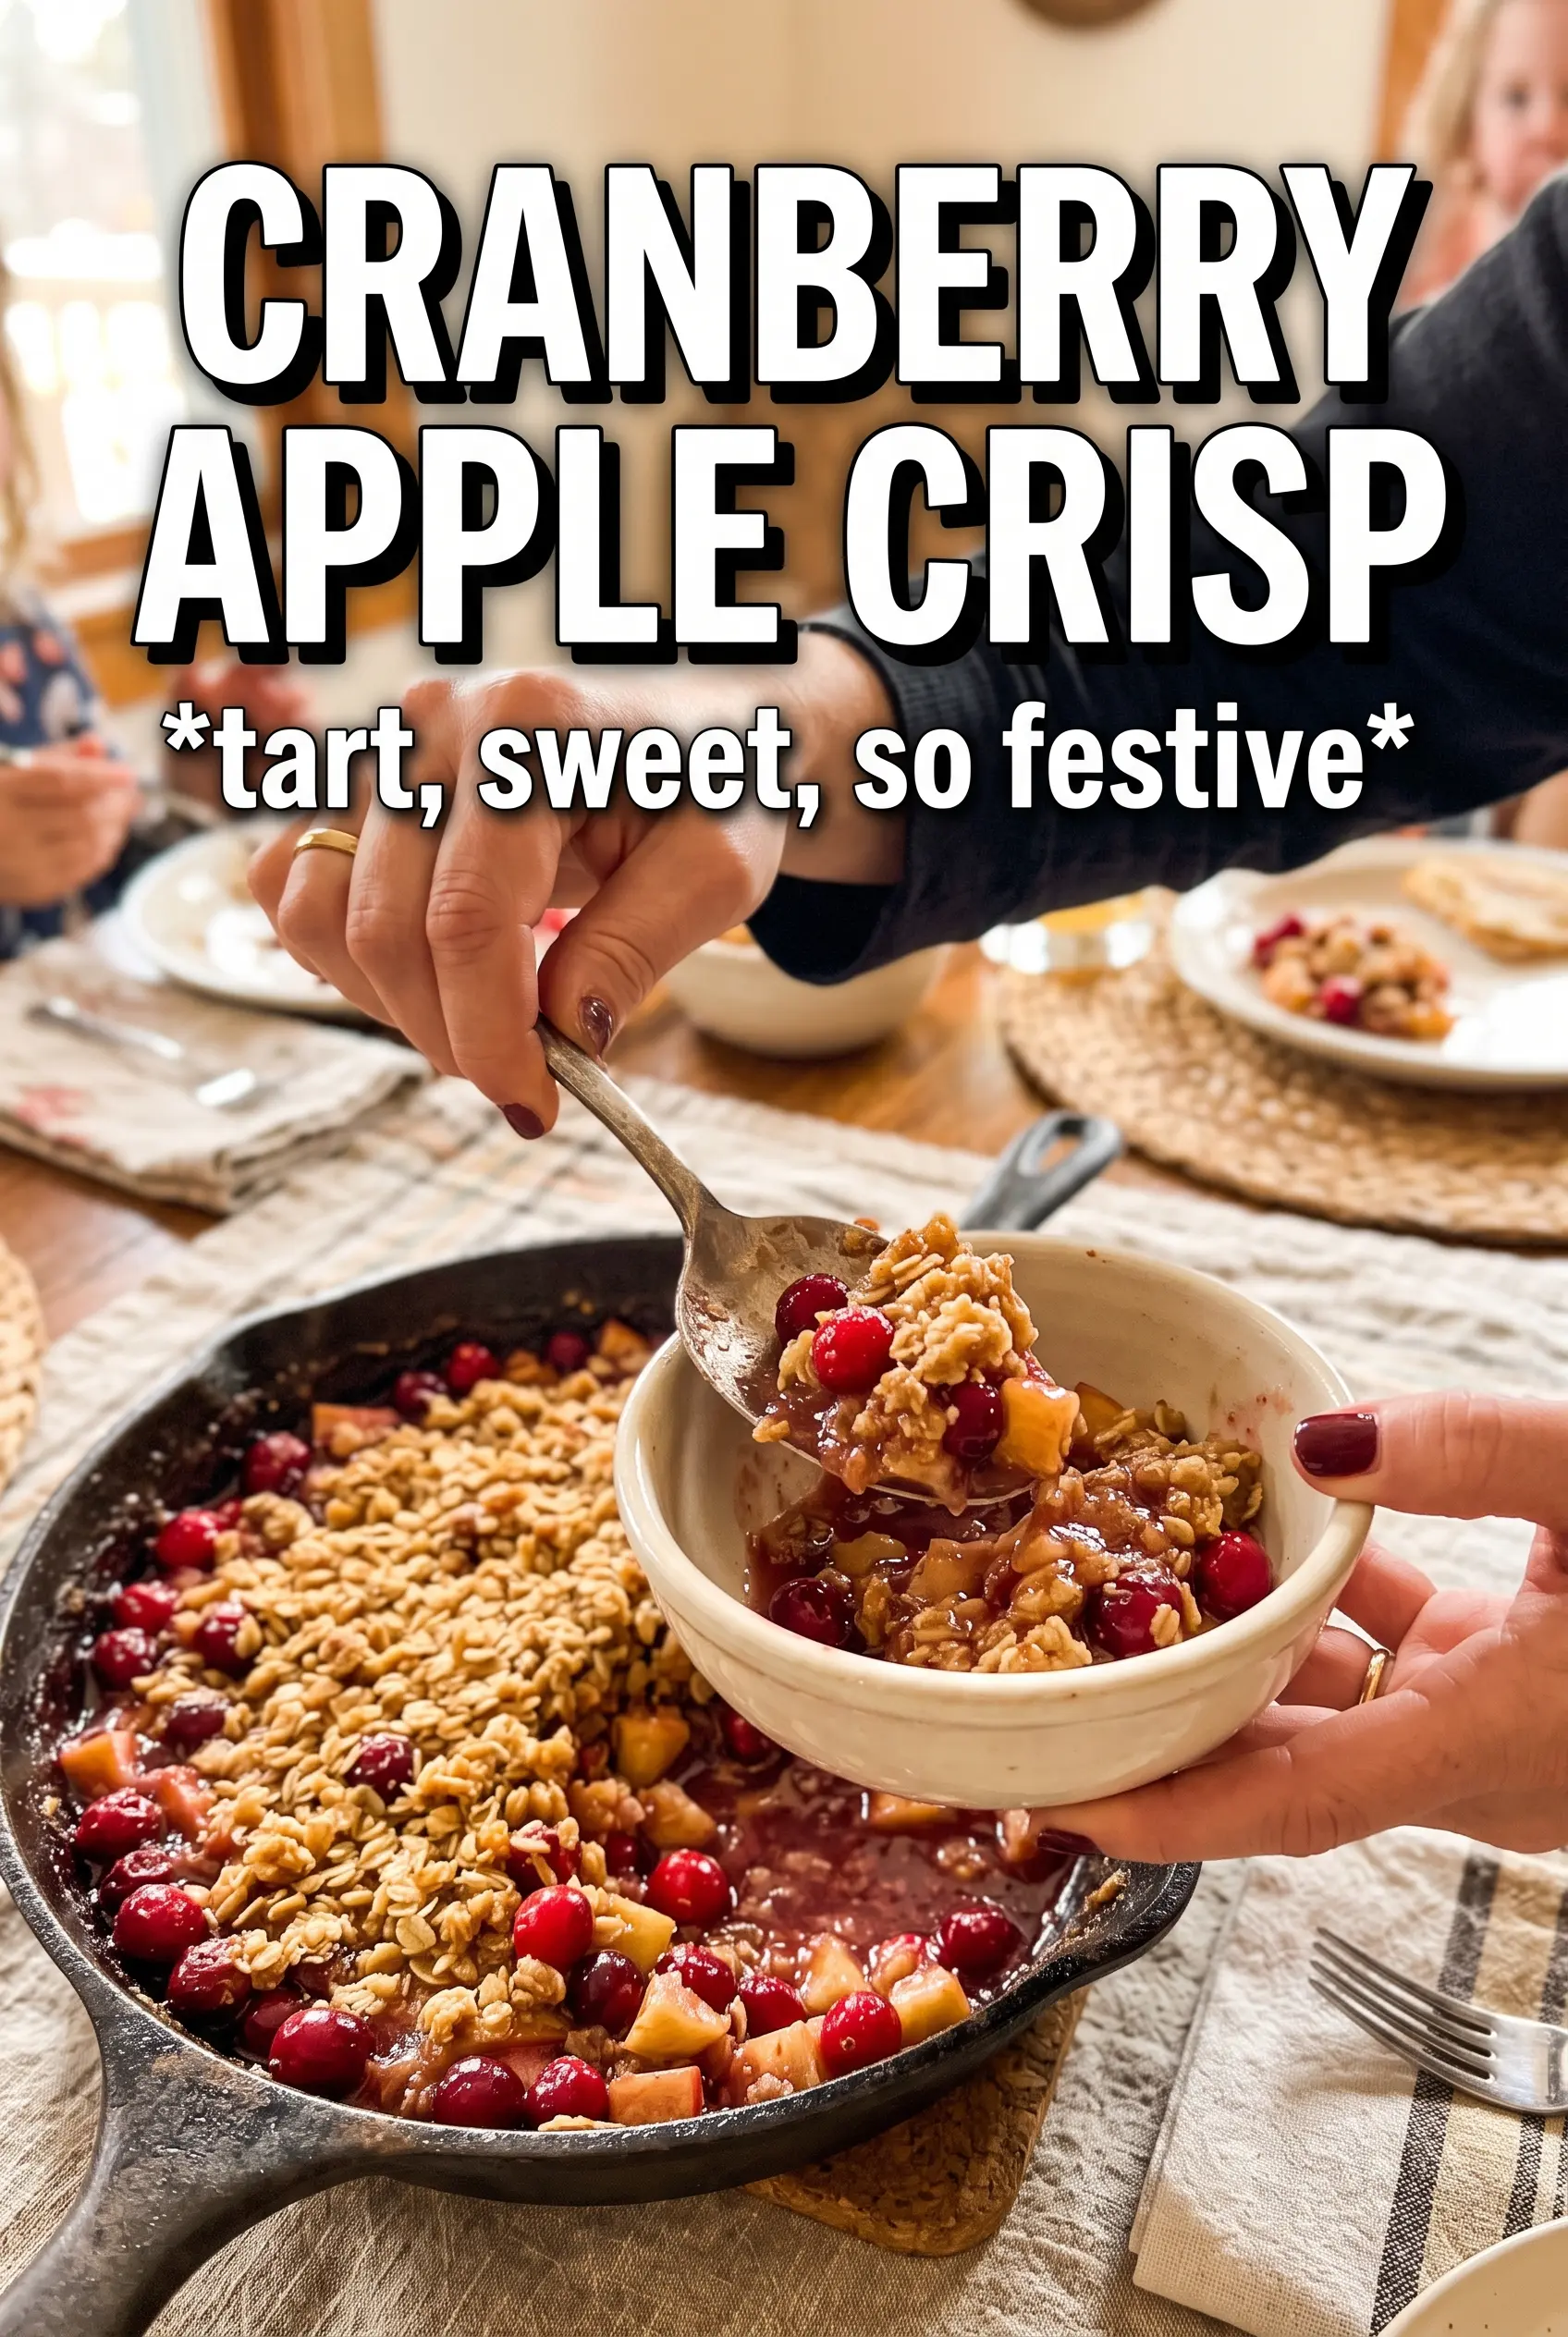
Cranberry Apple Crisp
Ingredients
Equipment
Method
- Preheat oven to 375F and grease a 9x13 baking dish.
- Toss apples and cranberries with granulated sugar, brown sugar, cinnamon, nutmeg, orange zest, orange juice, and cornstarch, then spread evenly in the greased dish.
- Combine rolled oats, all-purpose flour, packed brown sugar, cinnamon, and salt, then cut in cold butter until chunky clumps form.
- Scatter the crumble over the filling.
- Bake for 40-45 minutes at 375F until the top is golden and the cranberry apple filling is bubbling at the edges and thick.
- Rest 10 minutes before serving so the filling sets and slices hold together.