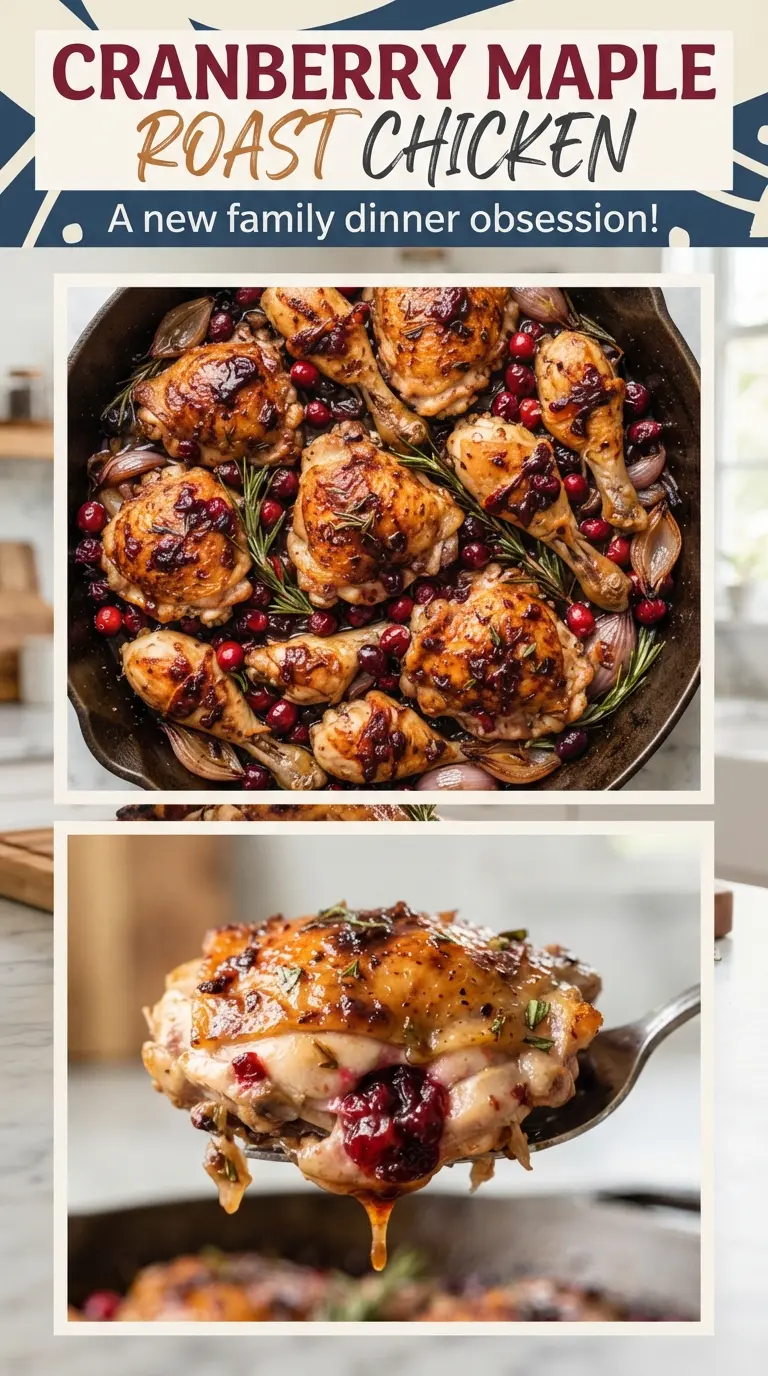
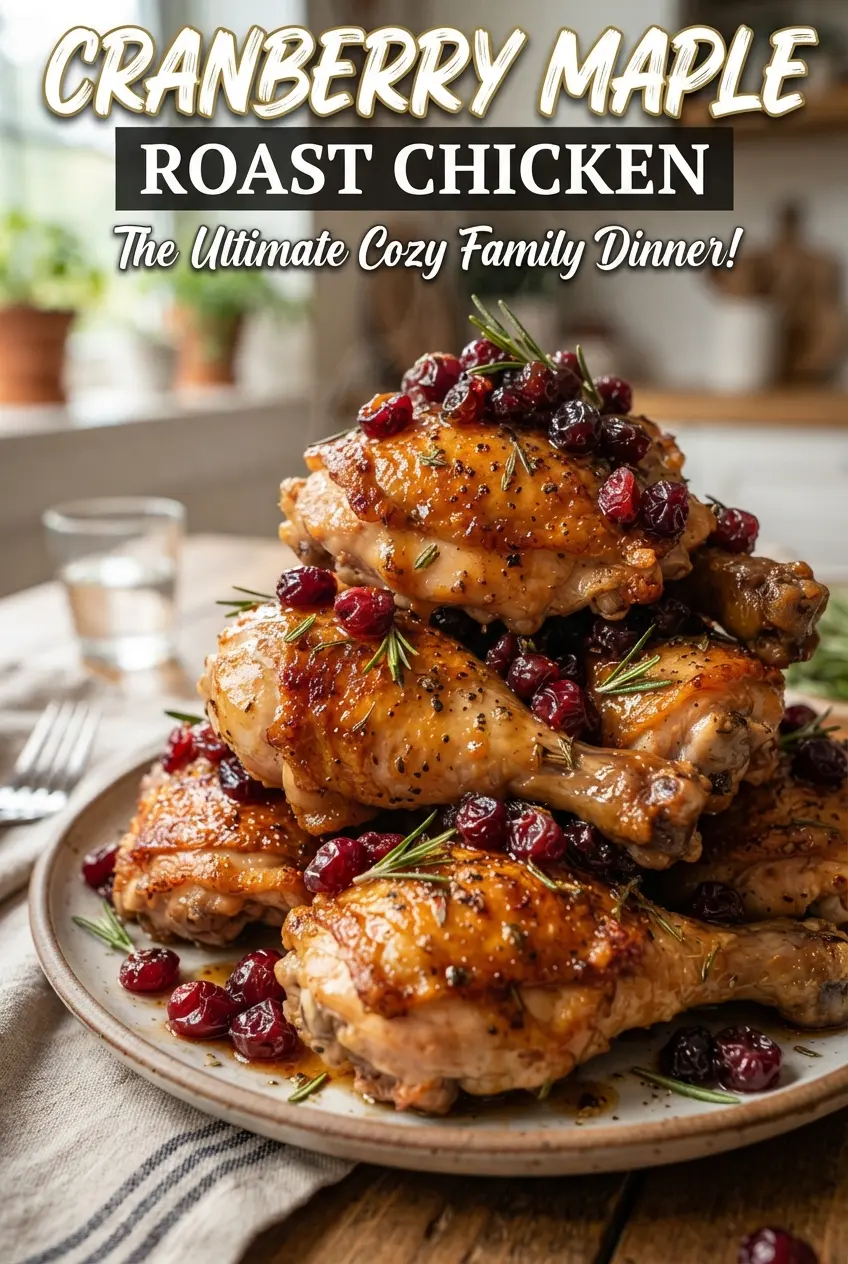
Cranberry maple roast chicken lands on the table with crackly, lacquered skin and a pan sauce that tastes like it took far more effort than it did. The chicken roasts hot enough to brown deeply, then gets brushed with maple-Dijon glaze near the end so the sugars don’t burn before the meat is done. The cranberries burst in the pan and turn into their own tart little sauce, which keeps the whole dish from leaning too sweet.
The butter under and over the skin matters here. It seasons the meat directly and helps the breast stay juicy while the skin turns crisp. Orange and garlic tucked inside the cavity perfume the bird from the inside out, and the onions underneath do double duty: they lift the chicken for even roasting and soak up every drop of that maple glaze and chicken juice.
Below, I’m walking through the timing that keeps the glaze glossy instead of scorched, plus a few smart swaps if you need to work with what’s in the fridge.
The skin got beautifully crisp and the cranberry-maple pan sauce thickened right up. I’ve made roast chicken a dozen ways, and this was the first time the glaze stayed shiny without burning.
Like this cranberry maple roast chicken? Save it to Pinterest for a roast dinner with glossy glaze, tart cranberries, and crisp golden skin.
The Heat Timing That Keeps the Glaze Glossy Instead of Burnt
The biggest mistake with maple-glazed roast chicken is adding the glaze too early. Maple syrup caramelizes fast, and at 425F it can go from glossy to bitter before the chicken has finished cooking. That first long stretch in the oven is for browning and rendering the skin; the glaze belongs near the end, when the bird already has color and only needs a final finish.
The other thing people miss is how much the pan sauce depends on the chicken roasting uninterrupted for the first 50 minutes. That gives the onions time to soften and the drippings time to build depth. Once the cranberries go in, they burst from the heat and the broth loosens everything into a spoonable sauce instead of a sticky glaze trapped on the bird.
- Whole chicken — A 5-pound bird is the sweet spot for this timing. Smaller chickens cook faster and can dry out before the glaze has a chance to thicken; much larger birds need more time and a lower oven to avoid burning the outside.
- Butter — Softened butter is what helps the rosemary cling and gives the skin that rich, even browning. Olive oil can work in a pinch, but it won’t give the same plush, savory finish.
- Maple syrup — Use real maple syrup, not pancake syrup. The real thing reduces into a clean, rounded sweetness, while imitation syrup can taste flat and gluey once it hits the oven.
- Fresh cranberries — Fresh berries burst in the roasting pan and keep their tart edge. Frozen can work, but don’t thaw them first or they’ll release too much liquid and thin out the sauce.
- Dijon mustard — Dijon keeps the glaze from reading sugary and helps it cling to the skin. Whole grain mustard also works, but the sauce will look a little rougher and the flavor will be sharper.
What Each Ingredient Is Actually Doing in This Recipe
- Primary ingredient (the star) — Quality matters most. Choose the best you can find.
- Cooking medium (oil, butter, or broth) — This carries flavors and prevents dryness.
- Seasonings (salt, pepper, spices, herbs) — Layer flavors so nothing overpowers. Build depth gradually.
- Aromatics (garlic, onion, herbs) — Cook with fat to bloom flavors. Become the foundation.
- Supporting ingredients — Complement the main ingredient without overpowering it.
- Sauce or liquid (if applicable) — Brings flavors together. Balance richness with acid.
- Acid (lemon, vinegar, wine, or other) — Brightens and prevents flat-tasting results.
- Final finish (garnish, glaze, or sauce) — Prevents one-dimensional taste and adds visual appeal.
Building the Bird So the Skin Stays Crisp
Preheating to 425F gives you the head start you need for browning. Pat the chicken dry before anything else; if the skin is damp, the butter won’t adhere well and the surface will steam before it crisps. Rub the rosemary butter under and over the skin so the seasoning reaches the meat and the outside still gets enough fat to blister and brown.
When you stuff the cavity with orange and garlic, don’t pack it tight. Air needs to move through the bird so the interior cooks evenly, and overstuffing slows that down. Set the chicken on the onions in the roasting pan, breast side up, and let it roast untouched until the first 50-minute mark. That’s when the structure is set and ready for glaze, not before.
Seasoning and Buttering the Skin
Salt and pepper go on both the outside and inside of the chicken so every bite tastes seasoned, not just the surface. Work the butter under the skin gently so you don’t tear it; if the skin rips, the butter leaks out and the breast meat loses some of its protection. The rosemary should be finely chopped so it spreads evenly and doesn’t burn in little clumps.
Loading the Pan for Roasting
The onion wedges do more than add flavor. They create a bed that keeps the chicken from sitting directly on the pan, which helps the heat circulate and gives the drippings a place to collect. Tuck the orange halves and garlic into the cavity after the bird is seasoned so the juices stay inside while it roasts.
Brushing on the Maple Cranberry Finish
Whisk the maple syrup and Dijon together before brushing anything on the chicken. That mixture should look smooth and loose enough to spread; if it sits too long, stir it again so the mustard doesn’t settle. Add the cranberries and broth to the pan after the first roast, then brush on half the glaze and return the chicken to the oven. The final brush-on during the last stretch gives you shine without scorching.
Honey-Dijon Chicken Instead of Maple
If you’re out of maple syrup, honey gives you a similar gloss and sweetness, but it caramelizes a little faster. Cut the final roast time by a few minutes and watch the skin closely so the sugars don’t darken too much. The flavor will be slightly floral instead of woodsy.
Dairy-Free Roast Chicken
Swap the butter for olive oil or a dairy-free butter spread. You’ll lose a little of the rich, savory flavor that butter gives under the skin, but the chicken will still roast up with crisp skin and a glossy glaze if you keep the surface well coated.
Using Dried Rosemary
Dried rosemary works if fresh isn’t around, but use less because the flavor concentrates as it roasts. Crush it between your fingers before mixing it into the butter so it doesn’t stay dusty and harsh. Fresh still gives the cleanest herbal note.
Storage and Reheating
- Refrigerator: Store leftovers in an airtight container for up to 4 days. The skin won’t stay crisp, but the meat stays juicy and the pan sauce gets even better.
- Freezer: The carved chicken freezes well for up to 2 months. Freeze the meat and sauce separately if you can so the cranberries don’t turn mushy when thawed.
- Reheating: Reheat covered in a 325F oven with a spoonful of broth or pan sauce until warmed through. Microwaving dries out the breast fast, which is the quickest way to lose what makes this roast chicken special.
Answers to the Questions Worth Asking
Cranberry Maple Roast Chicken
Ingredients
Equipment
Method
- Preheat the oven to 425°F. Position a roasting pan in the oven so it heats up while you prepare the chicken.
- Season the chicken inside and out with salt and black pepper. Rub the softened butter mixed with chopped rosemary under and over the skin.
- Stuff the cavity with orange halves and halved garlic. Place the chicken in a roasting pan and tuck red onion wedges around it.
- Roast the chicken for 50 minutes at 425°F. Look for the skin to start turning golden.
- Whisk maple syrup and Dijon mustard, then brush half over the chicken. Keep the remaining glaze for later brushing.
- Add fresh cranberries and chicken broth to the pan around the chicken. Continue roasting at 425°F for 25–30 minutes.
- Brush the chicken with the remaining glaze during the final roasting time. Roast until the thigh reaches 165°F, with cranberries bursting and the skin lacquered.
- Rest the chicken for 15 minutes before carving. Loosen the pan drippings into a sauce consistency.
- Carve the chicken and spoon the cranberry pan sauce over the top. Serve hot, using the pan juices to coat the meat.