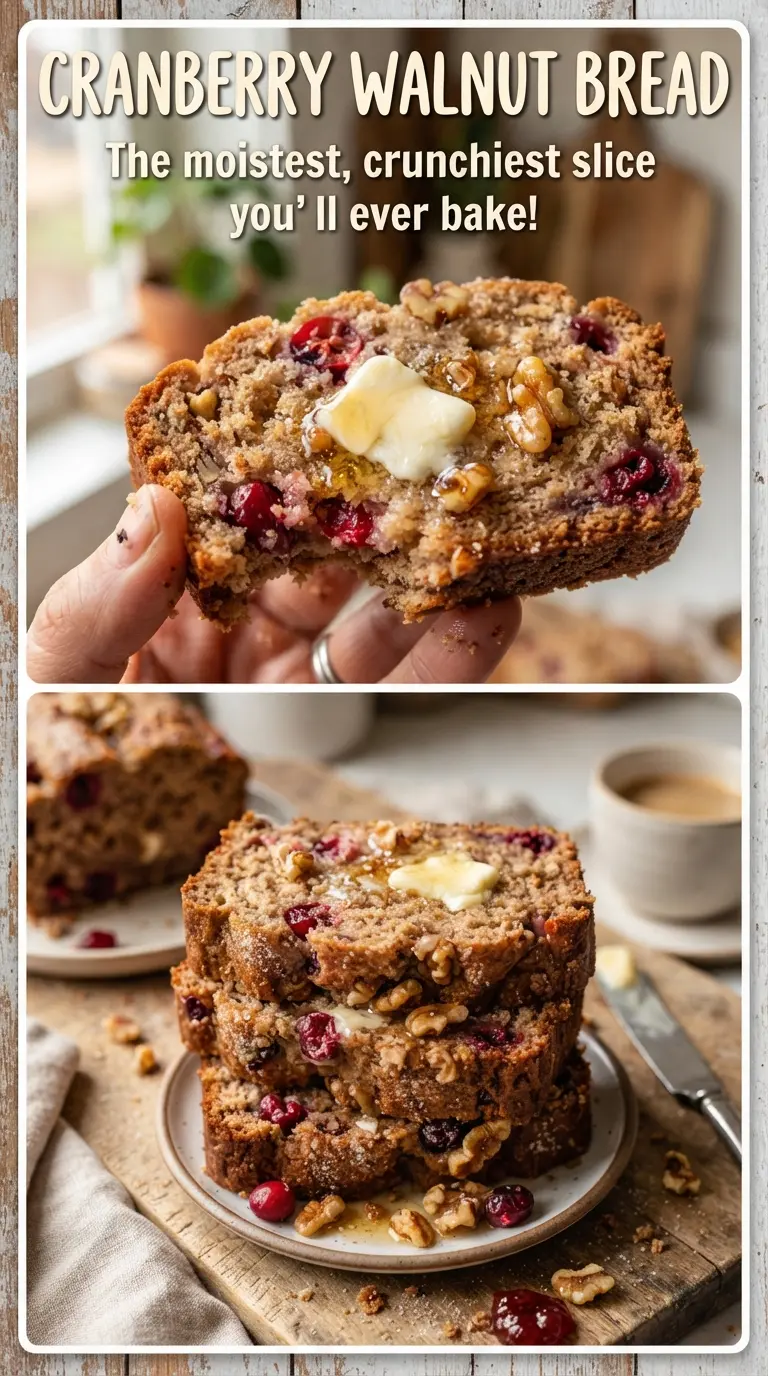
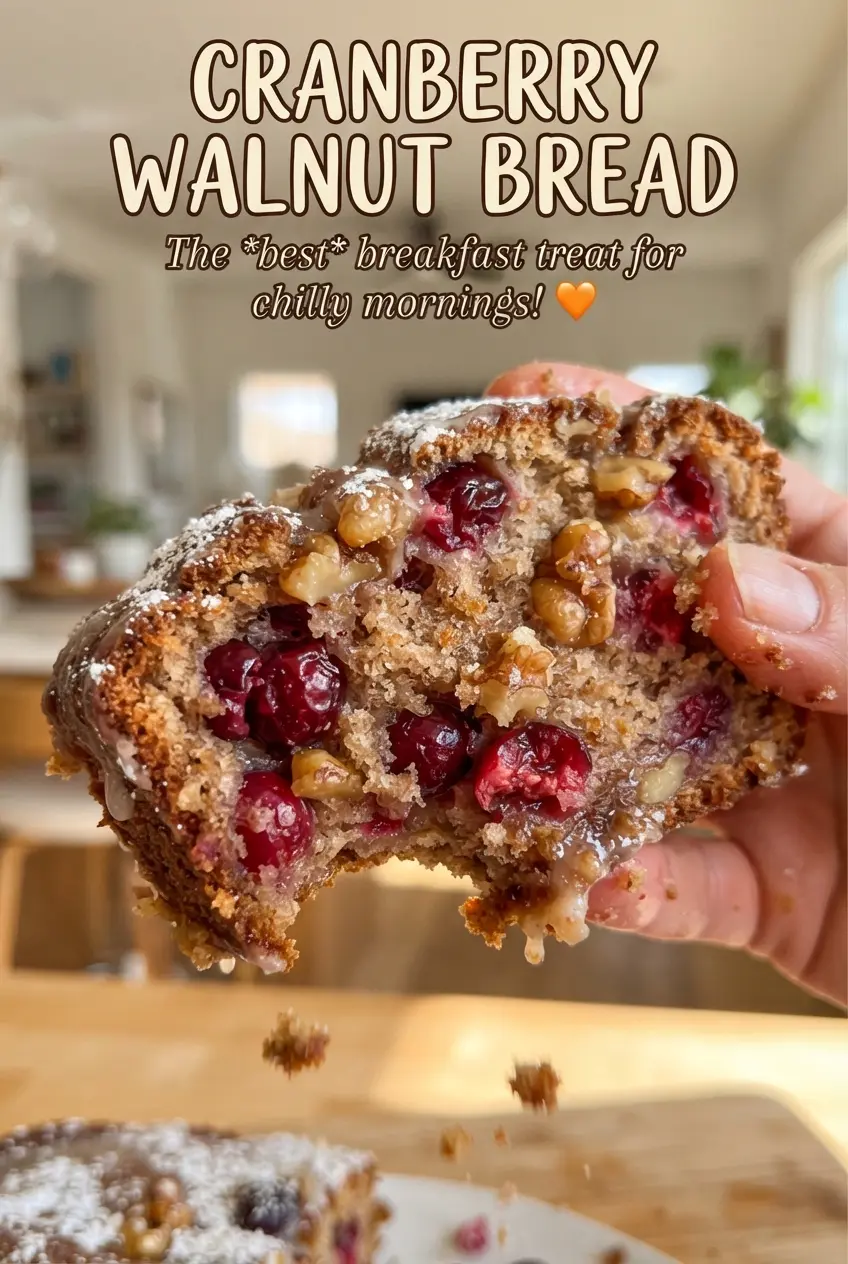
Thick slices of cranberry walnut bread bring a sharp pop of fruit, toasted nut crunch, and a tender crumb that stays moist without turning heavy. The orange zest runs through every bite and keeps the loaf from tasting flat or overly sweet, which is exactly why this version earns repeat status around my kitchen. It slices cleanly once cooled, but the texture inside stays soft and just a little springy.
The trick is keeping the batter barely mixed. Quick bread gets tough fast when the flour is worked too much, and that’s the difference between a loaf with a delicate crumb and one that feels dense in the middle. Chopped cranberries distribute better than whole ones, and toasting the walnuts first gives the bread a deeper, warmer flavor instead of a raw nut taste.
Below, I’ve included the small details that matter most: how to keep the fruit from sinking, why orange juice works better here than milk, and what to watch for in the final minutes so the loaf bakes through without drying out.
The loaf stayed moist for days, and the orange zest made the cranberries taste brighter instead of sour. I toasted the walnuts like you said and the crunch was perfect in every slice.
Save this cranberry walnut bread for a loaf that slices beautifully and brings bright orange, tart cranberries, and toasted walnuts together in every bite.
The Part That Keeps Cranberry Bread Tender Instead of Heavy
Quick breads live or die by how much they’re mixed. Once the flour hits the wet ingredients, gluten starts building, and that’s where a lot of loaves turn bouncy, tight, or a little rubbery instead of soft. Stir only until the dry streaks disappear, then stop. The batter should look a little rough, and that’s a good sign.
The other thing that matters here is moisture balance. Cranberries release juice as they bake, which is great for flavor but can make the center gummy if the batter is overworked or the loaf is pulled too early. Chopping the berries helps them disperse more evenly, and the loaf is done when a tester comes out with just a few moist crumbs, not wet batter.
- Orange zest — This does more than perfume the loaf. It brightens the whole batter and keeps the cranberries tasting lively instead of sharp. Don’t skip the zest if you want the flavor to taste layered instead of one-note.
- Orange juice — Fresh juice gives the bread its main liquid and adds gentle acidity, which helps the crumb stay soft. Bottled juice works in a pinch, but fresh zest and fresh juice together make the biggest difference.
- Butter — Melted butter gives a richer crumb than oil and sets the flavor in a more bakery-style direction. It should be melted, not hot, so it doesn’t scramble the egg or make the batter greasy.
- Walnuts — Toasting them first matters. Untoasted walnuts can taste flat after baking, while toasted nuts stay fragrant and crisp against the soft bread.
What Each Ingredient Is Actually Doing in This Recipe
- Primary ingredient (the star) — Quality matters most. Choose the best you can find.
- Cooking medium (oil, butter, or broth) — This carries flavors and prevents dryness.
- Seasonings (salt, pepper, spices, herbs) — Layer flavors so nothing overpowers. Build depth gradually.
- Aromatics (garlic, onion, herbs) — Cook with fat to bloom flavors. Become the foundation.
- Supporting ingredients — Complement the main ingredient without overpowering it.
- Sauce or liquid (if applicable) — Brings flavors together. Balance richness with acid.
- Acid (lemon, vinegar, wine, or other) — Brightens and prevents flat-tasting results.
- Final finish (garnish, glaze, or sauce) — Prevents one-dimensional taste and adds visual appeal.
Building the Batter and Baking the Loaf at the Right Moment
Mix the dry ingredients first
Whisk the flour, sugar, baking powder, baking soda, salt, and orange zest together until the zest is evenly distributed and no clumps remain. That step keeps the flavor from staying in one spot and helps the leavening work evenly through the loaf. If the zest is left in one damp patch, you’ll get an uneven bite instead of a bright citrus note throughout.
Bring the wet ingredients together
Whisk the orange juice, egg, melted butter, and vanilla until the mixture looks smooth and a little glossy. The butter should be warm enough to stay liquid but not hot enough to cook the egg. If the butter starts to firm up on contact, the batter can look broken before it’s even mixed, so let it cool for a minute before adding it in.
Stop the batter before it turns tight
Pour the wet mixture into the dry ingredients and stir only until the flour disappears. A few streaks are fine because the folding stage finishes the job. If you keep stirring past that point, the bread will bake up heavy and the top may crack unevenly instead of rising into a neat dome.
Fold in the fruit and nuts, then bake right away
Add the chopped cranberries and walnuts and fold just enough to distribute them. Scrape the batter into the prepared loaf pan, level the top, and get it into the oven without letting it sit around. Quick bread batter starts to lose lift once the leavening is hydrated, so the sooner it bakes, the better the rise and crumb.
How to Adapt This Loaf Without Losing What Makes It Work
Gluten-Free Version
Use a 1:1 gluten-free baking blend that already includes xanthan gum. The texture will be a little more delicate and the crumb may be slightly less springy, but the loaf still slices well if you let it cool completely before cutting.
Walnut-Free Swap
Leave out the walnuts and replace them with chopped pecans or sunflower seeds for a similar bite. Pecans keep the loaf buttery and soft, while sunflower seeds add crunch without changing the flavor as much as another nut would.
Dairy-Free Loaf
Swap the melted butter for an equal amount of neutral oil or a plant-based butter that melts cleanly. Oil gives the softest crumb and keeps the loaf moist for a little longer, while plant-based butter keeps the flavor closer to the original.
Storage and Reheating
- Refrigerator: Store tightly wrapped for up to 5 days. The crumb firms up a bit in the fridge, but the flavor stays good.
- Freezer: Freezes well. Wrap the whole loaf or individual slices in plastic, then foil, and freeze for up to 3 months.
- Reheating: Thaw at room temperature, then warm slices briefly in a toaster oven or low oven. Don’t microwave too long or the cranberries can turn chewy and the bread can go gummy.
Answers to the Questions Worth Asking
Cranberry Walnut Bread
Ingredients
Equipment
Method
- Preheat the oven to 350F. Grease and line a 9x5-inch loaf pan.
- Whisk all-purpose flour, sugar, baking powder, baking soda, salt, and orange zest in a bowl. Whisk until evenly combined.
- Whisk orange juice, large egg, melted butter, and vanilla extract in a separate bowl. Mix until smooth and uniform.
- Stir the wet ingredients into the dry ingredients just until moistened. Stop as soon as no dry flour pockets remain.
- Fold in fresh or frozen cranberries, roughly chopped, and walnuts, toasted and chopped. Mix until the add-ins are evenly distributed.
- Spread the batter into the prepared 9x5-inch loaf pan. Level the top so it bakes evenly.
- Bake at 350F for 55-60 minutes, until golden and a toothpick comes out clean. Rotate the pan once halfway through for even browning.
- Cool the loaf in the pan for 10 minutes. This sets the crumb for cleaner slicing.
- Turn the loaf out onto a rack to cool completely before slicing. Wait until fully cool for the best texture.