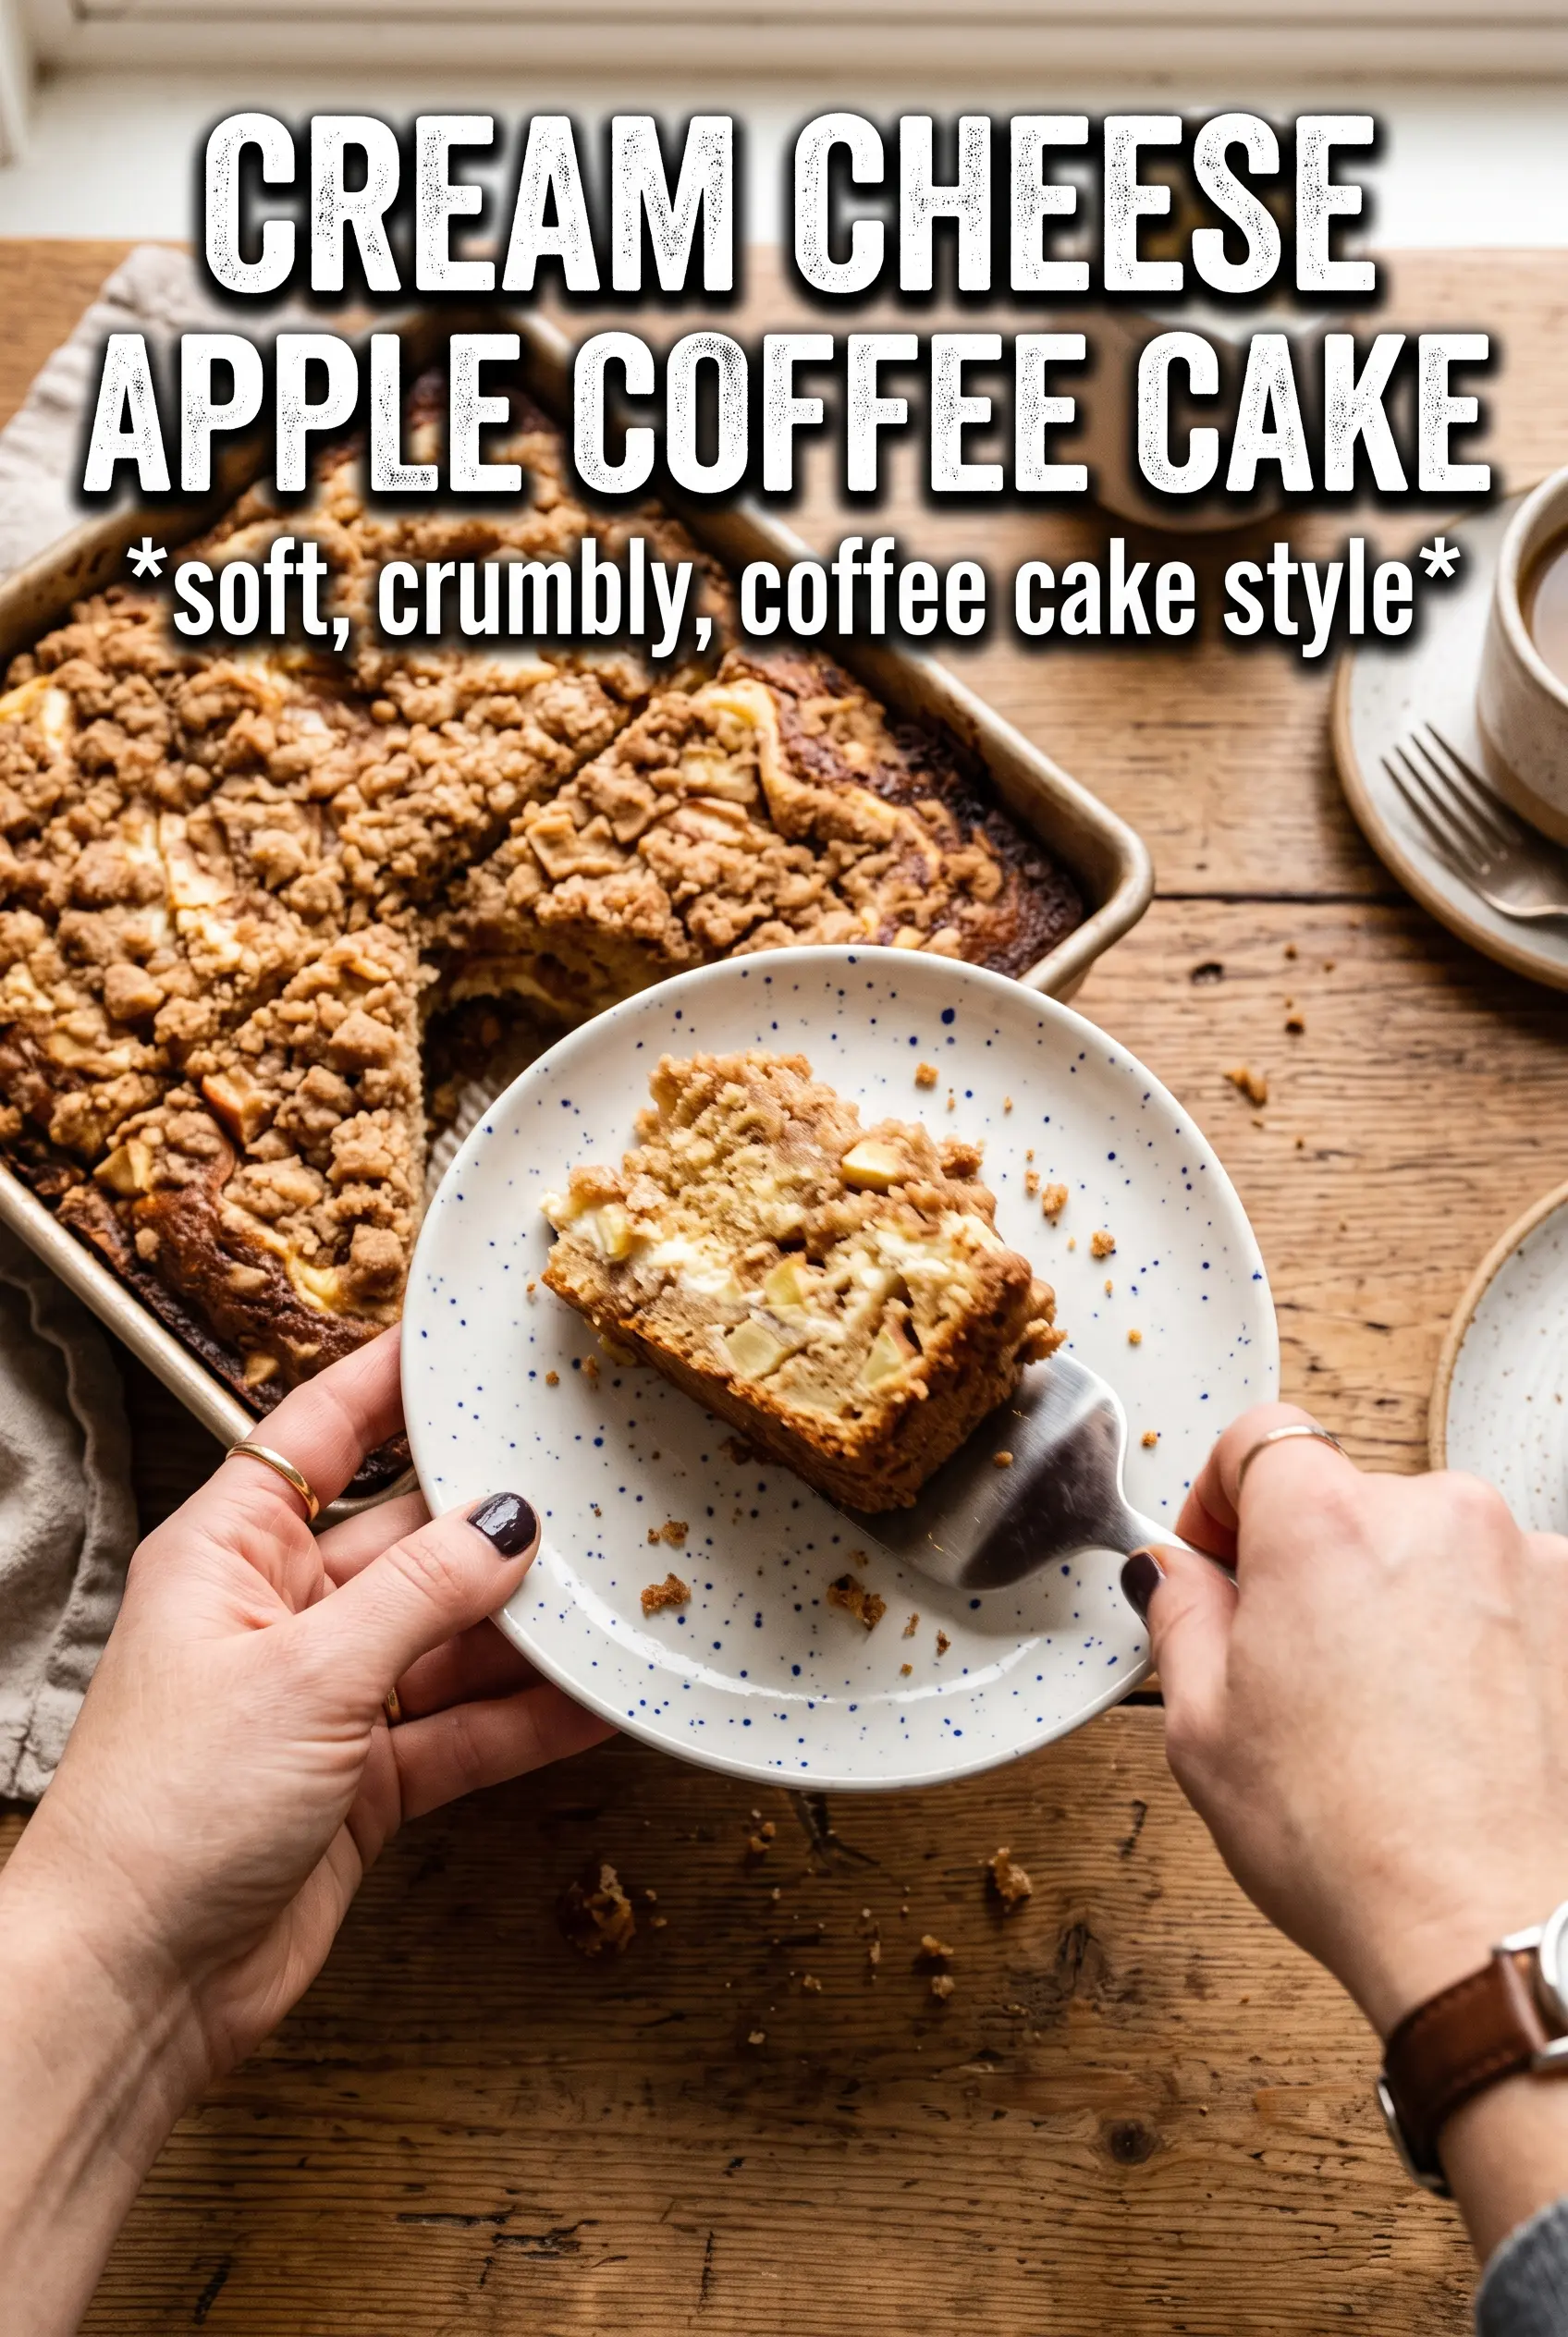
Soft coffee cake, a tangy cream cheese ribbon, and cinnamon apples tucked into every bite make this the kind of breakfast pan that disappears fast. The streusel bakes into a crisp, buttery cap, while the middle stays tender instead of dry or heavy. You get layers that taste distinct on the first bite, then melt together just enough by the second.
The trick is keeping each layer in its lane. The cream cheese mixture needs to be smooth before it goes on, the apples should be lightly tossed so they don’t dump excess juice into the batter, and the streusel has to start with cold butter so it bakes up crumbly instead of pasty. I like using sour cream in the cake because it gives the crumb a little tang and keeps the texture plush even after the cake cools.
Below you’ll find the small details that matter here: how to spread the cream cheese without dragging the batter up with it, what kind of apples hold their shape best, and how to know when the center is baked through without overbaking the edges.
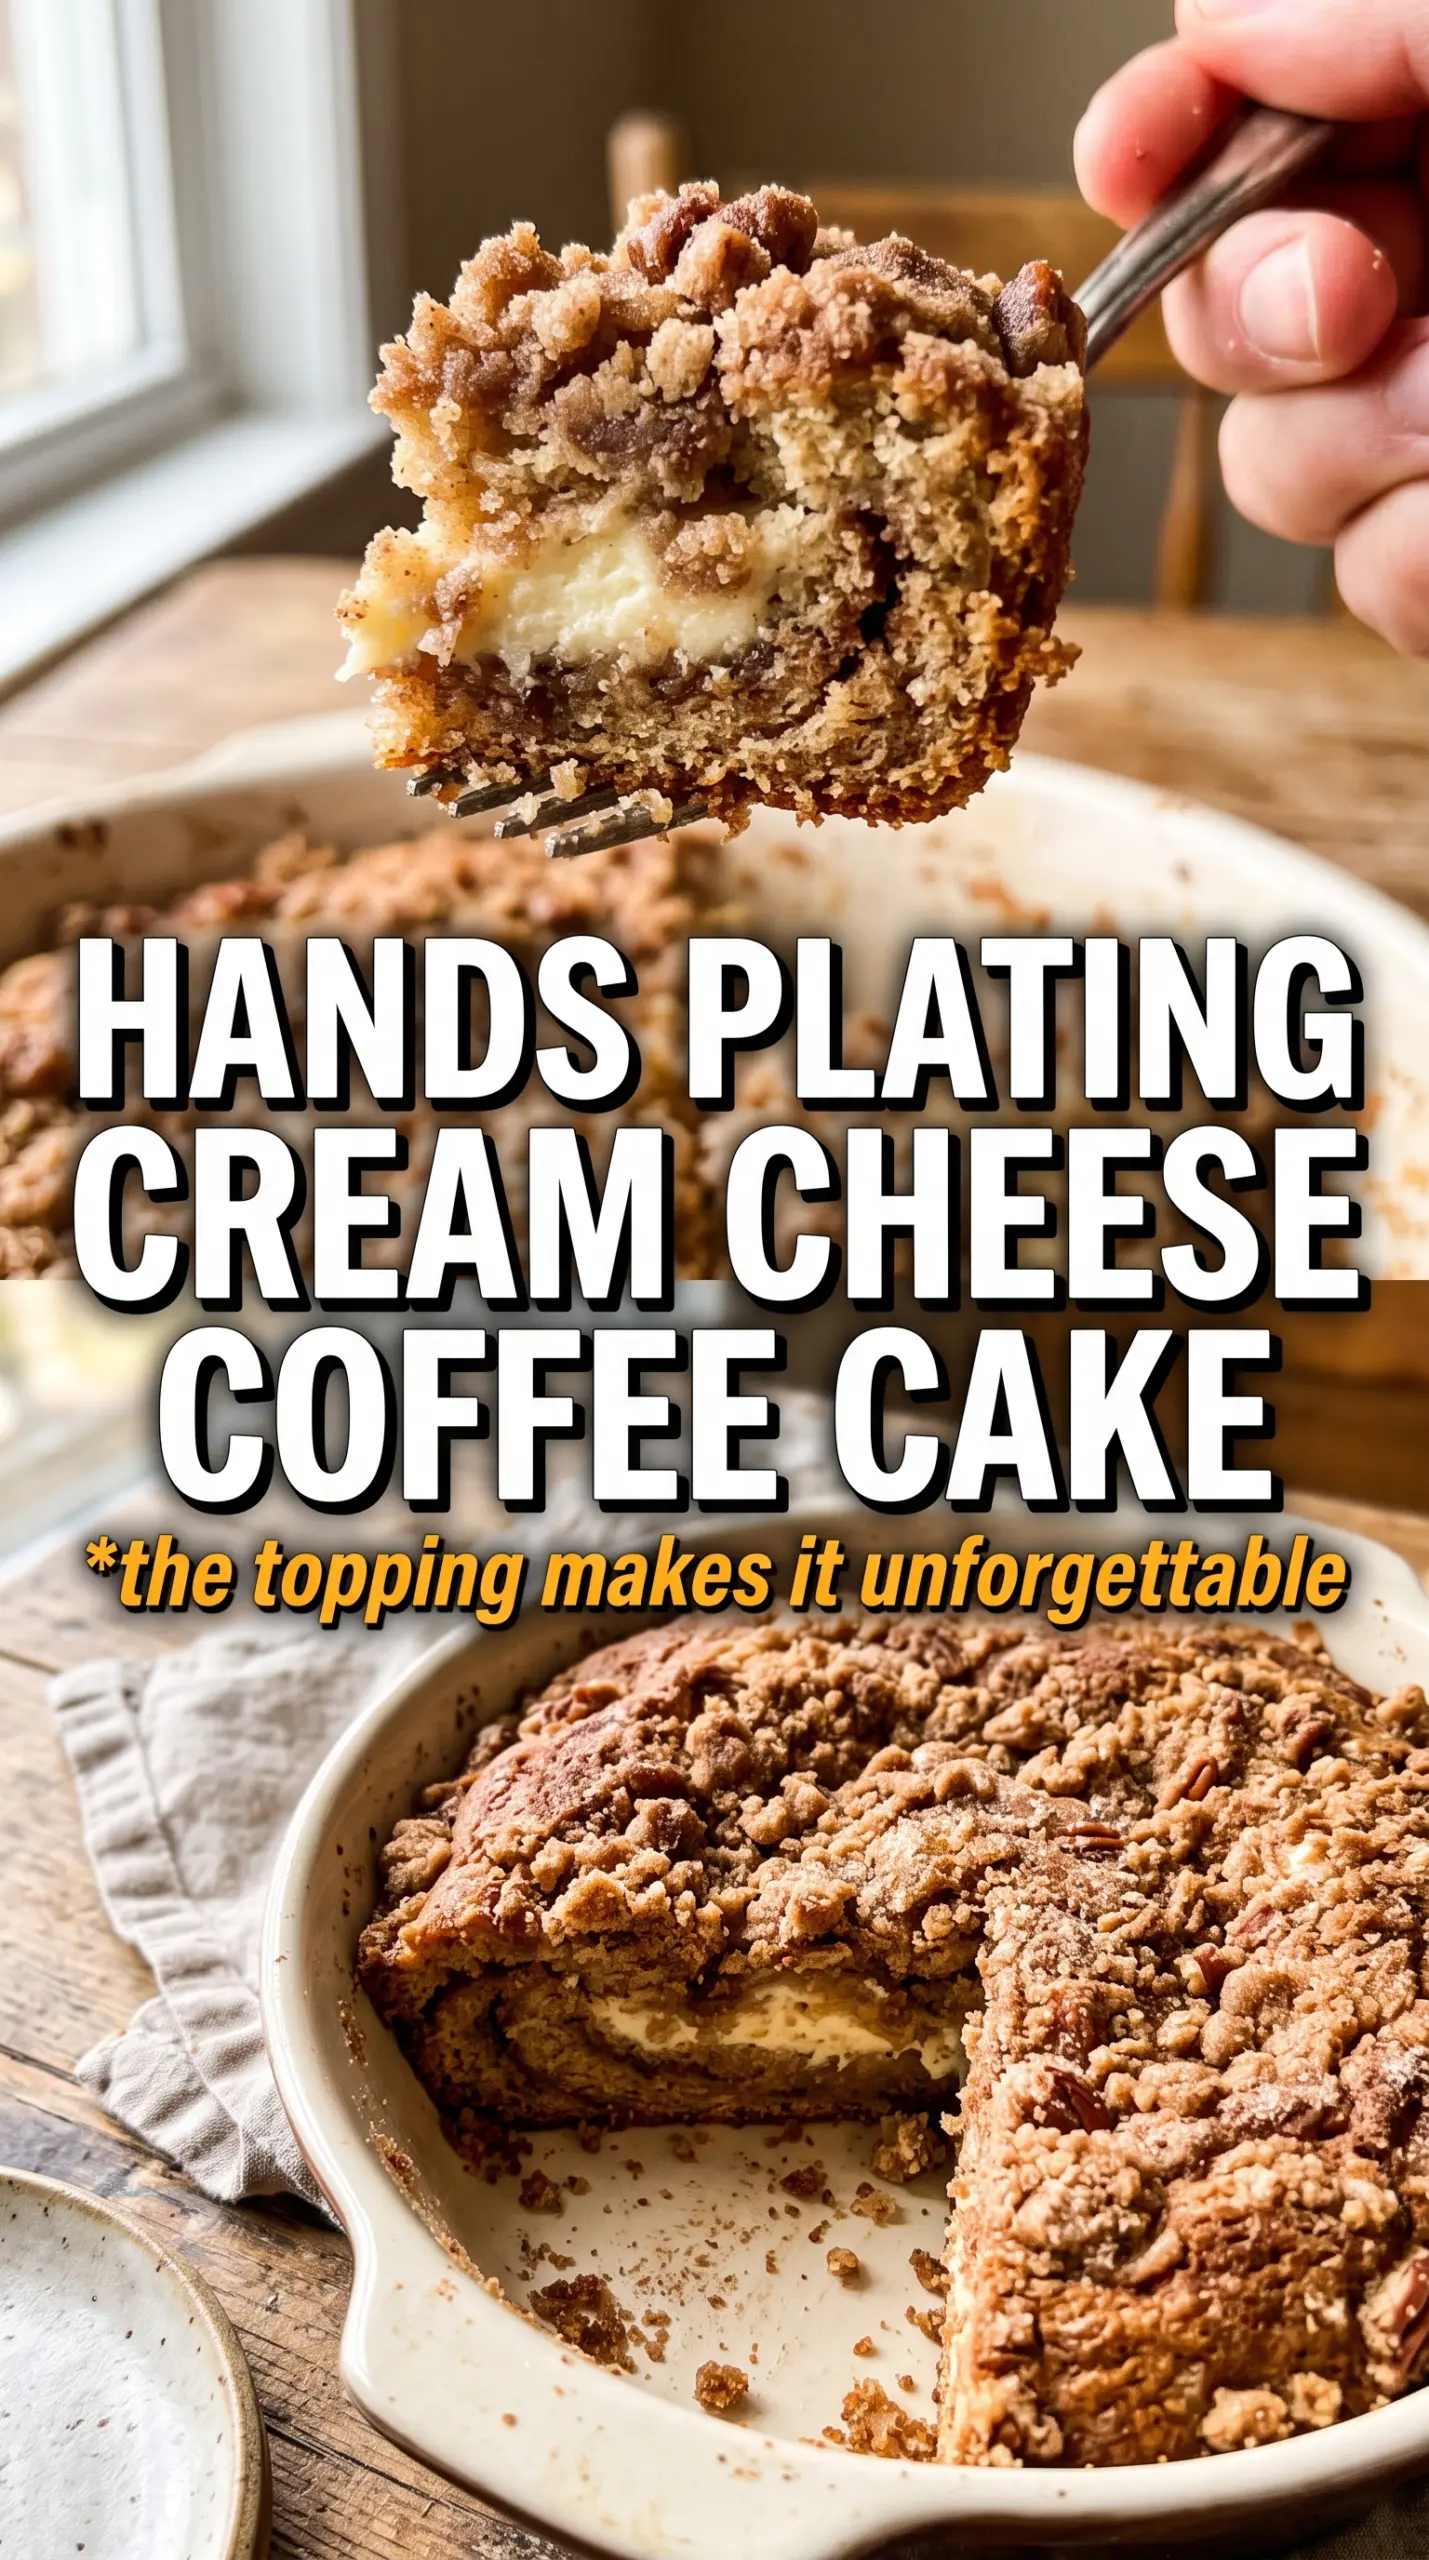
The cream cheese layer stayed creamy instead of sinking, and the apples softened just enough without turning mushy. I baked it for 48 minutes, and the streusel came out crisp around the edges like a bakery coffee cake.
Cream Cheese Apple Coffee Cake is the one to pin when you want a buttery streusel, a tangy middle, and baked apples in every slice.
The Reason the Cream Cheese Layer Stays Put Instead of Melting Into the Cake
This coffee cake works because the batter is sturdy enough to support the filling, but still soft enough to bake around it. If the base is too loose, the cream cheese layer sinks and the apples disappear into the crumb. If the cream cheese is overmixed or too thin, it spreads like frosting and blends into the cake instead of sitting in a clean layer.
The other thing that matters is order. Batter goes in first, then the cream cheese mixture, then the apples, then the streusel. That sequence gives the cake structure before the wetter ingredients go on top, which is why the layers stay visible when you cut into it.
- Sour cream — This keeps the crumb tender and gives the cake a little tang that plays nicely with the cream cheese. Plain full-fat yogurt works in a pinch, but sour cream gives the most reliable texture.
- Apples — Use a firm baking apple so the pieces hold their shape. Very soft apples turn mushy and bleed juice into the cake.
- Cold butter for the streusel — Cold butter is what makes the topping sandy and crisp. If it softens too much, you get a paste instead of crumbs.
What Each Part of the Batter Is Doing
- All-purpose flour — This is the backbone of the cake. Cake flour would make it a little softer and less sturdy, which isn’t ideal once the cream cheese and apples are layered on top.
- Butter and sugar — Creaming them together traps air, which helps the cake lift. Don’t rush this part; the mixture should look lighter in color and fluffy around the edges of the bowl.
- Eggs and vanilla — The eggs bind the batter, and vanilla rounds out the tang from the cream cheese. Room temperature eggs mix in more smoothly and help the batter stay even.
- Cream cheese filling — This should be beaten until smooth before it goes on the batter. Any lumps will stay lumps after baking, so soften it fully before mixing.
- Cinnamon apples — The sugar and cinnamon coat the diced apples just enough to draw out a little juice and perfume the filling. Skip the extra sugar if your apples are very sweet, but keep the cinnamon.
Building the Layers So They Bake Up Clean
Make the streusel first
Combine the flour, brown sugar, and cinnamon, then cut in the cold butter until the mixture looks like damp sand with pea-sized crumbs. If the butter starts to smear, stop and chill the bowl for a few minutes. A good streusel holds together when pinched, but still breaks apart easily when scattered.
Whip the cream cheese filling until smooth
Beat the cream cheese with the sugar, egg, and vanilla until the mixture looks glossy and lump-free. Scrape the bowl well; a hidden chunk of cream cheese won’t disappear in the oven. This layer should be thick enough to dollop, not runny enough to pour.
Mix the cake batter just until it comes together
Cream the butter and sugar until pale, then beat in the eggs and vanilla. Add the dry ingredients in alternating additions with the sour cream, mixing only until the flour streaks disappear. If you overmix here, the cake turns tight and bready instead of tender.
Assemble without dragging the layers together
Spread the batter in the pan, then spoon the cream cheese mixture over the top in patches and gently spread it into an even layer. The easiest mistake is pressing too hard and pulling the cake batter up into the filling. After that, scatter the apples evenly and finish with the streusel, covering the surface from edge to edge.
Bake until the center is set, not dry
Bake at 350°F until the top is golden and a toothpick inserted into the cake part comes out clean or with just a few moist crumbs. The cream cheese layer can still look slightly soft in the center when the cake is done; that’s normal as long as it isn’t wet. If the streusel is browning too fast, lay a loose piece of foil over the top for the last 10 minutes.
How to Adapt It When You Need a Different Pantry or a Different Pan
Dairy-Free Version
Use a plant-based butter, a thick dairy-free yogurt in place of the sour cream, and a dairy-free cream cheese that holds its shape when baked. The texture will be a little softer and the tang a little different, but the layered structure still works if the cream cheese substitute is thick.
Gluten-Free Swap
Use a 1:1 gluten-free baking flour that includes xanthan gum. The crumb will be slightly more delicate, so let the cake cool fully before slicing or the layers can separate.
Different Apples, Different Result
Granny Smith gives you a firmer, tarter bite, while Honeycrisp or Pink Lady brings more sweetness and a softer finish. Avoid apples that collapse into applesauce when baked, because the extra moisture can make the center heavy.
Storage and Reheating
- Refrigerator: Store covered for up to 4 days. The cream cheese layer firms up in the fridge, so the slices cut cleaner the next day.
- Freezer: Freeze individual slices wrapped well, then tucked into a freezer bag for up to 2 months. Thaw overnight in the refrigerator for the best texture.
- Reheating: Warm slices in a 300°F oven for 8 to 10 minutes, or microwave briefly in 15-second bursts. Long microwaving makes the streusel soft and the cream cheese layer greasy.
Questions I Get Asked About This Recipe
Cream Cheese Apple Coffee Cake
Ingredients
Equipment
Method
- Preheat oven to 350F and grease a 9x13 dish so the cake releases cleanly.
- Make the streusel by combining flour, brown sugar, and cinnamon, then cut in the cold butter until the mixture looks like coarse crumbs.
- Beat the cream cheese layer until smooth and creamy, then set aside.
- Toss the apple layer ingredients together so the diced apples are evenly coated with sugar and cinnamon.
- Beat the butter and granulated sugar until fluffy, then add the eggs and vanilla and mix until incorporated.
- Alternate adding the flour mixture and sour cream into the batter, mixing just until no dry streaks remain.
- Spread the batter in the pan, then dollop the cream cheese over the top and spread gently.
- Top with the cinnamon apples, then scatter the streusel over everything for a crumbly golden layer.
- Bake for 45–50 minutes at 350F until a toothpick comes out clean and the streusel is set and lightly browned.