Crock Pot apple crisp turns out with the kind of soft, cinnamon-kissed filling and buttery oat topping that disappears fast when it hits the table. The slow cooker gives the apples time to melt down without turning them to applesauce, and the topping stays crumbly instead of dry and dusty. A spoonful with vanilla ice cream is all it takes to understand why this one earns repeat status.
The trick is keeping the topping on top and the moisture under control. The apples release a fair amount of juice as they cook, so the paper towel layer under the lid matters more than most people expect. It catches the condensation before it rains back onto the crumble. I also like using a mix of granulated and brown sugar in the filling because it sweetens the apples without making them taste heavy.
Below, I’m walking through the few details that keep the topping from going soggy, plus a couple of smart swaps if you need to work with different apples or want a crispier finish.
The topping actually stayed crumbly instead of getting soggy, and the apples were tender but not mushy after 3 hours on low. I loved that the cinnamon flavor went all the way through the filling.
Save this Crock Pot apple crisp for the days when you want tender apples, a crumbly oat topping, and dessert without turning on the oven.
The Part That Keeps the Topping Crisp Instead of Damp
Slow cooker apple crisp has one built-in challenge: apples give off moisture, and the lid traps it. If you skip the paper towel layer, that steam condenses and drips back onto the oat mixture, which is how a crisp turns soft on top before the apples are even tender. The towel acts like a simple moisture shield, and it makes a bigger difference than any fancy ingredient swap.
Using a mix of sugars in the filling helps too. Granulated sugar brings clean sweetness, while brown sugar adds a deeper caramel note that plays well with cinnamon and nutmeg. You want the apples coated, not swimming. If the fruit looks glossy and well seasoned before it goes into the slow cooker, you’re on the right track.
What Each Ingredient Is Actually Doing Here
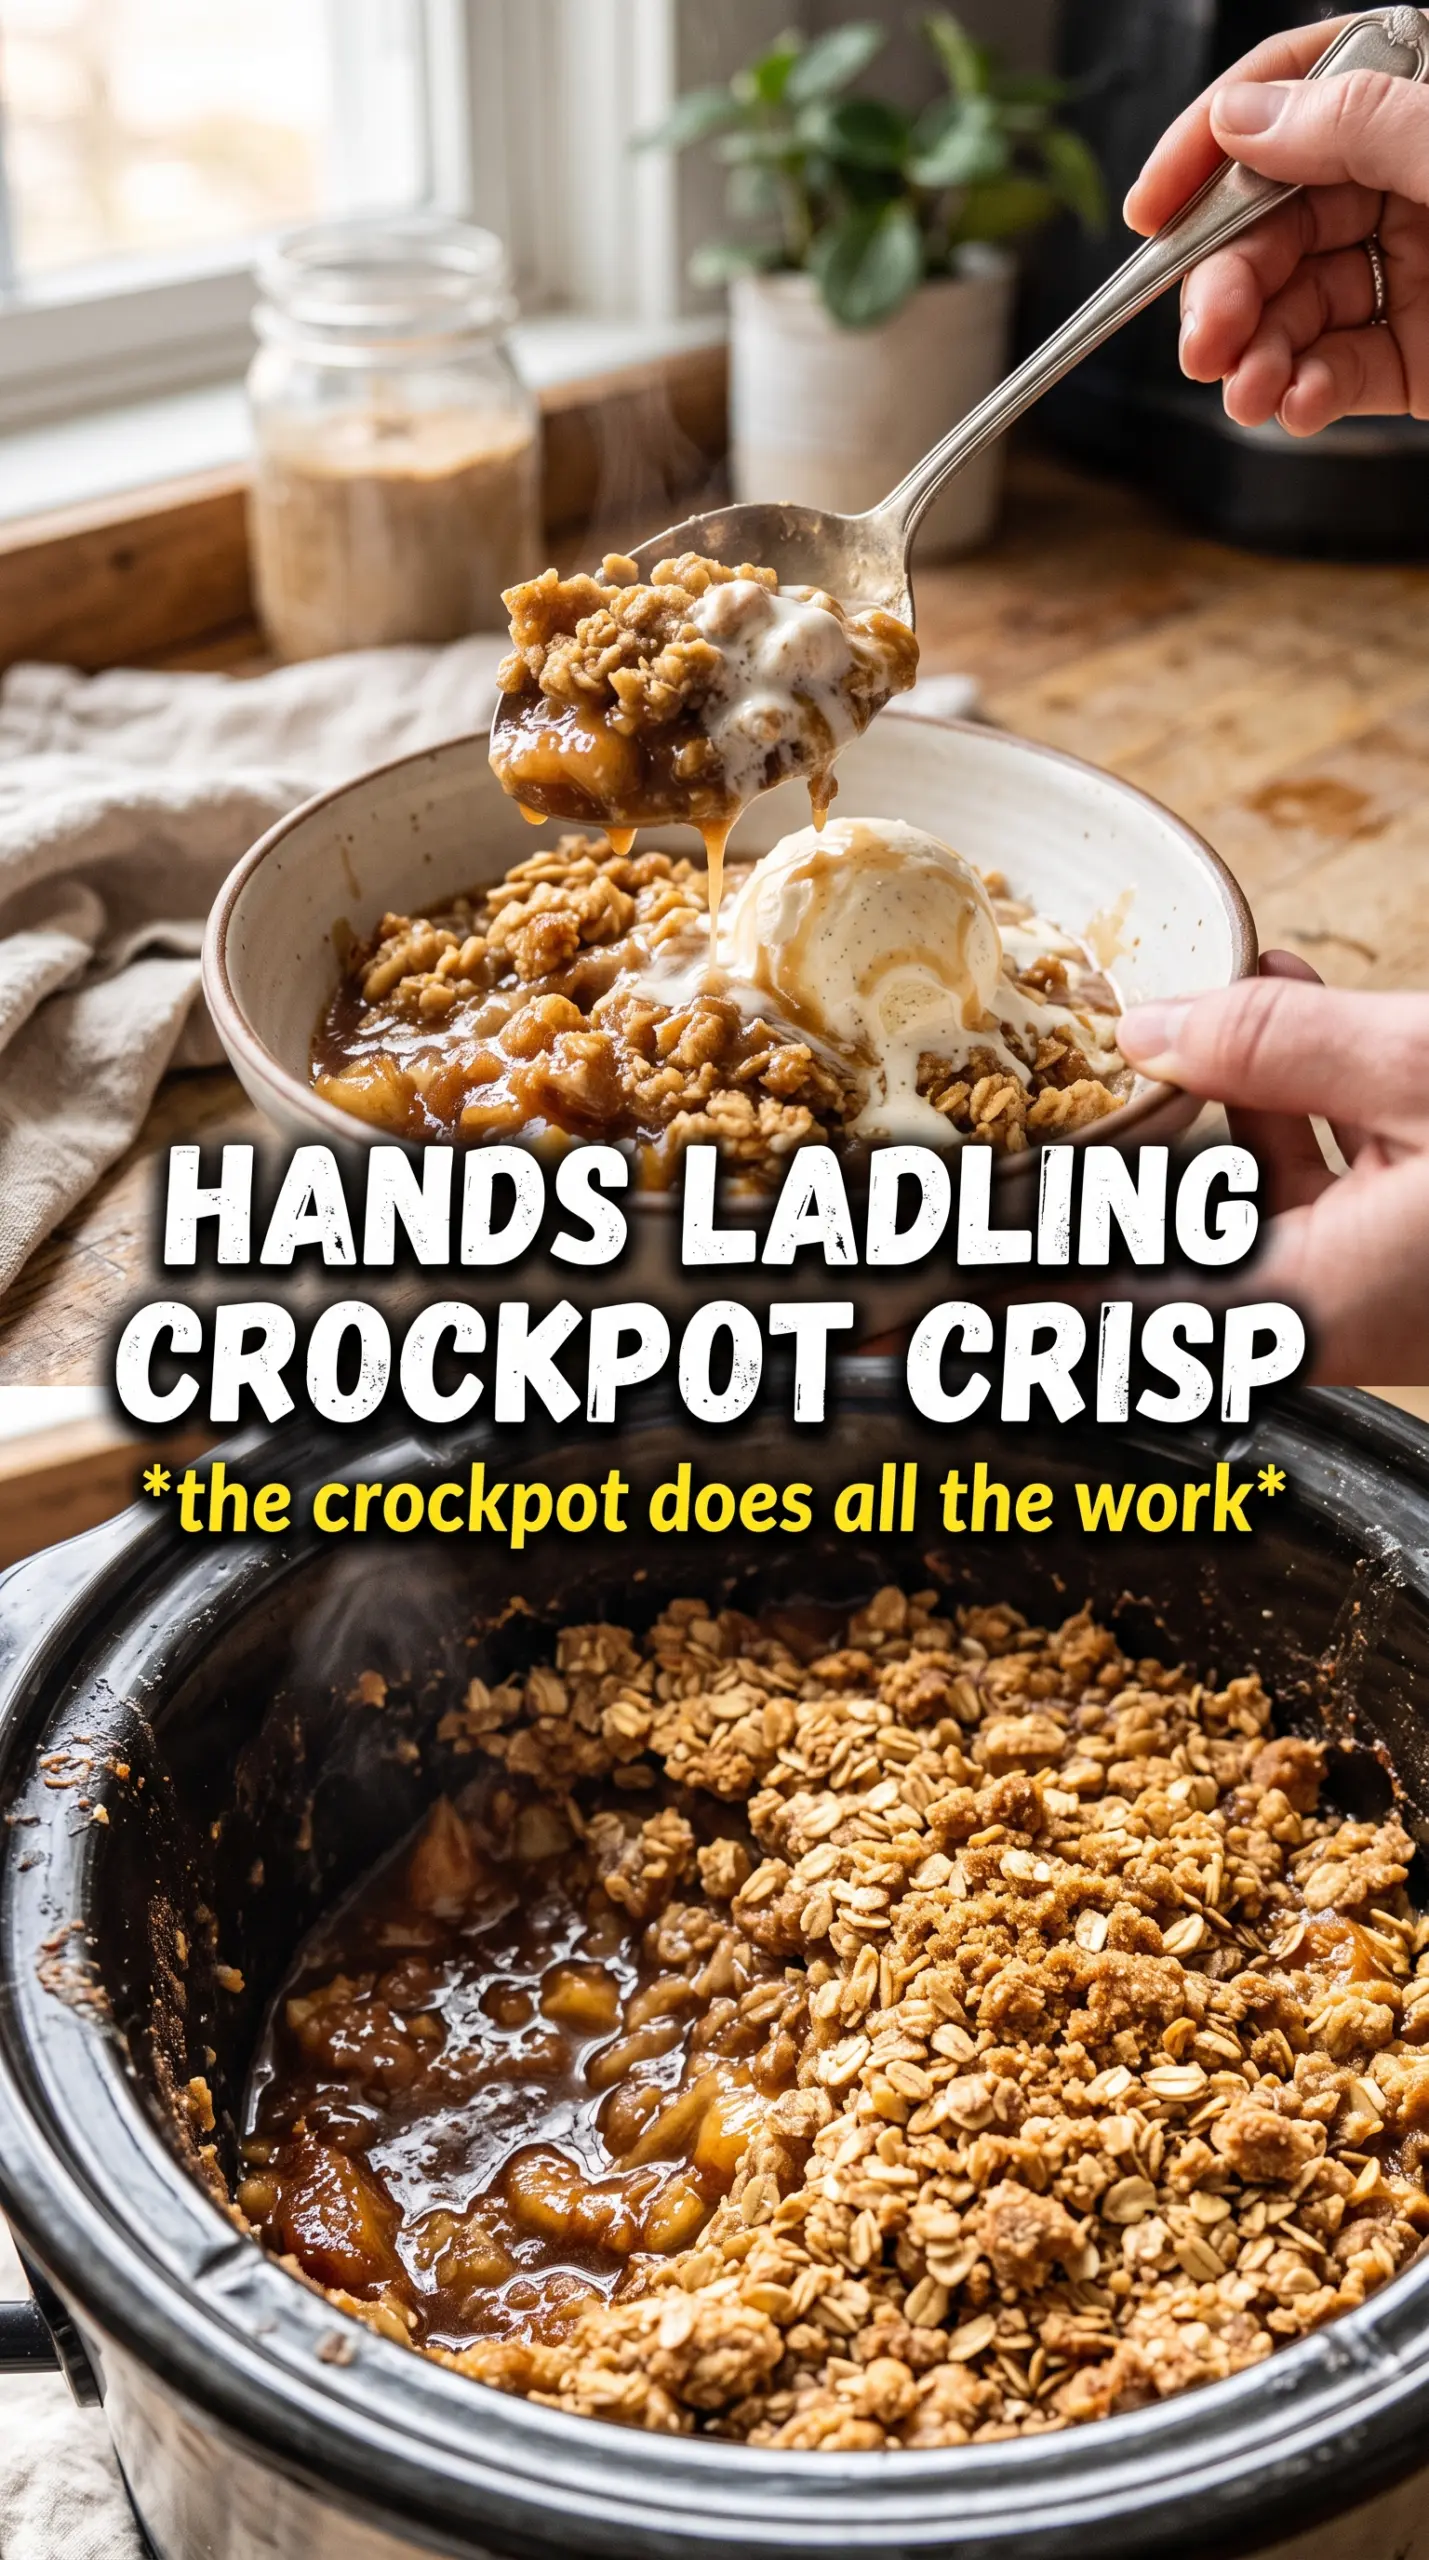
- Apples — Use firm baking apples so they hold their shape during the slow cook. If you use very soft apples, the filling goes mushy before the topping has time to set. A mix of tart and sweet apples gives the best balance, but any sturdy baking apple works.
- Brown sugar and granulated sugar — The two sugars do different jobs. Brown sugar adds depth and a little syrupy richness, while granulated sugar keeps the filling from tasting muddy or overly molasses-heavy. If you only have one, use brown sugar and expect a slightly deeper, softer flavor.
- Cinnamon and nutmeg — Cinnamon is the main note here, and nutmeg rounds it out. Don’t overdo the nutmeg or it takes over the whole dish. Freshly ground nutmeg tastes best, but the jarred version works fine in this kind of dessert.
- Rolled oats — These give the topping its craggy, crisp texture. Quick oats can work in a pinch, but they break down more and make the topping denser. Rolled oats keep that classic crumble.
- Melted butter — This is what helps the topping clump and bake into little golden clusters. If the butter is too hot, it can melt the sugar too fast and make the mixture greasy, so let it cool for a minute before mixing.
Building the Layers So the Crisp Stays Crisp
Tossing the Apples Evenly
Mix the sliced apples with the sugars, spices, and lemon juice until every piece is lightly coated. That lemon juice keeps the apples bright and helps balance the sweetness, and it also slows down browning if you prep the fruit ahead of time. The apples should look seasoned and glossy, not drenched. If there’s a puddle of juice in the bottom of the bowl before cooking, the fruit is too wet and the crisp will end up looser.
Making the Topping Clump
Combine the oats, flour, brown sugar, cinnamon, and salt first, then drizzle in the melted butter and stir until the mixture forms coarse clumps. You’re looking for sandy, pebbly clusters, not a paste. If it looks too dry, add a tiny splash more melted butter; if it looks greasy, the butter was too warm or you added too much. Those clumps are what bake into a crisp topping instead of a dusty layer.
Cooking Without Stirring
Scatter the topping over the apples and leave it alone. Stirring mixes the topping into the fruit juice, and once that happens, you’ve lost the contrast that makes apple crisp worth eating. Cook on low until the apples are tender when pierced and the top looks set around the edges. The center may still look a little softer than an oven-baked crisp, and that’s normal in a slow cooker.
Finishing for Extra Crunch
If you want more color and a firmer top, spoon the crisp into an oven-safe dish and broil it for 3 to 4 minutes. Watch it closely. The topping can go from golden to burnt fast under the broiler, especially because the sugars are already hot. This step is worth it if you want that unmistakable crisp finish right before serving.
How to Adapt This Slow Cooker Apple Crisp Without Ruining the Texture
Make it gluten-free
Use a cup-for-cup gluten-free flour blend in place of the all-purpose flour and check that your oats are certified gluten-free. The texture stays close to the original, though the topping may be a little more delicate and less bready. Don’t swap in almond flour alone, or the crumble turns greasy and loose.
Make it dairy-free
Replace the butter with melted vegan butter or coconut oil. Vegan butter gives the closest result because it behaves more like dairy butter in the topping, while coconut oil adds a faint coconut note and firms up a bit more as it cools. Use refined coconut oil if you want the flavor to stay neutral.
Use a different apple mix
A blend of tart and sweet apples gives the best balance, but you can use whatever baking apples you have. Firmer apples hold their shape; softer ones melt down into a saucier filling. If your apples are very tart, keep the sugar as written. If they’re sweet already, drop the granulated sugar slightly.
Storage and Reheating
- Refrigerator: Store leftovers covered for up to 4 days. The topping softens in the fridge, but the flavor stays good.
- Freezer: It freezes, but the topping loses some of its crunch. Freeze cooled portions in airtight containers for up to 2 months, then thaw in the fridge before reheating.
- Reheating: Warm individual portions in the microwave, or reheat larger amounts in a 325°F oven until heated through. If you want the topping to crisp back up, use the broiler for a minute or two at the end, watching closely so the sugar doesn’t scorch.
Questions I Get Asked About This Recipe
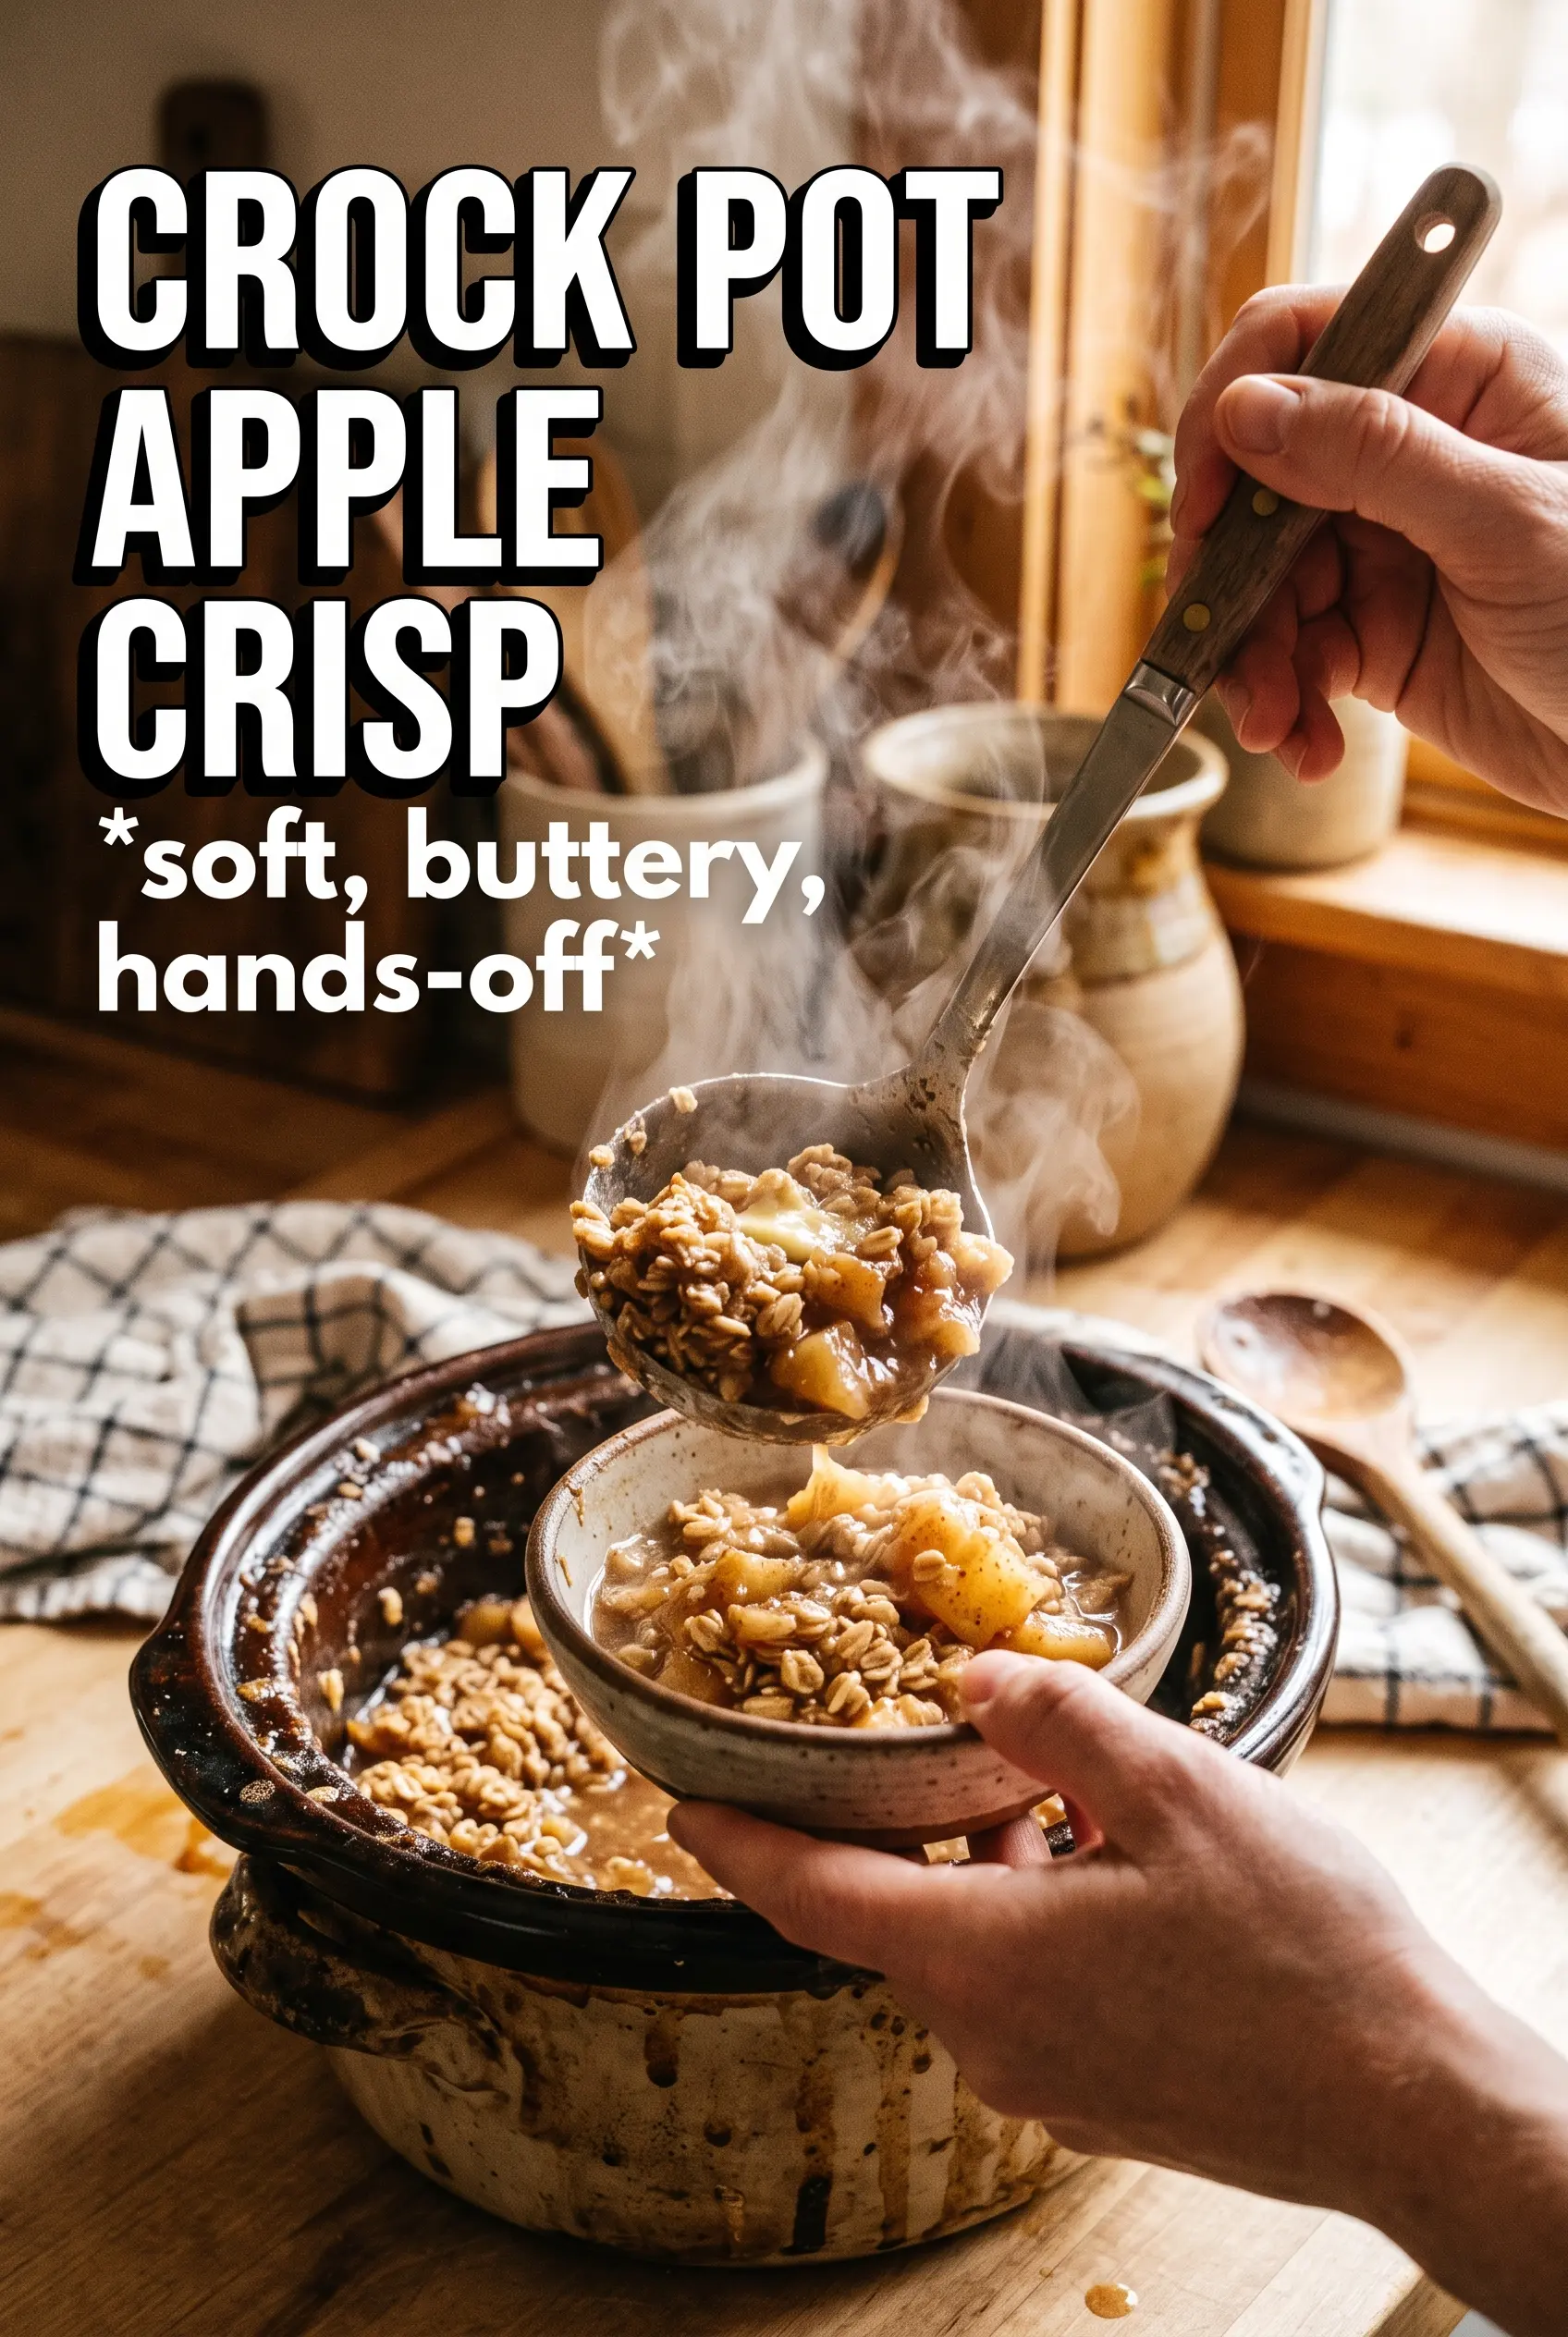
Crock Pot Apple Crisp
Ingredients
Equipment
Method
- Toss the sliced apples with granulated sugar, brown sugar, cinnamon, nutmeg, and lemon juice, then place them in the slow cooker.
- Set the slow cooker to Low while you prepare the topping.
- In a mixing bowl, combine rolled oats, all-purpose flour, packed brown sugar, cinnamon, and salt.
- Drizzle in melted butter and stir until the mixture forms clumps.
- Scatter the oat topping over the apples in the slow cooker and do not stir.
- Lay a double layer of paper towels under the lid to absorb excess moisture.
- Cook on Low for 2.5 to 3 hours, until the apples are tender and the topping is set.
- Transfer the crisp to an oven-safe dish and broil for 3 to 4 minutes for a crispier topping.
- Serve warm with vanilla ice cream.