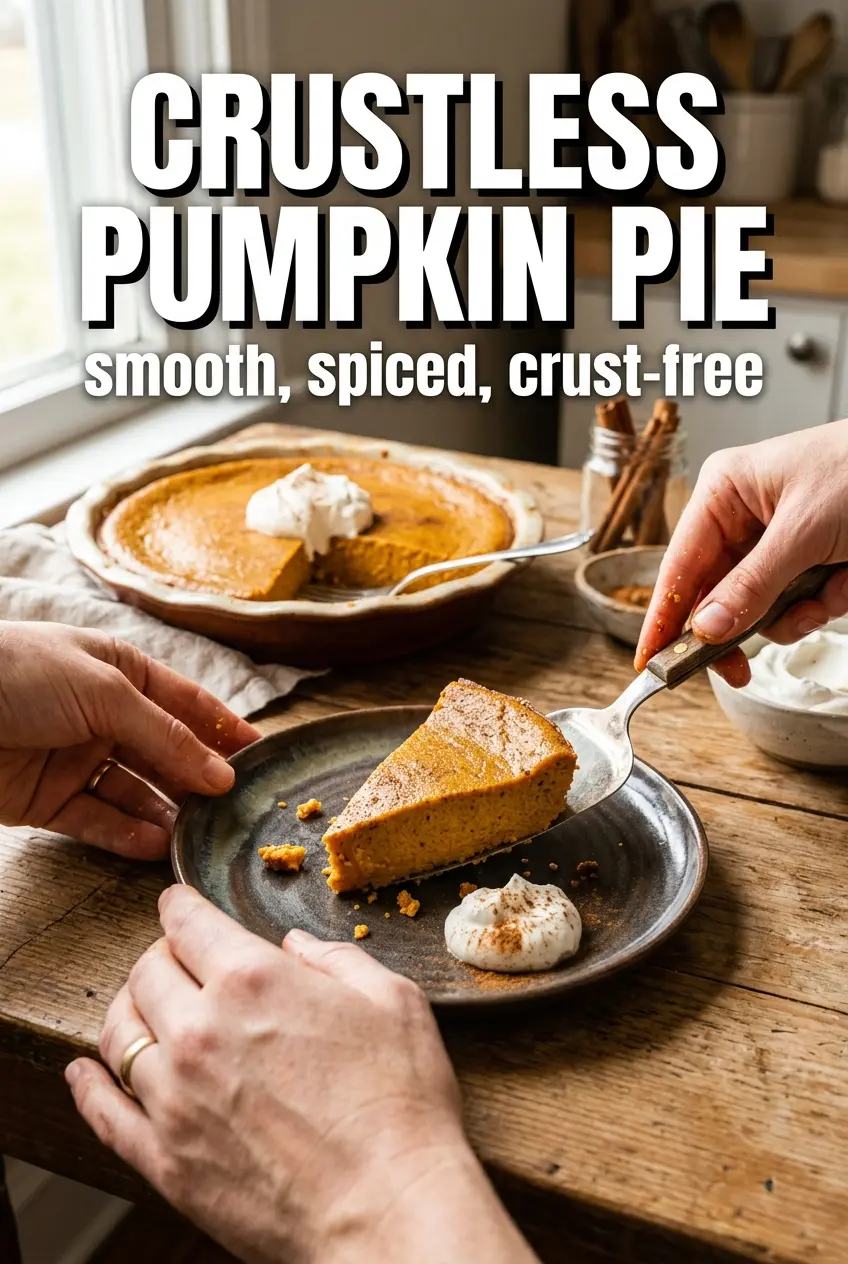
Crustless pumpkin pie lands in that sweet spot between classic pumpkin pie and a soft baked custard. It cuts cleanly, holds its shape, and gives you all the warm spice and silky pumpkin flavor without having to roll, crimp, or worry about a soggy bottom. The top bakes into a gentle, slightly bronzed surface while the center stays smooth and creamy underneath.
The trick is treating it like a custard, not a quick stir-and-bake dessert. A short blast at 425F helps the edges set fast, then the temperature drops so the center can finish without curdling or puffing up like a souffle. The flour or cornstarch gives the filling just enough structure to slice neatly after chilling, and the evaporated milk adds a fuller, rounder texture than regular milk would.
Below, I’ve included the small details that keep the filling silky, plus a few ways to adapt it if you need a dairy-free or gluten-free version. The cooling time matters here, so don’t skip it if you want clean slices and that classic pie look.
The filling set up beautifully and sliced clean after chilling. I love that the spice comes through without overpowering the pumpkin, and the whipped cream around the edge made it feel like a real pie even without the crust.
Like this smooth, crustless pumpkin pie? Save it to Pinterest for an easy make-ahead dessert with a silky custard center and no pastry fuss.
The Reason the Filling Sets Cleanly Without a Crust
Crustless pumpkin pie can turn watery or grainy if the ratio is off, but this version leans on two things that matter: enough eggs for structure and just enough starch to keep the custard from collapsing when it cools. Without a crust to hold everything in place, the filling has to do all the work itself. That means the bake needs to be gentle after the first high-heat burst, or the eggs tighten too fast and the texture turns rubbery around the edges before the center is done.
The other mistake people make is pulling it when the center looks fully firm. Custards keep cooking after they leave the oven, and this one should still wobble slightly in the middle when you take it out. If it looks set all the way through, it usually means it’s already overbaked and will slice up a little dry once chilled.
- The initial high heat sets the outer edge quickly so the pie holds its shape.
- The lower second bake keeps the middle smooth instead of puffed and cracked.
- The starch gives you clean slices after chilling without making the filling heavy.
- The cooling time finishes the texture; cutting early will give you a loose, messy center.
What Each Ingredient Is Actually Doing in This Pie
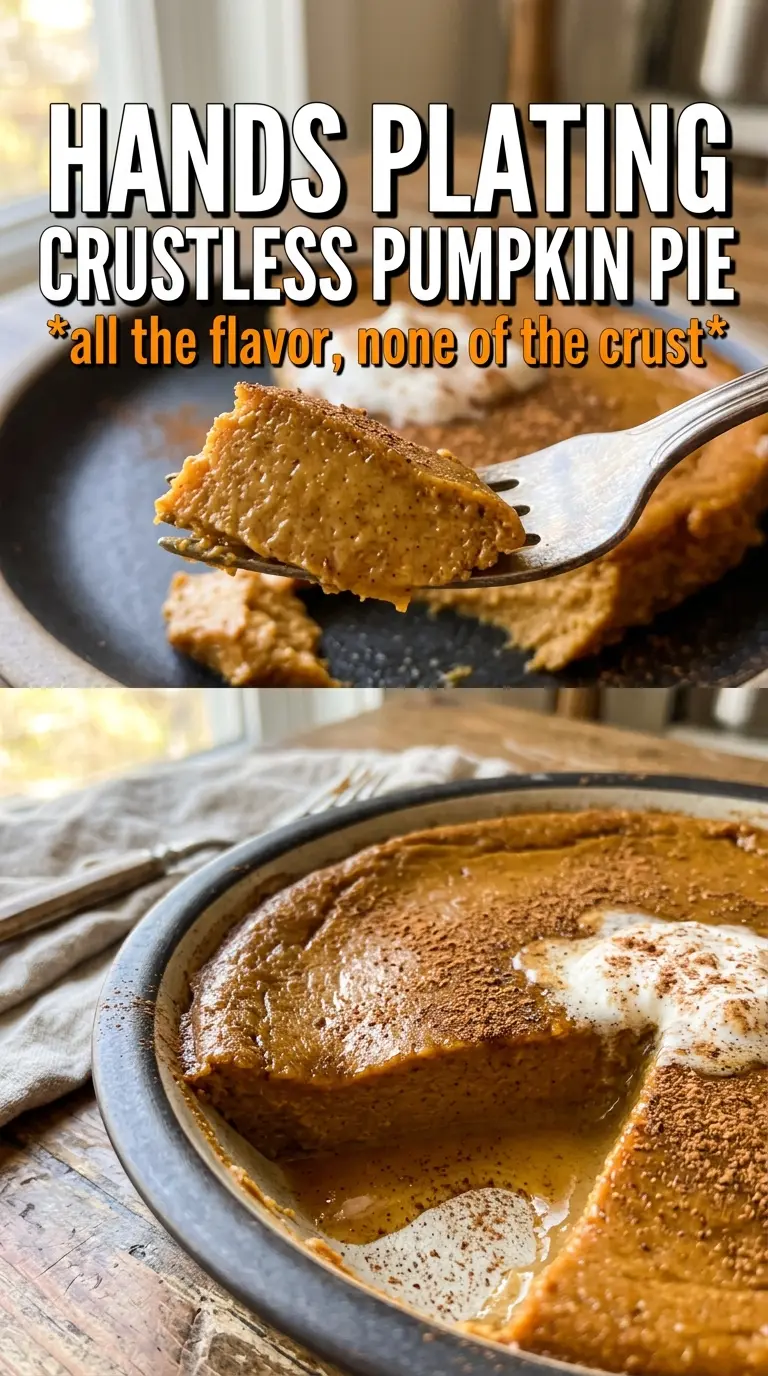
- Pumpkin puree gives the pie its body and earthy sweetness. Use pure pumpkin, not pumpkin pie filling, or you’ll end up with a pie that’s too sweet and already seasoned for you.
- Evaporated milk is what makes the filling taste rich without becoming dense. Regular milk works in a pinch, but it won’t give you the same creamy finish.
- Eggs are the structure here. They set the custard as it bakes, so if you reduce them, the pie will be softer and harder to slice cleanly.
- Flour or cornstarch helps the pie hold together once chilled. Cornstarch keeps it gluten-free, and it’s the swap I use when I want the smoothest texture.
- Pumpkin pie spice, cinnamon, ginger, cloves, and nutmeg build layered warmth instead of a flat, one-note spice taste. If you only have pumpkin pie spice, use it and keep the extra cinnamon for the top.
- Vanilla rounds out the spice and keeps the filling from tasting sharp. It doesn’t taste like vanilla once baked, but you notice when it’s missing.
Getting the Custard Set Before It Overbakes
Mix Until the Filling Is Completely Smooth
Whisk the pumpkin, eggs, milk, sugar, spices, flour, salt, and vanilla until there are no streaks or pockets of egg left. Any unmixed bits will bake into soft lumps, and once that happens there’s no fixing the texture. The filling should look loose and silky before it goes into the oven, almost like a thin batter.
Use the Two-Temperature Bake on Purpose
Start hot at 425F for 15 minutes, then drop the oven to 350F without opening the door for long. That first blast helps the custard set at the edges, while the lower temperature gives the center time to cook evenly. If you leave it at 425F the whole time, the top can crack and the filling can puff, then sink hard as it cools.
Watch the Center, Not the Clock
The pie is done when the edges look set and the center still has a slight wobble, about the size of a saucer, when you gently nudge the pan. It should not slosh. If the middle looks fully firm in the oven, it’s already gone too far, and chilling won’t bring back the silky texture.
Cool It Until It Can Slice Cleanly
Let the pie cool all the way at room temperature, then refrigerate for at least 2 hours before serving. This is when the starch and eggs finish firming up. Cutting it too soon is the fastest way to get a messy wedge that won’t hold the neat pie shape.
Dairy-Free Pumpkin Pie
Swap the evaporated milk for canned coconut milk or an unsweetened dairy-free evaporated milk substitute. Coconut milk gives the richest texture, but it adds a light coconut note; if you want the closest match to classic pumpkin pie, choose the neutral option.
Gluten-Free Version
Use cornstarch instead of flour. It gives the same set with a slightly softer finish, and the pie still slices well once chilled. Whisk it in thoroughly so it doesn’t leave little starchy spots in the filling.
Less Sweet, More Pumpkin
Drop the sugar to 1/2 cup if you like the pumpkin and spice to come through more clearly. The texture stays the same, but the pie tastes a little more grown-up and less dessert-sweet. Don’t cut the sugar much lower than that, or the custard can taste flat.
Storage and Reheating
- Refrigerator: Keep covered for up to 4 days. The texture stays best on day 1 and 2, but it still slices nicely after chilling.
- Freezer: It freezes well in slices. Wrap tightly and freeze for up to 2 months, then thaw overnight in the refrigerator.
- Reheating: Serve cold or let slices sit at room temperature for 20 to 30 minutes. If you warm it, use short bursts in a low oven; microwave heat can make the custard weep and go grainy.
Questions I Get Asked About This Recipe
Crustless Pumpkin Pie
Ingredients
Equipment
Method
- Preheat the oven to 425F and butter a 9-inch pie dish for easy release.
- Whisk pumpkin puree, eggs, evaporated milk, granulated sugar, pumpkin pie spice, cinnamon, ginger, cloves, nutmeg, salt, vanilla extract, and all-purpose flour or cornstarch until completely smooth.
- Pour the mixture into the buttered pie dish.
- Bake at 425F for 15 minutes, until the custard has started to set around the edges and the surface looks slightly puffed.
- Reduce the oven to 350F and bake 35-40 more minutes until the center is just barely jiggly.
- Cool the pie completely until it is at room temperature.
- Refrigerate for 2 hours, until the surface is fully set and chilled.
- Serve with whipped cream.