Dark chocolate shells with a creamy pumpkin spice center make these butter cups the kind of dessert that disappears fast from the fridge. The contrast is what gets you first: a crisp snap from the chocolate, then a soft, lightly sweet filling that tastes like pumpkin pie in a candy cup. A little flaky sea salt on top keeps the whole thing from leaning too sweet.
The key is starting with pumpkin puree that has been blotted dry. That step keeps the filling thick instead of loose, so the centers stay tidy when you bite into them. I also like using coconut oil in the chocolate because it helps the coating melt smoothly and set with a cleaner finish in the liner. Cashew butter gives the filling a soft, rich texture, but almond butter works too if that’s what you have.
Below, I walk through the small details that matter most here, including how to keep the chocolate layers even and what to do if your filling seems a little too soft before assembling.
The pumpkin filling set up perfectly once I blotted the puree first, and the chocolate shell had that clean snap I was hoping for. My kids kept sneaking them from the fridge.
Dairy Free Chocolate Pumpkin Butter Cups are the kind of treat worth stashing in the fridge for an easy chocolate-pumpkin bite.
The Trick to a Filling That Stays Neat Instead of Leaking
The most common problem with pumpkin butter cups is a filling that looks fine in the bowl but turns soft and messy once it meets the chocolate. Pumpkin puree carries a lot of water, and that extra moisture loosens the nut butter enough to make the center slump. Blotting the puree first changes the whole texture. It gives you a thicker, paste-like filling that settles cleanly inside the chocolate shell.
Another thing that matters here is layer thickness. The bottom chocolate layer needs to be firm enough to support the filling, but not so thick that you run out before sealing the cups. A teaspoon in the bottom of each liner is the sweet spot with mini muffin cups. Chill that first layer until it loses its shine and feels set to the touch before adding the filling.
What Each Ingredient Is Actually Doing in These Butter Cups
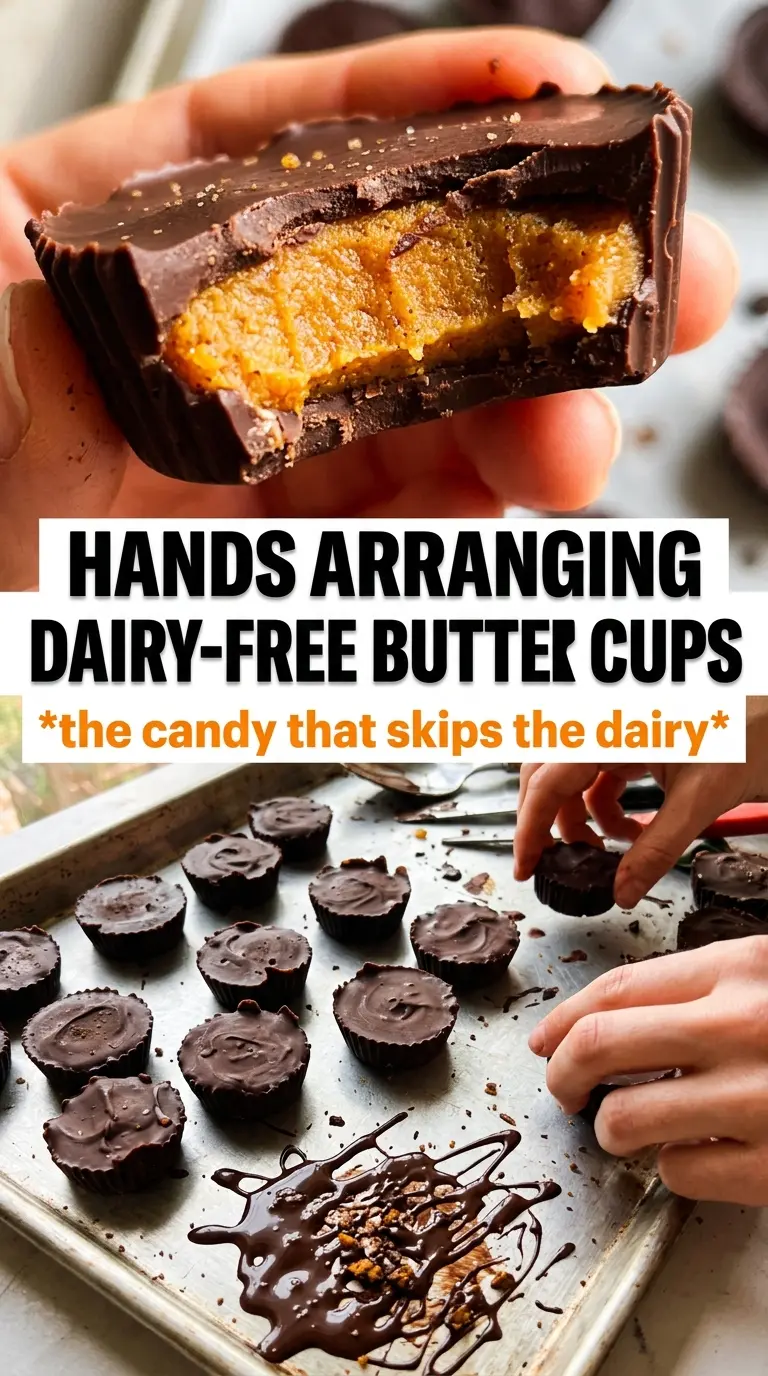
- Dairy-free dark chocolate chips — These build the shell and give the cups their snap. Use a chocolate you actually like eating plain, since it carries most of the flavor. If your chips are stubborn and thick, the coconut oil helps them melt smoothly and spread in a thin layer.
- Coconut oil — This loosens the chocolate just enough to make coating the liners easier and helps the shell set with a glossy finish. Don’t skip it if your chocolate is on the thicker side.
- Pumpkin puree — Blotting matters more than brand here. A drier puree gives you a filling that tastes concentrated instead of watery. If you don’t blot it, the centers can turn loose and make the cups hard to unmold cleanly.
- Cashew butter or almond butter — This brings body and richness. Cashew butter makes the filling softer and smoother, while almond butter gives it a slightly firmer texture and a more noticeable nutty taste. Either one works; use the one that already tastes good on its own.
- Maple syrup, pumpkin pie spice, cinnamon, and vanilla — These season the filling without making it overly sweet. Maple syrup blends in smoothly and keeps the texture creamy, while the spices need to be mixed well so you don’t get little pockets of cinnamon in one bite.
Building the Cups So the Layers Stay Clean
Melting the Chocolate Smoothly
Combine the chocolate chips and coconut oil, then melt until the mixture is glossy and fluid. Stop as soon as the last bits dissolve, because overheated chocolate can seize or turn grainy. If you use the microwave, stir every short burst so the residual heat does the work instead of scorching the chocolate. You want it thin enough to spoon, but not hot enough to melt through the liner once it goes in.
Setting the Base Before the Filling Goes In
Spoon about 1 teaspoon of melted chocolate into each mini muffin liner, then move the tray to the refrigerator for about 10 minutes. The base should look matte and feel firm before you touch it again. If you rush this part, the filling will sink and blend into the bottom layer instead of sitting neatly in the center. That first chill gives you a clean boundary between the chocolate and the pumpkin filling.
Mixing the Pumpkin Center Until It Holds Its Shape
Stir the blotted pumpkin puree, nut butter, maple syrup, spices, and vanilla until the mixture looks smooth and thick. It should hold its shape on a spoon without running. If it seems loose, it usually means the puree still had too much moisture; blot it again before adding more nut butter. You want a filling that drops in cleanly and stays put when the chocolate goes over the top.
Sealing and Chilling for the Final Set
Add a teaspoon of filling to each cup, then cover with the remaining chocolate and tap the pan gently on the counter. That tap helps the top chocolate settle around the filling and pop any air bubbles. Finish with flaky sea salt while the surface is still wet so it sticks. Refrigerate until the cups are completely firm, which usually takes 30 to 45 minutes.
How to Adapt These Pumpkin Butter Cups for Different Kitchens
For a nuttier, firmer filling
Use almond butter instead of cashew butter. Almond butter gives the center a slightly denser bite and a deeper roasted taste, which plays nicely with dark chocolate. It won’t be quite as silky, but it holds its shape well and keeps the cups tidy.
For a fully vegan dessert
This recipe already works as written as long as your chocolate chips are dairy-free. Check the package label, since some dark chocolates still contain milk ingredients. The rest of the filling is naturally plant-based.
For a sweeter, softer center
Add another teaspoon of maple syrup if you want a softer, more candy-like filling. That extra sweetness loosens the texture a little, so keep the pumpkin puree well blotted or the centers can go too loose. This version tastes closer to a praline-style truffle.
Storage and Reheating
- Refrigerator: Store in an airtight container for up to 1 week. The chocolate stays crisp and the filling firms up even more after a day.
- Freezer: These freeze well for up to 2 months. Layer with parchment so the chocolate tops don’t scuff, and thaw in the refrigerator so condensation doesn’t dull the shell.
- Reheating: No reheating needed. Let frozen cups sit in the fridge or at room temperature until just softened, but don’t warm them in the microwave or the chocolate shell will lose its snap.
Questions I Get Asked About This Recipe
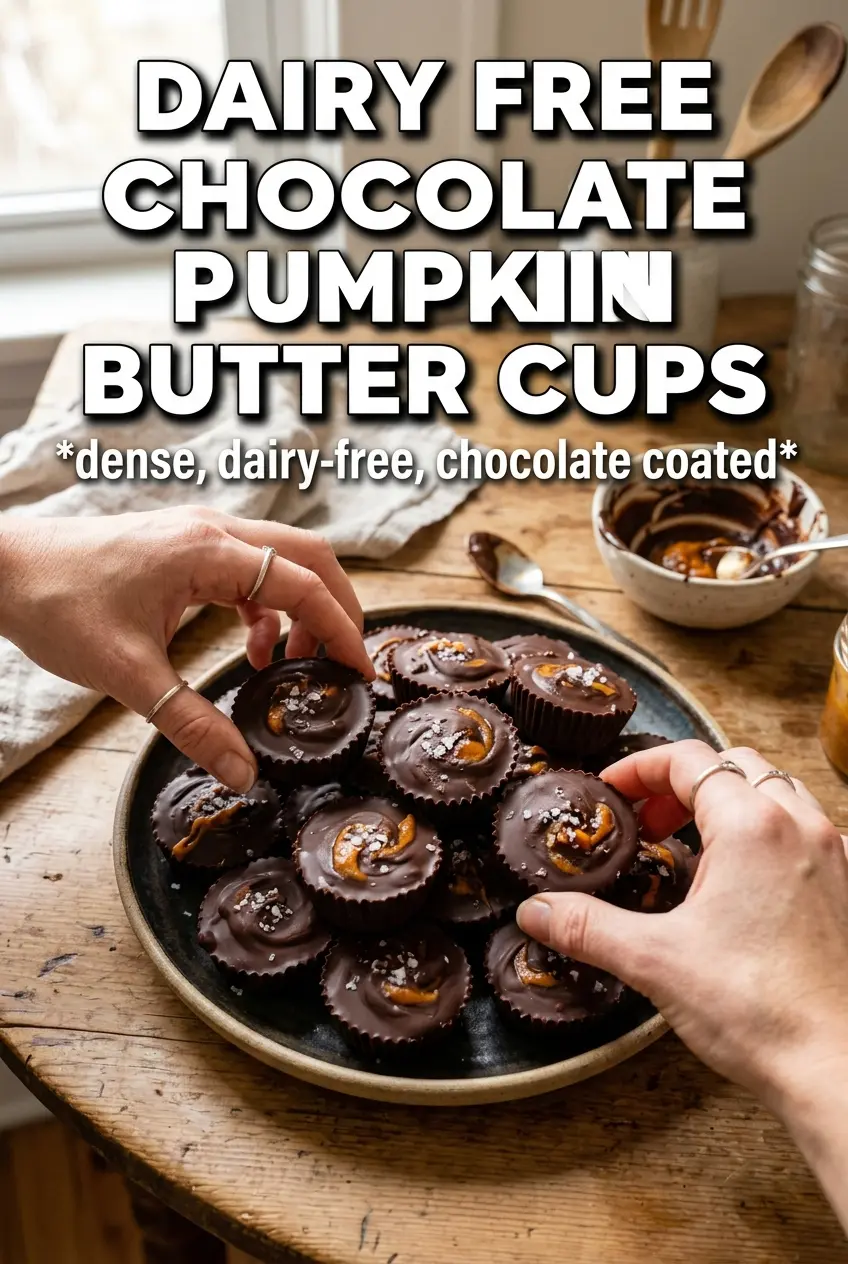
Dairy Free Chocolate Pumpkin Butter Cups
Ingredients
Equipment
Method
- Melt the dairy-free dark chocolate chips with coconut oil until smooth, stirring to fully combine and remove any lumps.
- Spoon 1 teaspoon melted chocolate into the bottom of each mini muffin liner, then place on a sheet pan and refrigerate for 10 minutes to set.
- Mix the pumpkin puree (blotted dry), cashew butter or almond butter, maple syrup, pumpkin pie spice, cinnamon, and vanilla until smooth and thick.
- Add 1 teaspoon pumpkin filling to each chocolate cup, keeping the filling level and centered.
- Spoon remaining melted chocolate over the filling, then tap the liners gently to settle the layer.
- Sprinkle flaky sea salt over each cup while the chocolate is still unset.
- Refrigerate 30 to 45 minutes until completely set, then peel away liners to serve.