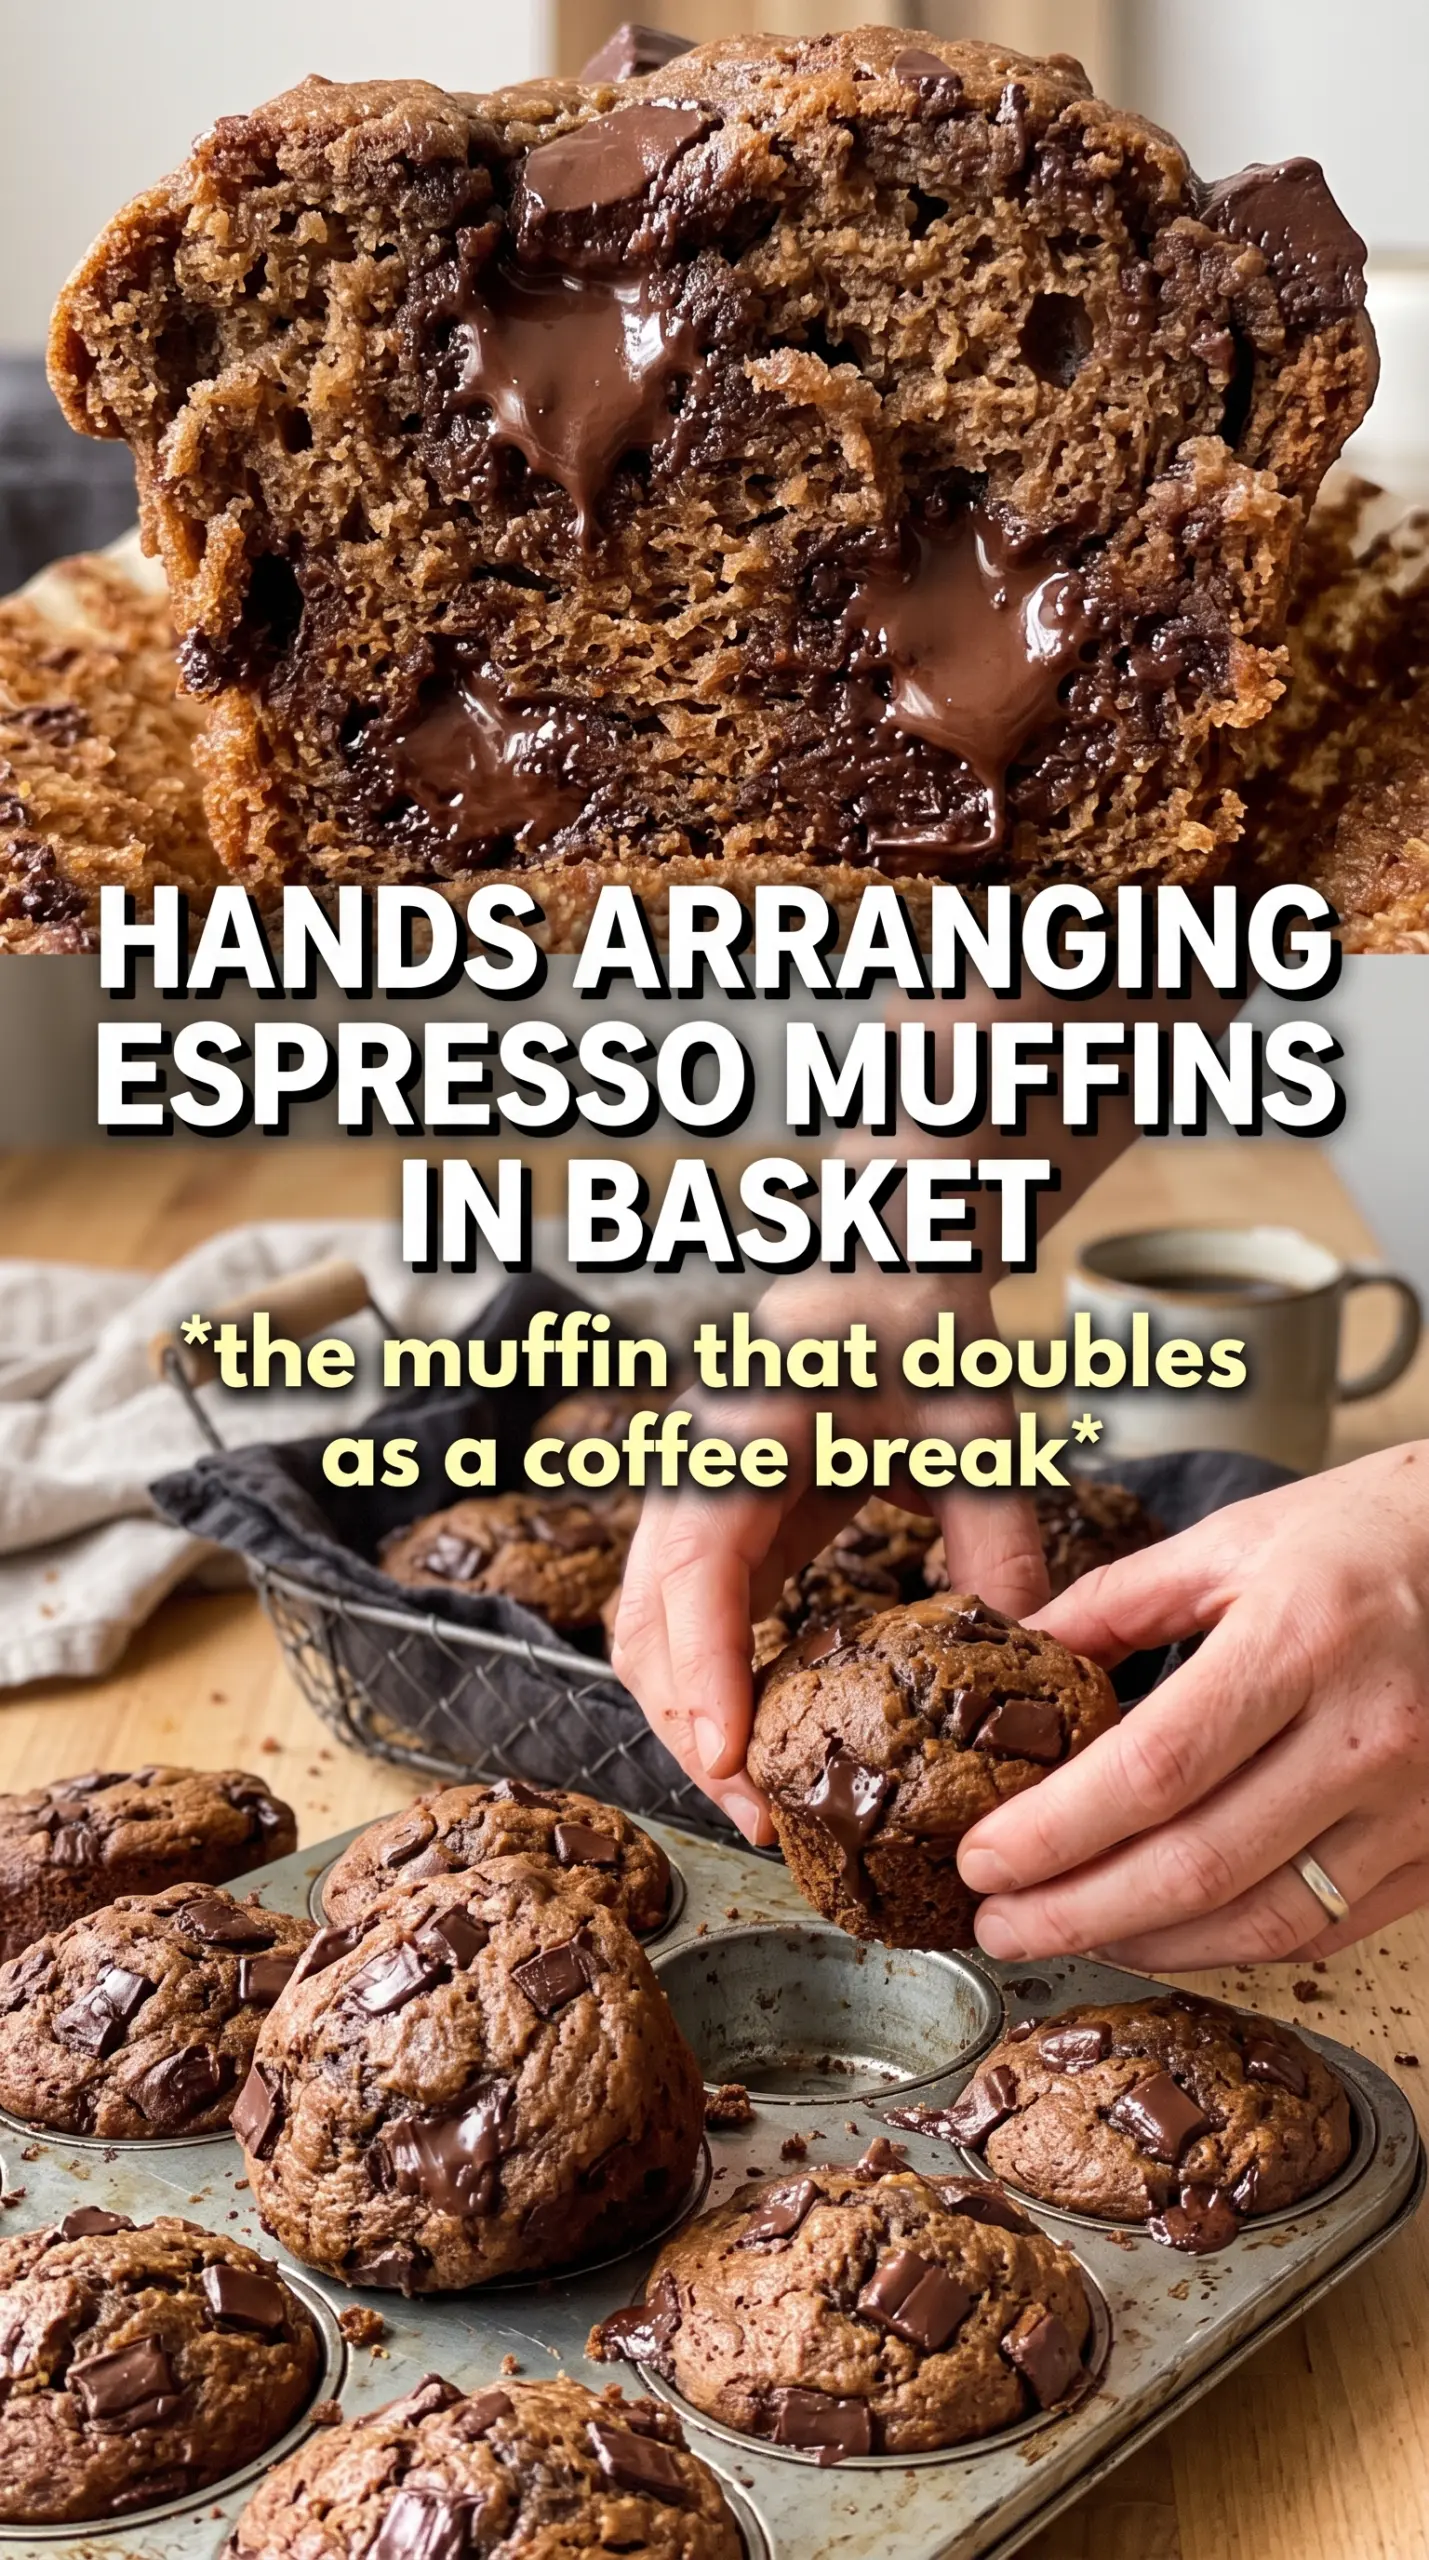
Deep chocolate muffin tops with a crackly dome, melted chocolate chips, and a mocha aroma are what make these worth baking on repeat. The first bite is soft and tender, but the top has that bakery-style lift that makes them feel a little special without any extra fuss. The espresso doesn’t make them taste like coffee; it sharpens the chocolate and gives the muffins a darker, richer finish.
The trick is the hot oven at the start. That blast of heat pushes the batter upward fast before the structure sets, which is how you get those tall domes instead of flat, squat muffins. Using both cocoa powder and chocolate chips gives you depth in the batter and pockets of melted chocolate in every bite, while the buttermilk keeps the crumb moist enough to stay tender for days.
Below, I’ve included the little details that matter most here: how to avoid overmixing, why the batter should look a little lumpy, and what to do if you want even stronger espresso flavor without making the muffins bitter.
The tops baked up nice and high, and the espresso made the chocolate taste deeper instead of turning them into coffee muffins. Mine were still soft the next day and the chocolate chips stayed melty in the middle.
Save these double chocolate espresso muffins for mornings when you want tall bakery-style domes and a rich chocolate crumb.
The Hot Oven Trick That Gives These Muffins Their Tallest Rise
The first five minutes do most of the visual work here. Starting at 425°F sets the edges quickly so the batter climbs before the center firms up, which is what gives you those high, rounded tops. If you start low and bake the whole time at one temperature, the muffins still bake through, but they usually spread more and lose that bakery-style lift.
Overmixing is the other thing that flattens them out. Once the dry ingredients hit the wet, stir only until the flour disappears and a few streaks remain. The batter should look thick and a little rough. That’s what you want for a tender crumb instead of a tight, bready one.
- Espresso powder — This deepens the chocolate flavor without making the muffins taste like coffee. Use a good instant espresso powder, not ground coffee, because you want it to dissolve cleanly into the batter.
- Buttermilk — It keeps the crumb soft and adds a gentle tang that balances the cocoa. If you’re out, use milk mixed with a little lemon juice or vinegar, but the texture won’t be quite as plush.
- Dark chocolate chips — These give you those melted pockets in the middle. Semi-sweet works too, but dark chocolate keeps the muffins from tasting overly sweet.
- Cocoa powder — This is where the deep chocolate base comes from. Natural cocoa works well here because the baking soda and buttermilk help it rise and soften the crumb.
What Each Ingredient Is Actually Doing in These Mocha Muffins
- All-purpose flour — This gives the muffins enough structure to hold all that cocoa and chocolate. Bread flour is too strong here and makes the crumb tougher.
- Brown sugar plus granulated sugar — The mix adds sweetness and moisture without making the muffins heavy. Brown sugar brings a little chew and a deeper note, while white sugar helps the tops bake up a bit more neatly.
- Eggs — They set the structure and help the muffins rise evenly. Room temperature eggs blend in faster, but cold ones will still work if you whisk the wet ingredients well.
- Brewed coffee — This amplifies the chocolate flavor and thins the batter just enough. It should be cooled so it doesn’t shock the eggs or melt the chocolate chips too early.
- Vegetable oil — Oil keeps the muffins tender longer than melted butter would. Butter brings flavor, but it also firms up more once cooled, which changes the texture.
- Espresso powder for topping — A light sprinkle on top gives a little bitter edge that cuts through the sweetness. Use it sparingly; too much on the surface can taste harsh.
Getting the Batter Into the Pan Without Losing the Dome
Mix the dry ingredients first
Whisk the flour, cocoa, baking powder, baking soda, espresso powder, and salt until the color looks even and there are no cocoa pockets left. Cocoa tends to clump, and those clumps don’t disappear later on their own. If you skip this part, you’ll find dry streaks in the baked muffins and some bites that taste more bitter than chocolatey.
Build the wet mixture until it looks smooth
Whisk the sugars, eggs, buttermilk, oil, coffee, and vanilla until the mixture looks glossy and fully combined. The sugar should start to dissolve, and the oil should no longer float in separate streaks. This is the point where the batter starts to smell like a proper mocha base, not just a bowl of ingredients.
Fold, don’t beat
Add the dry ingredients to the wet and fold just until the flour disappears. A few small lumps are fine, and the batter should be thick enough to mound in the muffin cups. Stirring until it looks perfectly smooth is the fastest way to get dense muffins, because gluten develops fast once flour meets liquid.
Fill to the top and finish hot
Spoon the batter all the way to the top of each muffin cup, then add a few extra chocolate chips and a light dusting of espresso powder. The cups should look generously filled, almost overfilled, before they go into the oven. Bake at 425°F for 5 minutes, then reduce the heat to 350°F and finish baking until the tops spring back when touched and a toothpick comes out with a few moist crumbs, not wet batter.
How to Adapt These Muffins for Different Diets and Batches
Dairy-Free Swap That Still Keeps the Crumb Tender
Use a thick unsweetened non-dairy milk with 1 tablespoon lemon juice or vinegar stirred in, then let it sit for 5 minutes before mixing. You’ll lose a little of the tang from real buttermilk, but the muffins will still bake up soft and moist. Choose a milk with some body, like soy or oat, rather than a thin almond milk.
Extra Espresso Flavor Without Bitter Edges
Increase the espresso powder by 1 teaspoon and keep the topping light. That gives a stronger mocha note in the crumb, but too much on top can turn sharp once the muffins cool. If you want a deeper coffee finish, use strongly brewed espresso or very dark coffee instead of adding more powder.
Gluten-Free Version That Still Rises Well
Swap in a 1:1 gluten-free baking blend that includes xanthan gum. The muffins will be a touch more delicate, so let them cool for 10 minutes in the pan before moving them. Without that rest, they can crumble while they’re still hot.
How to Store the Batch for Later
These muffins keep well, which is part of why I like them so much for breakfast. The chocolate stays soft, and the crumb doesn’t dry out as fast as butter-based muffins do.
Storage and Reheating
- Refrigerator: Store in an airtight container for up to 5 days. The tops soften a little, but the crumb stays moist.
- Freezer: Freeze wrapped muffins for up to 2 months. Freeze them in a single layer first, then move them to a bag or container so the tops don’t get crushed.
- Reheating: Warm at 300°F for 8 to 10 minutes or microwave briefly until just heated through. Don’t overheat them or the chocolate chips will turn greasy and the crumb will dry out fast.
Answers to the Questions Worth Asking
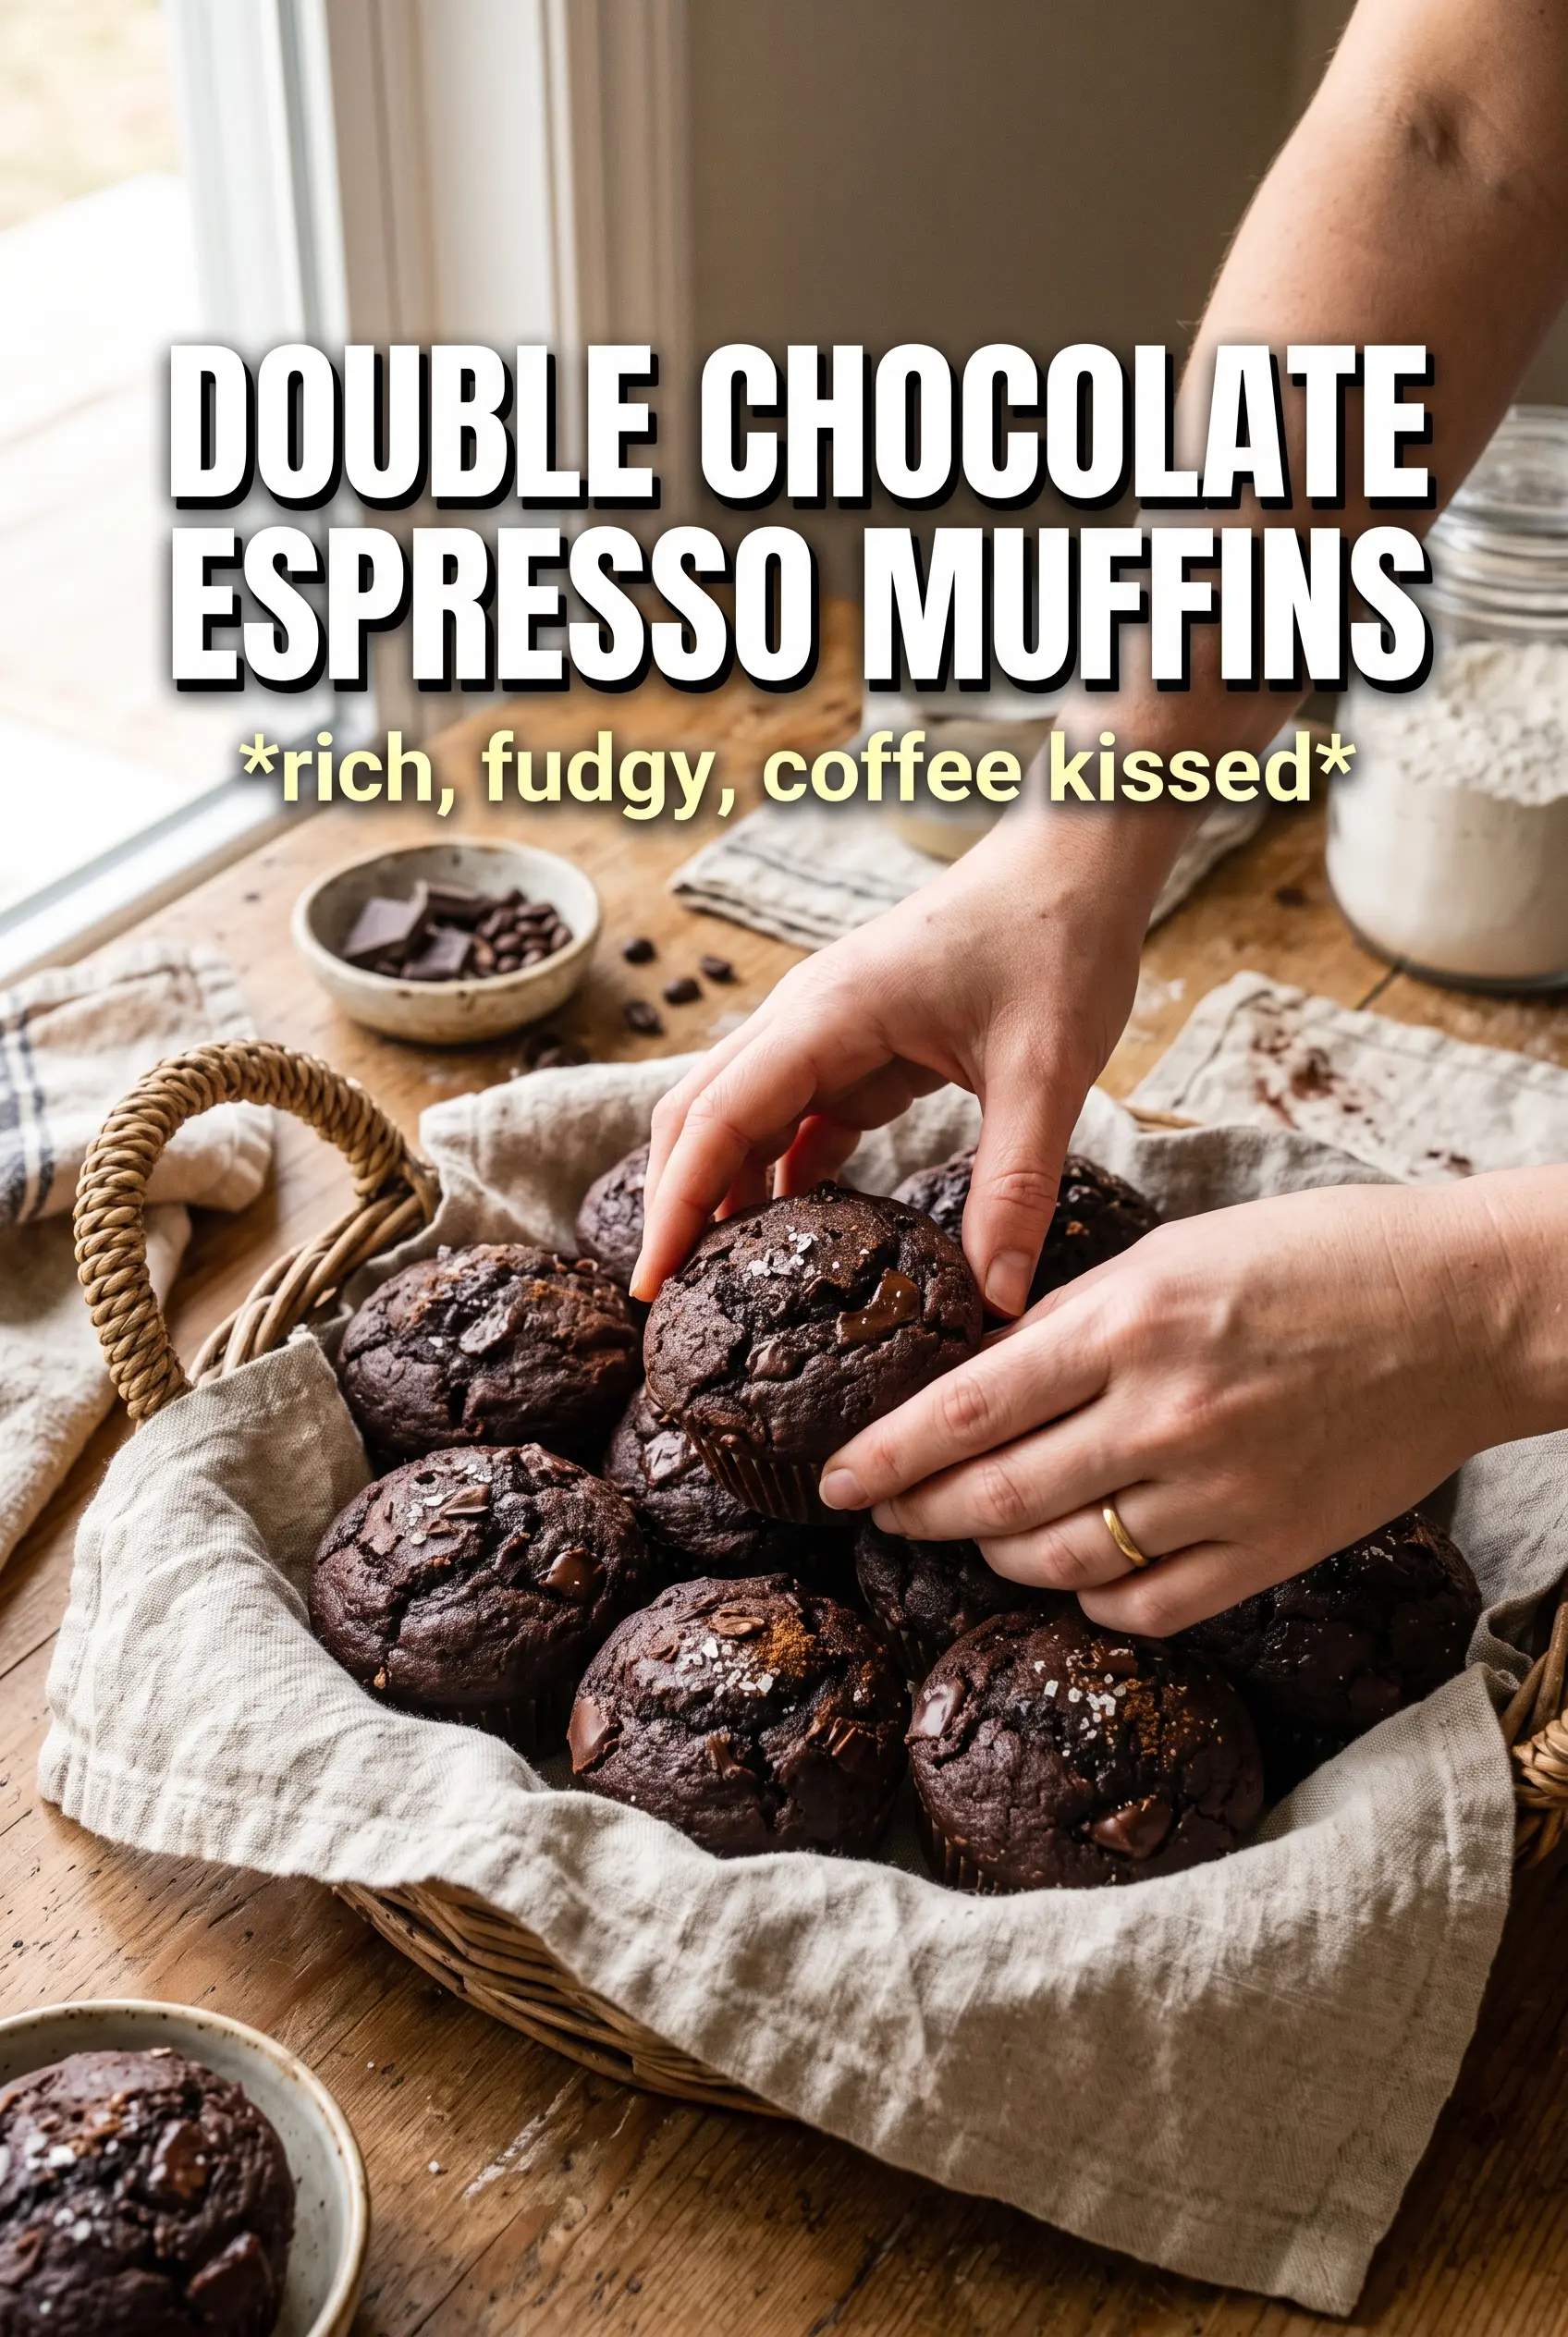
Double Chocolate Espresso Muffins
Ingredients
Equipment
Method
- Preheat oven to 425F and line a 12-cup muffin tin. Set it up so the batter can go in right away for tall domed tops.
- Whisk all-purpose flour, cocoa powder, baking powder, baking soda, espresso powder, and salt until evenly combined. Visual cue: the mixture should look uniformly dark and lump-free.
- Whisk granulated sugar, brown sugar, eggs, buttermilk, vegetable oil, strong brewed coffee, cooled, and vanilla until smooth. Visual cue: it should look glossy and cohesive.
- Fold dry ingredients into wet ingredients until just combined. Visual cue: stop as soon as no dry streaks remain to keep the muffins tender.
- Fold in dark chocolate chips until evenly distributed. Visual cue: chips should be suspended throughout the batter.
- Fill muffin cups to the very top and sprinkle espresso powder for topping over each. Visual cue: you should see a high mound and a speckled espresso dusting.
- Bake at 425F for 5 minutes. Visual cue: tops will rise quickly and begin to set, helping form tall domed tops.
- Reduce oven to 350F and bake 13-15 more minutes. Visual cue: a toothpick inserted in the center should come out mostly clean with a few moist crumbs.