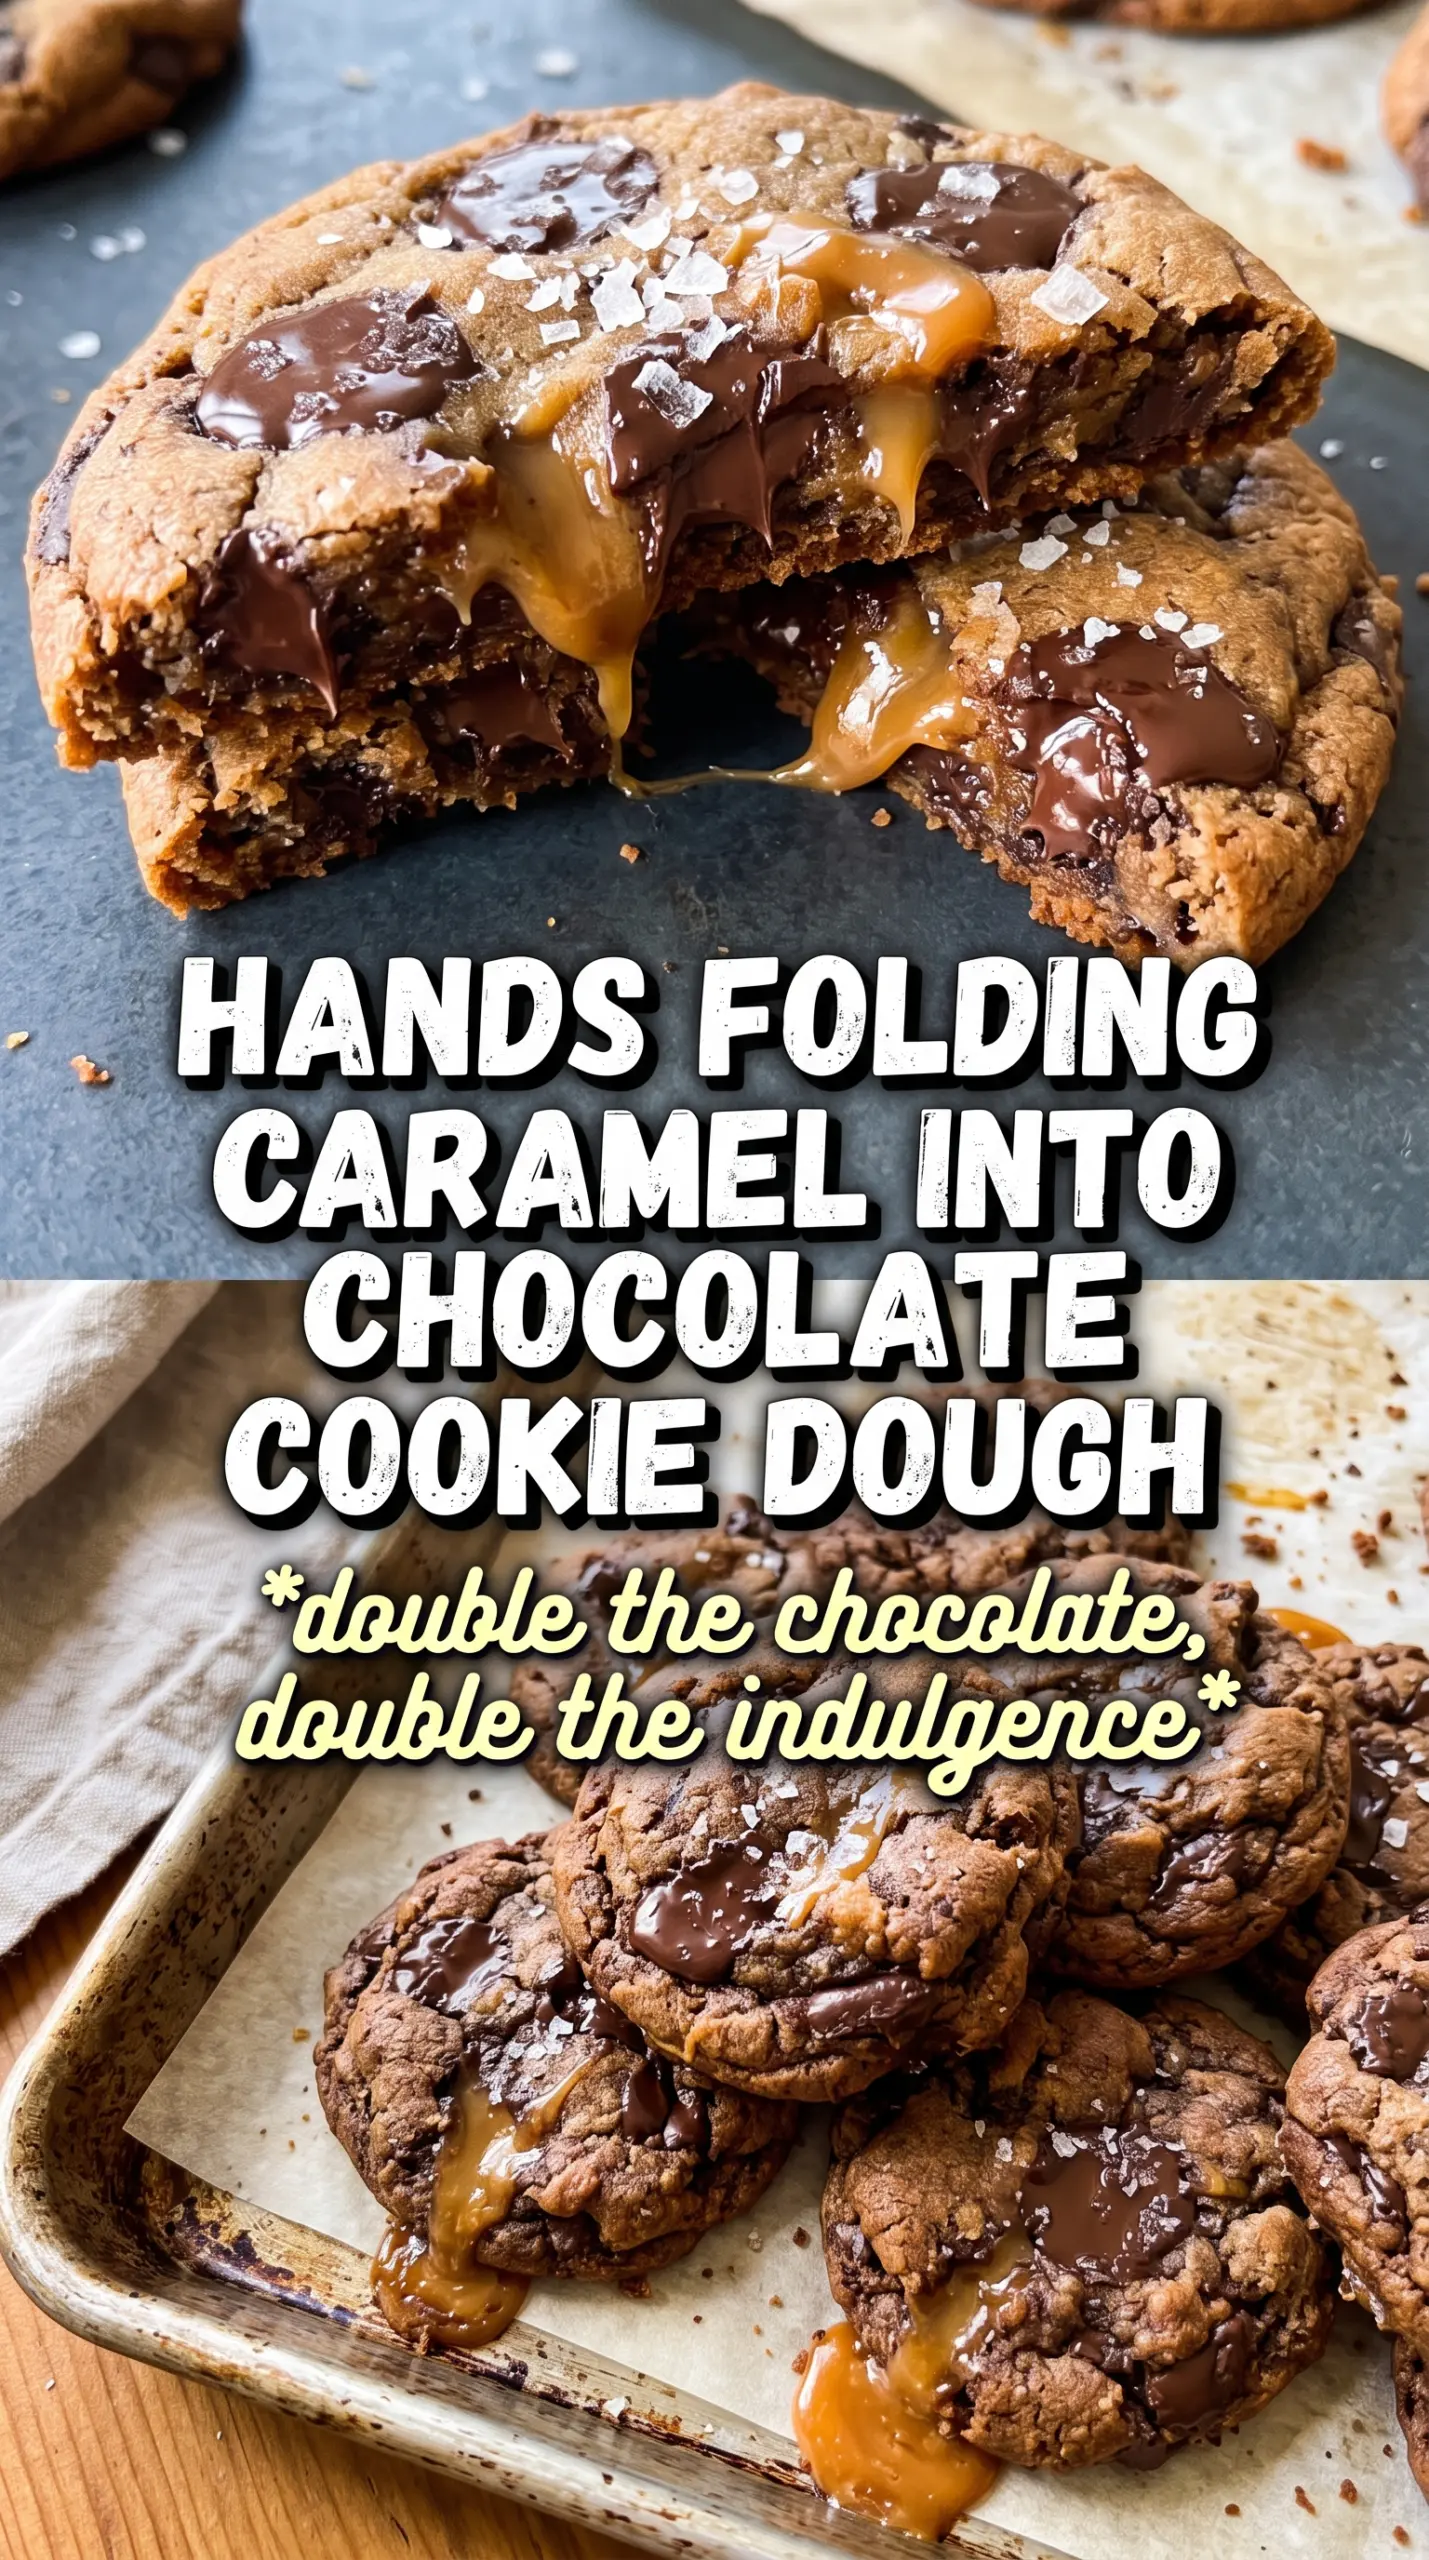
These double chocolate salted caramel cookies bake up thick at the edges, fudgy in the middle, and filled with a pocket of melted caramel that stays soft long after they leave the oven. The chocolate dough tastes deep and rich on its own, but the real payoff comes when you bite through the crackly top and hit that warm caramel center. A pinch of flaky sea salt at the end keeps the whole cookie from tasting heavy.
The key is the dough texture. It needs to be soft enough to wrap cleanly around each caramel, but not sticky enough that it collapses in the oven. Beating the butter with both sugars until light and fluffy gives you lift and a little chew, while the cocoa keeps the cookie dense in the best way. Underbaking by a minute or two is what keeps the centers fudgy instead of dry.
Below, I’m walking through the small details that matter most here: how to seal the caramel so it doesn’t leak, why the salt goes on immediately, and what to change if you want to make these ahead.
The caramel stayed soft and gooey in the middle, and the flaky salt on top made the chocolate taste even deeper. I baked them 11 minutes and they came out with crisp edges and that perfect fudgy center.
Love these gooey double chocolate salted caramel cookies? Save them to Pinterest for the next time you want a fudgy cookie with a molten caramel center.
The Caramel Center Stays Put Because the Dough Is Chilled by the Oven, Not the Fridge
The most common problem with filled cookies like these is leaking caramel. That happens when the dough is too warm, the caramel is too close to the edge, or the seams aren’t fully sealed before baking. Here, the cookies go into a hot oven fast enough that the outside sets before the caramel can escape, which gives you a clean shell around a molten center.
Flatten the dough just enough to tuck the caramel inside, then pinch every seam closed and roll the portion smooth in your hands. If you see even a thin crack, the caramel will look for it in the oven. I also keep the caramel candies wrapped in a tight little pillow of dough rather than burying them loosely in the center.
- Cocoa powder — Dutch-process or natural both work here, but a good-quality cocoa gives the cookies a deeper chocolate base that stands up to the caramel. This is the ingredient where cheap can taste flat.
- Brown sugar — It brings moisture and that slightly chewy texture you want in a filled cookie. Packing it firmly matters because loose measuring will dry the dough out.
- Dark chocolate chips — These add extra pockets of melt and keep the cookies from tasting like plain cocoa dough. Use semisweet if that’s what you have, but dark chocolate gives a better contrast with the caramel.
- Soft caramel candies — This recipe depends on caramels that melt smoothly without going grainy. Hard caramels or chewy squares that don’t soften well will not give you the same center.
- Flaky sea salt — This is not decorative. It wakes up the chocolate and keeps each cookie from tasting one-note after the caramel cools.
What Each Ingredient Is Actually Doing in This Recipe
- Primary ingredient (the star) — Quality matters most. Choose the best you can find.
- Cooking medium (oil, butter, or broth) — This carries flavors and prevents dryness.
- Seasonings (salt, pepper, spices, herbs) — Layer flavors so nothing overpowers. Build depth gradually.
- Aromatics (garlic, onion, herbs) — Cook with fat to bloom flavors. Become the foundation.
- Supporting ingredients — Complement the main ingredient without overpowering it.
- Sauce or liquid (if applicable) — Brings flavors together. Balance richness with acid.
- Acid (lemon, vinegar, wine, or other) — Brightens and prevents flat-tasting results.
- Final finish (garnish, glaze, or sauce) — Prevents one-dimensional taste and adds visual appeal.
Building the Dough So the Centers Stay Fudgy, Not Dry
Whisking the Dry Ingredients First
Whisk the flour, cocoa, baking soda, and salt before they touch the butter mixture. Cocoa clumps easily, and if it isn’t broken up now, you’ll end up with streaks of bitter powder in the dough. This also distributes the baking soda evenly so the cookies rise in a steady way instead of puffing unevenly. If the dry ingredients look lumpy, keep whisking until the color is uniform.
Beating the Butter and Sugars Until Light
Beat the butter, brown sugar, and granulated sugar until the mixture turns paler and looks fluffy around the edges of the bowl. That step traps air, which gives the cookies lift even though they’re rich and dense. If the butter is too cold, the mixture will look sandy; if it’s too soft, the dough will spread too much. Stop as soon as it looks whipped and smooth, then add the eggs and vanilla one at a time.
Wrapping the Caramel Cleanly
Scoop about 2 tablespoons of dough, flatten it slightly, and place one caramel in the center. Pull the dough up and around the caramel, pressing the seam closed before you roll it between your palms. The goal is a smooth ball with no open seam at the bottom, because that seam becomes the weak point in the oven. If the dough sticks to your hands, dust them lightly with cocoa instead of flour so you don’t throw off the texture.
Gluten-Free Version
Use a good 1:1 gluten-free flour blend in place of the all-purpose flour. The cookies will be a touch more tender and slightly less chewy, but the chocolate and caramel still carry the flavor. Let the dough sit for 10 minutes before scooping so the flour can hydrate.
Dairy-Free Swap
Use a plant-based butter that works for baking and choose dairy-free caramels if you can find them. The cookies will still bake up fudgy, but the flavor loses a little of the round, buttery finish. Don’t use a spread that comes in a tub; it’s too soft and can make the dough greasy.
Extra Chocolate Version
Swap half the dark chocolate chips for chopped dark chocolate to get bigger puddles in the finished cookie. Chunks melt into irregular pockets, while chips hold their shape more. This version looks a little messier and tastes richer.
Storage and Reheating
- Refrigerator: Store baked cookies in an airtight container for up to 4 days. The caramel will firm up as they sit, but the centers soften again when warmed.
- Freezer: Freeze the unbaked dough balls on a tray, then move them to a freezer bag for up to 2 months. Bake from frozen and add 1 to 2 minutes; don’t thaw first or the caramel can leak.
- Reheating: Warm a baked cookie in the microwave for 8 to 10 seconds, just until the center loosens. Longer heating makes the caramel split and turn chewy instead of gooey.
Answers to the Questions Worth Asking

Double Chocolate Salted Caramel Cookies
Ingredients
Equipment
Method
- Preheat the oven to 375°F and line baking sheets with parchment as a nonstick surface. Keep the sheets ready for scooping so the dough can bake right away.
- Whisk all-purpose flour, cocoa powder, baking soda, and salt in a bowl until no dry streaks remain. The dry mix should look evenly dark and consistent.
- Beat softened unsalted butter, brown sugar, and granulated sugar until very light and fluffy. This adds air for a softer, fudgier cookie texture.
- Add eggs and vanilla extract, then beat just until combined. Stop as soon as the mixture looks uniform and glossy.
- Fold the flour mixture into the wet ingredients until no dry flour is visible. Mix gently so the dough stays tender.
- Fold in dark chocolate chips until evenly distributed. You should see chips throughout the dough for chocolate chip puddles as they bake.
- Scoop 2-tablespoon portions of dough and flatten slightly into a thick disk. Aim for enough surface area to fully enclose a caramel candy.
- Place one unwrapped soft caramel candy in the center and wrap dough around it. Press and seal the edges so the caramel won’t leak.
- Roll the filled dough into a ball and place it on the prepared baking sheet. Space cookies apart so they have room to spread.
- Bake at 375°F for 10–12 minutes, until the edges are set while the caramel is gooey inside. Look for set edges and a slightly soft center rather than fully firm cookies.
- Sprinkle flaky sea salt immediately after baking for visible sparkle and balanced sweetness. Cool for 8 minutes before eating so the caramel settles slightly without fully hardening.