Espresso brown butter toffee cookies land in that sweet spot between crisp edges and a soft center that stays chewy for days. The browned butter gives them a deep, nutty base, the espresso sharpens the chocolate, and the toffee bits melt into little pockets of caramel crunch. A pinch of flaky salt on top pulls everything into focus.
What makes this version work is the way the butter is handled before anything else. Browning it first adds flavor you can’t fake, but it has to cool until it’s solid and scoopable again or the dough spreads too much. The espresso powder doesn’t make these taste like coffee; it just pushes the chocolate and toffee into a richer place. That small amount changes the whole cookie.
Below you’ll find the timing that keeps the centers soft, the one texture cue I watch for in the oven, and a few smart swaps if you need to adjust the mix-ins or make them gluten-free.
The browned butter made these taste bakery-level, and the centers stayed chewy instead of spreading into flat crisps. I baked the first tray for 11 minutes and the toffee bits were perfect.
Love the chewy centers and salty-sweet finish? Save these espresso brown butter toffee cookies for the next time you want a bakery-style cookie with a deep nutty flavor.
The Brown Butter Needs to Be Cool, Not Warm
The biggest mistake with browned butter cookies is mixing the dough while the butter is still warm and loose. That gives you shiny, greasy dough that spreads too fast and bakes up thin. Browning the butter is only half the job; letting it chill until it firms back up is what keeps the cookies thick enough to stay chewy in the middle.
Watch the butter closely as it browns. You want amber color, toasted aroma, and the milk solids just turning deep golden, not black. Once it cools, it should be solid but still soft enough to beat with the sugars. If it’s liquid, wait longer. If it’s rock-hard, let it sit at room temperature for a few minutes before mixing.
What Each Mix-In Is Doing in These Cookies
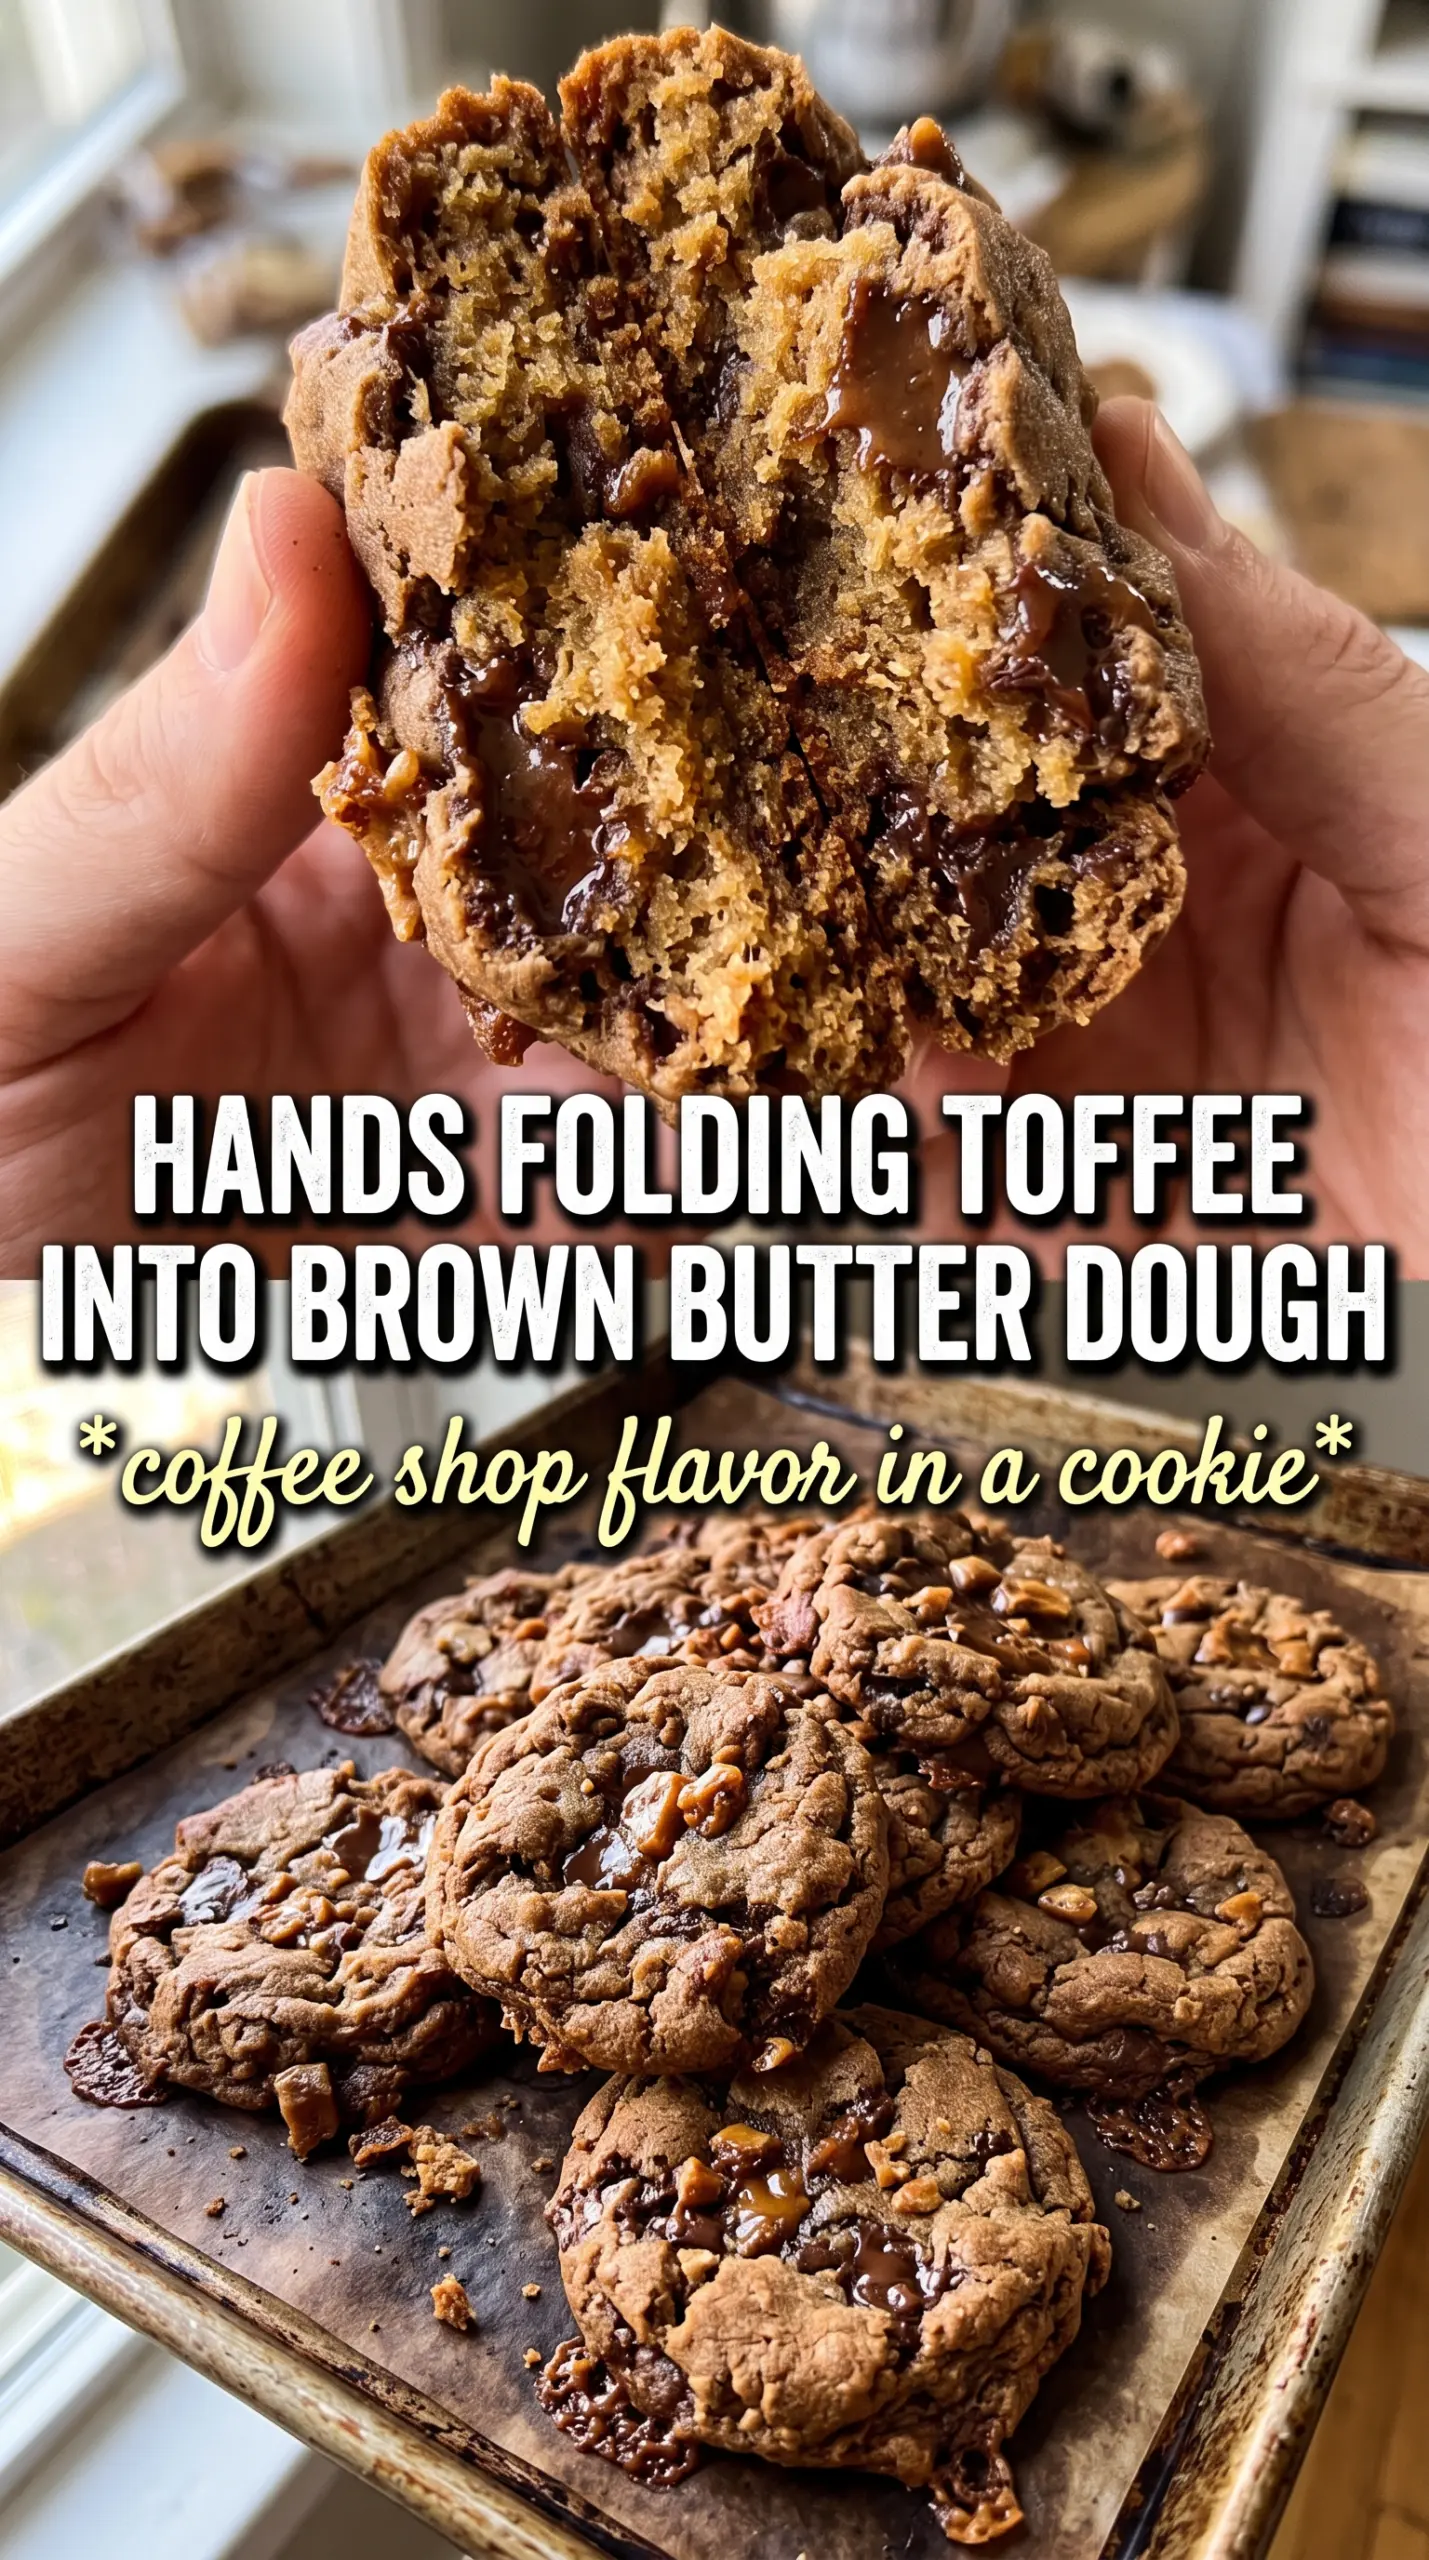
- Browned butter — This is the flavor engine. Regular melted butter won’t give you the same toasted, nutty depth, and it also changes how the cookies spread. Brown it fully, then cool it back down until solid and scoopable before mixing.
- Espresso powder — You only need a teaspoon, but it wakes up the chocolate and makes the toffee taste more caramelized. Instant espresso or finely ground espresso powder both work here; just don’t use brewed coffee, which adds water and throws off the dough.
- Toffee bits — Heath-style bits melt slightly at the edges and give you those crisp little pockets that make each bite interesting. If you chop a candy bar instead, the pieces will be a little more irregular, which is fine, but keep them small or they’ll sink and clump.
- Dark chocolate chips — These keep the cookies from tipping too far into sweet. Semi-sweet works in a pinch, but dark chocolate gives a better contrast against the brown sugar and toffee.
- Flaky salt — This goes on at the end, while the cookies are still hot, so it sticks. It’s not decoration. It sharpens the chocolate and keeps the sweetness from flattening out.
The Mixing Order That Keeps the Cookies Thick
Start with the Butter and Sugars
Beat the solidified browned butter with the brown sugar and granulated sugar until it looks creamy and lighter in color. This takes a minute or two, and it matters because it helps the cookies rise a little instead of baking dense. If the butter is still too cold, it’ll stay clumpy; if it’s too warm, the mixture turns slack and glossy. Stop as soon as it looks smooth and fluffy enough to hold a trail from the beater.
Add the Eggs One at a Time
Mix in the eggs one by one, then add the vanilla. The dough should look satiny and slightly thick after each egg goes in. If it looks curdled, keep mixing; that usually means the butter was a touch too cool, not that anything is wrong. The vanilla doesn’t dominate here, but it rounds out the espresso and keeps the cookie from tasting one-note.
Fold in the Dry Ingredients Just Until the Flour Disappears
Add the flour mixture and stop mixing the moment you stop seeing dry streaks. Overmixing builds too much gluten and gives you tougher cookies instead of tender ones. Fold in the toffee bits and chocolate chips at the end so they stay evenly distributed without being crushed. Scoop the dough into 2-tablespoon rounds, then bake until the edges are set and golden and the centers still look a little soft in the middle; that underdone look is what gives you the chewy finish after cooling.
Make Them Without the Chocolate Chips
Leave out the chocolate chips and bump the toffee bits up by another 1/4 cup if you want a more pronounced caramel crunch. The cookies will taste a little sweeter and less bitter, which some people love with the espresso in the dough. This version also lets the browned butter and flaky salt come forward more clearly.
Gluten-Free Version
Use a good 1:1 gluten-free baking blend in place of the all-purpose flour. Chill the scooped dough for 20 to 30 minutes before baking so the cookies hold their shape a little better. The texture will be slightly more delicate, but the browned butter and toffee still carry the flavor.
Extra Espresso, Deeper Chocolate
If you want a stronger coffee note, add another 1/2 teaspoon of espresso powder. Don’t go much further unless you like a slightly bitter finish, because the espresso should support the chocolate, not take over the cookie. This is the version I reach for when I want the flavor to taste a little more grown-up.
Storage and Reheating
- Refrigerator: Keep baked cookies in an airtight container for up to 5 days. They stay chewy, though the toffee softens a little over time.
- Freezer: These freeze well. Freeze baked cookies in a single layer, then transfer to a bag, or freeze the scooped dough balls and bake straight from frozen with 1 to 2 extra minutes.
- Reheating: Warm a cookie in the microwave for 8 to 10 seconds, just until the chocolate softens. Don’t overheat them or the toffee can turn sticky and the edges lose that nice crispness.
Questions I Get Asked About This Recipe
Espresso Brown Butter Toffee Cookies
Ingredients
Equipment
Method
- Brown the butter in a saucepan over medium heat until golden and nutty-smelling, then pour into a bowl and refrigerate until solid but scoopable, about 1 hour (keep it in the fridge to firm up).
- Preheat the oven to 375F and line baking sheets with parchment sheets.
- Whisk together the all-purpose flour, baking soda, espresso powder, and salt until evenly combined and speckled.
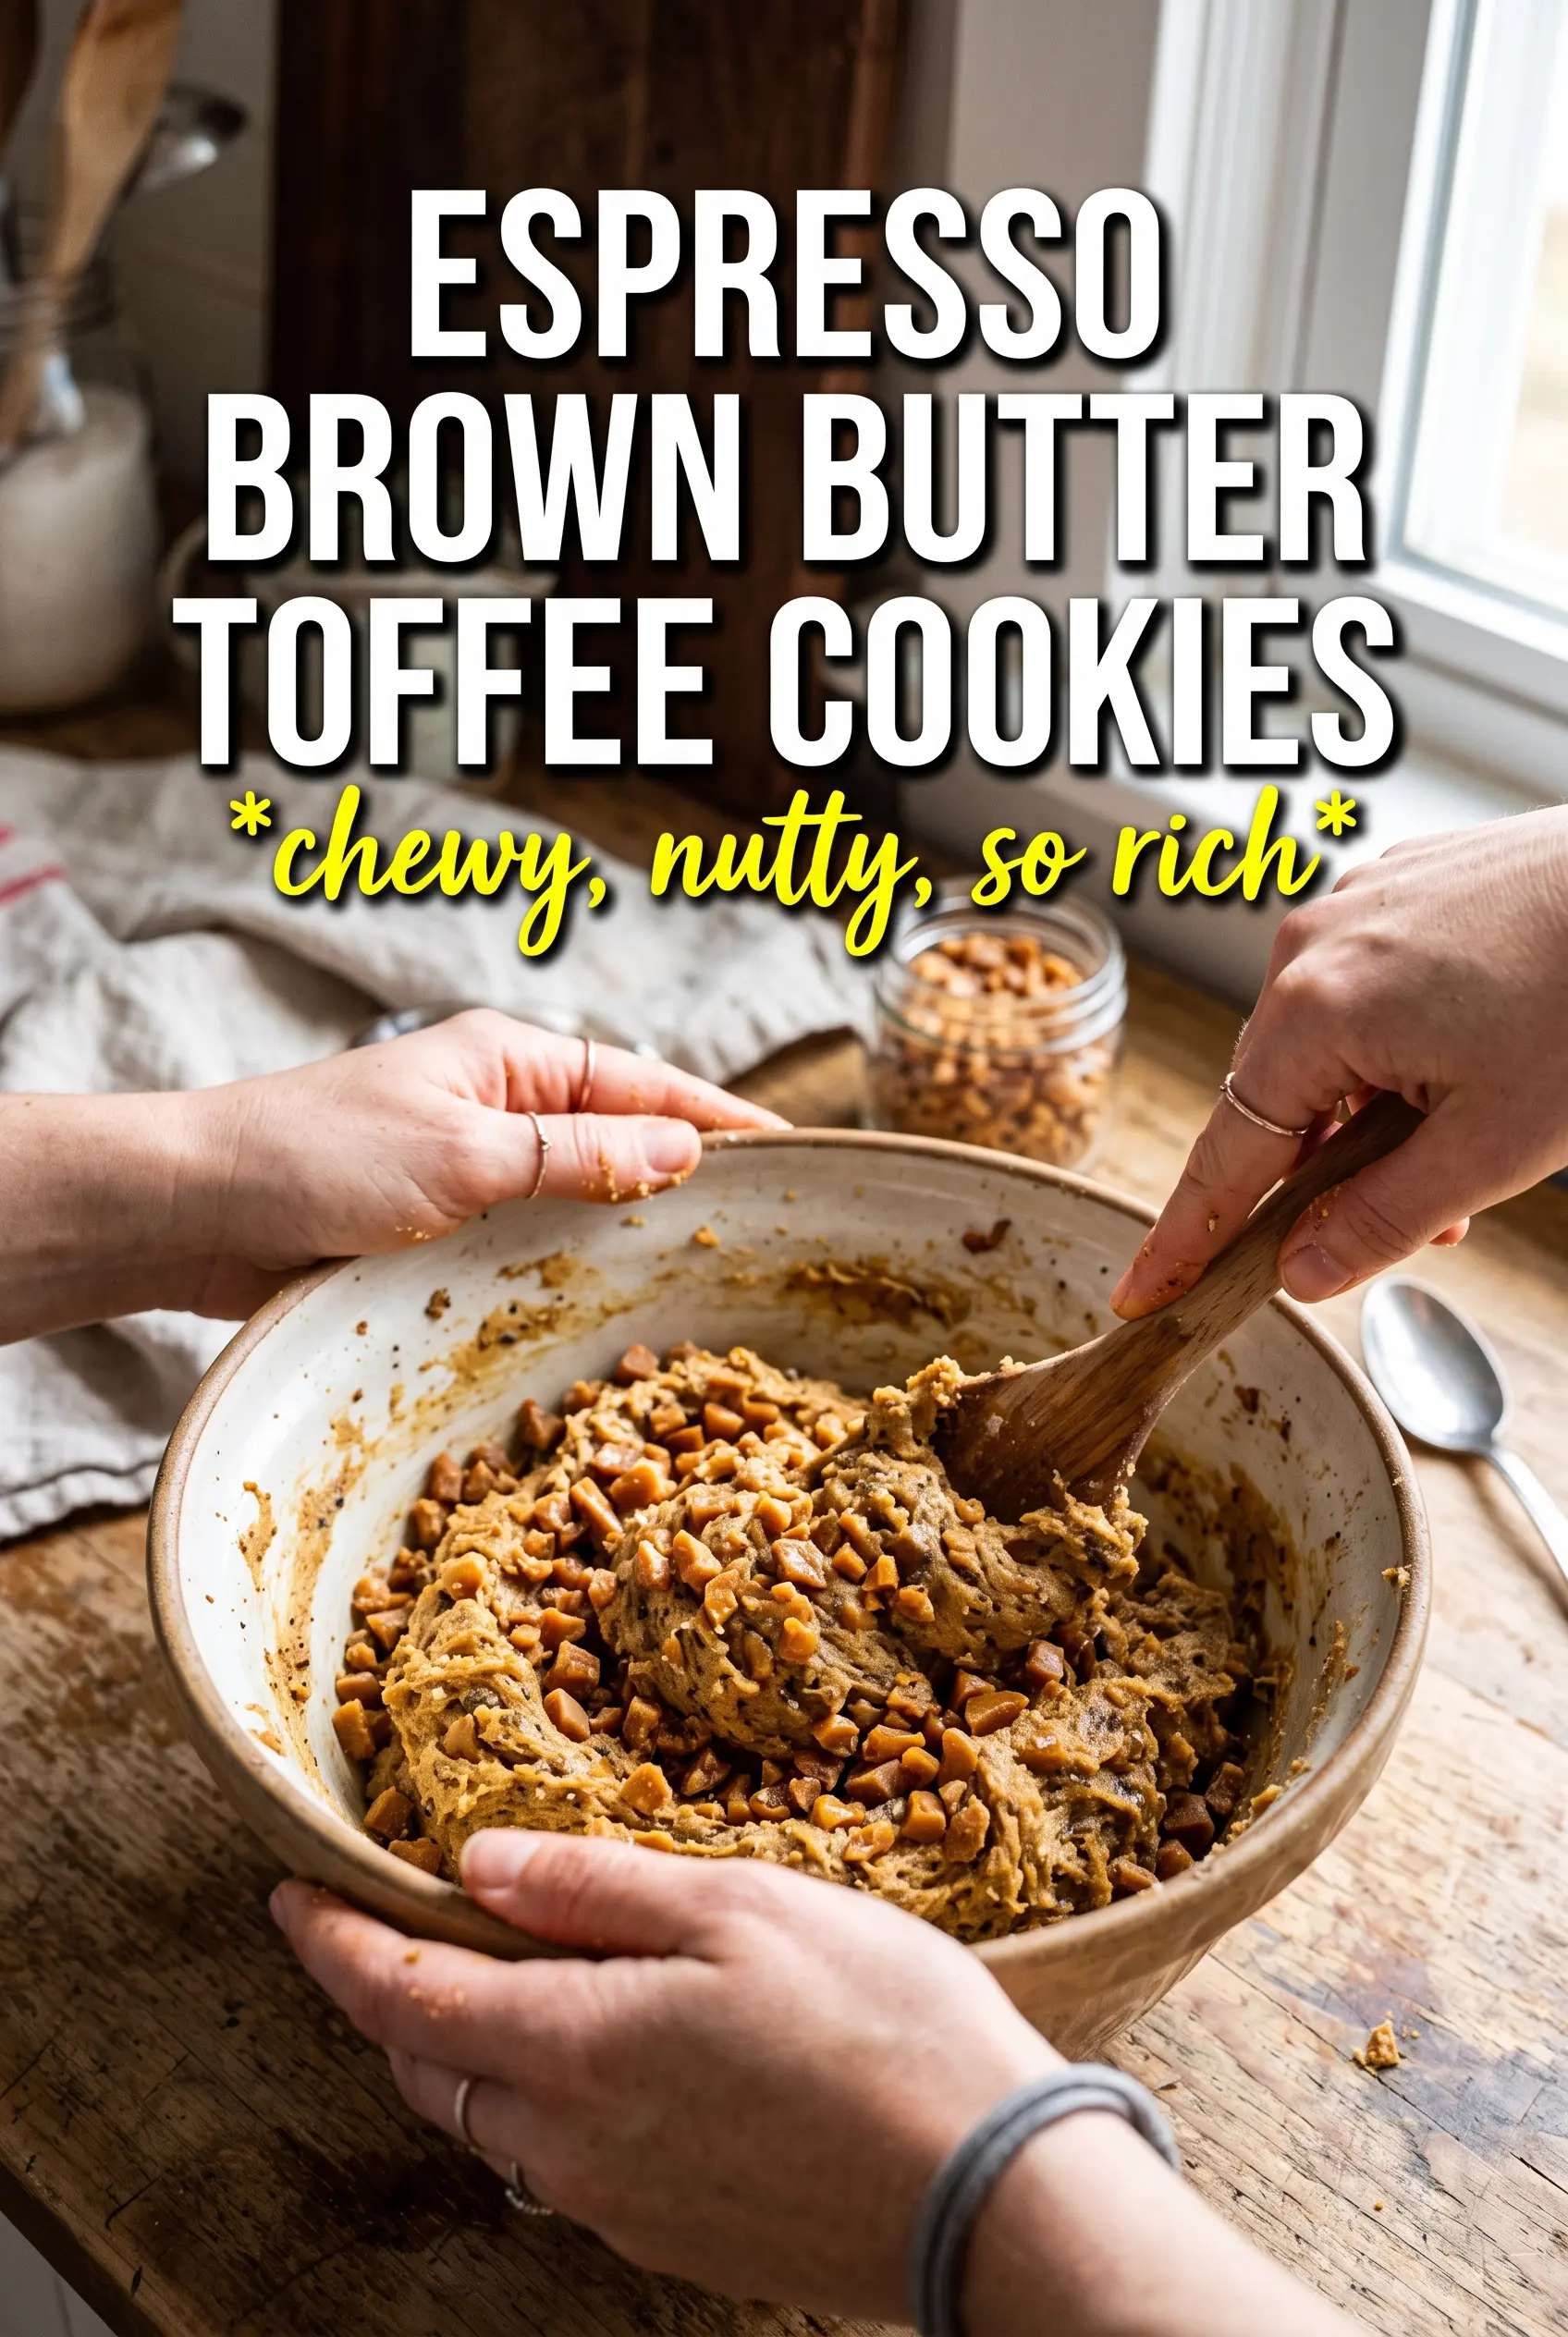
- Beat the solidified brown butter with the brown sugar and granulated sugar until creamy, then add the eggs one at a time and mix in the vanilla extract.
- Fold in the flour mixture until just combined, keeping the dough from overmixing.
- Fold in the toffee bits (Heath bar pieces) and dark chocolate chips until distributed throughout.
- Scoop the dough into 2-tablespoon rounds and place on the prepared sheets, spacing them apart.
- Bake at 375F for 10-12 minutes until the edges are golden but the centers look slightly underdone.
- Sprinkle with flaky sea salt immediately after baking, then cool on the pan for 5 minutes so the cookies set.