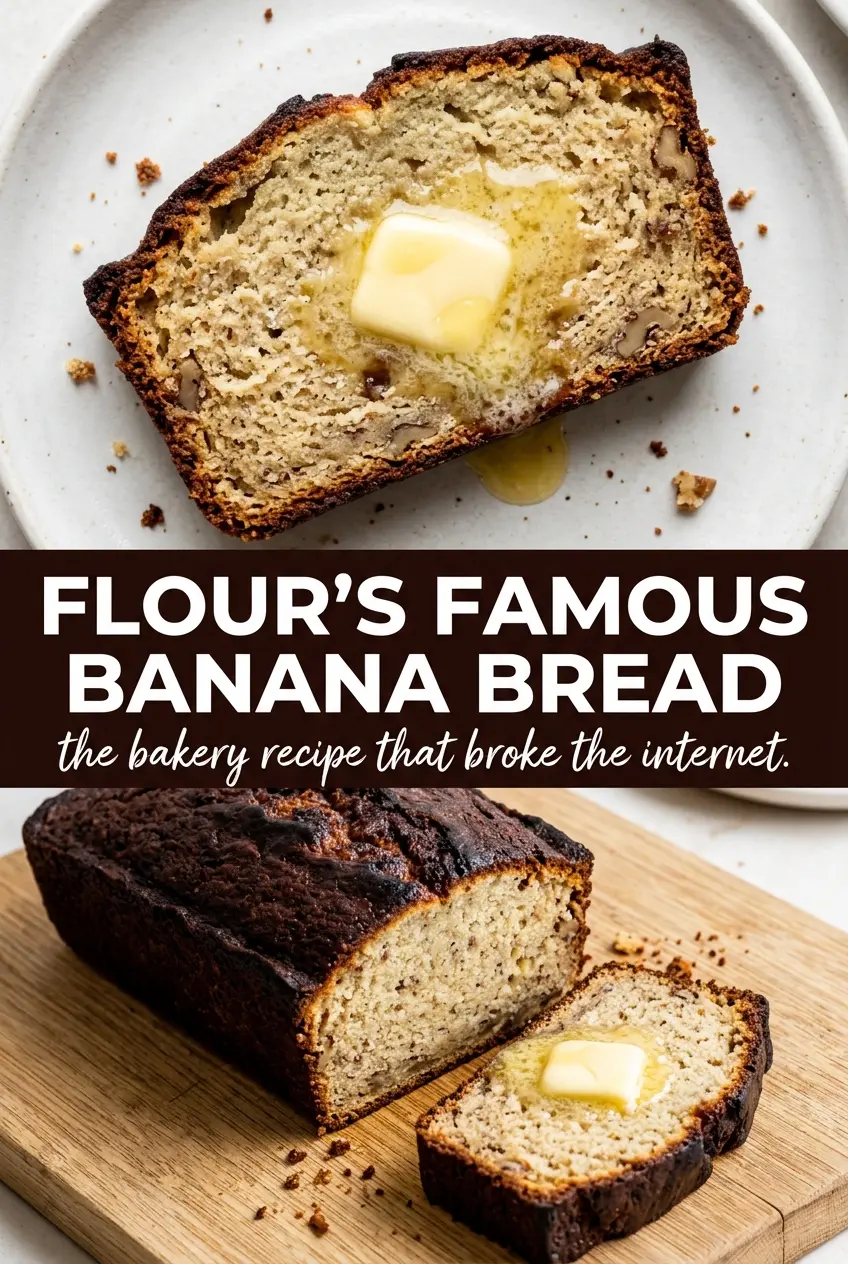
Flour’s Famous Banana Bread earns its reputation with a loaf that bakes up tall, deeply browned, and soft enough to slice cleanly while still staying moist for days. The crumb has that bakery-style openness you don’t get from a quick stir-together banana bread, and the toasted walnuts on top give every slice a little crunch against the tender middle. It tastes familiar in the best way, but the texture is what makes people remember it.
The method matters here. Beating the butter and sugar until genuinely pale and fluffy gives the loaf lift, and the sour cream keeps the crumb plush without making it dense. The oven temperature is lower than you’d expect for banana bread, which helps the top develop that dark, caramelized crust before the center dries out. That slow bake is a big part of what makes this version feel like something from a real bakery case.
Below you’ll find the small details that make the difference: how ripe the bananas should be, why the nuts go in at the end, and what to look for when the loaf is done so you don’t pull it too early.
The loaf came out with that deep bakery crust and a really soft center, and the toasted walnuts on top stayed crisp even the next day. I followed the bake time closely and it sliced perfectly once it cooled.
Save this bakery-style banana bread with its caramelized walnut top for the days when you want a loaf that slices like a dream and stays moist for days.
The Loaf That Fails If You Rush the Beating
Banana bread looks forgiving, but this version depends on real aeration at the start. If the butter and sugar aren’t beaten until the mixture turns pale and fluffy, the loaf bakes up tight and heavy instead of open and tender. That five-minute beat is doing more work than the bananas are.
The other place people lose the texture is in the final mix. Once the flour goes in, stir only until the streaks disappear. Overmixing turns the crumb tough, and with this much banana and sour cream in the batter, it’s easy to keep stirring long after you should stop. A few small floury streaks are better than a dense loaf.
Why the Bananas and Sour Cream Carry the Texture
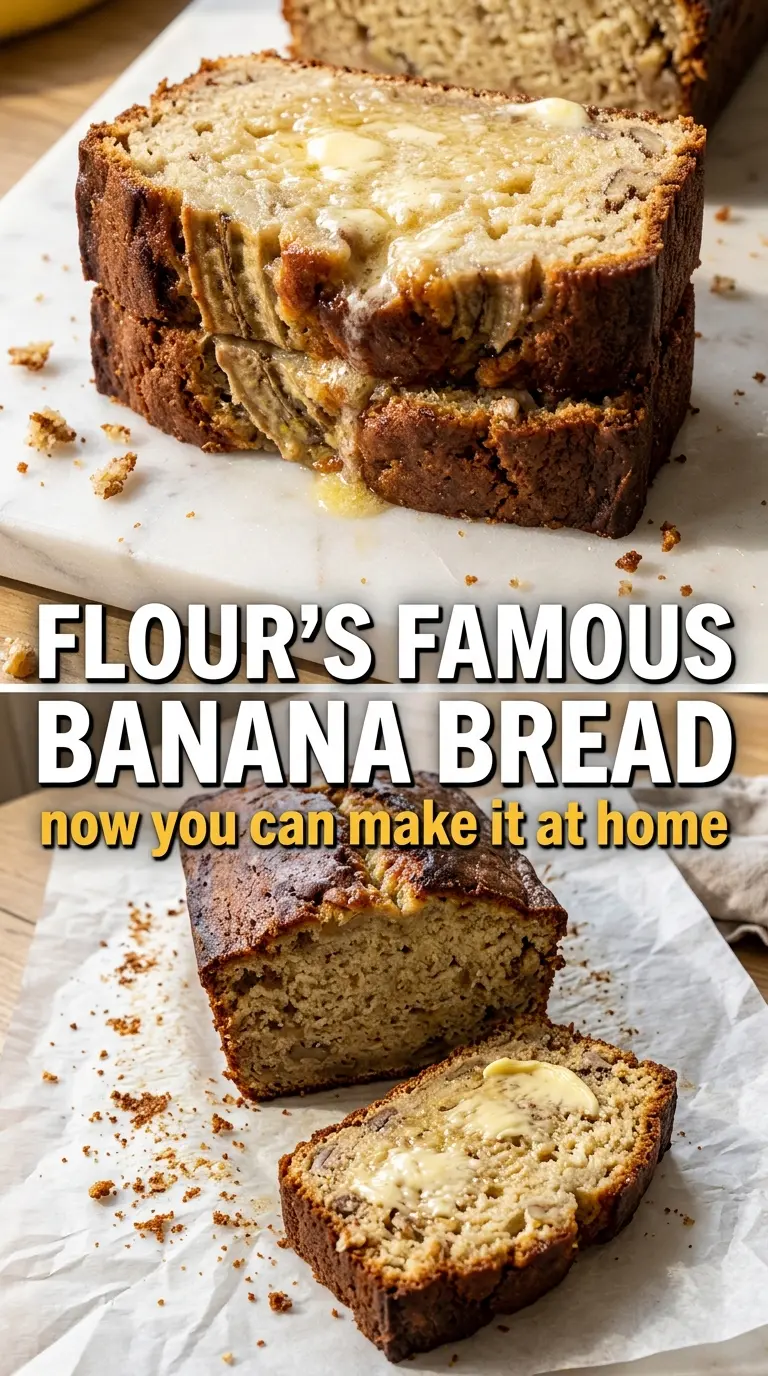
- Very ripe bananas — The darker and softer they are, the more flavor and moisture they bring. You want bananas with plenty of brown speckles or nearly black skins. If yours aren’t ripe enough, the bread will taste flatter and the crumb won’t be as soft.
- Sour cream — This is what keeps the loaf plush without making it wet. Plain full-fat yogurt works in a pinch, but sour cream gives a slightly richer finish and a tighter, bakery-style crumb.
- Unsalted butter — Room-temperature butter creams properly with the sugar, which is essential for that lighter texture. Cold butter won’t trap enough air, and melted butter changes the loaf into something heavier and less structured.
- Walnuts — Toast them first if you want the best flavor. That step wakes up the nuttiness and keeps the topping from tasting flat. Skip them only if you need a nut-free loaf; otherwise they give the bread its signature finish.
Building the Batter Without Losing the Air
Creaming the Butter and Sugar
Beat the butter and sugar on high speed until the mixture looks very light, almost fluffy and slightly increased in volume. It should lose the grainy look of raw sugar and become smoother and paler. If you stop too soon, the loaf will still taste good but it won’t have the same open crumb. Scrape the bowl once or twice so the butter around the edges doesn’t stay hidden and dense.
Adding the Eggs, Bananas, and Sour Cream
Add the eggs one at a time so the batter stays smooth and emulsified. After that, mix in the sour cream, mashed bananas, and vanilla just until combined. If the mixture looks a little curdled at this point, that’s fine; it comes back together once the flour goes in. The bananas should be mashed well, but a few small lumps add character and keep the bread from becoming paste-like.
Folding in the Dry Ingredients and Walnuts
Use a spatula for the flour mixture and stop as soon as you no longer see dry pockets. This is the point where overworking ruins texture fastest. Fold in the walnuts last so they stay distributed without sinking. The batter should look thick and soft, not pourable like cake batter.
Baking to a Deep Brown Finish
Pour the batter into a greased and floured 9×5-inch loaf pan and bake until the top is a deep brown and a tester comes out clean from the center. The dark top is part of the recipe, so don’t pull it just because it looks browner than usual banana bread. If the center is still wet, give it a few more minutes and check again. Let it cool in the pan briefly before moving it to a rack so the structure sets instead of collapsing.
How to Make This Banana Bread Fit Your Kitchen
Dairy-Free Banana Bread
Swap the butter for a solid plant-based butter and use a thick dairy-free yogurt in place of the sour cream. The loaf will still be moist, but it may brown a little differently and the crumb won’t be quite as rich. Use a yogurt that isn’t watery, or the batter can turn slack.
Nut-Free Version
Leave out the walnuts entirely and bake the loaf as written. You’ll lose the crunchy top and a little of the signature bakery feel, but the bread still bakes up tall and tender. If you want a little texture, sprinkle coarse sugar over the top before baking.
Gluten-Free Adaptation
Use a good 1:1 gluten-free flour blend that already contains xanthan gum. The loaf will be slightly more delicate and may need a few extra minutes in the oven. Let it cool fully before slicing, because gluten-free quick breads can seem gummy if cut too early.
Storage and Reheating
- Refrigerator: Store tightly wrapped at room temperature for 3 days, or refrigerate for up to 5 days if your kitchen is warm. The crumb stays moist, but the chilled loaf will feel firmer.
- Freezer: This freezes well. Wrap slices or the whole loaf tightly, then freeze for up to 3 months. Thaw at room temperature while still wrapped so condensation doesn’t make the crust soggy.
- Reheating: Warm slices in a low oven or toaster oven for a few minutes. The common mistake is microwaving too long, which makes the bread rubbery instead of bringing back the tender crumb.
Questions I Get Asked About This Recipe
Flour's Famous Banana Bread
Ingredients
Equipment
Method
- Preheat oven to 325°F and grease and flour a 9x5 loaf pan.
- Set a sheet pan aside for the walnuts and keep it near the oven.
- Sift together flour, baking soda, and salt, then set aside.
- Beat butter and sugar on high speed for about 5 minutes until very light and fluffy.
- Add eggs one at a time, beating well after each addition.
- Mix in sour cream, mashed bananas, and vanilla until smooth.
- Fold in the flour mixture gently until just combined, leaving no dry streaks.
- Fold in walnuts so they are evenly distributed.
- Pour batter into the prepared loaf pan and spread evenly.
- Bake for 60–70 minutes, until the top is deep brown and a toothpick comes out clean.