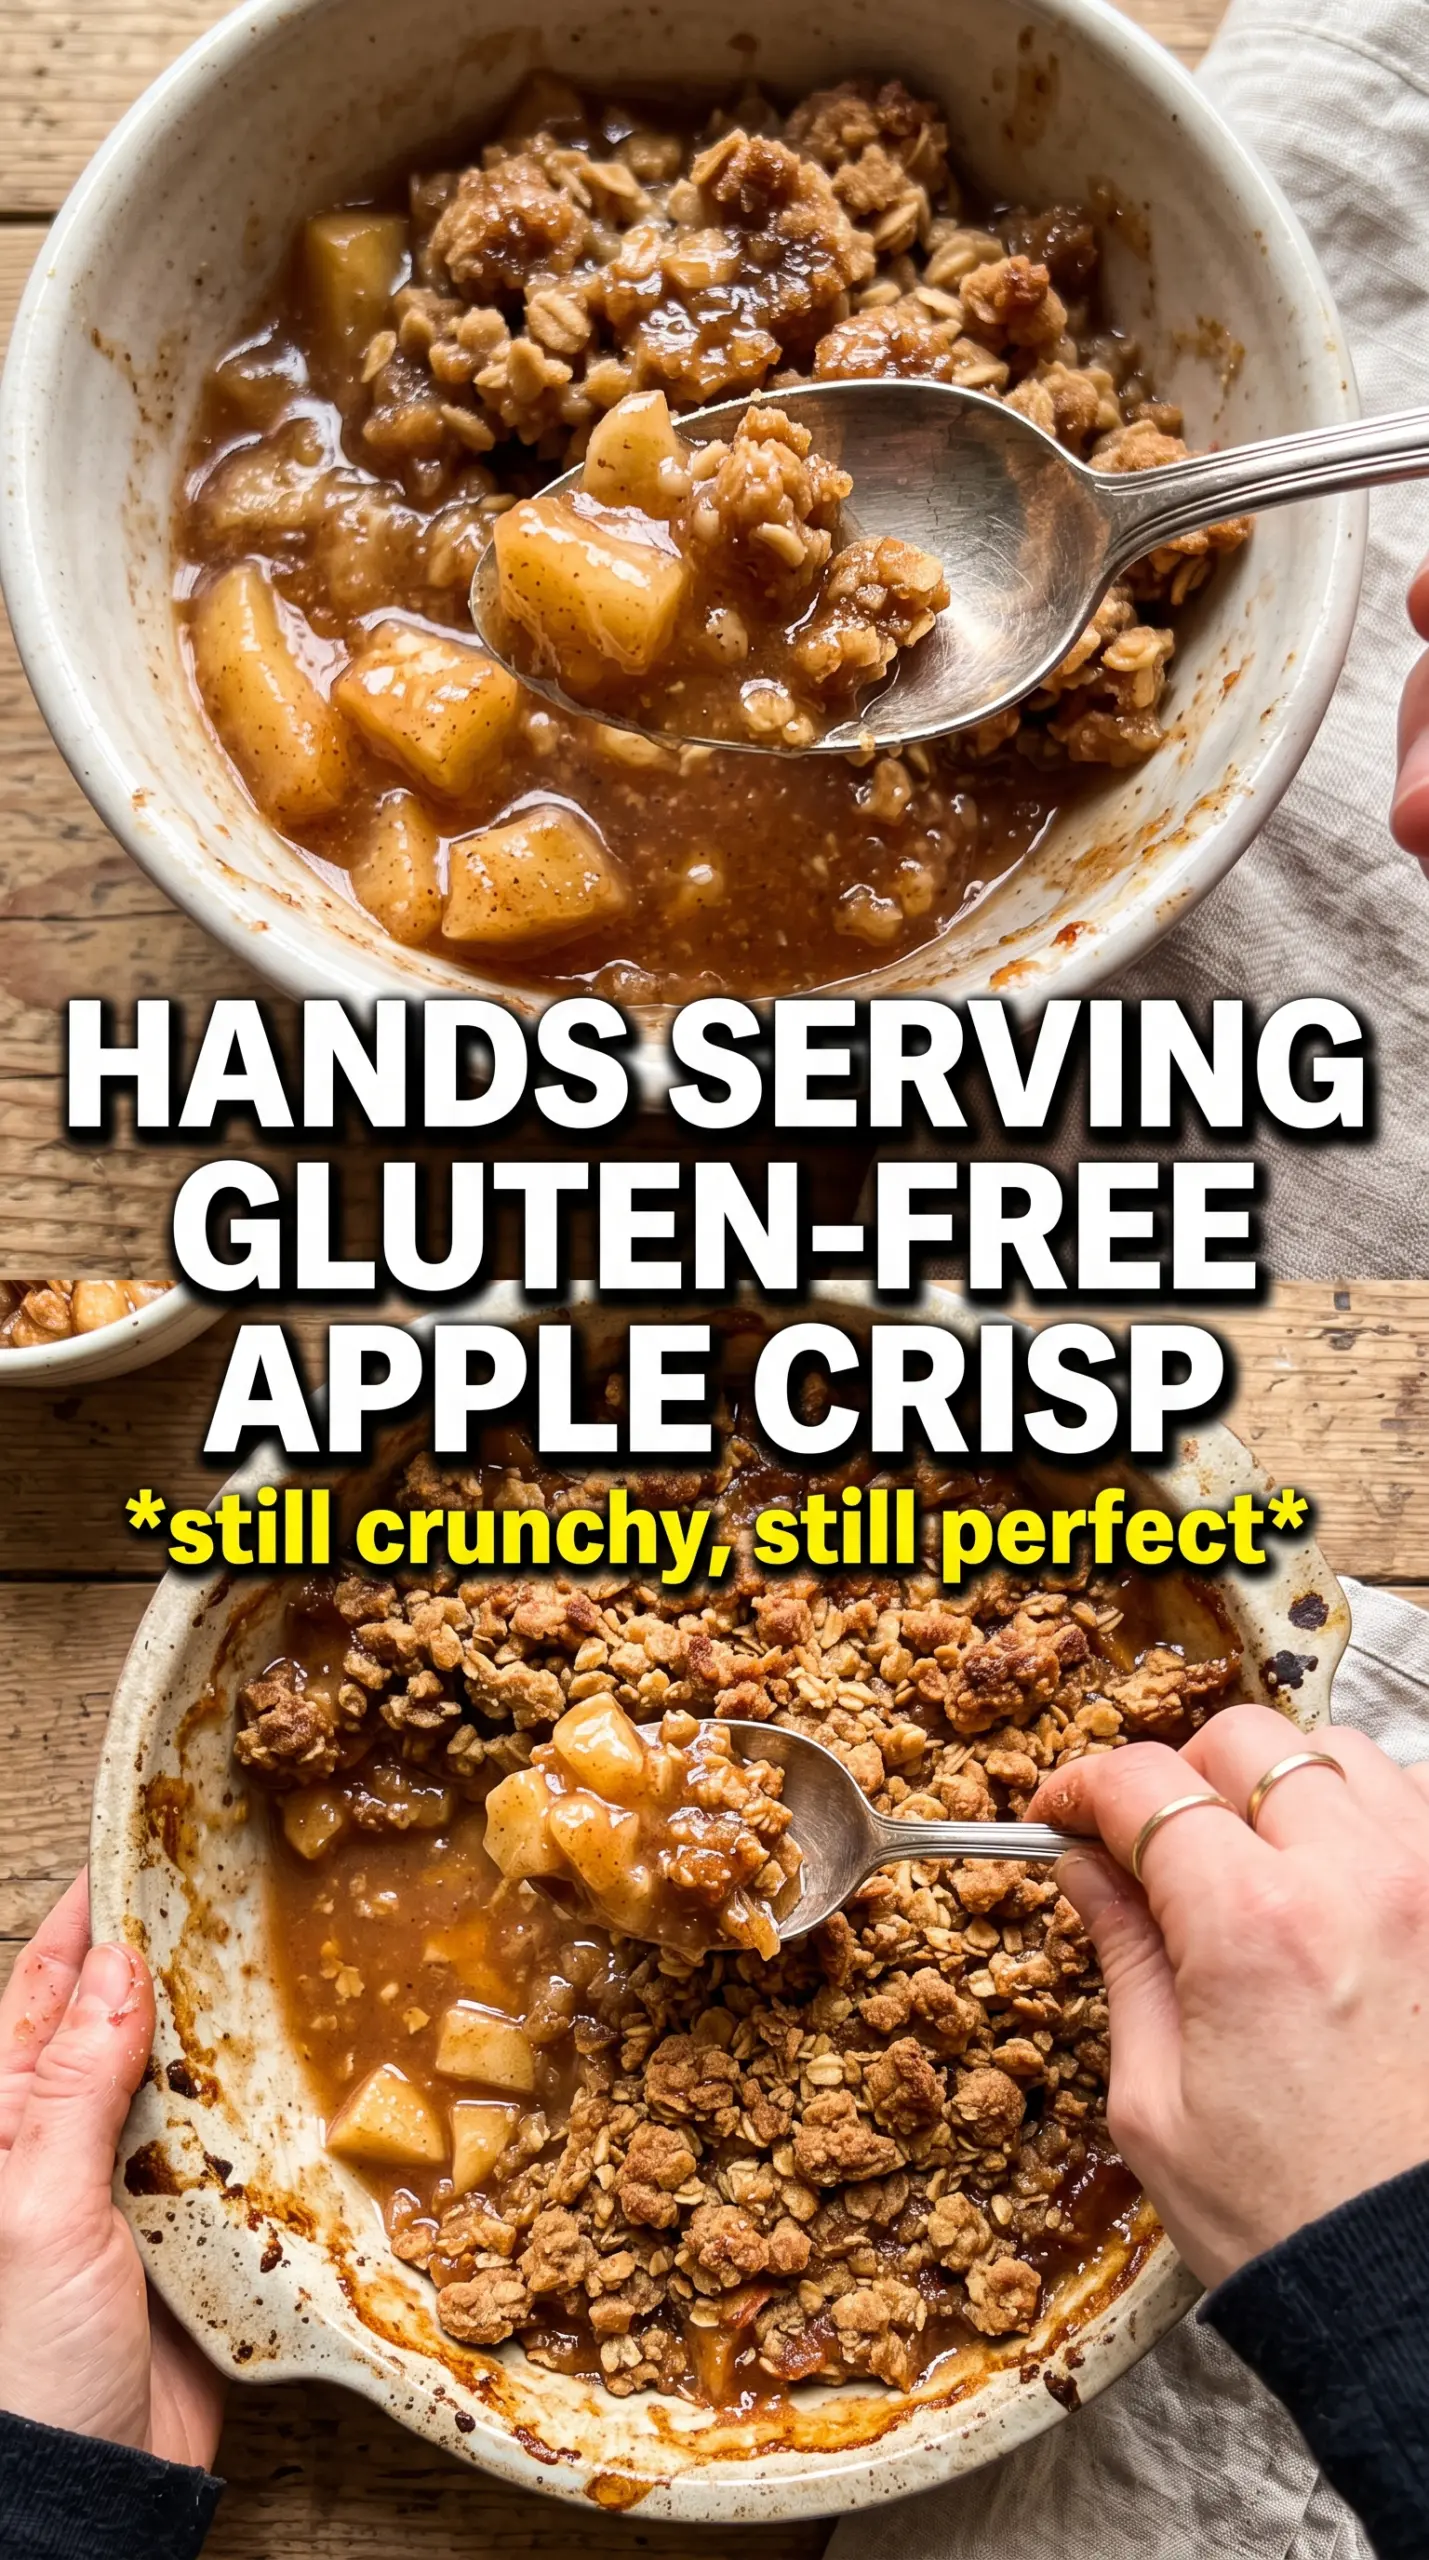
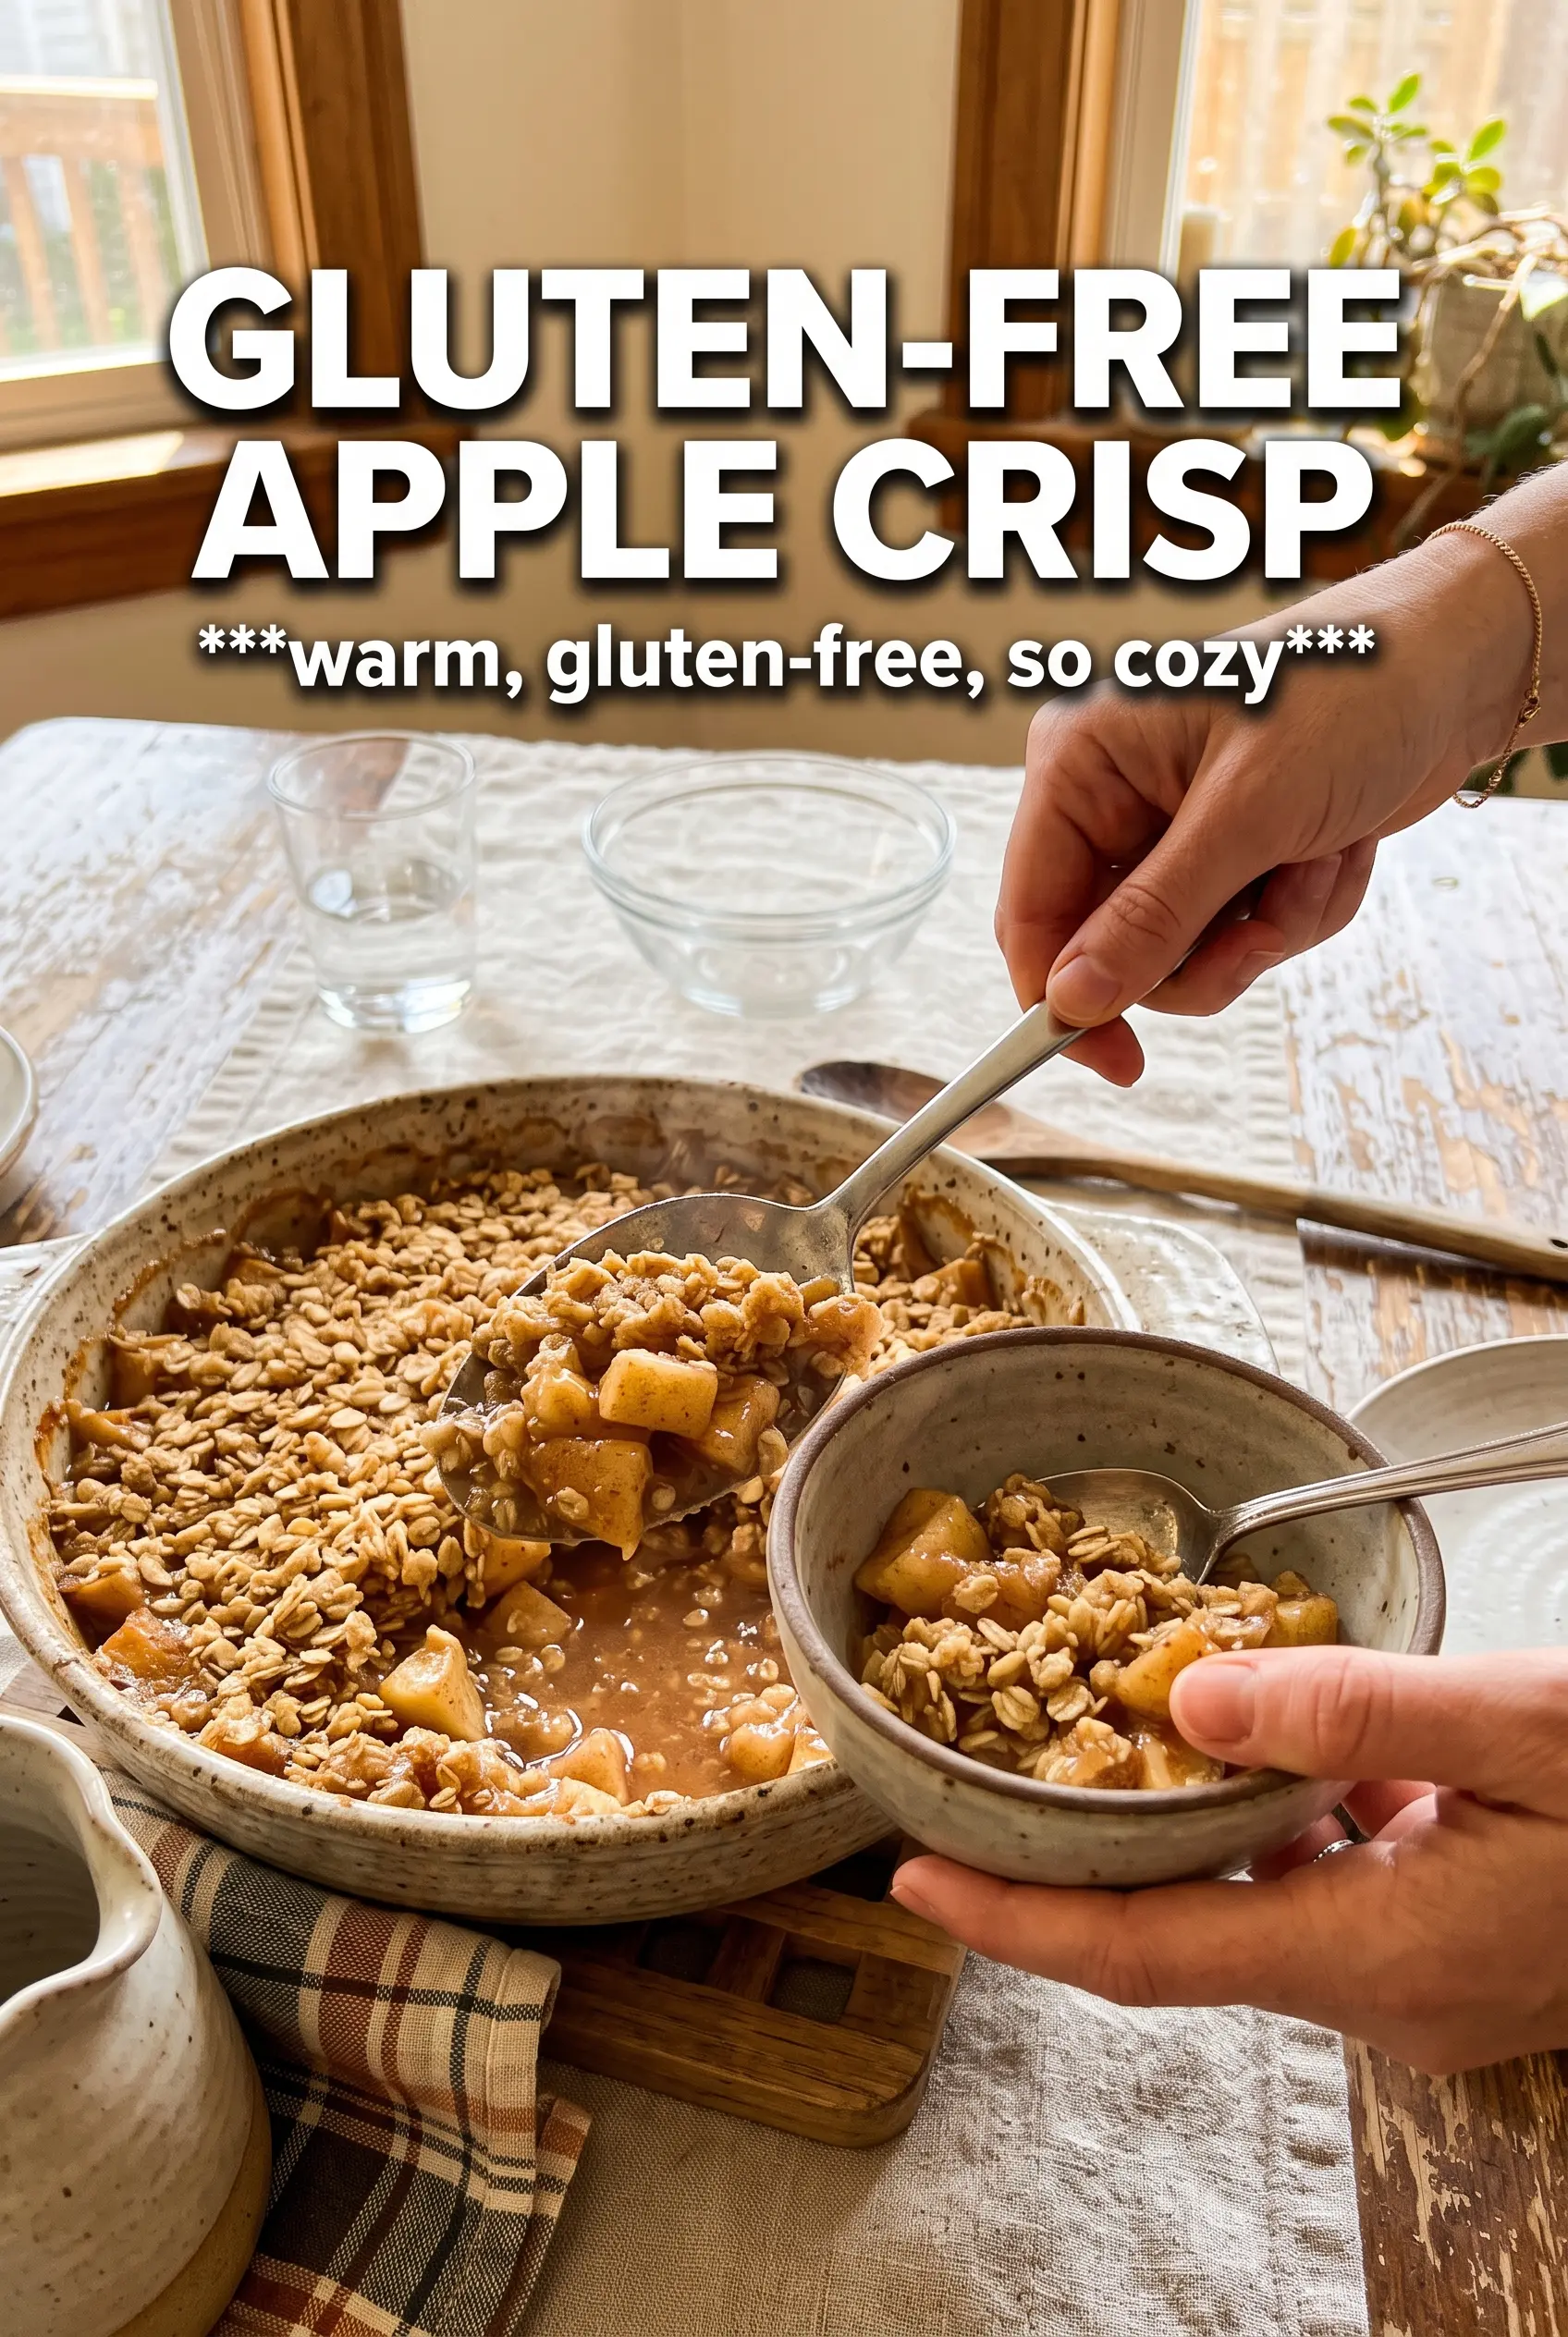
Gluten-free apple crisp is at its best when the topping shatters a little under your spoon and the apples underneath have cooked down into a soft, cinnamon-spiced layer with just enough body to hold together. The contrast is what makes it worth baking: tender fruit, a crumbly almond-oat top, and those caramelized edges where the butter and sugar turn deeply golden.
This version works because the filling is thickened before it goes into the oven, so you don’t end up with a watery pool at the bottom of the dish. Cornstarch does the heavy lifting there, and the lemon juice keeps the apples tasting bright instead of flat. On the topping side, certified gluten-free oats give you that rustic crisp texture, while almond flour adds richness and helps the crumble brown without drying out.
Below you’ll find the small details that matter most: how to keep the topping chunky instead of sandy, which apples hold their shape best, and a few ways to adjust the dish if you’re baking for different diets.
The filling turned thick and glossy instead of runny, and the almond-oat topping stayed crisp even after sitting on the counter for a bit. I used Honeycrisp apples and it was the first crisp I’ve made that actually held its shape when I scooped it.
Love the crisp almond-oat topping and bubbling cinnamon apples? Save this gluten-free apple crisp for the next time you want a dessert with real texture.
The Part That Stops a Soggy Crisp From Happening
Apple crisp goes wrong when the fruit dumps too much liquid into the pan and the topping has to sit there steaming instead of browning. The fix starts before the oven even turns on: cornstarch gets tossed with the apples so the juices thicken as they bake, not after the dessert is already under a pile of topping. That gives you a filling that turns glossy and spoonable instead of soupy.
Cut the apples into even slices so they soften at the same rate. If some are paper-thin and others are chunky, you’ll end up with a mixed texture that reads as underbaked in one bite and mushy in the next. The dish should come out when the topping is deeply golden and the fruit is bubbling through the edges and in a few spots across the center.
What the Oats, Almond Flour, and Butter Are Really Doing
- Certified gluten-free rolled oats — These give the topping its crisp, craggy texture. Regular oats can be cross-contaminated, so certified gluten-free oats matter here if you’re baking for someone with celiac disease or a true gluten sensitivity.
- Almond flour — This adds richness and helps the crumble brown without turning dusty. You can’t swap in more oat flour and expect the same result; almond flour brings a little fat and tenderness that keeps the topping from tasting dry.
- Gluten-free all-purpose flour blend — This helps bind the crumble into bigger chunks. If your blend already contains xanthan gum, that’s fine; you don’t need to adjust anything. A cup-for-cup style blend works best.
- Cold butter — Cold butter is what gives you those coarse, bakery-style clumps. If it softens too much before baking, the topping turns sandy and melts into the apples instead of staying craggy. Cut it in until some pieces are pea-sized and some are smaller.
- Apples — Firm baking apples hold their shape best. I like a mix of tart and sweet if I have it, because the filling tastes fuller and less one-note. If all you have are softer apples, shorten the bake by a few minutes and watch for collapse at the edges.
Building the Crumble So It Bakes Up Crunchy
Coating the Apples First
Start by tossing the sliced apples with sugar, cinnamon, nutmeg, cornstarch, and lemon juice until every piece looks lightly coated. You want the cornstarch distributed before the fruit goes into the dish, not dumped in a clump at the bottom. Spread the apples in an even layer so the filling cooks at the same pace and the juices have room to bubble up.
Cutting Butter Into the Dry Mix
Stir the oats, almond flour, gluten-free flour blend, brown sugar, cinnamon, and salt together first, then work in the cold butter. Use a pastry cutter or your fingertips and stop when the mixture forms chunky clumps with some loose crumbs still attached. If you keep going until it looks uniform, the topping bakes up dense instead of crisp.
Waiting for the Right Bake Cue
Scatter the crumble over the apples and bake until the top is golden and the filling is actively bubbling. That bubbling matters more than the timer alone, because it tells you the cornstarch has activated and thickened the juices. Let the crisp rest for 10 minutes before serving so the filling settles and doesn’t run all over the plate.
Make It Dairy-Free Without Losing the Crunch
Swap the butter for a solid plant-based butter block, not a soft tub spread. The block-style version holds its shape better while you cut it in, which helps the topping bake into crisp clumps instead of a greasy layer. The flavor stays close, though the topping may brown a little faster.
Using Different Apples
A mix of tart and sweet apples gives the best balance, but one variety still works. Firm apples like Honeycrisp, Granny Smith, Braeburn, or Pink Lady hold their shape well; softer varieties break down faster and make the filling more saucy. If your apples are very juicy, add an extra teaspoon of cornstarch.
Making It Nut-Free
Replace the almond flour with more gluten-free all-purpose flour blend or certified gluten-free oat flour. The topping will be a little less rich and slightly more cookie-like, but it still bakes up with good texture. If you use oat flour, keep the butter cold and don’t overmix or the crumble gets pasty.
Storage and Reheating
- Refrigerator: Store covered for up to 4 days. The topping softens a bit as it sits, but the flavor stays excellent.
- Freezer: Freeze the baked crisp in a tightly wrapped baking dish or airtight container for up to 2 months. Thaw overnight in the refrigerator before reheating.
- Reheating: Reheat in a 325F oven until warmed through and the topping dries out again, about 15 to 20 minutes for a smaller portion. The mistake to avoid is microwaving it for too long, which turns the topping chewy and the filling loose.
Answers to the Questions Worth Asking
Gluten-Free Apple Crisp
Ingredients
Equipment
Method
- Preheat the oven to 375F and grease a 9x13 baking dish. Use a clean, even coat so the crisp releases easily.
- Toss the apple slices with granulated sugar, cinnamon, nutmeg, cornstarch, and lemon juice, then spread them in the dish. Ensure every slice is coated and arranged in an even layer.
- Combine the certified gluten-free rolled oats, almond flour, gluten-free all-purpose flour blend, brown sugar, cinnamon, and salt. Mix until the dry ingredients look evenly speckled.
- Cut the cold unsalted butter into the oat mixture until chunky clumps form. Stop when the mixture holds together when pressed.
- Scatter the crumble over the apples so the topping covers as much surface as possible. Keep some visible apple filling to help it bubble.
- Bake for 40-45 minutes at 375F, until the topping is golden and the filling is bubbling. Look for crisp edges and active bubbling in the center.
- Rest the crisp for 10 minutes before serving. The filling should thicken slightly as steam settles.
- Scoop vanilla ice cream beside each portion. Serve warm so the crisp topping stays slightly crunchy.