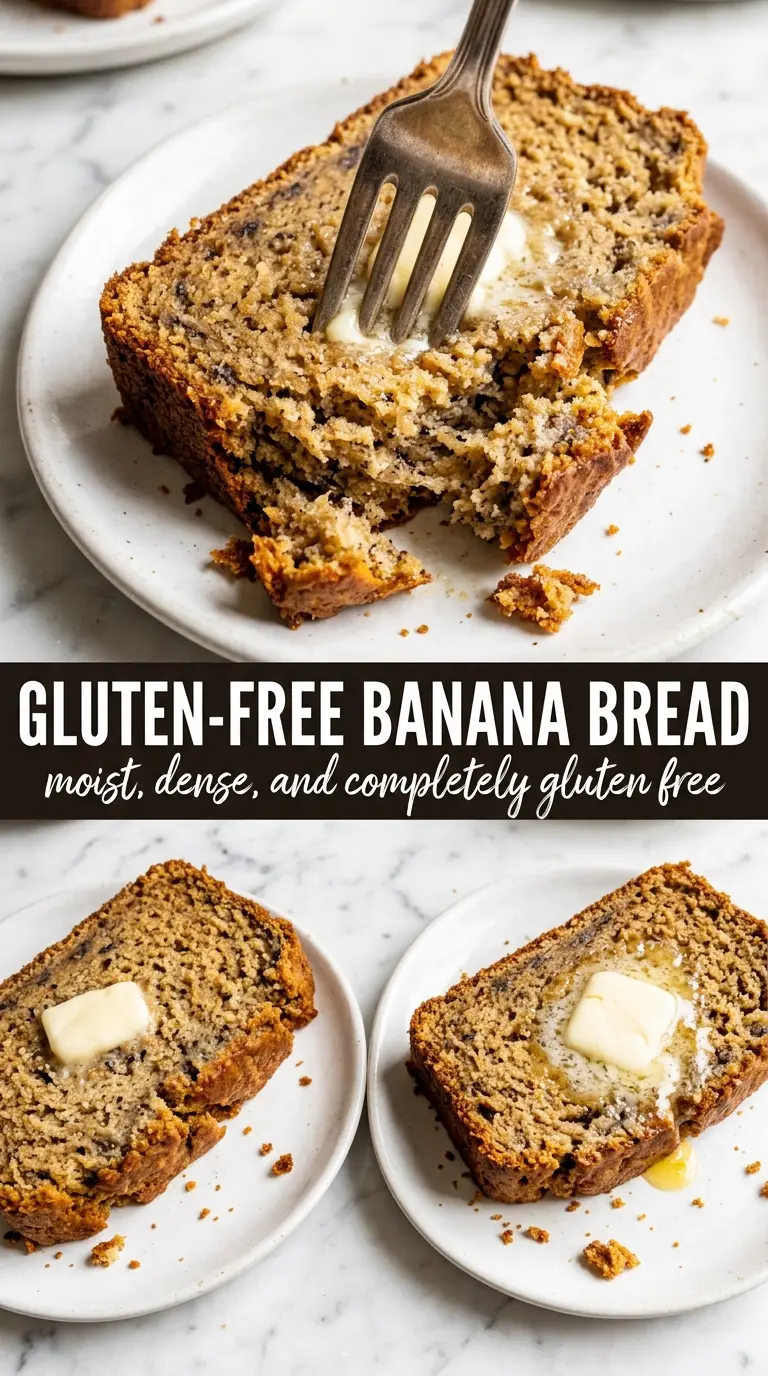
Golden, moist gluten-free banana bread earns its place in the kitchen when it slices cleanly, smells like caramelized banana, and stays tender for days instead of drying out by lunchtime. The best loaf has that deep banana sweetness, a clean crust, and a crumb that feels soft without being gummy. This version does exactly that.
The trick is the almond flour base. It brings richness and tenderness that regular flour can’t match, while a little tapioca starch gives the loaf enough structure to hold together once it cools. The batter will look looser than standard banana bread batter, and that’s a good sign here. Gluten-free quick breads often fail because they’re pulled too early or cut before they’ve fully set, so the cooling step matters just as much as the bake.
Below, you’ll find the details that make this loaf reliable: how to tell when the center is done, why the pan choice matters, and the small swaps that keep it working whether you use coconut oil, butter, honey, or maple syrup.
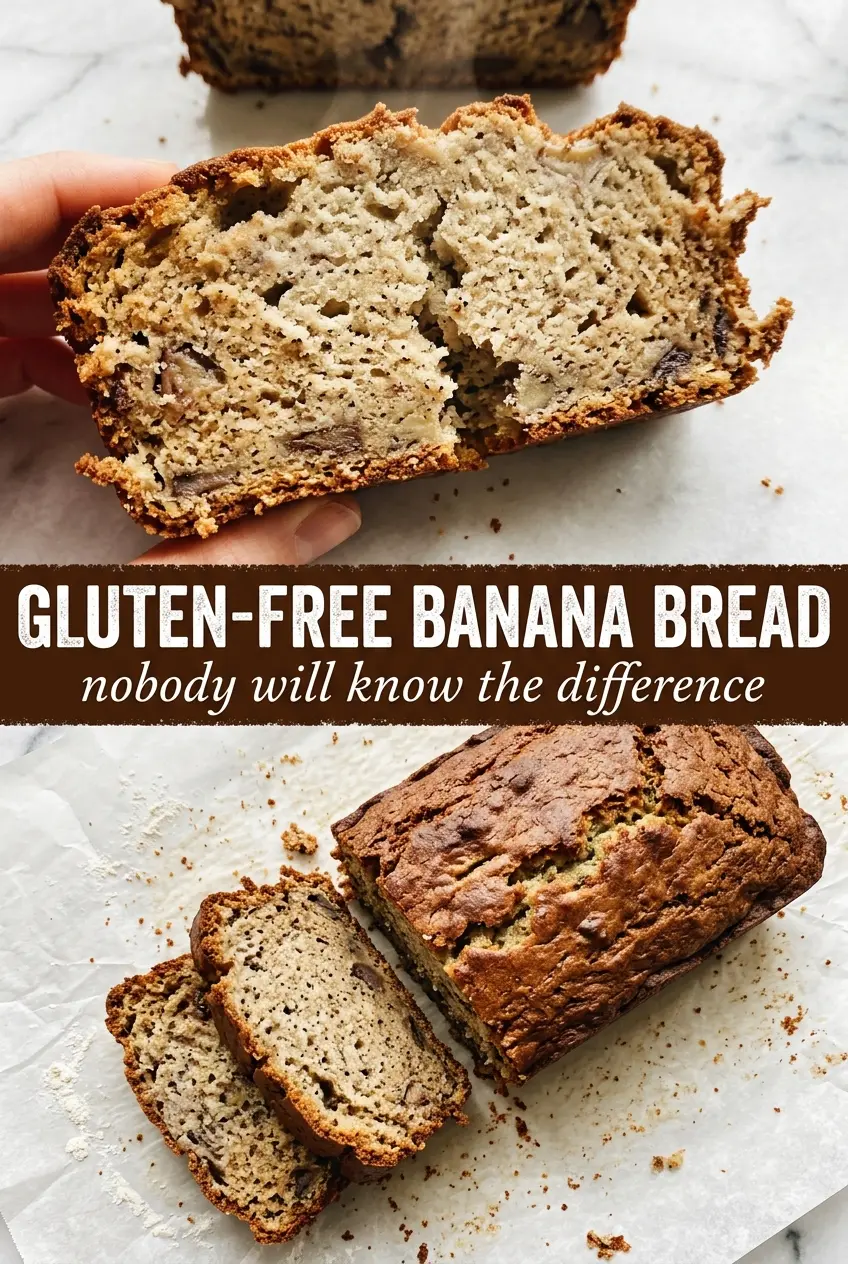
The loaf came out with a crackly top and a soft, moist center, and it held together beautifully once it cooled. I used maple syrup and it still had plenty of sweetness without tasting heavy.
Save this almond flour banana bread for the days when you want a moist gluten-free loaf with a golden crust and a tender crumb.
The Reason Gluten-Free Banana Bread Stays Dense Instead of Tender
Most gluten-free banana bread gets heavy because the batter is built like a wheat loaf, then expected to behave the same way in the oven. Almond flour doesn’t absorb moisture like all-purpose flour, so the loaf needs a different balance: enough structure to set, but not so much starch that it turns bready or dry. The eggs do more work here than they would in a standard banana bread. They bind the batter, lift it, and help the loaf slice cleanly once cooled.
The other mistake is overbaking. Almond flour browns faster than wheat flour, so the top can look done before the center is fully set. If the loaf is pulling too much color at the 50-minute mark, tent it loosely with foil and keep baking until the middle no longer looks wet when you test it. That’s the difference between a loaf that crumbles at the knife and one that holds a soft, even crumb.
What Each Ingredient Is Actually Doing in This Loaf
- Bananas — Use very ripe bananas with plenty of brown spotting. They bring sweetness, moisture, and the soft texture that makes this loaf taste like banana bread instead of a nutty quick bread.
- Almond flour — This is the backbone of the recipe. Fine almond flour gives the loaf tenderness and richness, but it has to be almond flour, not almond meal, or the crumb gets gritty and heavy.
- Tapioca starch or arrowroot — A small amount helps the batter set and slice better. Skip it and the loaf still bakes, but the texture is more fragile and a little more crumbly.
- Eggs — They hold everything together and provide the lift this style of bread needs. I wouldn’t swap them for a flax egg here unless you’re okay with a denser, more delicate loaf.
- Coconut oil or butter — Both work. Coconut oil gives a slightly lighter, cleaner finish, while butter adds a rounder, richer flavor.
- Honey or maple syrup — Either one sweetens the bread without making the crumb dry. Maple syrup gives a deeper flavor; honey makes the loaf taste a little more classic and bakery-style.
Getting the Batter Right Before It Goes Into the Pan
Mix the Wet Ingredients Until They Look Fully Emulsified
Start by whisking the bananas, eggs, melted oil or butter, sweetener, and vanilla until the mixture looks smooth and glossy. A few small banana bits are fine, but large chunks leave pockets that bake unevenly. If the fat is too hot, it can scramble the eggs, so let it cool until it feels warm, not hot, before mixing.
Stir Just Until the Dry Ingredients Disappear
Add the almond flour, tapioca starch, baking soda, cinnamon, and salt, then stir until no dry streaks remain. The batter should be thick but softer than standard banana bread batter, almost like a loose almond paste. Overmixing doesn’t build gluten here, but it can still make the loaf tougher and encourage a tighter crumb.
Bake for Color First, Then for the Center
Scrape the batter into a parchment-lined 9×5 loaf pan and smooth the top. Bake until the loaf is deeply golden and a toothpick comes out mostly clean, with just a few moist crumbs. If the top darkens before the center finishes, lay foil over it loosely and keep going. The real test is the middle of the loaf, which should feel set when gently pressed.
Cool the Loaf All the Way Down
This is the part people skip, and it’s the part that matters most. Gluten-free banana bread needs time to firm up as it cools, or the slices will seem gummy even when the bake was perfect. Leave it in the pan until fully cool, then lift it out and slice with a sharp knife. Warm slices taste great, but the texture won’t be at its best until the loaf has settled completely.
How to Adapt This Gluten-Free Banana Bread Without Losing the Good Texture
Dairy-Free Version
Use coconut oil instead of butter and the loaf stays completely dairy-free without losing moisture. Coconut oil gives a slightly lighter finish, while butter adds a richer flavor, so the swap changes taste more than texture.
Nut-Free Swap
This recipe is built on almond flour, so a true nut-free version needs a different formula rather than a simple swap. Sunflower seed flour is the closest starting point, but expect a greener tint and a slightly earthier flavor from the baking soda reaction.
Lower-Sugar Loaf
You can reduce the honey or maple syrup a little, but don’t cut it out completely. The sweetener helps with browning and keeps the crumb from tasting flat, especially since almond flour needs a touch of extra lift in flavor.
Storage and Reheating
- Refrigerator: Store covered for up to 5 days. The loaf stays moist, but the crumb firms up a little in the fridge.
- Freezer: Slice and freeze well-wrapped pieces for up to 3 months. Separate slices with parchment so you can pull out just what you need.
- Reheating: Warm slices in the toaster oven or microwave just until heated through. Don’t overheat it or the almond flour crumb can turn dry at the edges before the center warms.
Questions I Get Asked About This Recipe
Gluten-Free Banana Bread
Ingredients
Equipment
Method
- Preheat the oven to 350°F and line a 9x5 loaf pan with parchment paper.
- Set the lined loaf pan aside so it’s ready for the batter.
- Whisk mashed bananas, eggs, melted coconut oil or butter, honey or maple syrup, and vanilla extract until smooth.
- Stir in almond flour, tapioca starch or arrowroot, baking soda, cinnamon, and salt until fully combined.
- Stop mixing as soon as no dry pockets remain, since gluten-free batters can become dense.
- Pour batter into the prepared pan; it will be wetter than traditional banana bread.
- Bake for 55–65 minutes at 350°F until the top is deeply golden and a toothpick comes out clean.
- Check at 50 minutes, and if it’s browning too fast, tent loosely with foil to prevent over-browning.
- Cool completely in the pan before slicing, since gluten-free bread needs full cooling time to set.