Grilled broccoli turns into something entirely different once the florets hit the heat: the edges blister and crisp, the stems stay tender with a little bite, and the lemon-garlic coating picks up just enough smoke to taste intentional instead of healthy-for-the-sake-of-it. It’s the kind of side dish that disappears before the main course gets a second glance.
The trick is giving the broccoli a head start in boiling water, then drying it well before it goes anywhere near the grill. That quick blanch keeps the stems from staying stubbornly raw while the tips char. Lemon zest and garlic do more work here than a heavy sauce ever could, and a final hit of Parmesan adds saltiness without weighing everything down.
Below, I’ll show you how to keep the florets from slipping through the grates, how to get those browned edges without burning the garlic, and what to change if you want to make this dairy-free or use what you already have on hand.
The Step That Keeps Grilled Broccoli Tender Instead of Tough
Broccoli on the grill can go in two bad directions fast: the florets scorch before the stems soften, or the whole thing dries out and tastes woody. The short blanch fixes that by starting the cooking process gently. It also helps the broccoli keep its bright green color, which matters when you want those charred edges to stand out instead of looking dull.
The other thing that makes a difference is moisture. If the florets go onto the grill wet from the pot, they steam instead of sear. Drain them well and let the surface dry for a minute or two before tossing with oil and seasoning. That gives you browning instead of limp broccoli.
- Blanching first This is the part that keeps the stems from staying crunchy in the wrong way. Two minutes is enough; any longer and the broccoli turns soft before it ever reaches the grill.
- Dry broccoli Water on the surface blocks browning. A quick drain and rest in the colander is enough to help the grill do its job.
- Medium-high heat You need enough heat to char the edges quickly without turning the garlic bitter. If your grill runs hot, keep the florets moving and watch the first side closely.
What the Garlic, Lemon, and Parmesan Are Doing Here
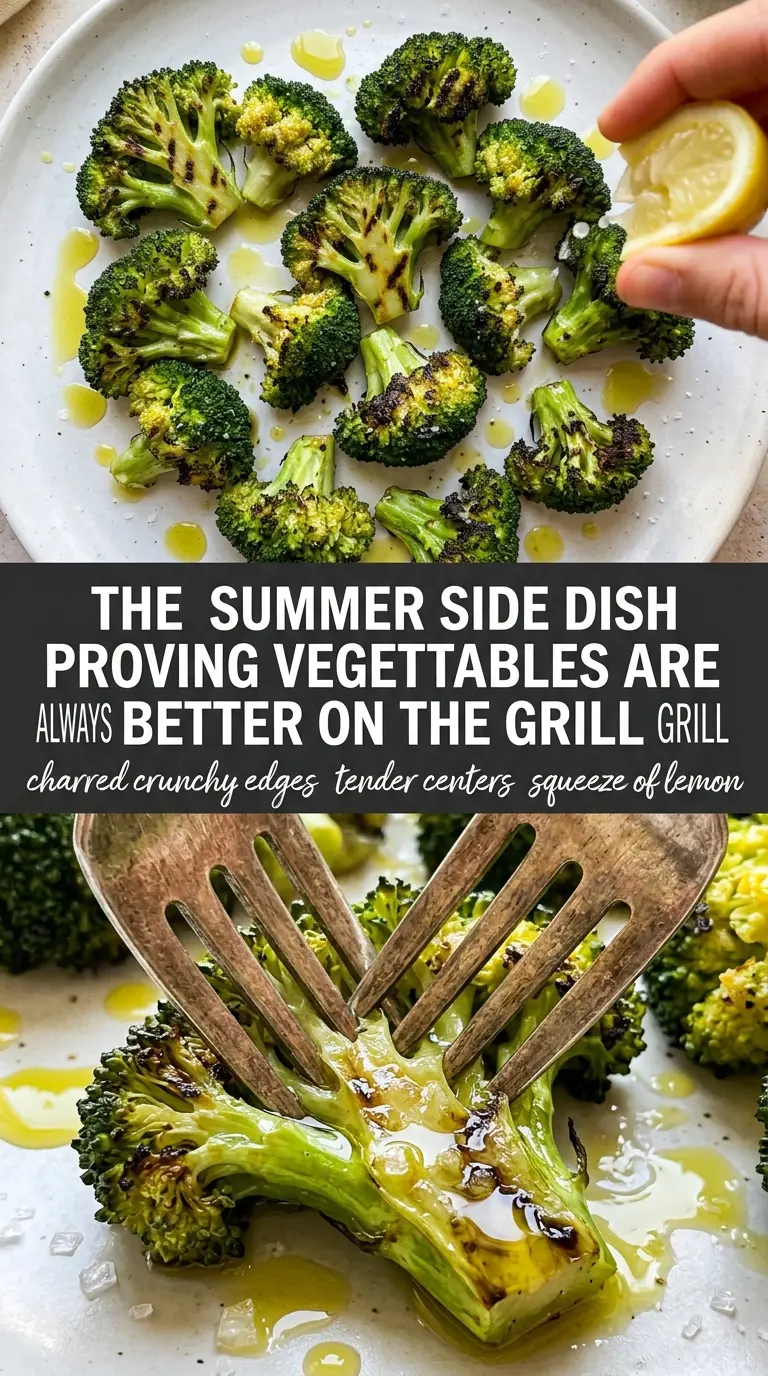
- Broccoli Large florets hold up best on the grill. Smaller pieces fall through the grates and overcook before they pick up any char. Keep some stem attached so each piece has enough structure to turn cleanly.
- Olive oil This helps conduct heat and keep the seasoning in place. A light coating is enough; too much oil softens the edges and makes the broccoli slippery.
- Garlic Fresh minced garlic brings the sharp, savory backbone here, but it can burn if it sits directly on the grate. Coating the broccoli with oil first helps protect it, and turning the florets before the garlic darkens keeps the flavor mellow instead of bitter.
- Lemon zest and juice Zest gives you the aromatic citrus note that survives grilling. Juice adds brightness at the end, but it also loosens the seasoning, so toss quickly and get the broccoli on the grill before it turns watery.
- Parmesan This is optional, but it adds salt and a little nutty finish that plays well with char. If you skip it, add a pinch more salt and a little extra lemon zest so the dish still has enough lift.
The Grill Timing That Gives You Char Without Burnt Garlic
Blanching and Drying the Broccoli
Drop the florets into boiling water for two minutes, then drain them well. You want them brighter and slightly more tender, not cooked through. If they stay in the water too long, they’ll collapse on the grill instead of holding their shape. After draining, give them a moment to steam off so the oil can cling to the surface.
Tossing the Seasoning
Mix the broccoli with olive oil, garlic, lemon zest, lemon juice, salt, and pepper in a large bowl. The broccoli should look coated, not wet. If the garlic is clumping in one spot, break it up with your hands or a spoon so it doesn’t burn in little piles. This is the stage where the flavor gets built, so coat every floret, including the cut sides.
Grilling for Char and Tenderness
Lay the broccoli over medium-high heat and leave it alone long enough to get good color, then turn it once the edges are marked and crisp. Four to five minutes per side is the range, but the real cue is color: deep char in spots and a fork-tender stem. If the garlic starts to darken too fast, move the broccoli to a cooler section of the grill. Pull it as soon as it has bite and browning; overcooked broccoli turns soft and sulky fast.
Finishing at the Table
Move the broccoli to a platter right away and finish with red pepper flakes and Parmesan, if using. The residual heat melts the cheese just enough and wakes up the spice. A final squeeze of lemon right before serving keeps the flavor sharp. If it tastes flat, it usually needs salt or acid, not more cheese.
How to Adjust Grilled Broccoli Without Losing the Char
Dairy-Free Grilled Broccoli
Skip the Parmesan and finish with a pinch more salt, extra lemon zest, or a few toasted breadcrumbs if you want more texture. You won’t miss much, because the garlic and char carry most of the flavor. This version lands lighter and cleaner.
No Grill, Broiler Instead
Spread the seasoned broccoli on a sheet pan and broil it on high, turning once halfway through. You’ll get browned edges and a little smoke, though the char will be more even and less dramatic than on a grill. Watch the garlic closely, because the broiler can turn it bitter in a minute.
Make It Spicy
Add more red pepper flakes to the oil mixture or finish with a drizzle of chili oil. The heat works best as a background note, not a heavy burn, because the lemon needs room to stay bright. This is the version I make when I’m serving richer mains.
Storage and Reheating
- Refrigerator: Store leftovers in an airtight container for up to 4 days. The broccoli will soften a bit, but the flavor stays good.
- Freezer: I don’t recommend freezing this one. The texture turns mushy after thawing, and the charred edges lose what makes them worth eating.
- Reheating: Reheat in a hot skillet or under the broiler for a few minutes until warmed through. The biggest mistake is using the microwave, which steams away the crisp edges and dulls the lemon.
Questions I Get Asked About This Recipe
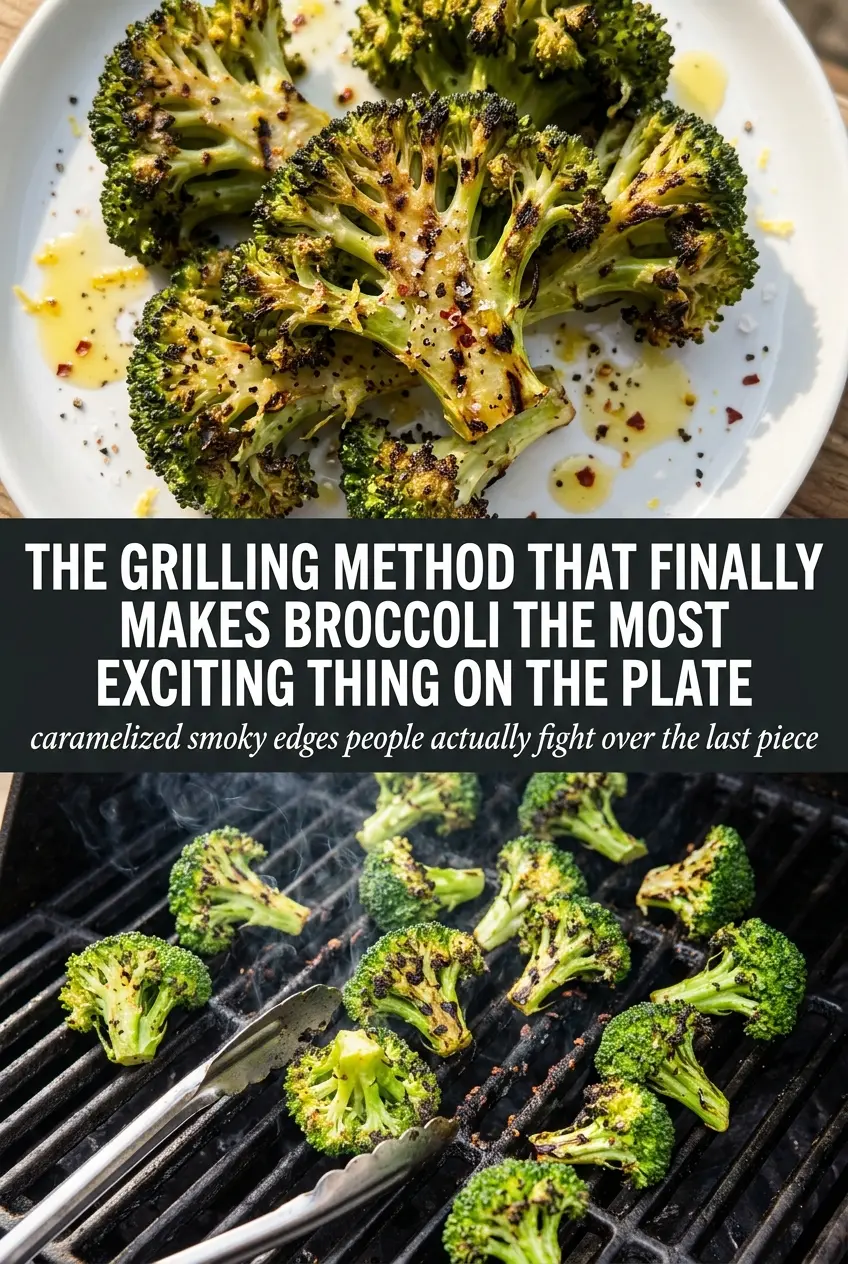
Grilled Broccoli
Ingredients
Method
- Bring a pot of boiling water to a boil and blanch the broccoli florets for 2 minutes, keeping the florets bright green.
- Drain the broccoli well so it isn’t watery, letting steam evaporate for about 1 minute before grilling.
- In a large bowl, toss the broccoli with olive oil, minced garlic, lemon zest, lemon juice, salt, and black pepper until evenly coated with seasoning.
- Sprinkle with red pepper flakes if using, then toss again so the flakes distribute across the florets.
- Preheat the grill to medium-high heat and place the broccoli on the grates, arranging cut sides down where possible for maximum contact.
- Grill the broccoli for 4-5 minutes per side, turning once, until charred and tender with visible dark grill marks.
- Transfer the charred broccoli to a serving platter and sprinkle with parmesan cheese and extra red pepper flakes if desired.