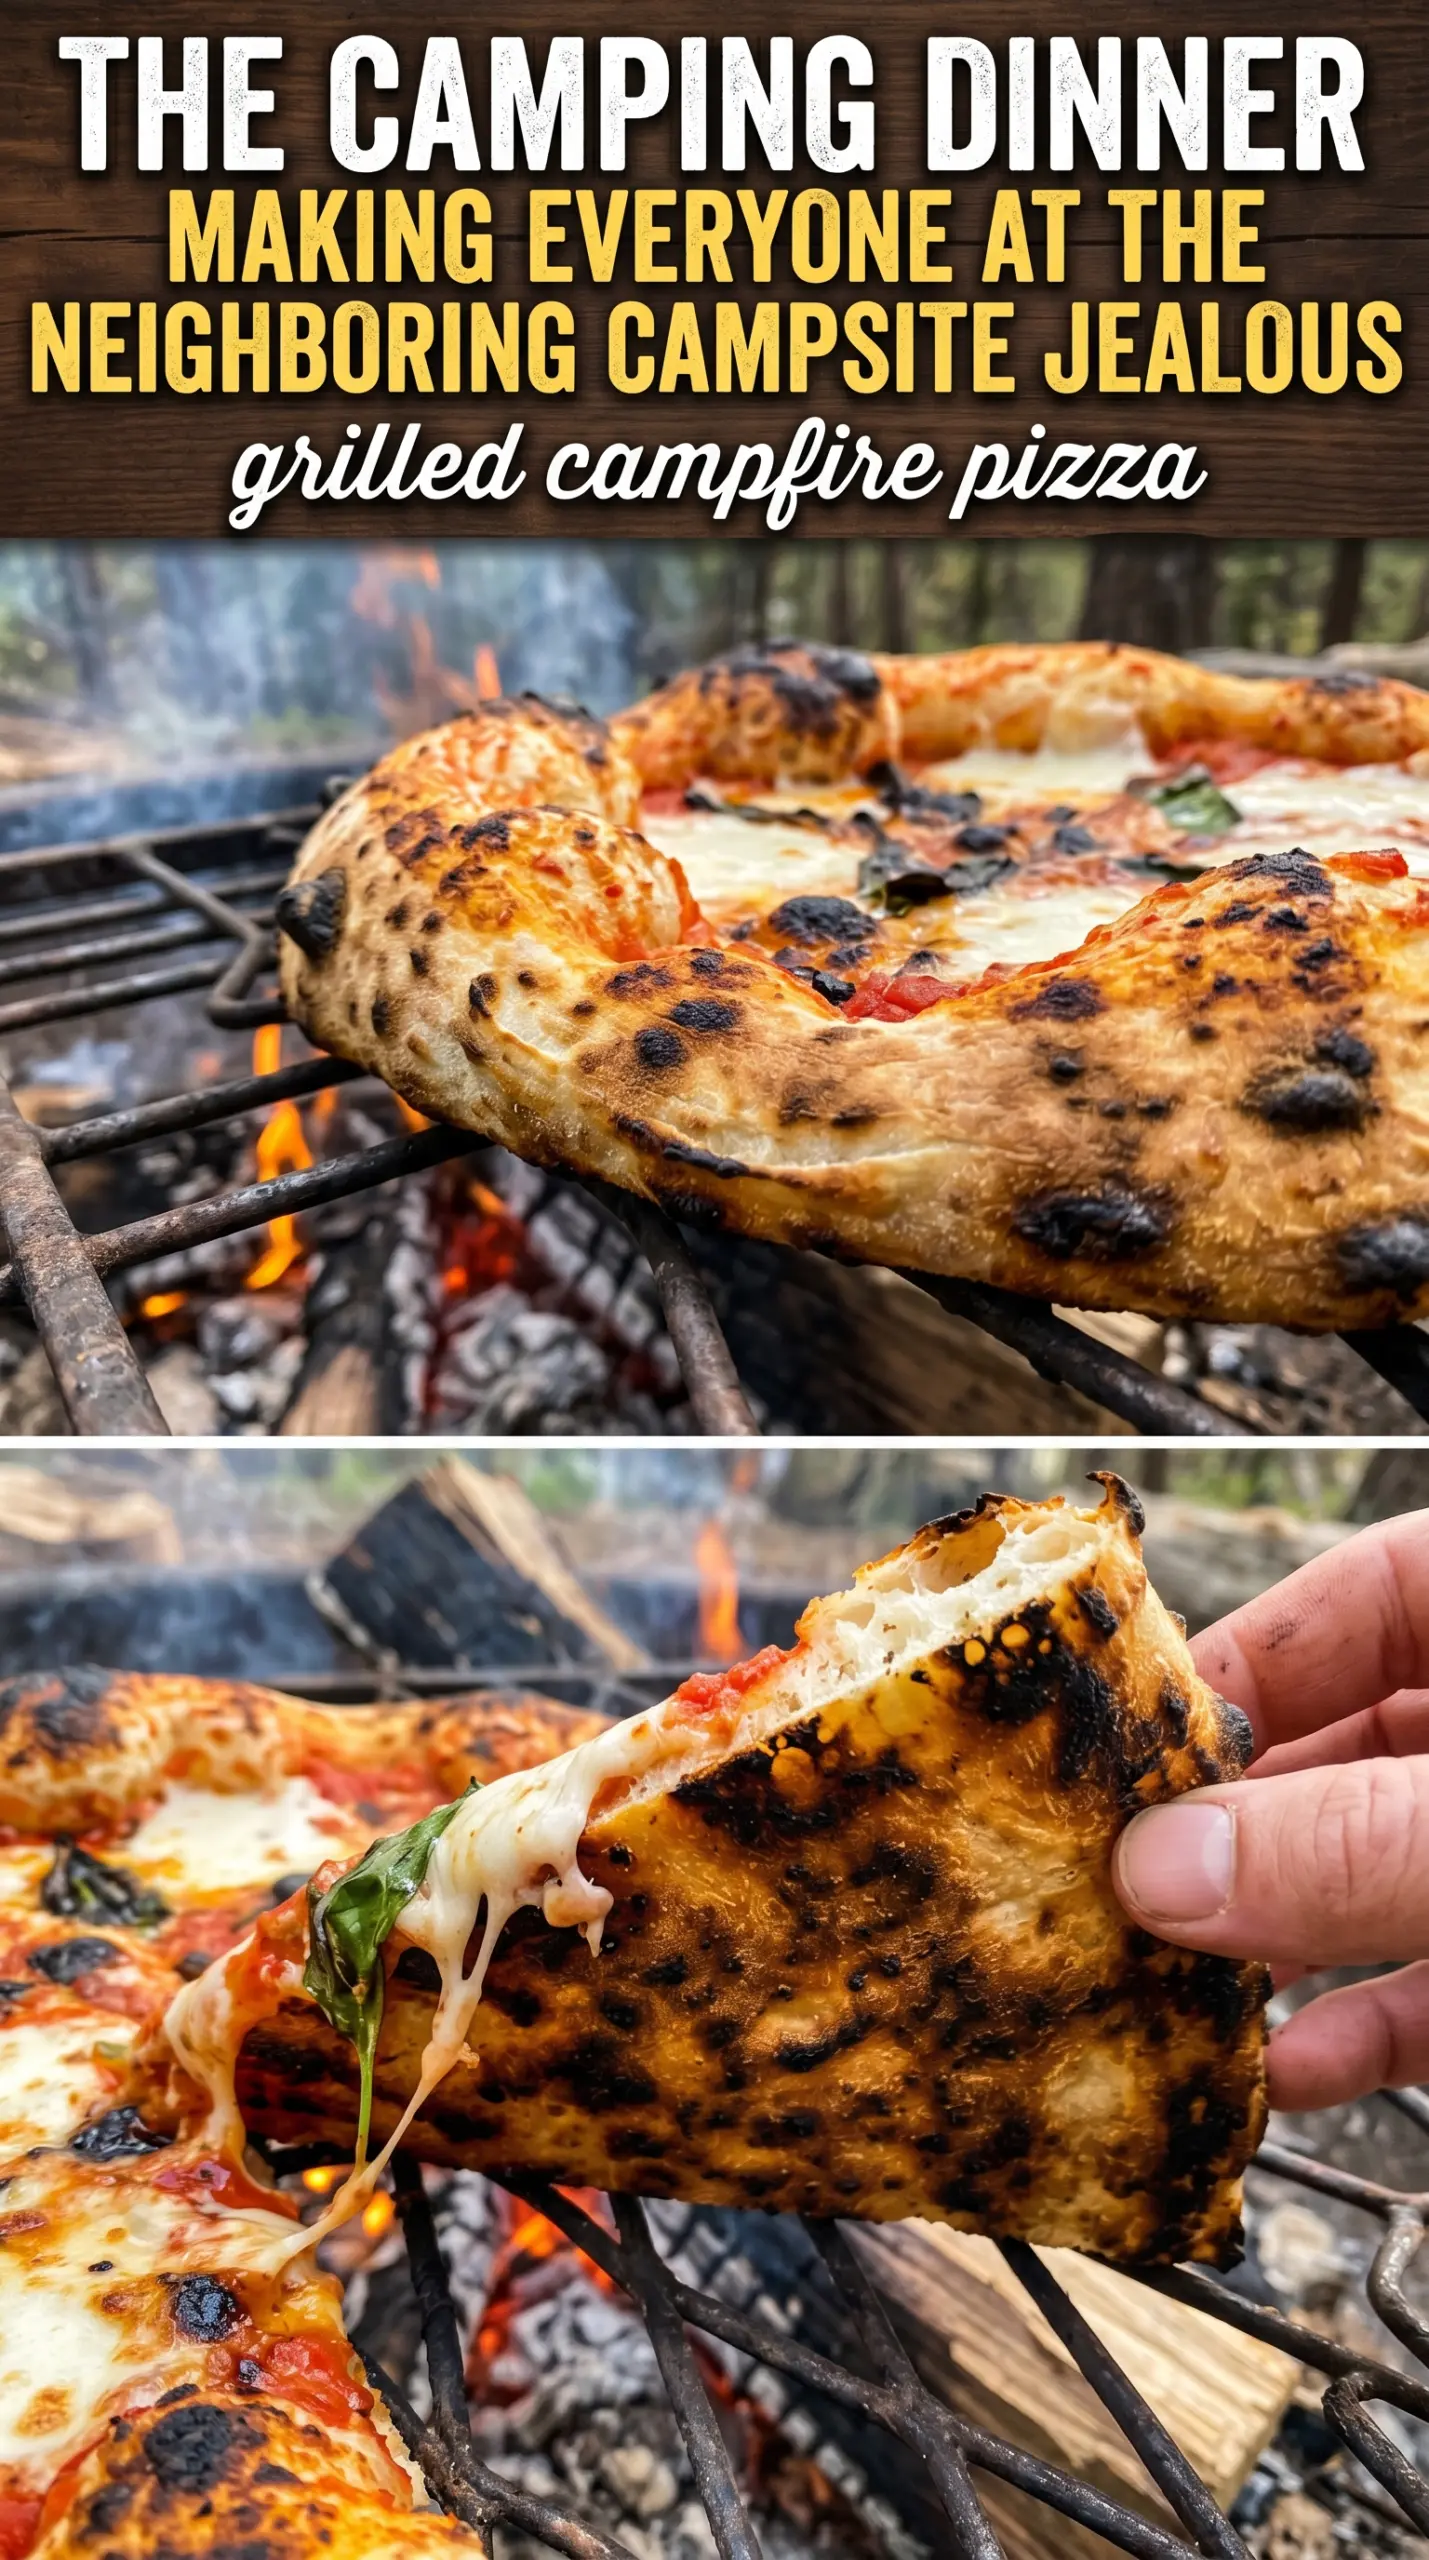
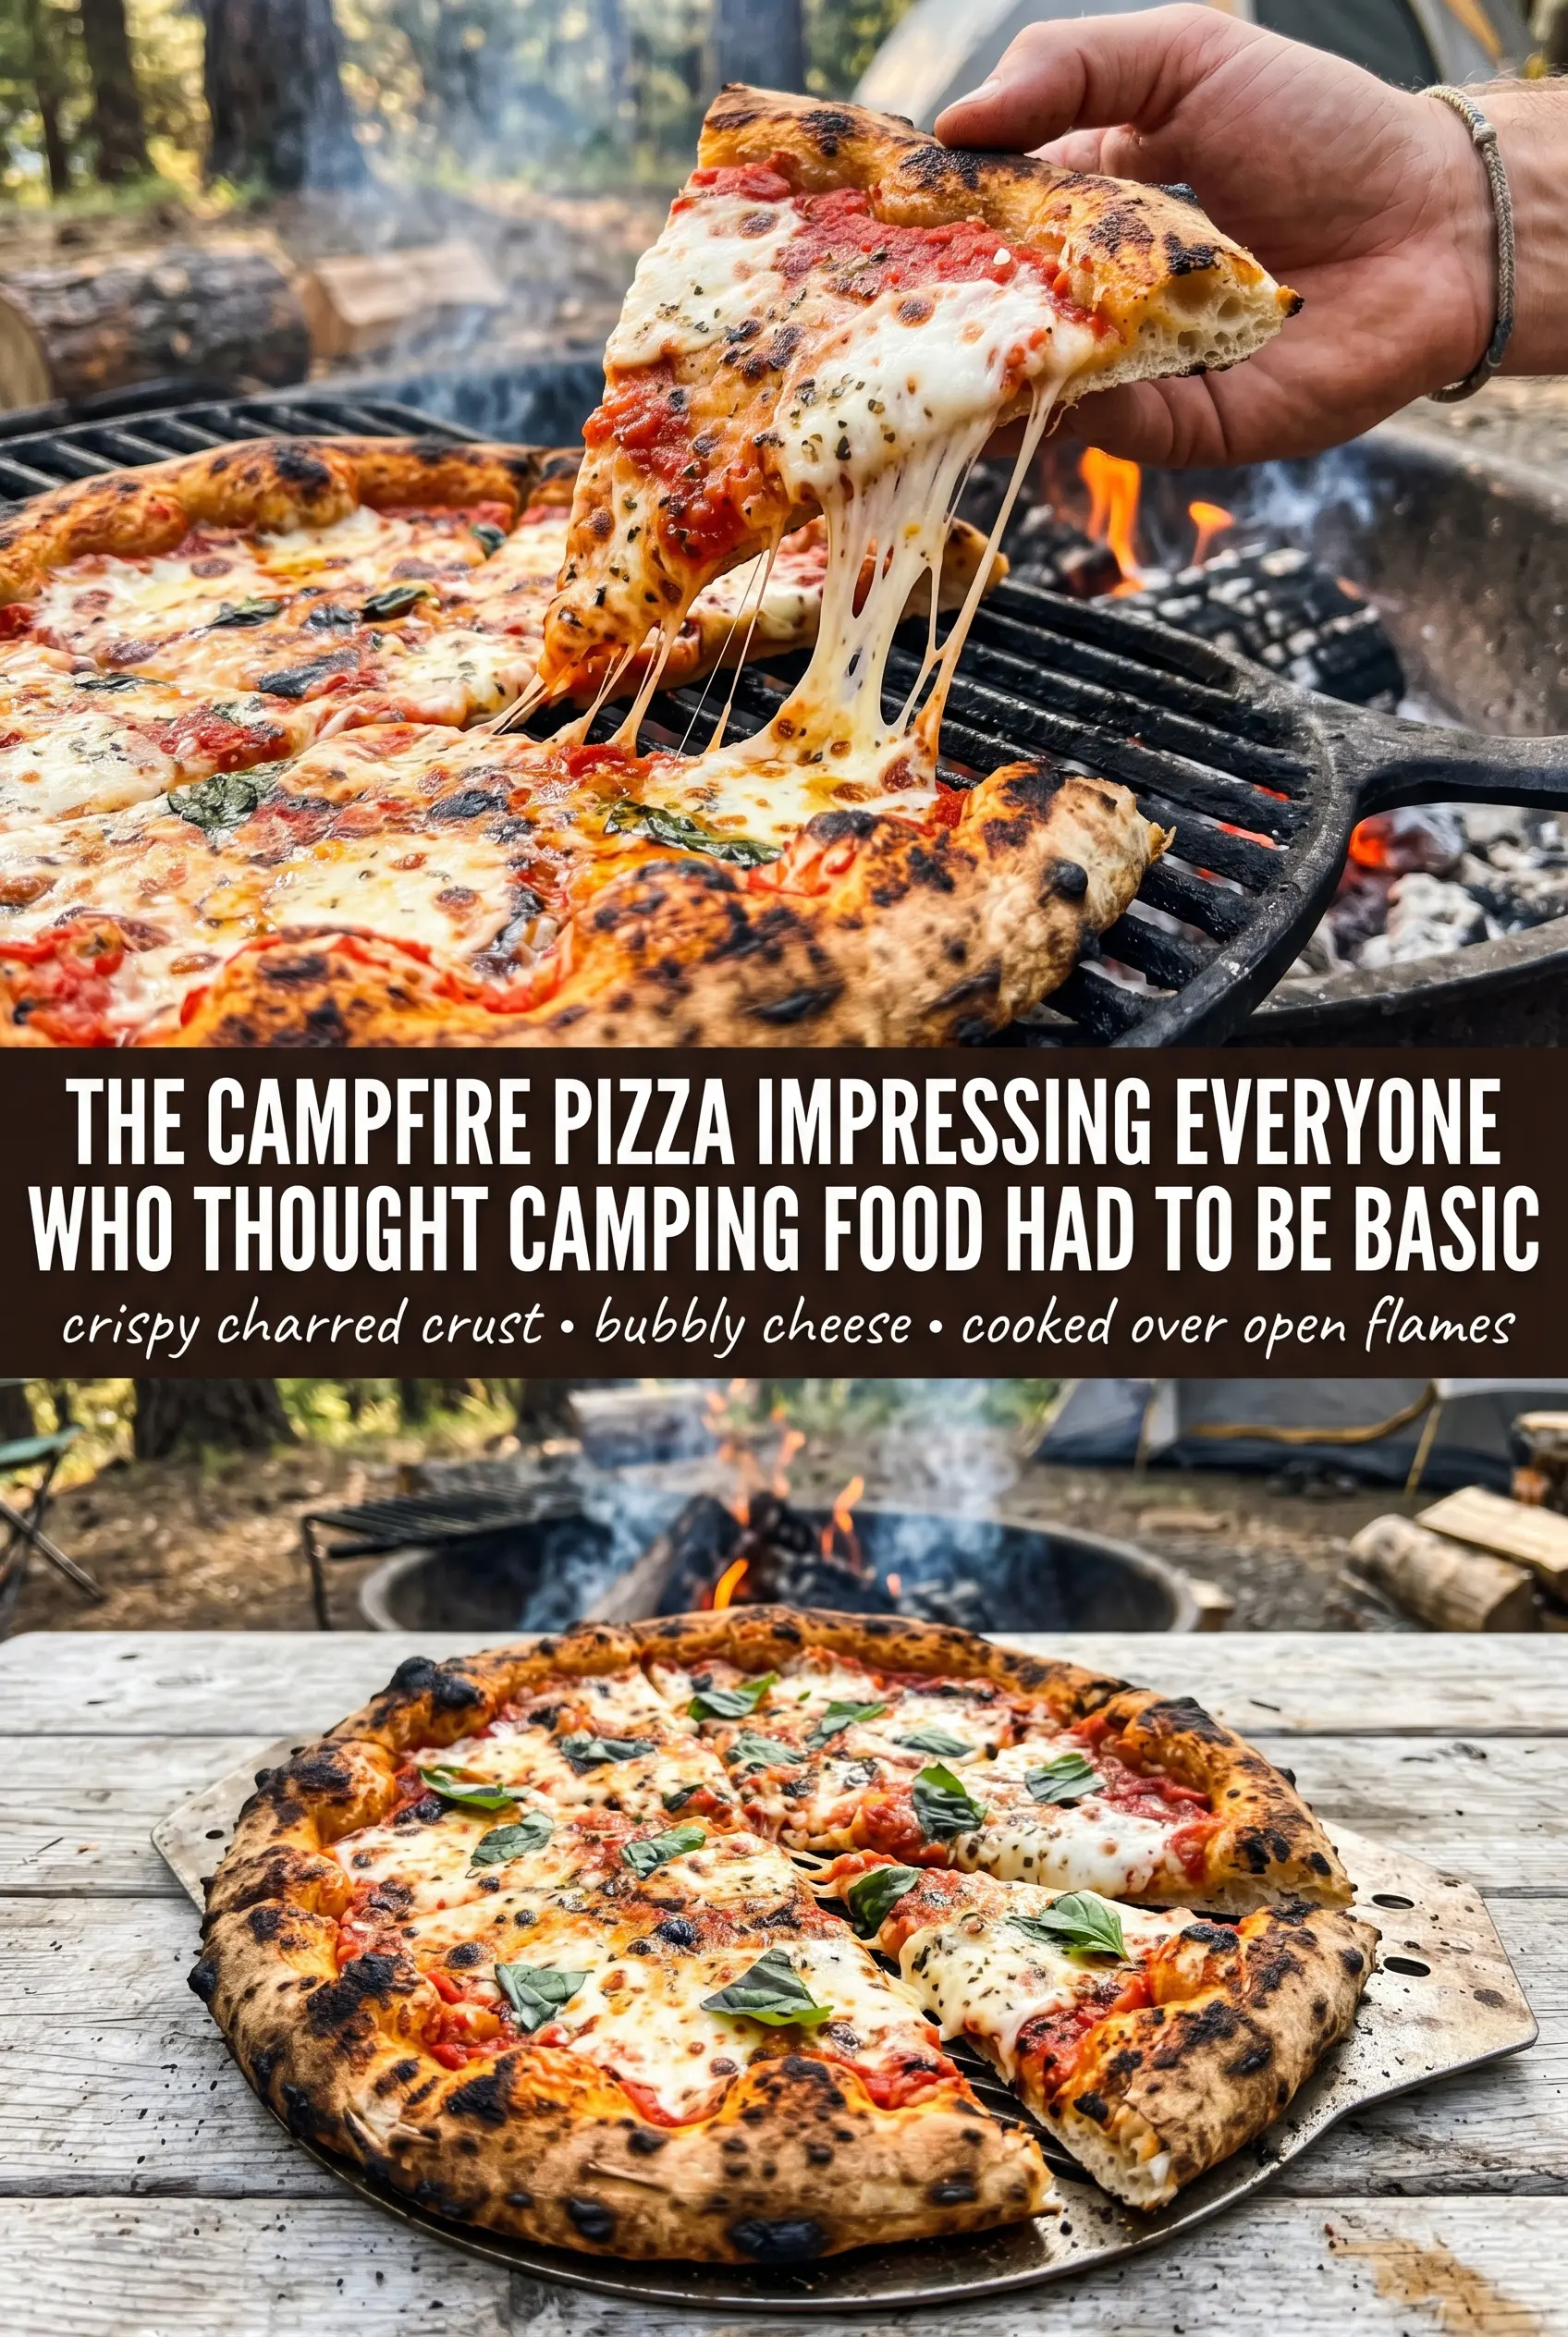
Charred edges, a crisp bottom, and melted cheese bubbling right on top make grilled campfire pizza one of those dinners that feels a lot more impressive than the effort behind it. The dough picks up a little smoke and a lot of flavor from the fire, while the quick flip keeps the crust sturdy enough to hold sauce and toppings without turning soggy. Each pizza comes off the grate with those dark, blistered spots that tell you the heat was right.
The trick is keeping the dough thin and the heat steady. Thick dough needs too long on the grate, which burns the outside before the center cooks. A light coat of oil on the first side helps the crust release cleanly and gives you a better char, and adding the toppings after the flip keeps the cheese from sliding into the fire. Use modest toppings here. Campfire pizza works best when it stays simple and cooks fast.
Below, I’ve included the timing cues that matter most, the ingredient swaps that actually work outdoors, and a few ways to make the process easier if you’re feeding a crowd around the fire.
The crust got those perfect char marks and the cheese melted before the bottom burned. I was nervous about flipping it over the fire, but it held together and came out better than our usual oven pizza.
Want that charred crust and stretchy cheese? Save this grilled campfire pizza for your next cookout or camping night.
The Fast Flip That Keeps the Crust from Burning
The biggest mistake with campfire pizza is treating the fire like an oven. It isn’t. You need a steady bed of medium heat, not a roaring flame, or the bottom will blacken before the cheese has a chance to melt. The first side cooks naked so it can build structure; that’s what lets you flip it without tearing.
Watch the dough, not the clock. When the underside has deep golden spots and feels firm enough to lift cleanly with a spatula, it’s ready. If it still bends like raw dough, give it another minute. If the fire is too hot, move the grate higher or push the coals to one side and cook over indirect heat for a minute or two. That small adjustment saves the pizza.
What the Dough, Oil, and Cheese Are Each Doing Here
- Pizza dough — A basic dough works fine, but it needs to be relaxed and stretchy. Cold dough fights you and snaps back, so let it sit at room temperature before shaping. Homemade dough gives you more flavor, but store-bought dough is absolutely the easier call when you’re cooking outdoors.
- Olive oil — This is what helps the first side blister and release from the grate. Brush it on lightly; too much oil can drip and flare. A neutral oil works in a pinch, but olive oil gives the crust better flavor.
- Mozzarella — Low-moisture shredded mozzarella melts evenly and keeps the top from getting watery. Fresh mozzarella looks tempting, but it can dump too much moisture onto the crust unless you blot it well.
- Sauce and toppings — Keep them restrained. Heavy sauce or a pile of toppings makes the pizza harder to move and more likely to collapse after the flip. Pre-cook watery vegetables like mushrooms or zucchini if you want them on the pizza, because raw ones can steam the center.
- Parmesan and basil — Add these after the pizza comes off the fire. Parmesan brings salt and sharpness, and basil keeps its bright flavor only if it doesn’t sit over direct heat.
Building the Pizza in Two Quick Turns
Stretching the Dough Without Tearing It
Divide the dough into four equal pieces and stretch each one into a thin round. Work from the center out and keep the edges slightly thicker so they puff and hold the toppings. If the dough keeps shrinking back, let it rest for five minutes before trying again. That pause relaxes the gluten and makes the stretch easier.
Cooking the First Side on the Grate
Brush one side of the dough with olive oil and place it oil-side down on the grate. You want medium heat and a clean grate so the dough doesn’t stick the moment it hits the metal. Cook until the underside is crisp and marked with char spots, then lift an edge to check for firmness before flipping. If it sticks, give it another 20 to 30 seconds; it usually releases when the crust has set.
Adding the Toppings After the Flip
Once the crust flips, work quickly. Spread on sauce, sprinkle the cheese, and add a light hand with toppings so the heat can circulate and melt everything before the bottom overcooks. Close the lid or cover the grate with foil to trap heat, which helps the cheese melt from the top down. If the cheese is melting but the crust still looks pale, leave it another minute; if the bottom is done first, move the pizza to a cooler spot.
Finishing Over the Fire
Pull the pizza as soon as the cheese is fully melted and the second side is crisp. Finish with Parmesan and basil while the pizza is hot so the cheese softens slightly and the herbs stay fresh. Let it sit for a minute before slicing or the toppings will slide. That brief rest makes the cut cleaner and keeps the slices from losing their shape.
How to Adapt Grilled Campfire Pizza for Different Crowds and Campsites
Gluten-Free Dough
Use a gluten-free pizza dough that’s meant to be stretched or rolled. It usually benefits from extra oil and a gentler flip because it tears more easily than standard dough. The result is still crisp and satisfying, but it’s best to keep the rounds a little smaller for easier handling.
Dairy-Free Pizza
Use a melty dairy-free mozzarella-style cheese and keep the toppings lighter than usual. Some vegan cheeses need a covered cook to soften, but they don’t always brown the same way as dairy mozzarella, so judge by texture, not color alone.
Meat-Lover’s Version
Pepperoni and pre-cooked sausage both work well because they’re already cooked and only need to warm through. Don’t pile them on too heavily or the center gets greasy and heavy. A little goes a long way over an open fire.
Storage and Reheating
- Refrigerator: Store leftovers in an airtight container for up to 3 days. The crust softens a bit, but it still reheats well.
- Freezer: Freeze slices wrapped tightly in parchment and foil for up to 2 months. Reheat from frozen for the best texture rather than thawing first.
- Reheating: Warm slices in a skillet over medium-low heat or on a baking sheet in a hot oven until the crust crisps again and the cheese loosens. The mistake to avoid is microwaving it, which makes the crust chewy and dulls the charred edges.
Questions I Get Asked About This Recipe
Grilled Campfire Pizza
Ingredients
Equipment
Method
- Divide pizza dough into 4 portions and stretch each into a thin round, keeping the thickness even so it cooks through fast. Aim for rounds sized for your grate so they fit without crowding.
- Brush one side of each dough round with olive oil to help it brown and crisp on the grate.
- Place each dough round oil-side down on the campfire grate over medium heat and cook for 2-3 minutes until the bottom is charred and crispy. Look for dark char spots and a set, firm surface.
- Flip the dough and quickly add pizza sauce, mozzarella cheese, and pepperoni, vegetables, and sausage onto the grilled side. Work fast so the crust stays hot enough for rapid melting.
- Cover with a lid or foil and cook for 3-5 minutes until the cheese melts and the bottom is crispy. Watch for bubbling cheese and crisped edges before removing.
- Remove the pizzas from the grill and top with Parmesan and fresh basil. Slice and serve immediately while the cheese is still stretchy.