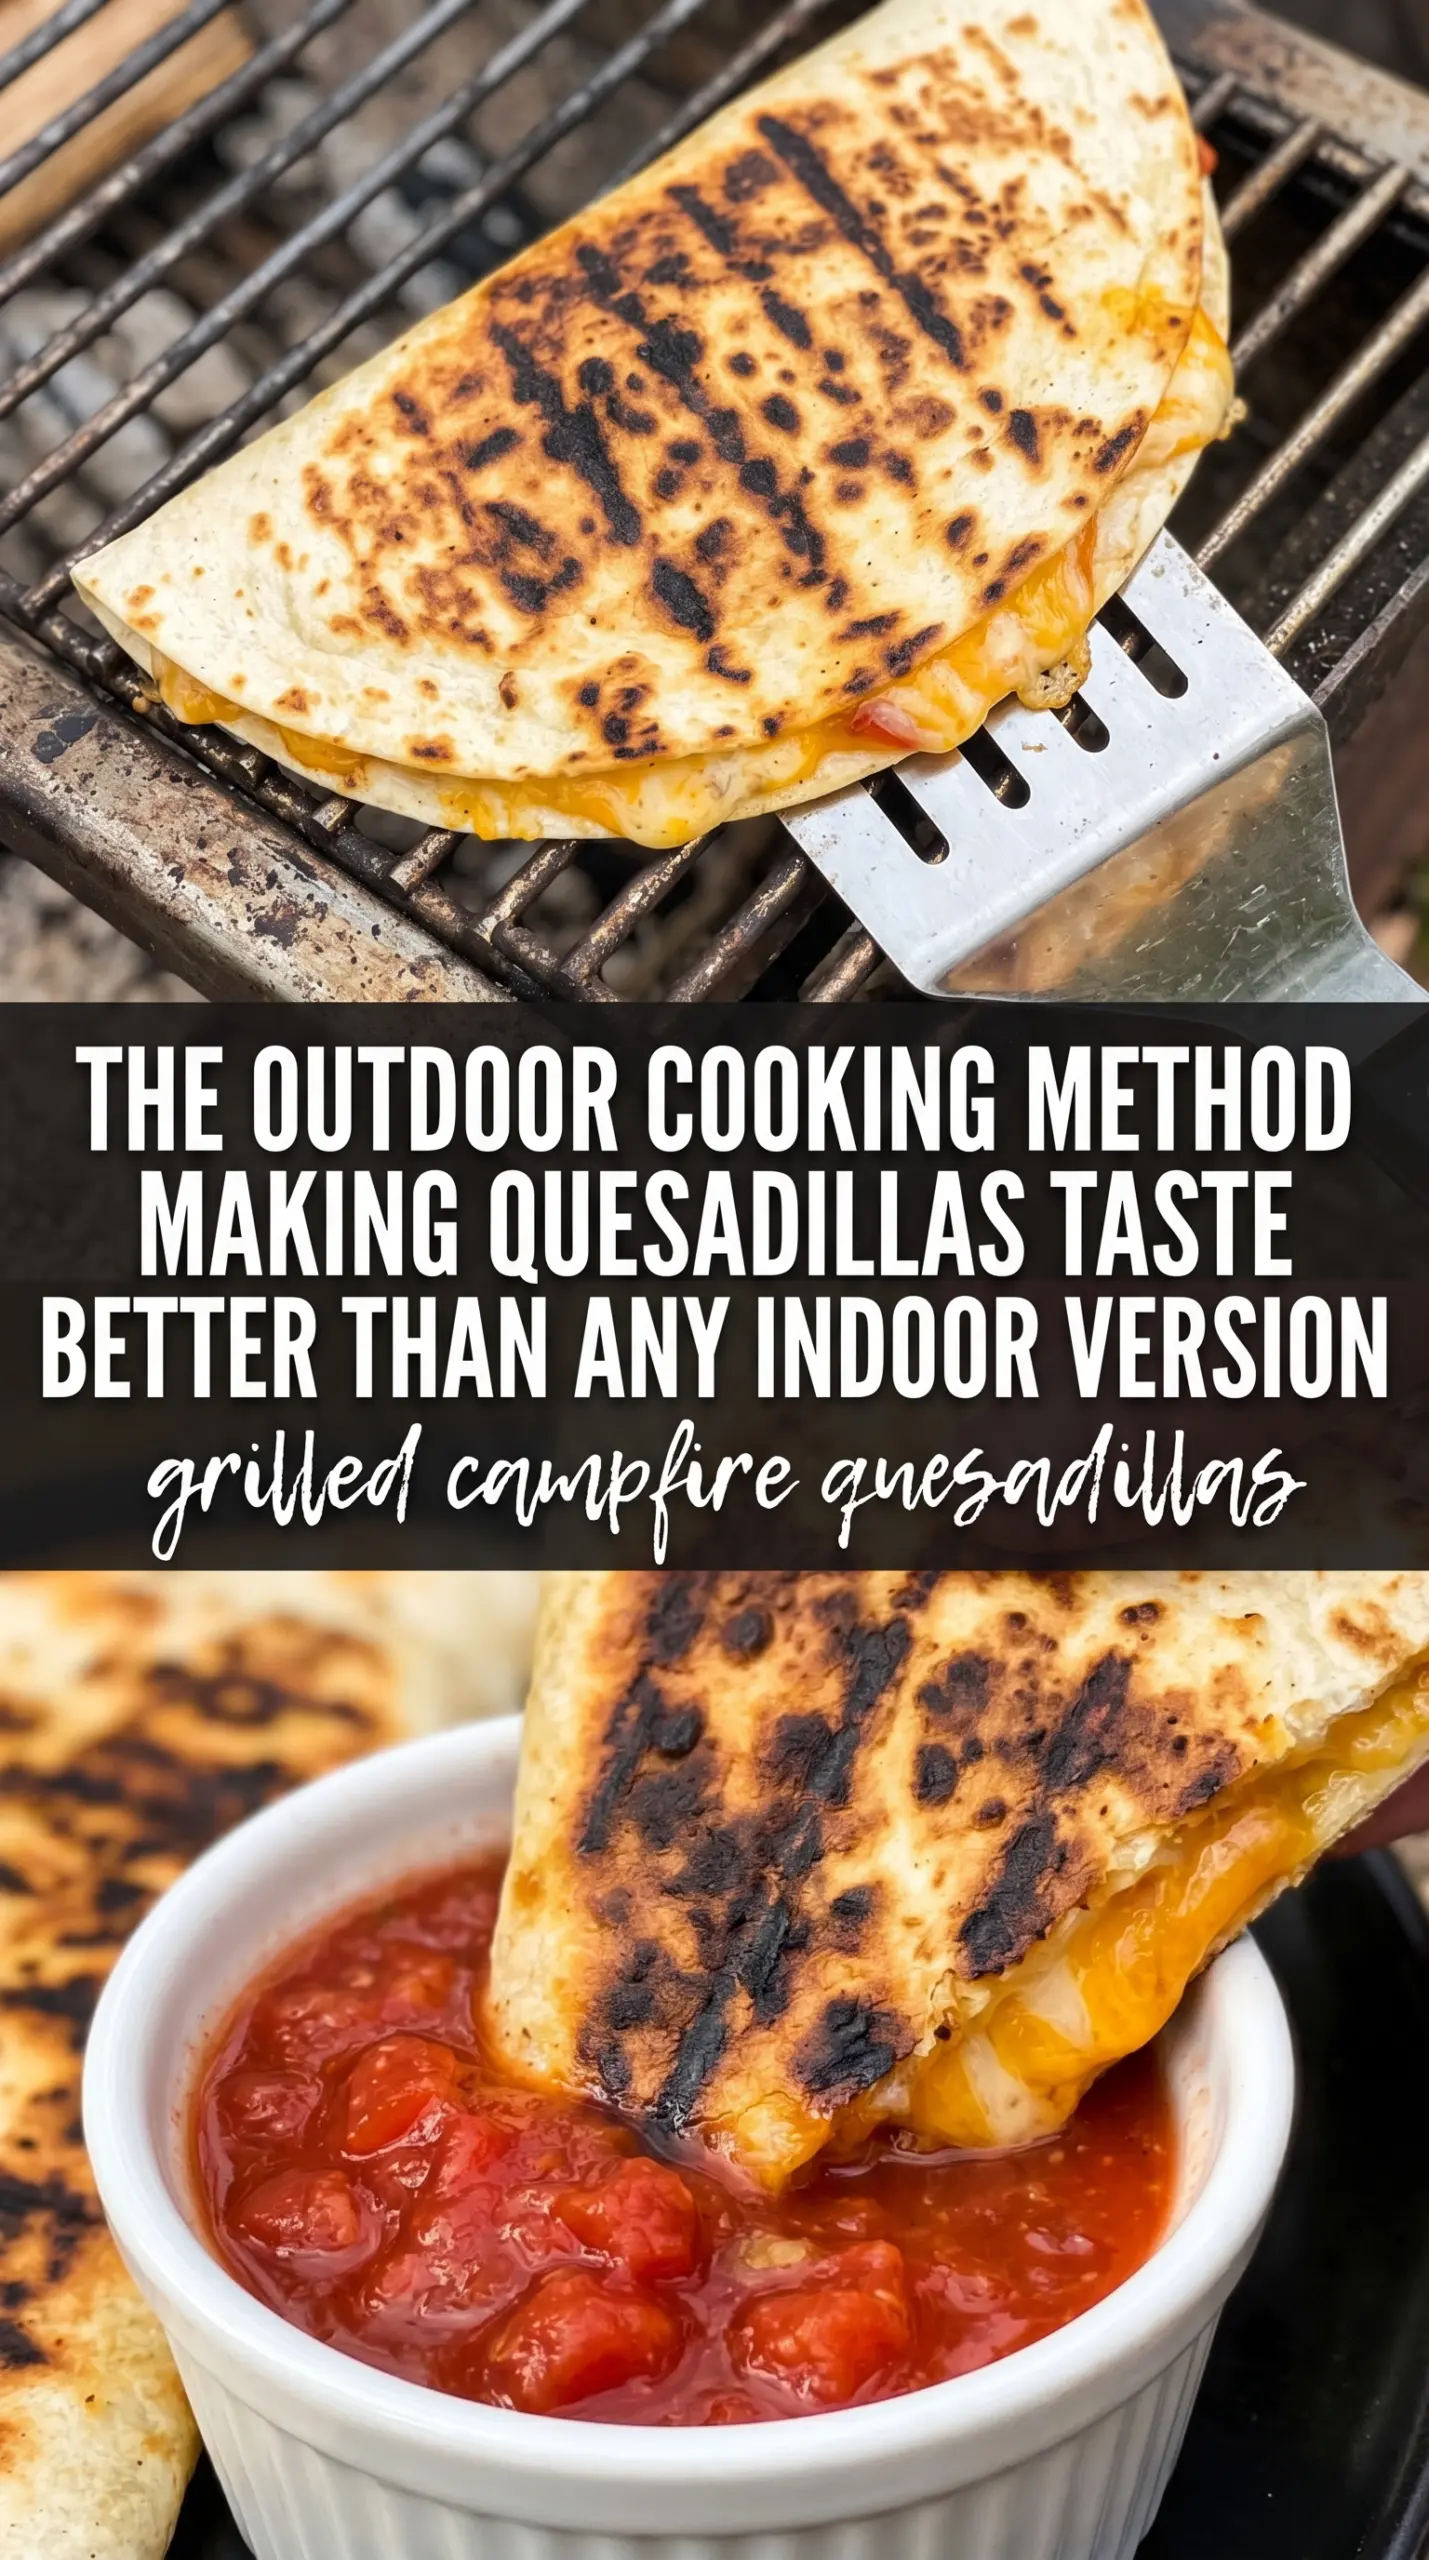
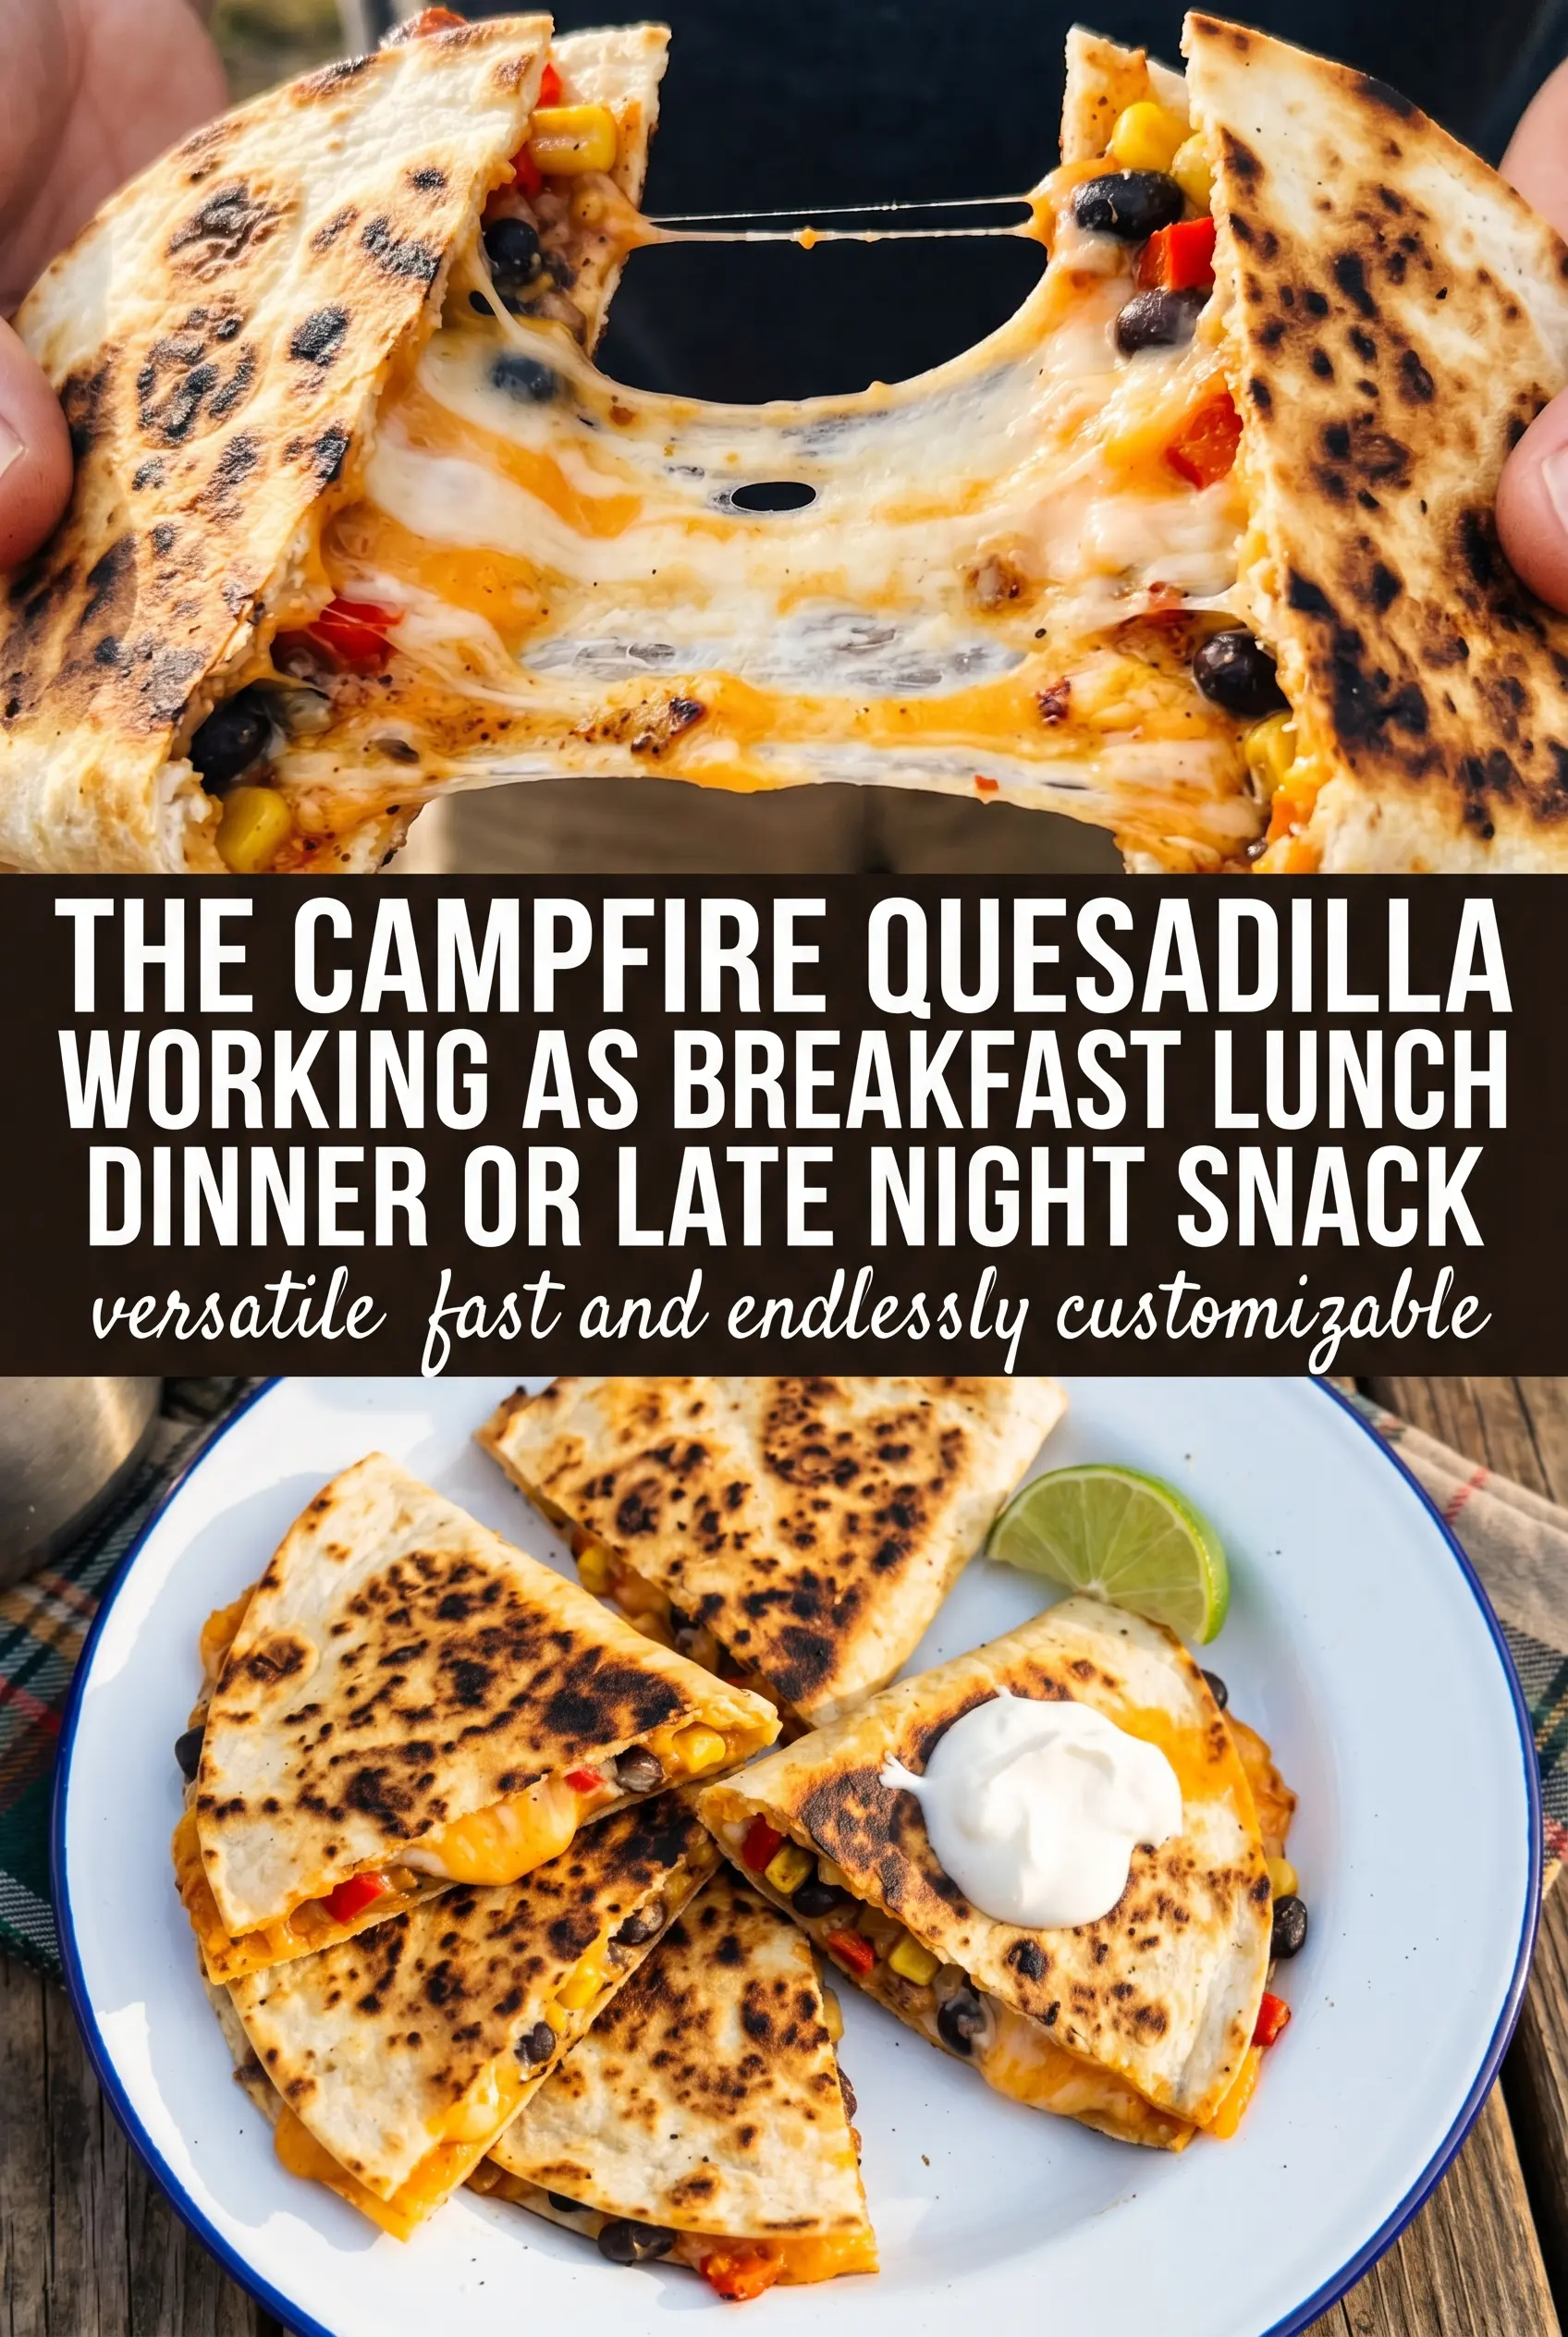
Grilled campfire quesadillas hit the table with crisp tortillas, molten cheese, and those smoky edges that only happen over live fire. The outside gets shatteringly golden while the inside stays soft and stretchy, which is exactly what you want when dinner needs to feel fun without turning into work. They’re fast, filling, and built for the kind of meal that gets eaten standing around the fire before anyone can even set the plates down.
The trick is keeping the fillings light and the heat controlled. Too much chicken or too many vegetables and the tortillas slide around before the cheese has a chance to bind everything together. A little butter or oil on the cooking surface helps the tortillas brown instead of dry out, and using pre-cooked chicken keeps the whole thing on schedule. I like the bell pepper, onion, and jalapeño here because they keep their shape and bring just enough bite to balance all that cheese.
Below, I’ve laid out the part that matters most when cooking over a grill grate or cast iron skillet, plus the swaps that still give you a good result when you need to work with what’s on hand.
I cooked these over the campfire in a cast iron skillet and the tortillas browned perfectly without burning. The cheese melted all the way through, and the jalapeño gave them just enough heat to keep everyone reaching for another wedge.
Like these smoky grilled campfire quesadillas? Save them to Pinterest for your next camping dinner or fire-pit night.
The Part That Keeps Campfire Quesadillas From Falling Apart
The biggest mistake with quesadillas over open heat is loading them like a burrito. That extra filling seems harmless until the cheese starts melting and the tortilla can’t hold the weight, which leads to torn edges, spilled filling, and a messy flip. Keep the layer thin enough that the second tortilla can press down evenly and the cheese can act like glue.
Heat matters just as much as the filling amount. A grill grate over hot coals or a cast iron skillet on a steady flame gives you enough direct heat to brown the tortillas before the cheese overcooks. If the tortilla is darkening too fast and the center is still stiff, move it to a cooler spot or lower the flame. You want steady browning and a full melt, not a blackened shell with cold cheese inside.
What Each Ingredient Is Doing in the Skillet
The flour tortillas matter here because they flex without cracking and crisp up into a sturdy shell. Corn tortillas won’t give you the same sealed, melty result for this style of quesadilla.
- Mexican cheese blend — This gives you melt plus stretch. Pre-shredded works fine here, but if you grate your own, it melts even silkier because there’s no anti-caking coating in the bag.
- Cooked shredded chicken — The chicken should already be done before it hits the tortilla. Raw chicken would need a much longer cook time than the tortillas can handle, and that’s how you end up with burnt outsides and undercooked filling.
- Bell pepper, onion, and jalapeño — These add crunch, sweetness, and heat without flooding the tortilla with moisture. Dice the pepper and onion small so they soften quickly, and slice the jalapeño thin if you want the heat to spread evenly.
- Butter or oil — This is what helps the exterior brown instead of dry out on the grate or skillet. Butter gives you a richer flavor, while oil holds up a little better if the fire runs hot.
Building the Melt Before the Tortilla Burns
Starting on the Hot Surface
Set the skillet or grill grate over steady heat before the tortilla goes on. If the surface is cool, the tortilla dries out before it ever gets color; if it’s ripping hot, it scorches before the cheese has time to soften. You want the tortilla to make a soft hiss as soon as it touches down.
Layering the Filling Fast
Work quickly once the tortilla is in place. Add the cheese first so it can melt into the tortilla and help anchor the chicken and vegetables, then top with the second tortilla and press gently with a spatula. Don’t pack the center too full or the top will slide when you flip it.
Flipping at the Right Moment
Cook until the bottom is deeply golden and you can see the cheese starting to ooze from the edges. That’s the signal to flip. If the quesadilla still feels loose in the center, give it another 30 seconds; if the bottom is already dark, the heat is too high and you need to move it. After the flip, the second side usually cooks faster because the filling is already warming through.
Cutting and Serving
Pull it off the heat as soon as both sides are crisp and the cheese is fully melted. Let it sit for a minute so the filling settles, then cut into wedges. If you slice it immediately, the cheese will rush out instead of holding the layers together.
How to Adapt These Quesadillas for Different Camps and Kitchens
Dairy-Free Version
Use a meltable dairy-free cheese that’s meant for cooking, not a fresh-style shred. Some brown better than they melt, so test your brand once before a trip. Oil the skillet a little more generously, since dairy-free cheese doesn’t give you the same natural browning from the edges.
Vegetarian Campfire Quesadillas
Skip the chicken and add black beans, sautéed mushrooms, or roasted corn. Beans make the quesadilla heartier, mushrooms bring a meaty bite, and corn adds sweetness that works well with the jalapeño. Keep the filling dry so the tortillas still crisp instead of steaming.
Mild Kid-Friendly Version
Leave out the jalapeño and use a mild cheese-heavy filling with just chicken, onion, and bell pepper. If the peppers need to disappear for picky eaters, dice them even finer so they soften into the cheese. The quesadilla still browns the same way, but the heat drops to almost nothing.
Storage and Reheating
- Refrigerator: Store leftovers in an airtight container for up to 3 days. The tortillas soften, but the flavor holds up well.
- Freezer: Freeze cooled wedges between layers of parchment for up to 2 months. They reheat best from frozen in a skillet or oven, not the microwave.
- Reheating: Reheat in a dry skillet over medium-low heat until the tortilla crisps again and the center is hot. High heat burns the outside before the cheese melts back down, which is the most common mistake with leftovers.
Questions I Get Asked About This Recipe
Grilled Campfire Quesadillas
Ingredients
Equipment
Method
- Heat a cast iron skillet over the campfire, or place a grill grate over the fire until it’s hot enough to sizzle lightly when you add filling.
- Lightly grease the skillet or grill grate with butter or oil so the tortillas brown without sticking.
- Place one flour tortilla on the hot cooking surface, then quickly scatter on a layer of Mexican cheese blend, followed by chicken, bell pepper, onion, and jalapeño.
- Top with a second flour tortilla and press down gently so the filling stays inside.
- Cook for 3-4 minutes per side until golden and the cheese melts and begins to ooze at the edges, showing grill marks on the tortilla.
- Remove the quesadilla from the heat and let it rest briefly off the fire so it slices cleanly.
- Cut into wedges and serve immediately with salsa, sour cream, and guacamole.