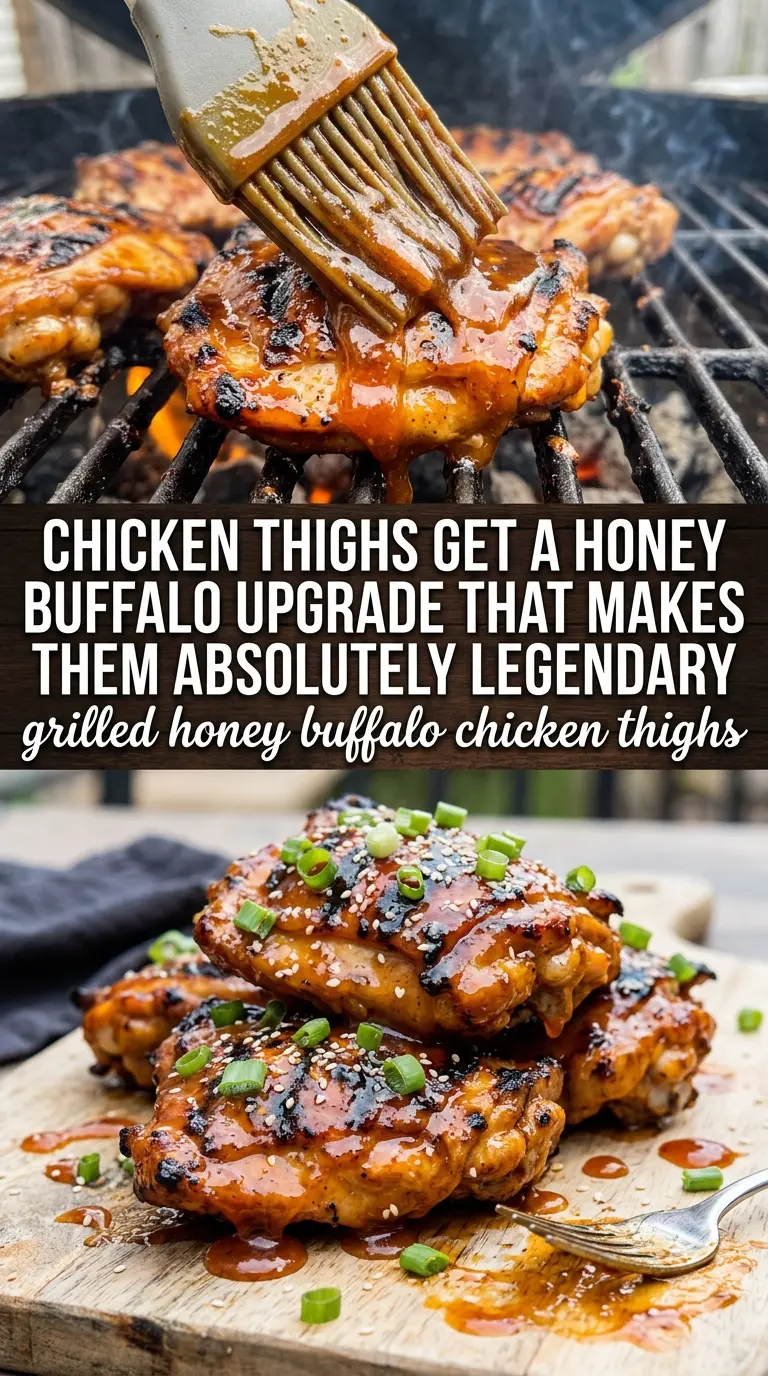
Crispy-skinned chicken thighs coated in sticky honey-buffalo glaze hit that sweet spot between smoky, spicy, and just a little messy in the best way. The skin gets a hard, crackly sear on the grill, then the sauce tightens up into a lacquer that clings instead of running off the meat. That contrast is what keeps this one in the regular rotation.
The trick is starting with bone-in, skin-on thighs and giving them a short marinade that actually seasons the meat without washing away the skin’s chance to crisp. Honey brings shine and balance, while the butter helps the glaze cling and keeps the buffalo sauce from tasting sharp or thin. A little vinegar rounds everything out so the finished chicken tastes bold instead of sticky-sweet.
Below, I’ve broken down the part that matters most: how to keep the skin crisp while still basting often, plus a few smart swaps if you want to dial the heat up or down.
The skin turned out shatter-crisp and the honey buffalo glaze got sticky without burning. I used the blue cheese and celery on the side, and it tasted like a proper game-day plate.
Save these grilled honey buffalo chicken thighs for the nights when you want crispy skin, sticky glaze, and an easy game-day dinner.
The Skin Cracks, the Glaze Clings: What Keeps These Thighs from Going Soggy
The most common mistake with grilled sauced chicken is rushing the glaze too early. If the chicken goes on the grill dripping wet, the skin steams before it ever has a chance to crisp, and the sauce can burn before the thighs finish cooking. Here, the skin gets seasoned first, then the sauce goes on in layers so the heat can do its job before the sugar in the honey starts to darken.
Bone-in, skin-on thighs matter here. They stay juicy over medium heat and give you enough fat under the skin to render into that crisp, bronzed surface. The reserved basting sauce is the other safeguard: you brush on only part of the mixture at first, then use the clean reserved portion near the end so you’re not dragging raw marinade across the cooked chicken.
What Each Ingredient Is Actually Doing in the Glaze
- Chicken thighs — Bone-in, skin-on thighs are the right cut because they tolerate grill heat without drying out. Boneless thighs will cook faster, but you lose the crispy skin and some of the protection that keeps the meat juicy.
- Buffalo sauce — This gives the heat and vinegar backbone. Use a brand you like on its own, because once it reduces on the grill, the flavor gets more concentrated, not less.
- Honey — This is what makes the glaze glossy and sticky. Swap in brown sugar only if you’re stuck; it will sweeten the sauce, but it won’t cling quite as cleanly or give the same shine.
- Butter — Melted butter smooths out the sauce and helps it coat the chicken instead of sliding off. It also softens the sharp edges of the buffalo sauce, which matters more than you’d think once the glaze starts to cook down.
- Apple cider vinegar — This keeps the glaze from tasting flat. If your sauce seems too sweet before grilling, it usually needs this little bit of acid rather than more salt.
How to Grill the Thighs Without Burning the Honey
Mixing the Sticky-Bright Glaze
Stir the buffalo sauce, honey, melted butter, and vinegar until the mixture looks smooth and glossy, with no streaks of separated butter on top. Reserve some of it before it touches the raw chicken, because that clean portion is what you’ll want for basting near the end. If the sauce seems too thick to brush, loosen it with a teaspoon of warm water; don’t add more butter, or it can get greasy instead of lacquered.
Getting the Skin Crisp First
Lay the thighs skin-side down over medium heat and leave them alone long enough for the fat under the skin to start rendering. You’re listening for a steady sizzle, not a furious blaze. If the grill runs too hot, the skin will char before it crisps, so move the thighs to a cooler spot rather than turning the heat up and trying to rush them.
Basting at the End, Not the Beginning
Flip the thighs once the skin is deeply golden and releases cleanly from the grates. Start brushing on the reserved sauce during the second side of cooking, then keep the layers thin so each coat has a chance to set. The glaze should turn sticky and slightly darkened, but if it starts smoking heavily or turning black, pull the thighs to indirect heat for the last few minutes.
Knowing When They’re Done
Use a thermometer and cook to 165°F in the thickest part near the bone. The juices should run clear, and the glaze should look glossy rather than wet. Let the chicken rest briefly before serving so the sauce stays on the meat instead of running into the plate.
Three Ways to Make These Thighs Fit the Table
Milder Honey Buffalo Chicken Thighs
Use a mild buffalo sauce and add an extra tablespoon of honey. You’ll keep the sticky glaze and tang, but the heat drops enough that it works for people who want the buffalo flavor without a burn.
Dairy-Free Version
Swap the butter for olive oil or a dairy-free butter substitute. The glaze won’t be quite as round, but it still clings well and keeps the chicken glossy on the grill.
Oven Finish for Bad Weather
Sear the thighs skin-side down in a hot skillet or grill pan, then finish them in a 425°F oven. You’ll still get crisp skin and a sticky glaze, but the color develops a little more evenly than on a smoky grill.
Make It for a Crowd
Double the sauce and grill in batches so the skin has space and steady heat. Crowding the grate traps steam, which is the fastest way to lose the crisp finish that makes this recipe worth serving.
Storage and Reheating
- Refrigerator: Store leftovers in an airtight container for up to 4 days. The skin softens, but the flavor holds well.
- Freezer: The cooked chicken freezes well for up to 2 months. Freeze without the celery and dressing, then thaw in the refrigerator before reheating.
- Reheating: Warm in a 350°F oven until heated through, uncovered if you want to re-crisp the skin a little. The biggest mistake is microwaving it straight from the fridge, which makes the glaze loose and the skin rubbery.
Questions I Get Asked About This Recipe

Grilled Honey Buffalo Chicken Thighs
Ingredients
Method
- In a bowl, mix buffalo sauce, honey, melted butter, and apple cider vinegar until smooth. The glaze should look glossy and evenly combined.
- Reserve 1/3 cup of the sauce for basting. Keep it separate so you can use it during grilling.
- Season chicken thighs with salt and pepper, then brush with some of the sauce. Coat the skin side lightly so it clings as it cooks.
- Marinate for 30 minutes. Chill the thighs while they sit so the flavors set without drying the skin.
- Grill the chicken skin-side down over medium heat for 8-10 minutes until the skin is crispy. Do not move the thighs too soon so the crust browns.
- Flip the thighs and grill for 8-10 more minutes, basting frequently with the reserved sauce. Brush often so the glaze turns sticky and caramelizes.
- Continue cooking until the internal temperature reaches 165°F and the glaze is sticky. The surface should look tacky and lacquered rather than runny.
- Serve the grilled honey buffalo chicken thighs with blue cheese dressing and celery sticks. Add the dressing on the side for dunking.