Hawaiian banana bread bakes up with a soft, moist crumb, sweet banana flavor, and little bursts of pineapple and toasted coconut in every slice. The macadamias bring a buttery crunch that keeps it from eating like plain banana bread with a few add-ins thrown on top. It’s the kind of loaf that disappears fast because the texture stays tender for days and the flavor gets even better after it cools.
What makes this version work is balance. The bananas give body, but the drained crushed pineapple keeps the loaf from turning heavy or dry. Coconut adds chew, not just sweetness, and the macadamias give the batter enough richness to taste special without making it dense. The key is draining the pineapple well; too much juice pushes the batter toward gummy in the center before the edges are done.
Below you’ll find the timing cues that matter, the ingredient swaps that actually work, and a few practical notes for storing the loaf so the crumb stays soft instead of sticky.
The crumb stayed incredibly moist, and the pineapple flavor came through without making it wet or heavy. I also loved the little crunch from the macadamias on top.
Save this Hawaiian banana bread for the days when you want a moist tropical loaf with pineapple, coconut, and macadamias in every slice.
The Pineapple Is What Changes the Crumb
Banana bread usually fails in one of two ways: it bakes up dry, or it turns dense and gummy from too much fruit. This loaf avoids both by using crushed pineapple for moisture and texture instead of extra banana. The pineapple should be well drained, not squeezed bone-dry, because you want a little juice left to keep the crumb tender without flooding the batter.
The other thing that matters here is balance in the mix. Coconut adds body and a soft chew, while macadamias keep the loaf from tasting one-note. If you’ve made banana bread before and ended up with a heavy center, this version teaches the same lesson every good quick bread does: wet ingredients need to be evenly distributed before the flour goes in, and the batter should still look a little rough when you stop mixing.
What Each Ingredient Is Doing in This Loaf
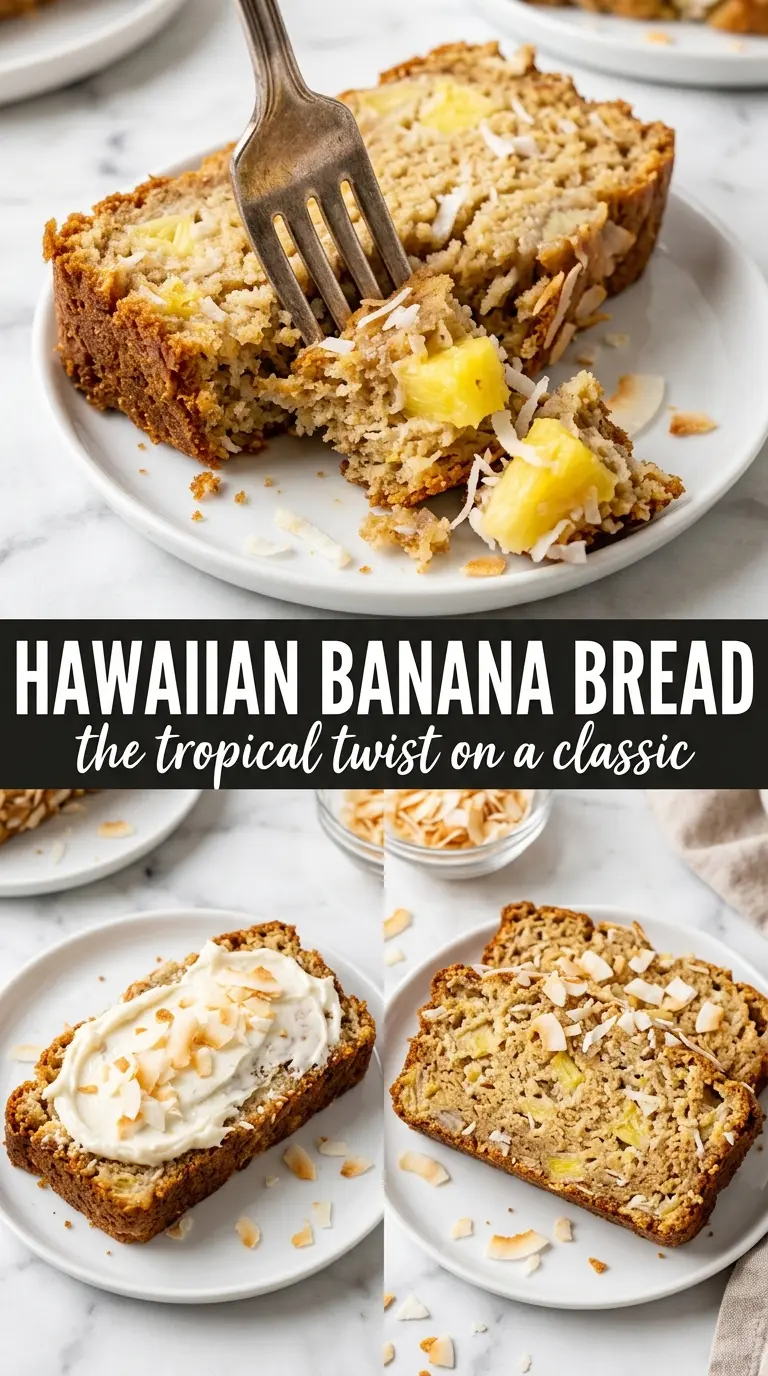
- Very ripe bananas — These bring the classic banana bread flavor and help the loaf stay soft. You want bananas with plenty of brown spots; pale bananas won’t give you the same sweetness or moisture.
- Crushed pineapple — This is the tropical note that makes the bread taste different from a standard banana loaf. Drain it well before adding it, or the center can stay wet long after the top looks done.
- Melted butter — Butter gives richness and a softer crumb than oil. Melted butter is the easiest option here because it mixes quickly with the sugars and fruit without needing a mixer.
- Sweetened shredded coconut — This adds chew and a little extra sweetness. Unsweetened coconut works if that’s what you have, but the loaf will taste a touch less plush.
- Macadamia nuts — Their buttery crunch is what makes the texture special. Walnuts can step in, but they’ll taste more bitter and less tropical.
Getting the Batter Mixed Without Overworking It
Start With the Wet Ingredients
Mash the bananas first, then whisk in the melted butter, sugar, eggs, and vanilla until the mixture looks smooth and glossy. Stir in the drained pineapple next so it gets evenly distributed before the flour goes in. If the butter is still hot when it hits the eggs, let it cool for a minute first or you can scramble the eggs and end up with little cooked flecks in the batter.
Fold the Dry Ingredients Just Until They Disappear
Add the flour, baking soda, baking powder, and salt and fold gently with a spatula. Stop as soon as you stop seeing streaks of flour. Overmixing is the fastest way to make banana bread tough and tunnelled, and because this batter has fruit and nuts in it, it’s easy to go too far without noticing.
Add the Coconut and Nuts Last
Fold in the coconut and chopped macadamias at the end so they stay evenly suspended through the loaf. If you stir too aggressively, the batter tightens up and the nuts sink toward the bottom during baking. Scrape the batter into the pan, then add a little extra coconut and nuts on top if you want a more bakery-style finish.
Bake Until the Center Sets
Bake at 350°F until the top is deeply golden and a toothpick comes out clean or with just a few moist crumbs. Banana bread often looks finished before the center actually is, so don’t pull it too early just because the top is browned. If the top is getting dark before the center is done, lay a piece of foil loosely over the loaf for the last 10 to 15 minutes.
How to Adapt This Banana Bread for Different Kitchens
Make It Dairy-Free
Swap the butter for melted coconut oil or a neutral dairy-free baking butter. Coconut oil keeps the tropical character strong, but it can firm up if your kitchen is cold, so melt it fully and mix quickly. The texture stays moist, though the crumb will be a little less rich than the butter version.
Use Walnuts Instead of Macadamias
Walnuts work if macadamias are expensive or hard to find. The loaf will lose some of that buttery island-style crunch and pick up a slightly earthier bite, but the texture still works. Toasting the walnuts first sharpens their flavor and keeps them from tasting flat in the sweet crumb.
Make It Gluten-Free
A cup-for-cup gluten-free flour blend usually works well here. The loaf may need a few extra minutes in the oven, and it slices best after cooling completely because gluten-free quick breads are softer when warm. Don’t swap in almond flour alone; it won’t give the same structure and the center can collapse.
Storage and Reheating
- Refrigerator: Store tightly wrapped for up to 5 days. The loaf stays moist, but the coconut can firm up a bit in the fridge.
- Freezer: This freezes well. Wrap slices or the whole cooled loaf in plastic, then foil, and freeze for up to 3 months.
- Reheating: Thaw at room temperature, then warm slices in a toaster oven or a low oven for a few minutes. Microwaving too long makes the crumb rubbery and can steal the soft texture that makes this bread good.
Questions I Get Asked About This Recipe
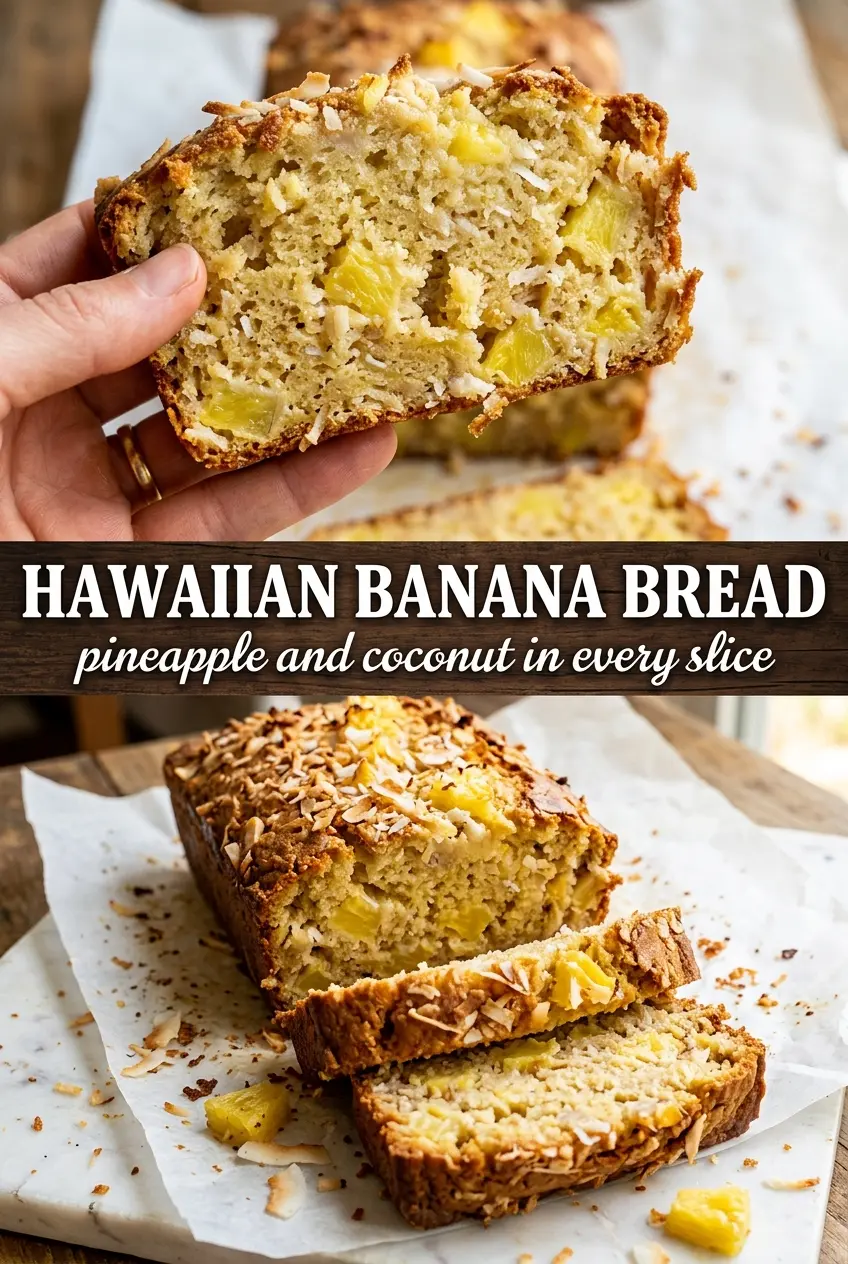
Hawaiian Banana Bread
Ingredients
Equipment
Method
- Preheat the oven to 350°F and grease a 9x5 loaf pan, using a visible thin coating so it releases cleanly.
- Mash the ripe bananas until mostly smooth, then measure 2 cups worth to keep the batter thickness consistent.
- Whisk the melted butter, sugar, eggs, and vanilla into the mashed bananas until glossy and evenly mixed.
- Stir in the well-drained crushed pineapple until the batter looks speckled and cohesive.
- Fold in the all-purpose flour, baking soda, baking powder, and salt until just combined, stopping when no dry streaks remain.
- Fold in the shredded coconut and roughly chopped macadamia nuts so they’re distributed throughout the batter.
- Pour the batter into the prepared loaf pan and sprinkle extra coconut and macadamia nuts on top if desired, so the surface bakes with visible crunch.
- Bake for 60–70 minutes at 350°F until the loaf is a deep golden color and a toothpick inserted in the center comes out clean, with minimal wet crumbs.