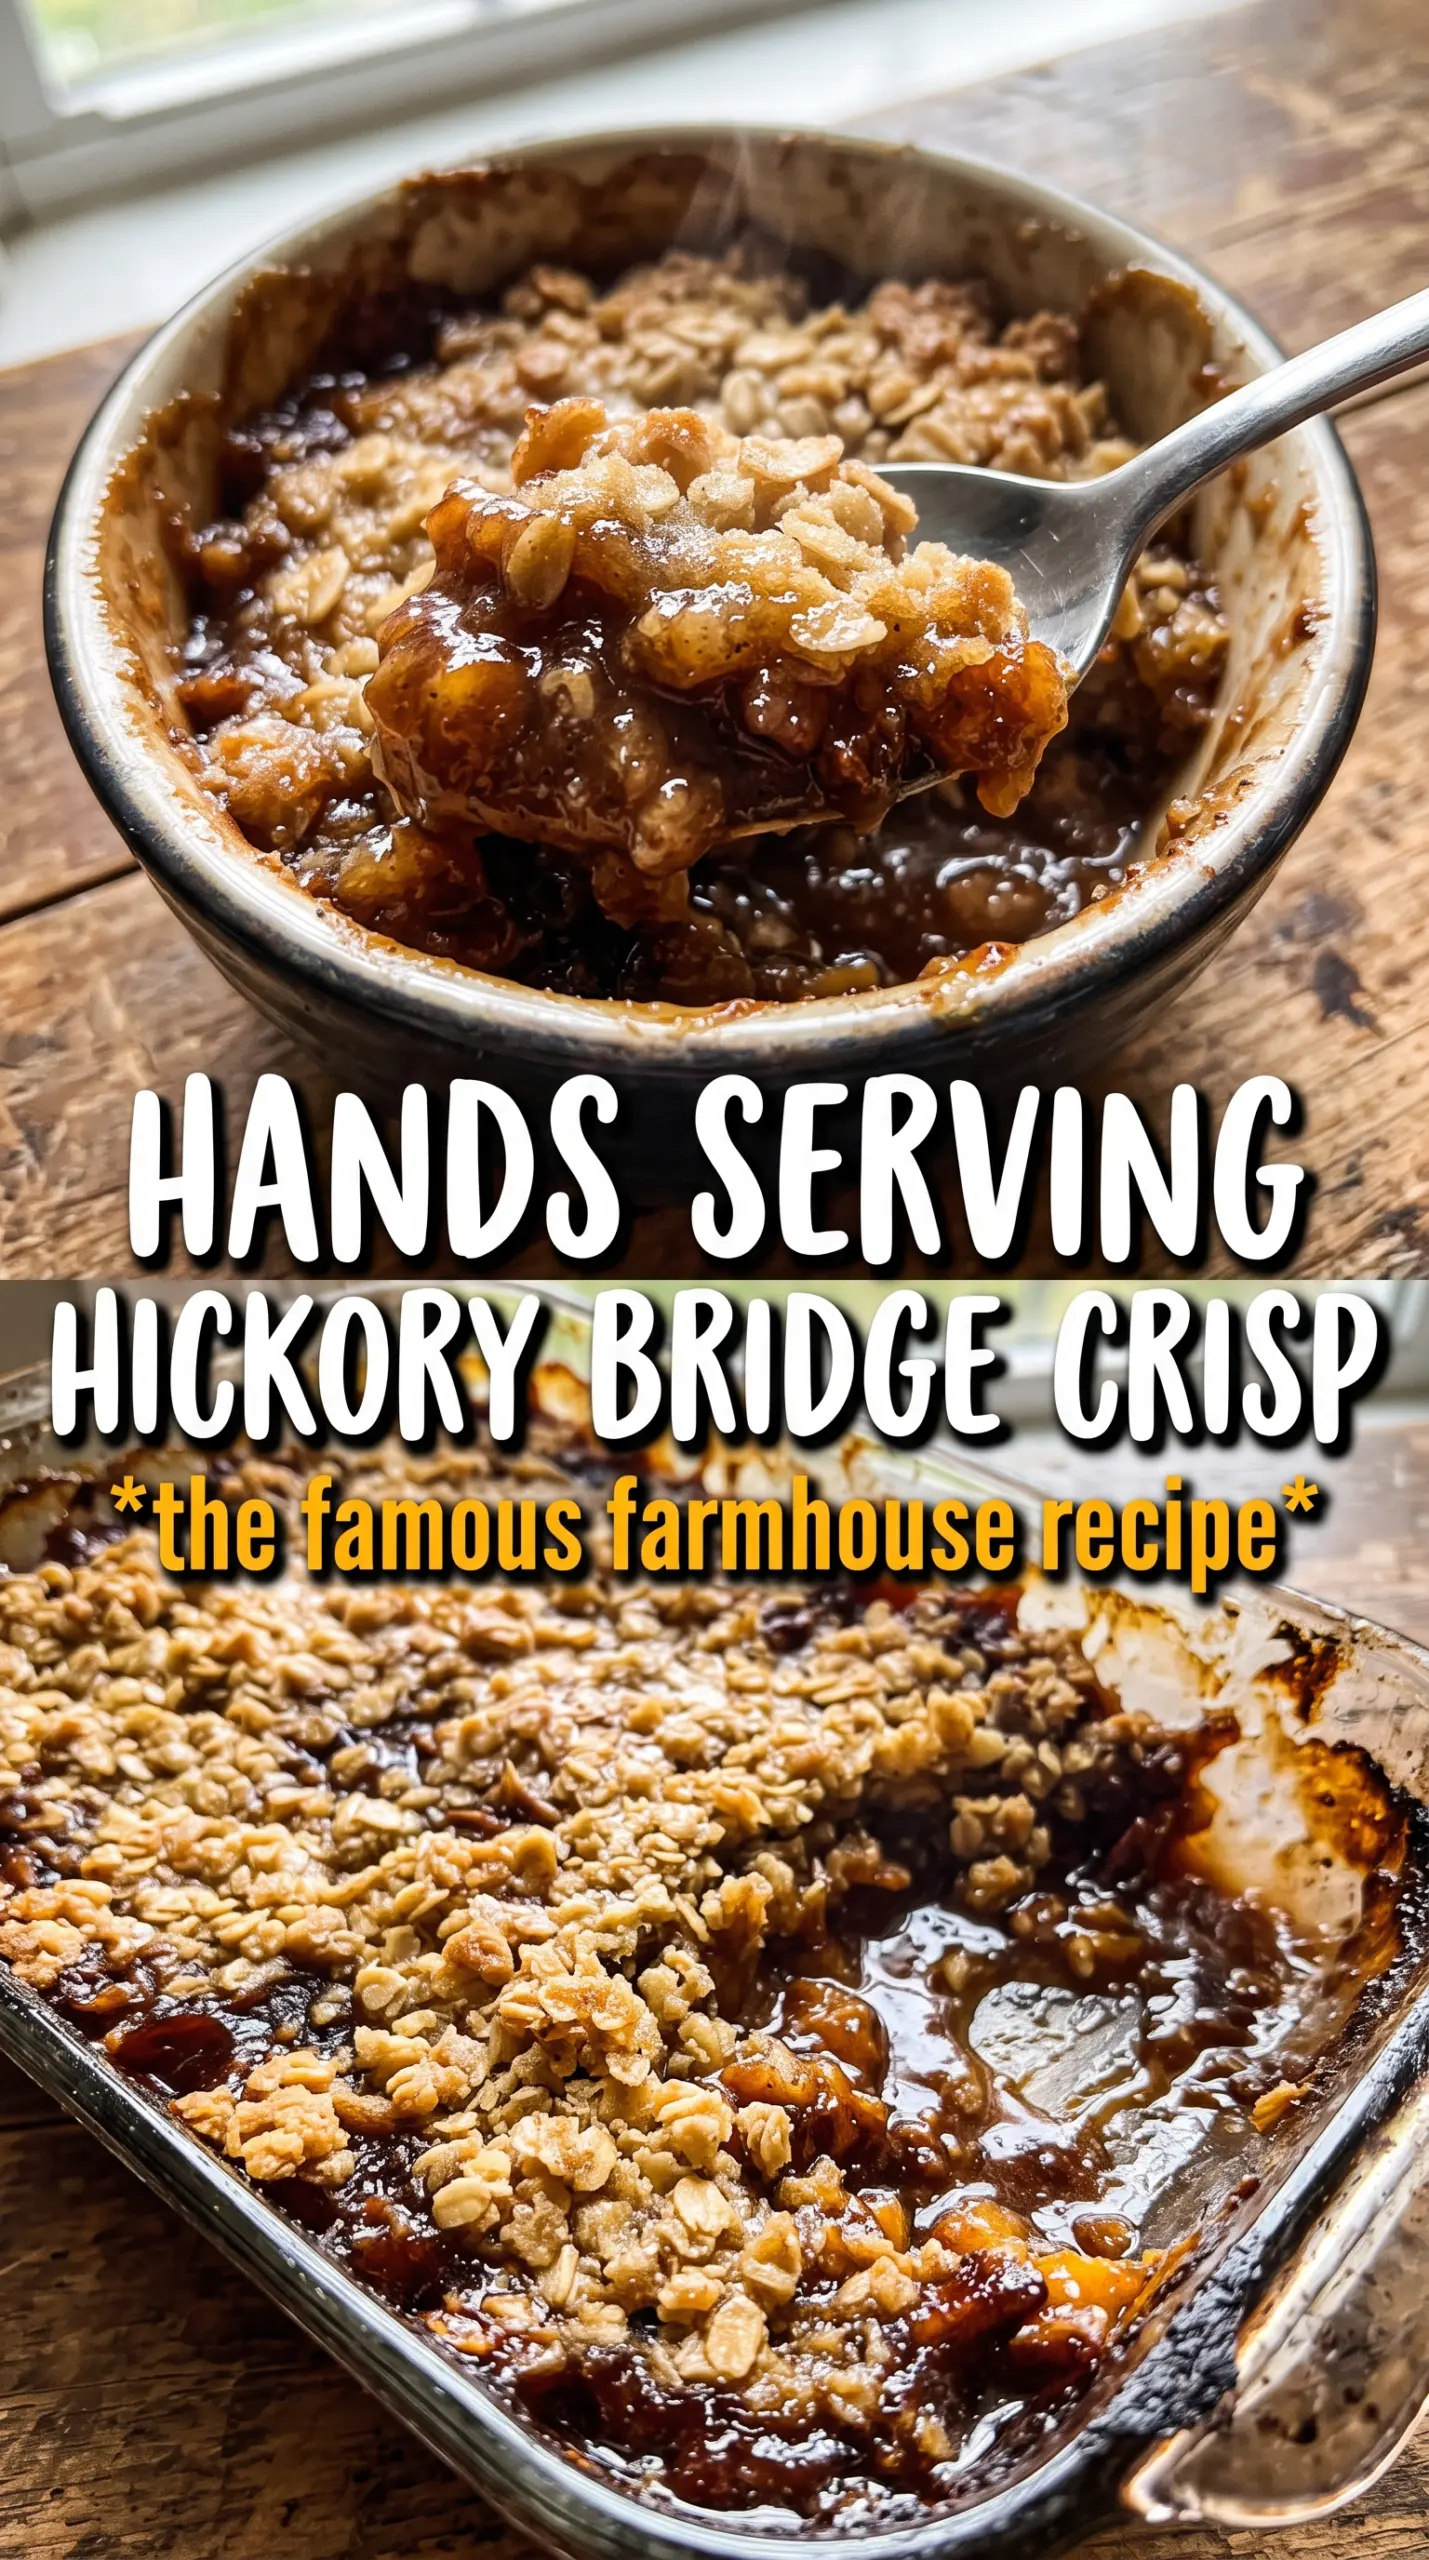
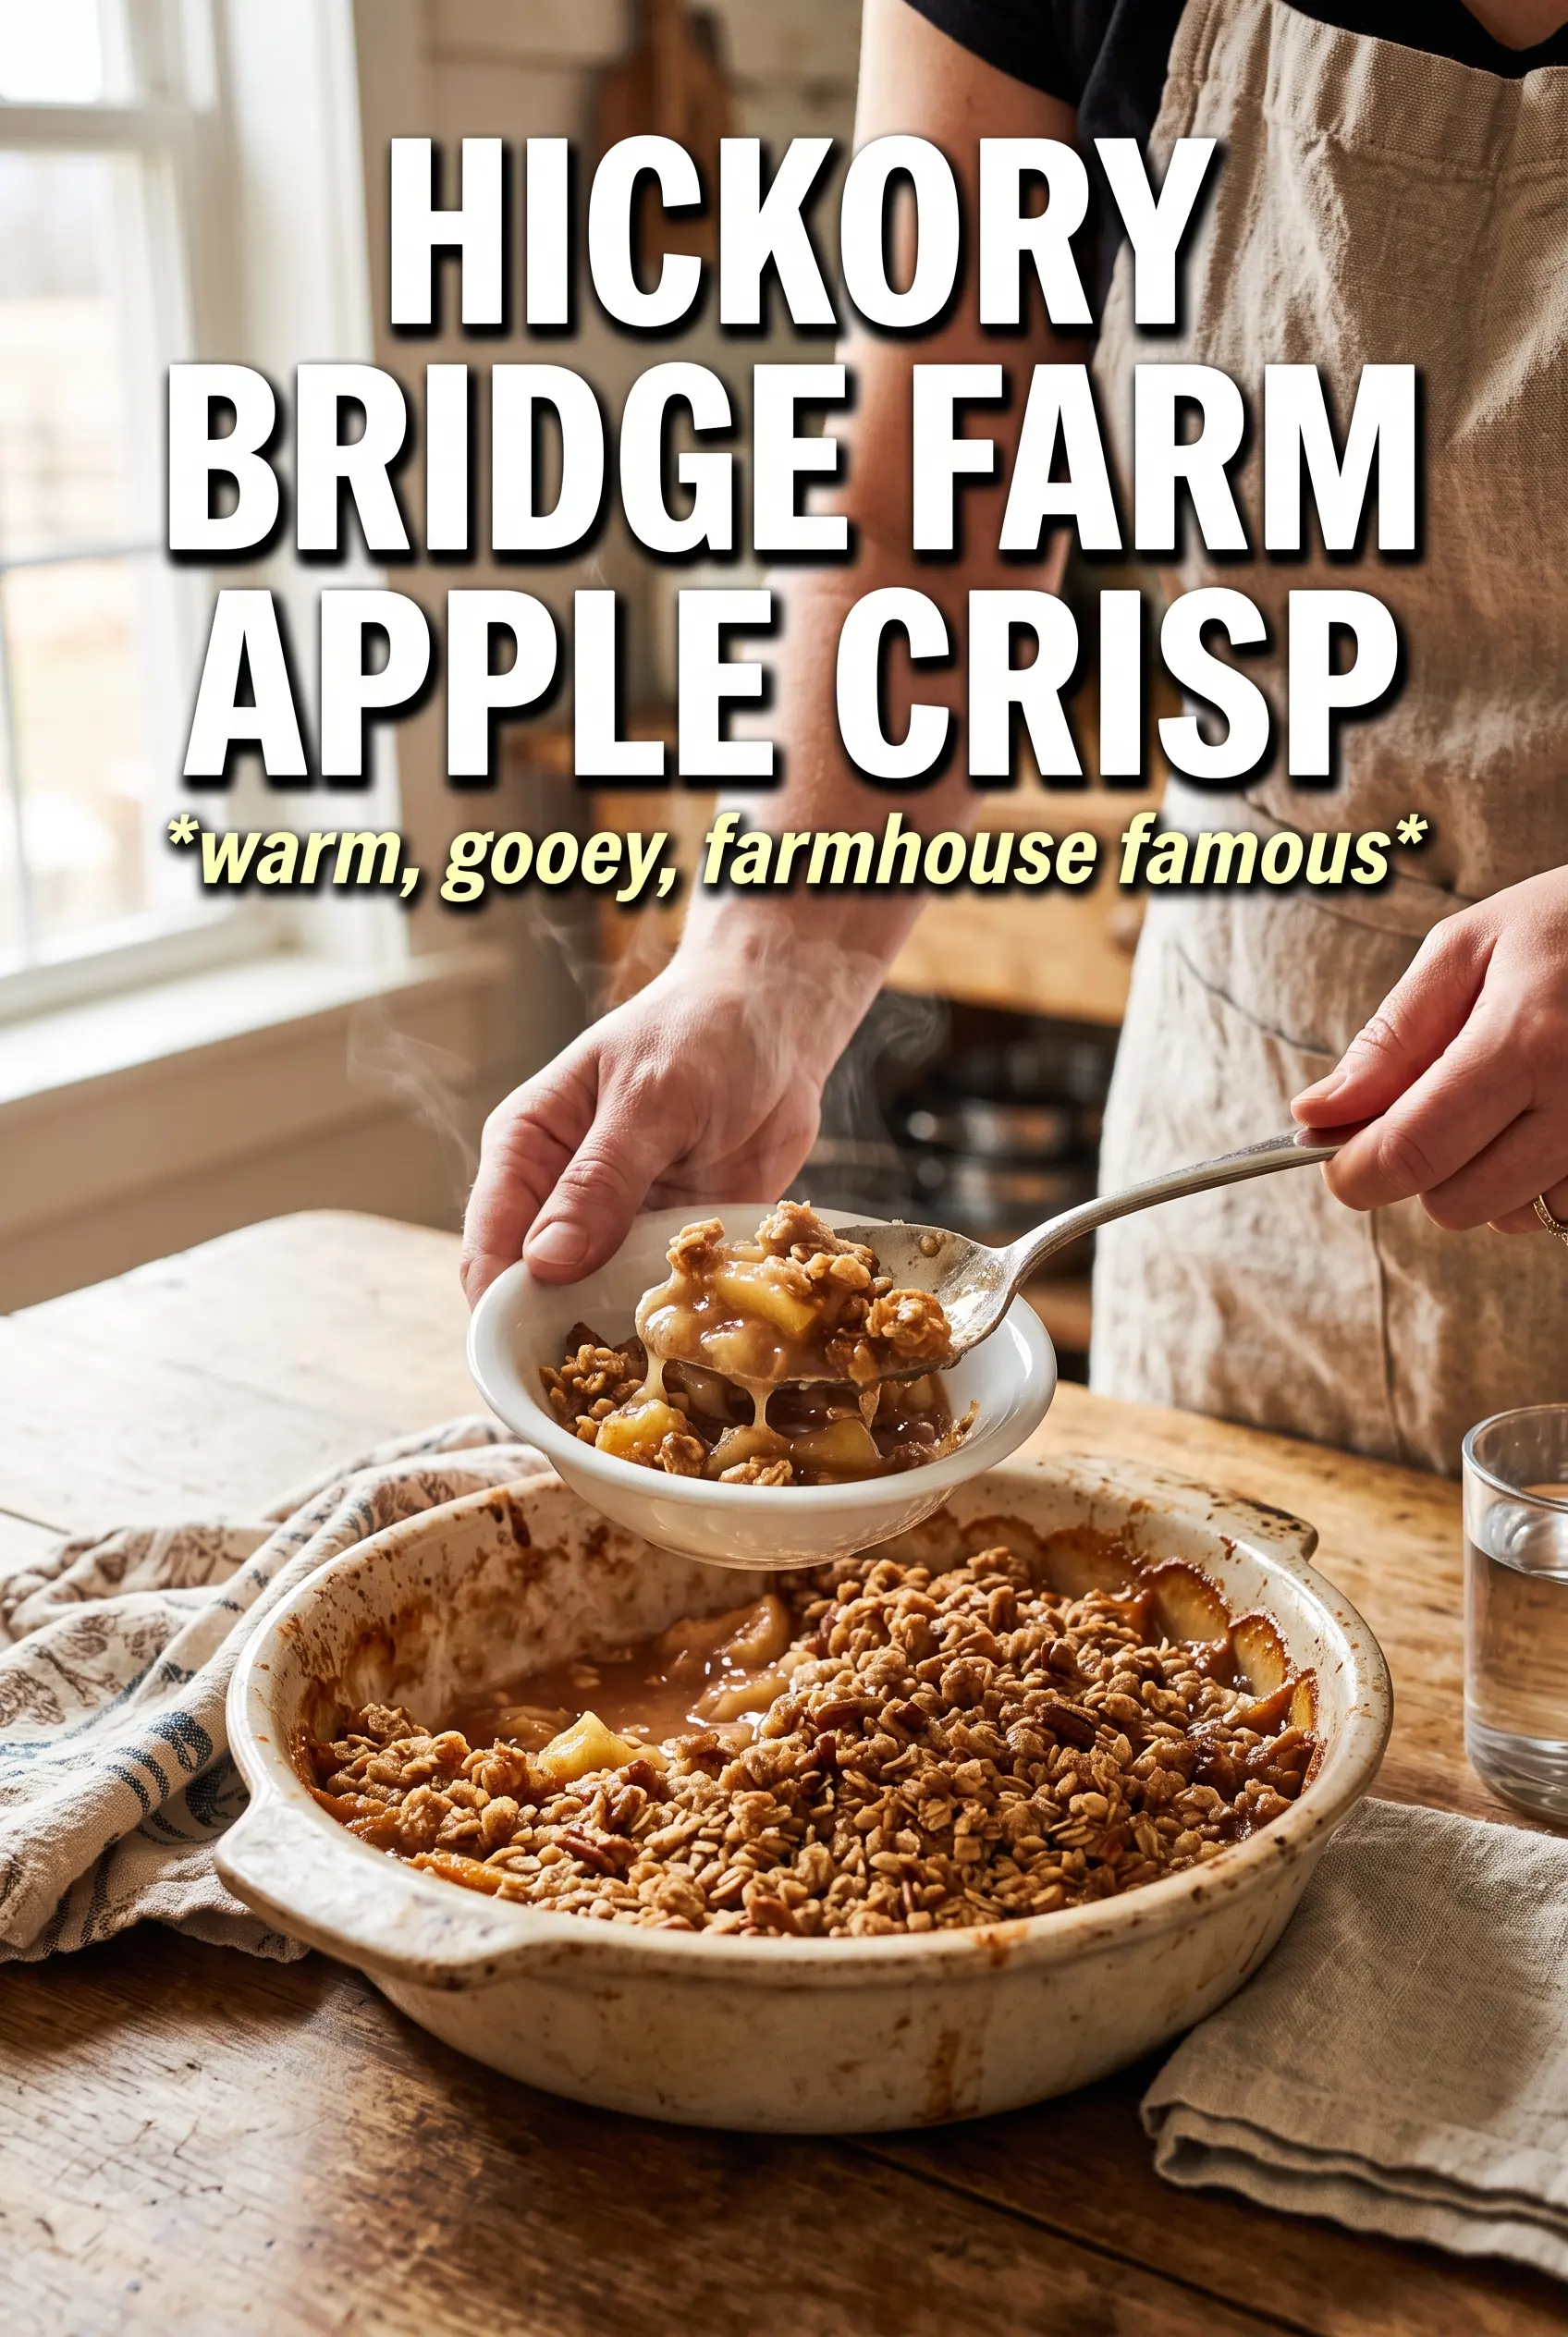
Hickory Bridge Farm Apple Crisp comes out with the kind of topping people fight over first: thick oat clusters, deep golden edges, and just enough buttery crumble to stay crisp under the spoon. Underneath, the apples soften into a spiced, syrupy filling that tastes like it baked down for hours, even though it only needs about an hour in the oven. It’s the sort of dessert that disappears fast because it lands right in the middle of cozy and unfussy.
What makes this version work is the balance in the filling and the heavy hand with the crumble. The apples get tossed with cornstarch, which keeps the juices from running all over the pan, and the lemon juice keeps the flavor bright instead of flat. On top, the butter stays cold and gets worked in just until the mixture forms clumps; that’s what gives you those bakery-style chunks instead of a dusty layer of crumbs.
Below, you’ll find the little details that matter most: how to keep the topping crisp, what kind of apples hold up best, and how to swap the dessert around if you need to.
The topping baked into big buttery clumps and the apples turned perfectly soft without getting mushy. I let it rest 15 minutes like the recipe said and the filling set up instead of running everywhere.
Like this Hickory Bridge Farm Apple Crisp? Save it to Pinterest for the nights when you want a thick oat crumble and tender spiced apples in one pan.
The One Thing That Keeps the Crumble Thick Instead of Sandy
The mistake most apple crisps make is treating the topping like a dry sprinkle. That gives you sand, not crumble. The butter needs to stay cold and get worked in until the mixture forms clumps that hold together when you squeeze them. Those clumps melt into layered pockets of crisp, chewy topping instead of disappearing into the flour.
The other thing that matters is the amount of topping. This recipe piles it on generously, and that’s the right call. When the topping looks almost too thick before baking, it usually bakes up with the best texture because the top pieces brown deeply while the inside stays tender and buttery.
- Cold butter — This is what creates the nubbly, bakery-style crumble. If the butter softens too much, the topping turns pasty instead of clumpy.
- Cornstarch in the filling — It thickens the apple juices as they bake, so the filling sets instead of flooding the dish.
- Thick layering — Spread the apples in a heavy layer and mound the crumble over the top. A thin layer bakes up dry and flat.
What Each Ingredient Is Doing in the Filling and Topping
- Apples — Use firm apples that can hold their shape. Softer apples collapse into applesauce before the topping is browned. A mix of tart and sweet apples gives the best balance.
- Brown sugar and granulated sugar — The granulated sugar helps the apples release their juices, while the brown sugar adds a deeper caramel note. You need both for a filling that tastes rounded, not just sweet.
- Cinnamon, nutmeg, and allspice — This trio gives the filling that old-fashioned, bakery-style spice. Cinnamon carries the main flavor, while the nutmeg and allspice fill in the edges.
- Rolled oats and flour — The oats give the topping chew and texture, and the flour helps the crumble hold together. Quick oats can work in a pinch, but the texture will be finer and less rustic.
- Cold unsalted butter — Unsalted butter lets you control the seasoning, and cold butter is what gives the crumble its structure. Cube it first so it mixes in evenly before it warms up.
Building the Apples and Crumble So They Bake Evenly
Coating the Apples Thoroughly
Toss the sliced apples with both sugars, spices, cornstarch, and lemon juice until every piece looks lightly coated. The cornstarch needs to be distributed before the fruit hits the pan, or you’ll end up with pockets of dry starch in the finished filling. Spread the apples in a thick, even layer in the prepared dish. If the layer is too shallow, the filling cooks down too fast and the topping can overbake before the apples soften.
Making Large Butter Clumps
Work the cold butter into the oat mixture with your hands until you have large, butter-streaked clumps, not a uniform sandy mixture. You should still see pieces of butter throughout. Those visible bits are what melt into craggy pockets as the crisp bakes. If the mixture starts to feel greasy or paste-like, the butter has warmed too much, and the topping will bake up dense instead of crisp.
Waiting for the Fill to Bubble
Bake until the topping is deeply golden and the apple filling bubbles all around the edges. That bubbling is the sign that the cornstarch has thickened the juices. If the topping looks done but the filling isn’t bubbling yet, give it a few more minutes. Pulling it early leaves you with thin juice under the crumble instead of a spoonable filling.
Letting It Rest Before Scooping
Rest the crisp for 15 minutes before serving. That short pause gives the filling time to settle and thicken, so it scoops cleanly instead of running across the plate. The topping stays crisp, and the contrast with cold vanilla ice cream is better once the fruit has had a minute to calm down.
Make It With Gluten-Free Oats and Flour
Use certified gluten-free oats and a 1:1 gluten-free flour blend in place of the all-purpose flour. The crumble will still bake up with good texture, though it may be a touch more delicate when you scoop it.
Dairy-Free Version
Swap the butter for a firm plant-based butter stick, not a soft tub spread. You still need something cold and solid enough to create clumps, or the topping will bake flat.
Use All Tart Apples for a Sharper Finish
If you like a brighter, less sweet dessert, use all tart apples such as Granny Smith. The filling will taste sharper and hold its shape well, but you may want to serve it with ice cream because the contrast is stronger.
Storage and Reheating
- Refrigerator: Store covered for up to 4 days. The topping softens a little in the fridge, but the flavor stays good.
- Freezer: Freeze baked and cooled crisp in portions or in the full dish, tightly wrapped, for up to 2 months. The topping won’t be quite as crunchy after thawing, but it still reheats well.
- Reheating: Warm in a 325F oven until the filling is hot and the topping crisps back up, about 15 to 20 minutes for portions or longer for a full dish. The microwave will heat it, but it turns the crumble soft.
Answers to the Questions Worth Asking
Hickory Bridge Farm Apple Crisp
Ingredients
Equipment
Method
- Preheat oven to 350F, then generously grease a 9x13 baking dish for easy release. Aim for a dry, evenly greased surface.
- Toss apple slices with granulated sugar, brown sugar, cinnamon, nutmeg, allspice, cornstarch, and lemon juice. Spread the apples in the prepared dish in a thick, even layer.
- Combine rolled oats, all-purpose flour, brown sugar, cinnamon, and salt in a mixing bowl. Add cold butter and work with your hands until the mixture forms large, butter-streaked clumps.
- Pour and spread the crumble topping generously over the apples, piling it thick to cover the filling. Leave some clumps visible so the top crisps well.
- Bake at 350F for 50-55 minutes until the topping is deeply golden. Look for bubbling in the apple filling around the edges.
- Rest for 15 minutes before scooping so the juices thicken slightly. Serve warm with vanilla ice cream or whipped cream.