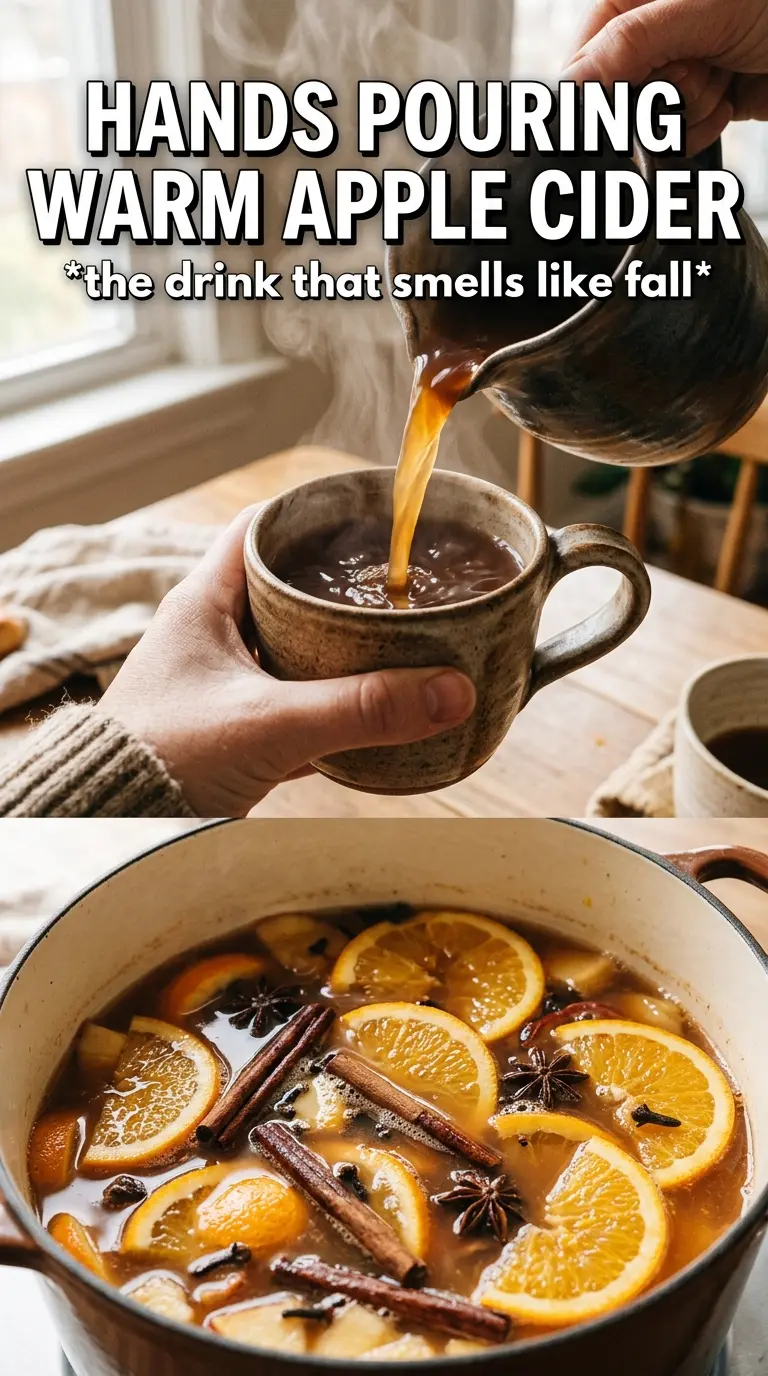
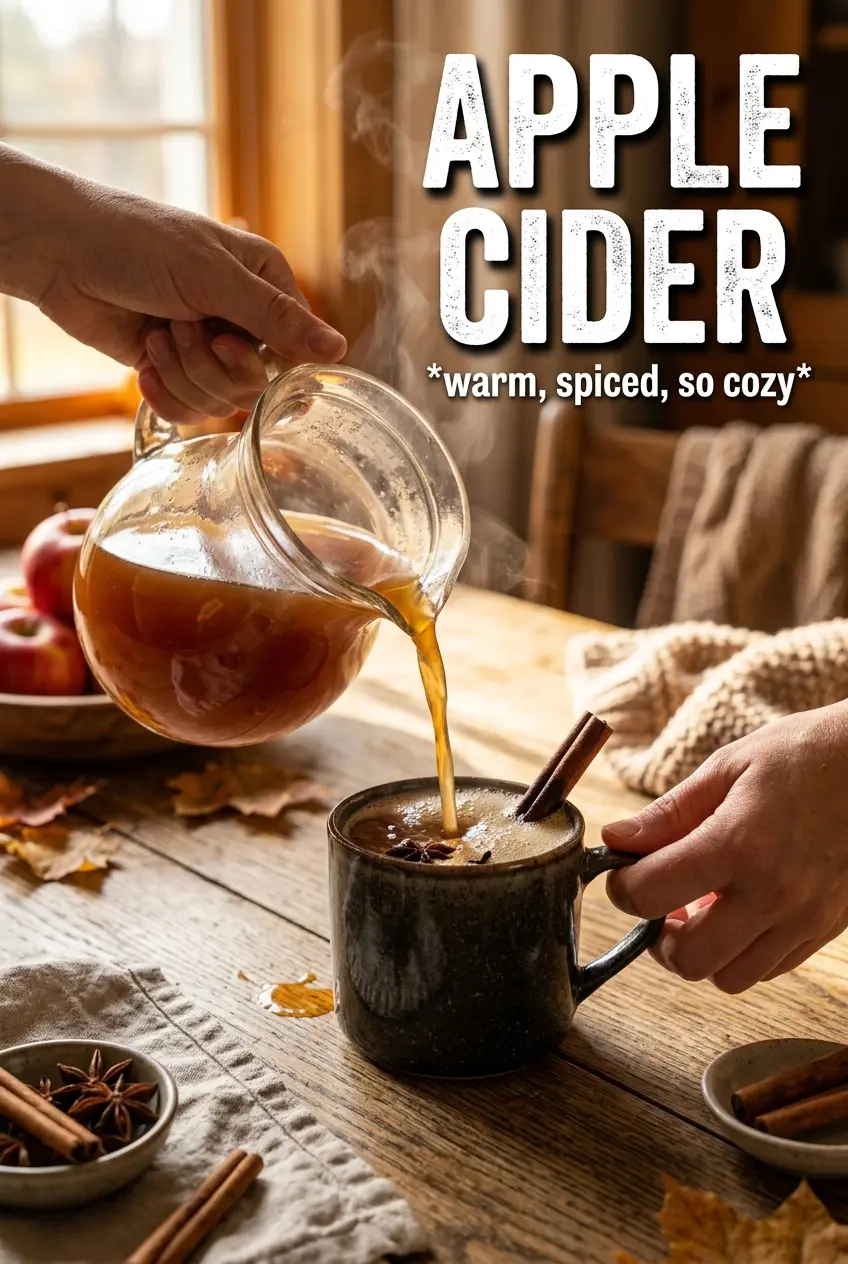
Homemade apple cider pours gold into the mug and smells like cinnamon, orange peel, and cooked apples in the best possible way. It’s warm, fragrant, and full-bodied, with enough fruit flavor to taste like apples instead of spiced tea. The long simmer gives it that deep cider color and a rounded sweetness that boxed cider never quite has.
The trick is using whole apples, skins and all. The peels bring color, and the cores help the cider pick up body as everything cooks down. I like a mix of sweet and tart apples because the final flavor lands in the middle instead of tasting flat or one-note. The spices steep gently during the simmer, then the fruit gets mashed halfway through so the pot releases every bit of flavor before straining.
Below, I’ve included the detail that matters most: how to keep the cider from turning muddy, plus a few easy ways to adjust the sweetness and spice level without losing that fresh apple taste.
The cider turned out rich and clear enough to sip, and the cinnamon-orange balance was perfect after the full simmer. I mashed it at the end like the directions said, and it tasted like it came from a farm stand.
Like this homemade apple cider? Save it to Pinterest for a spiced fall drink that simmers into a deep amber, fragrant batch every time.
The Part That Makes Homemade Apple Cider Taste Deep, Not Thin
Most weak cider happens because the apples never simmer long enough to give up their flavor, or because the liquid gets strained too early. The two-hour uncovered simmer concentrates the juice and lets the spices infuse the pot instead of just floating around in it. When the apples are soft enough to mash, they release even more flavor and a little natural body.
Using a mix of sweet and tart apples matters more than people think. Sweet apples bring roundness, while tart apples keep the cider from tasting candy-like. The orange slices add brightness, but the peel can turn bitter if you leave it in forever on high heat, so this recipe keeps the simmer gentle and controlled.
What Each Ingredient Is Actually Doing in This Recipe
- Primary ingredient (the star) — Quality matters most. Choose the best you can find.
- Cooking medium (oil, butter, or broth) — This carries flavors and prevents dryness.
- Seasonings (salt, pepper, spices, herbs) — Layer flavors so nothing overpowers. Build depth gradually.
- Aromatics (garlic, onion, herbs) — Cook with fat to bloom flavors. Become the foundation.
- Supporting ingredients — Complement the main ingredient without overpowering it.
- Sauce or liquid (if applicable) — Brings flavors together. Balance richness with acid.
- Acid (lemon, vinegar, wine, or other) — Brightens and prevents flat-tasting results.
- Final finish (garnish, glaze, or sauce) — Prevents one-dimensional taste and adds visual appeal.
What Each Ingredient Is Actually Doing in the Pot
- Mixed apples — Honeycrisp, Fuji, and Granny Smith give you sweetness, acidity, and aroma in one pot. Don’t peel or core them; the skins add the color and the cores add body. Cheap apples work fine here as long as you mix in at least one tart variety.
- Cinnamon sticks — Whole sticks infuse slowly and stay clean-tasting. Ground cinnamon would cloud the cider and make it gritty.
- Cloves and star anise — These are strong, so a little goes a long way. They bring the classic cider spice, but if you overdo them the drink starts tasting medicinal, so keep the simmer gentle and remove from heat once the flavor is where you want it.
- Orange slices — They add lift and a little citrus bitterness that keeps the cider from feeling heavy. Slice them thin and leave the pith on; that’s where some of the structure comes from. If you only have lemon, use a smaller amount because it’s sharper.
- Brown sugar or maple syrup — This is for rounding out the finished cider, not masking the apples. Start small, then taste after straining. Maple gives a softer, woodsy sweetness; brown sugar reads a little more caramel.
- Vanilla extract — Add it at the end so it smells fresh instead of cooked off. It makes the cider taste fuller without turning it into dessert sauce.
Building the Flavor Before You Strain It
Start with the whole fruit and the spices
Put the apples, cinnamon sticks, cloves, star anise, and orange slices in the pot before adding water. That order lets the spices begin flavoring the liquid from the first minute, instead of waiting until the pot comes to a boil. Add just enough water to cover the fruit; too much water dilutes the cider and leaves you chasing flavor later. Bring it to a boil, then drop it immediately to a low simmer so the apples soften without the peel turning harsh.
Let the pot cook down, then mash
After about two hours, the apples should be collapsing and the liquid should smell intensely spiced and fruity. Mash the apples with a potato masher right in the pot, then simmer 30 minutes more. That second simmer is where the cider gets its depth; if you skip it, the strained liquid tastes thinner and less complete. Don’t rush this stage with high heat, or the spices can overpower the fruit before the cider concentrates.
Strain until the liquid runs clear enough to sip
Set a fine mesh sieve over a bowl or another pot and press the pulp firmly to extract every last bit of liquid. You want enough pressure to get the cider out, but not so much that you force mush through the sieve and make it cloudy. A little cloudiness is fine and natural; heavy sediment means you pressed too aggressively or used a coarser strainer. Once strained, stir in the brown sugar and vanilla, then taste before adding more sweetener.
How to Adjust Homemade Apple Cider for Different Kitchens and Crowd Sizes
Make it less sweet without losing body
Skip the maple syrup or brown sugar until the very end, then add only what the cider needs. A tart apple-heavy batch can taste brighter and more refreshing, but it should still finish round, not sharp. The vanilla helps bridge that gap without making it sugary.
Make a stronger spiced version
Add one extra cinnamon stick or another star anise, but don’t double the cloves unless you want a much sharper finish. Spice reads stronger after the cider sits, so it’s better to underdo it slightly and taste again after straining. The pot should smell warm and aromatic, not like potpourri.
Make it vegan and still rich
Use maple syrup instead of brown sugar if you want a more plant-based sweetener with a softer finish. The rest of the recipe is naturally vegan, and the cider still gets that full, rounded taste from the apples and long simmer. Serve it with fresh cinnamon sticks so the aroma keeps building in the mug.
Storage and Reheating
- Refrigerator: Store in a sealed container for up to 5 days. The spice flavor deepens a bit overnight.
- Freezer: Freeze for up to 3 months in freezer-safe containers, leaving room for expansion. Thaw in the fridge before reheating.
- Reheating: Warm gently over low heat until steaming. Don’t boil it again or the fresh apple aroma fades and the spices can get harsh.
Answers to the Questions Worth Asking
Apple Cider
Ingredients
Equipment
Method
- Quarter the apples, leaving skins on and cores intact for extra color and pectin.
- Add the apples, cinnamon sticks, cloves, star anise, and orange slices to a large pot.
- Pour in enough water to cover the apples and bring the mixture to a boil.
- Reduce heat to a low simmer and simmer uncovered for 2 hours, until the apples are very soft and the liquid tastes flavorful.
- Mash the apples with a potato masher until well broken down.
- Continue simmering for 30 more minutes so the pulp releases additional flavor and body.
- Strain the cider through a fine-mesh sieve, pressing the pulp to extract as much liquid as possible.
- Stir in the brown sugar or maple syrup and vanilla, then taste and adjust sweetness as needed.
- Serve warm with additional cinnamon sticks and orange slices.