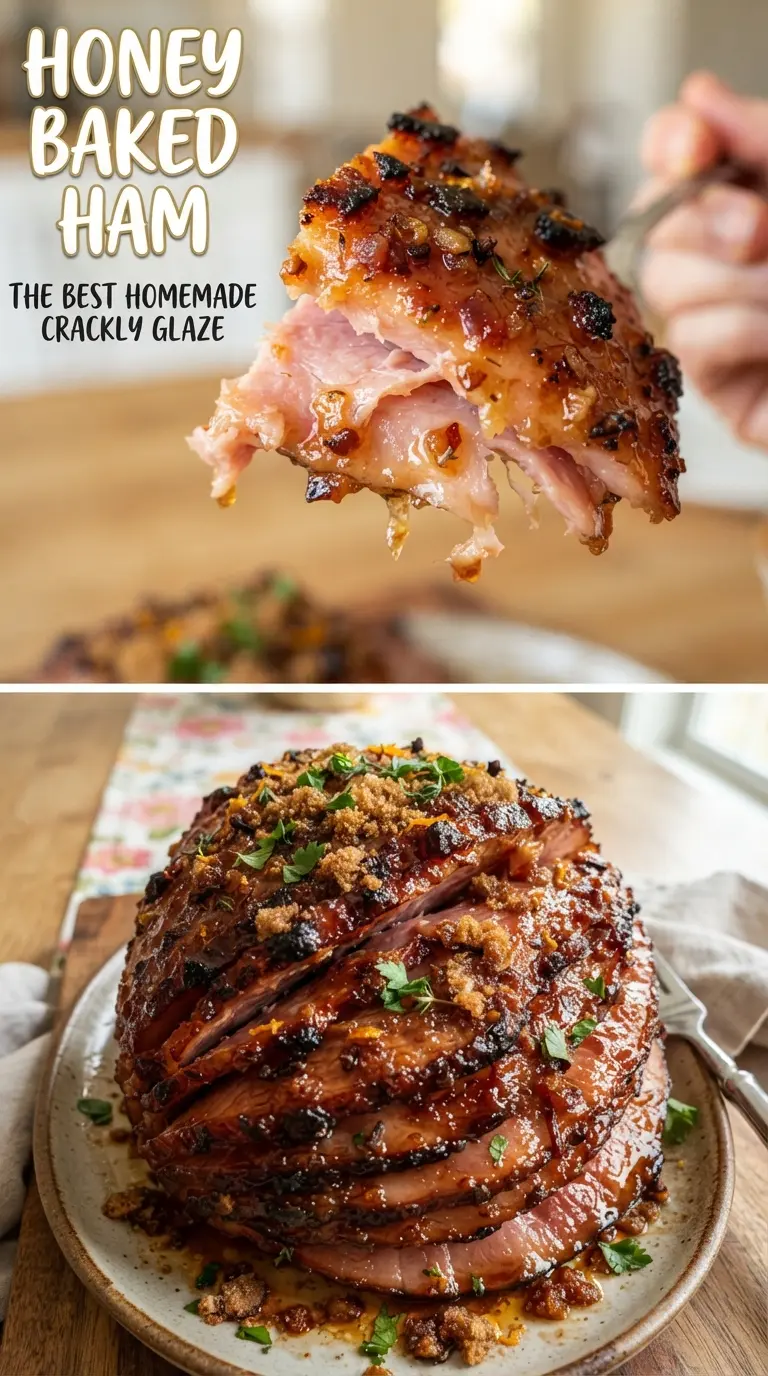
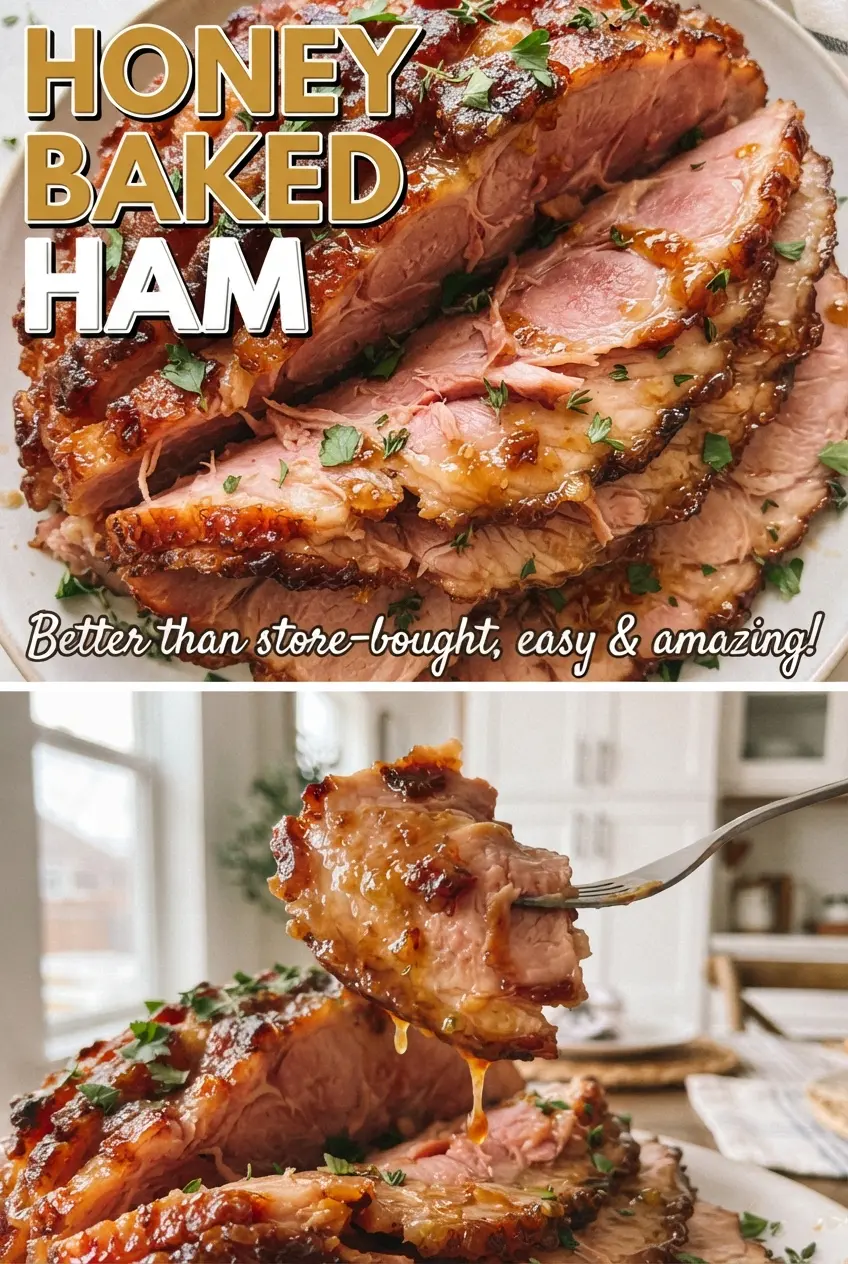
Honey baked ham comes out with that glossy, crackly crust people always go back for first, then the slices underneath stay juicy and salty-sweet instead of drying out in the oven. The glaze sets into a thin shell that shatters a little when you cut into it, and the spiral slices make every bite pick up a little of the spiced sugar crust.
What makes this version work is the two-stage finish. The ham warms low and covered first, which protects the meat and keeps the outside from overcooking before the center is hot. Then the honey-butter layer and spiced sugar go on in repeated coats at high heat, which builds that caramelized crust instead of leaving you with a sticky glaze that slides off the pan.
Below, I’ll walk through the timing that keeps a fully cooked ham tender, the spice blend that gives the crust its bakery-style edge, and the one temperature change that makes the finish turn deep golden instead of pale and soft.
The crust set up exactly like the one from the deli counter, and the spiral slices stayed moist all the way to the end. I followed the timing and the honey butter kept the sugar from burning.
Save this honey baked ham for a crackly spiced crust and juicy spiral slices that carve like a dream.
The reason the crust stays crackly instead of sticky
The biggest mistake with a glazed ham is trying to make the crust in one pass. Sugar needs repeated contact with heat to caramelize into something crisp; one thick coating usually melts, runs, and turns tacky instead of forming those brittle edges. Starting with a fully cooked ham also matters here, because you’re not trying to roast the meat from raw. You’re warming it gently, then building color at the end.
Keeping the ham covered for the first part of the bake protects the cut edges from drying out. The uncovered finishing time is short on purpose. That’s long enough to set the glaze, but not so long that the sugar burns before the center reaches serving temperature.
- Bone-in spiral-sliced ham — The bone adds flavor and helps the slices stay juicy. Spiral slicing gives the glaze more surface area to cling to, which is why this cut works better than a boneless roast here.
- Honey — This brings shine and that floral sweetness the crust needs. Maple syrup can stand in, but it tastes darker and less classic.
- Butter — Butter helps the honey brush on evenly and gives the sugar something rich to grab onto. Use real butter here; the crust sets better than it does with margarine.
- Brown sugar plus granulated sugar — Brown sugar adds molasses depth, while white sugar helps the crust dry and crackle. Using both gives you a glaze that tastes round but still finishes with a brittle edge.
- Cinnamon, cloves, ginger, nutmeg, allspice, and paprika — This blend gives the ham its classic bakery-style finish without tasting like dessert. If you only have cinnamon and cloves, use them, but keep the paprika in for color and balance.
What Each Ingredient Is Actually Doing in This Recipe
- Primary ingredient (the star) — Quality matters most. Choose the best you can find.
- Cooking medium (oil, butter, or broth) — This carries flavors and prevents dryness.
- Seasonings (salt, pepper, spices, herbs) — Layer flavors so nothing overpowers. Build depth gradually.
- Aromatics (garlic, onion, herbs) — Cook with fat to bloom flavors. Become the foundation.
- Supporting ingredients — Complement the main ingredient without overpowering it.
- Sauce or liquid (if applicable) — Brings flavors together. Balance richness with acid.
- Acid (lemon, vinegar, wine, or other) — Brightens and prevents flat-tasting results.
- Final finish (garnish, glaze, or sauce) — Prevents one-dimensional taste and adds visual appeal.
Building the glaze in layers so it never burns
Warming the ham first
Set the ham cut-side down in the roasting pan and cover it tightly with foil before it goes into the oven. That little detail keeps the spiral edges from drying out while the center warms through. Bake until the ham reaches about 120F inside, not all the way to 140F yet, because the final blast of heat will finish the job. If you rush this stage uncovered, the outer slices will dry before the glaze ever has a chance to set.
Making the honey butter and spiced sugar
Melt the honey and butter together until they look smooth and unified, then mix the sugars with the spices in a separate bowl. Keeping them separate gives you better control: the honey butter brushes on evenly, and the dry sugar layer clings instead of dissolving into one wet mess. If the butter is sizzling, pull it off the heat for a minute before brushing so it doesn’t run right off the ham.
Finishing at high heat
Once the foil comes off, brush the ham generously with the honey butter, then pat on the spiced sugar. Raise the oven to 400F and bake just 5 minutes, then repeat the brushing and sugaring two more times. You’re looking for a deep golden crust that looks dry and crackly at the edges, not a wet sheen. If it starts to darken too fast, the sugar is getting too close to the heating element, so move the pan to a lower rack for the last round.
Resting before slicing
Let the ham rest for 15 minutes before serving. That pause lets the juices settle back into the meat instead of running out onto the board the second you cut it. It also gives the crust a minute to firm up, which makes the slices cleaner and keeps the glaze from slipping off in sheets.
How to adjust the glaze without losing the crackly finish
Dairy-free version
Swap the butter for a neutral dairy-free butter stick or refined coconut oil. You’ll still get a glossy coating, but coconut oil adds a faint coconut note, while dairy-free butter tastes closer to the original and gives a better browned finish.
Less sweet, more savory
Cut the granulated sugar to 3/4 cup and keep the brown sugar as written. The crust will still set, but it leans more caramel-brown than candy-like, which works well if your ham is already on the salty side.
Using a different ham size
For a smaller ham, keep the same glaze amounts but shorten the covered bake and watch the internal temperature closely. For a larger ham, you’ll need more time under foil, but the glazing method stays the same. The only real mistake here is judging by color alone before the center is warm enough.
Storage and Reheating
- Refrigerator: Store leftovers up to 4 days. The crust softens a little, but the ham stays juicy.
- Freezer: Wrap slices tightly and freeze for up to 2 months. Freeze in portion-sized packs so you can thaw only what you need.
- Reheating: Warm slices covered with a splash of pan juices or water at 300F until just heated through. High heat dries the meat fast, and leftover glaze can scorch before the ham warms.
Answers to the questions worth asking
Honey Baked Ham
Ingredients
Equipment
Method
- Preheat the oven to 325F. Place the ham cut-side down in a roasting pan, cover tightly with foil, and bake until it reaches 120F inside, about 12-14 minutes per pound, watching for steam buildup under the foil.
- Melt the honey and butter together in a small saucepan or microwave-safe container until smooth. In a separate bowl, mix the granulated sugar and brown sugar with the cinnamon, cloves, ginger, nutmeg, allspice, and paprika until evenly combined and speckled.
- Remove the foil and brush the ham generously with the honey butter, then pat on a layer of the spiced sugar so it adheres to the surface. Return to the oven at 400F and bake for 5 minutes, until the glaze starts to set and look slightly glossy.
- Remove and repeat: brush with more honey butter, pat on another layer of spiced sugar, and bake again at 400F for 5 minutes. Look for areas of caramelization that begin turning deep golden on the ridges of the spiral.
- Brush one final time with honey butter and pat on the remaining spiced sugar. Bake until the crust is deep golden and crackly and the ham reaches 140F, using the thermometer in the center between slices to confirm.
- Rest the ham for 15 minutes before serving. This lets the juices settle so slices stay tender and the crust stays crisp.