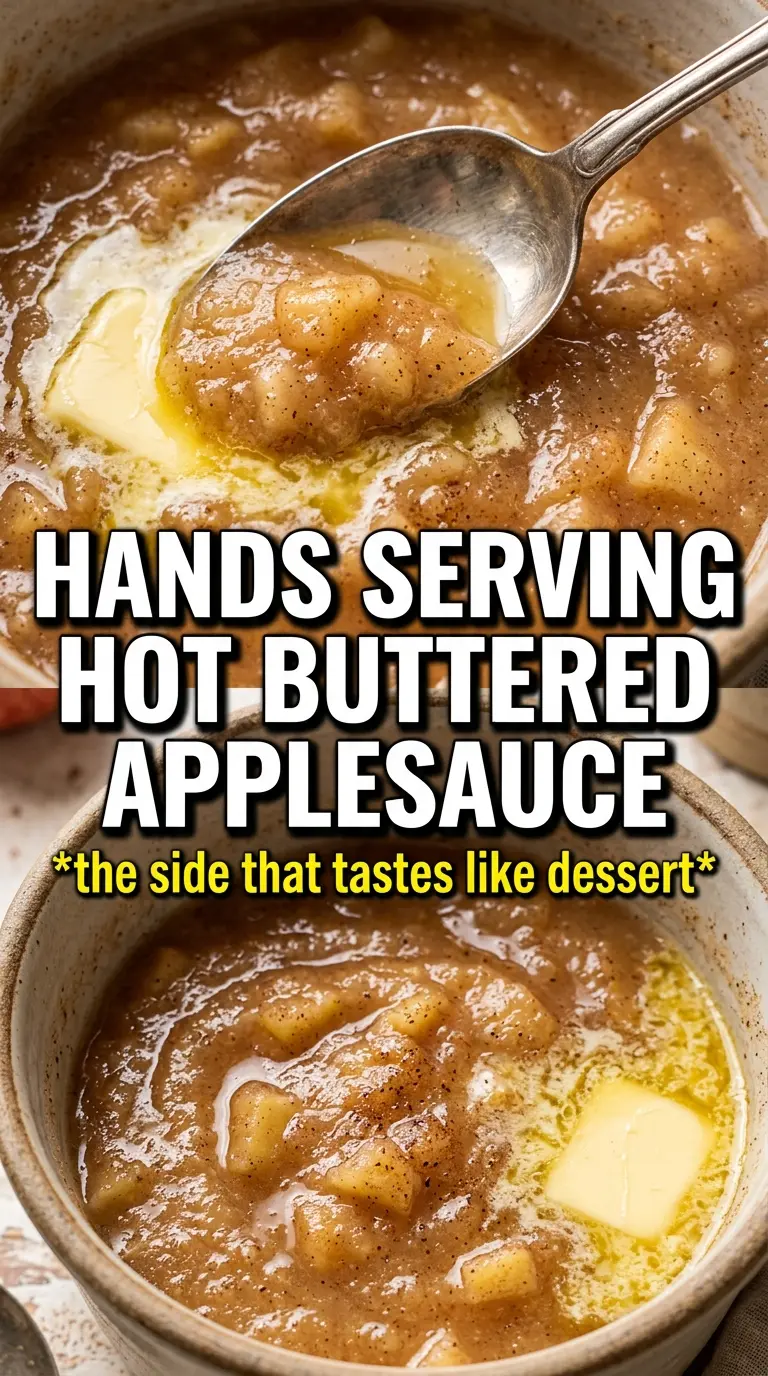
Hot buttered applesauce lands somewhere between a side dish and a small comfort ritual. The apples turn soft and fragrant, the butter adds a round, almost caramel note, and the cinnamon and nutmeg give it that warm bakery smell before it even hits the bowl. Served warm, it tastes fuller and more layered than the jarred version most of us grew up with.
The part that makes this version stand out is the browned butter. Letting the butter just start to toast before the apples go in gives the sauce a deeper flavor without making it heavy. A splash of cider or apple juice keeps the apples from sticking while they soften, and a little brown sugar or maple syrup brings the sweetness up only after the fruit has had a chance to cook down on its own.
Below, I’ve included the texture cues I watch for when the apples are ready, plus a few smart swaps if you want to lean sweeter, make it dairy-free, or keep it chunkier for serving with pork or roasted chicken.
The butter browned beautifully and the apples cooked down into the smoothest, silkiest sauce. I loved that the cinnamon and nutmeg stayed balanced instead of taking over.
Save this hot buttered applesauce for the days when you want something silky, warmly spiced, and finished with that melty brown butter spooned right on top.
The Browning Step That Gives This Applesauce Its Depth
The mistake most people make with homemade applesauce is treating every part of the cook the same. If you add the butter and apples too late, you lose the nutty edge that makes this version taste fuller. If you wait until the butter is deeply browned, it goes from fragrant to bitter fast. The sweet spot is just as the foam starts to settle and the milk solids at the bottom turn golden and smell like toasted nuts.
Adding the apples right away stops the butter from racing past that point. The fruit cools the pan a little, and that gives you time to build flavor instead of burning it. From there, the cover-and-simmer stage does the quiet work: the apples collapse, the liquid loosens the pan, and the spices bloom into the sauce instead of sitting on top of it.
- Butter — Unsalted butter gives you control over the final seasoning. If you only have salted butter, use it and cut back the added salt slightly. The browning step matters here; it’s what gives the applesauce that warm, nutty finish.
- Apples — Honeycrisp, Fuji, and McIntosh all break down well, but they break down differently. Honeycrisp keeps a little structure, McIntosh gets softer and faster, and Fuji lands in the middle. For a smoother sauce, use a more tender apple or cook a few extra minutes.
- Apple cider or apple juice — This isn’t just liquid. It helps the apples steam and adds back the apple flavor you’d lose as they cook. Cider tastes a little deeper and less sweet; juice works fine if that’s what you have.
- Brown sugar or maple syrup — Use brown sugar for a rounder, more classic sweetness, or maple syrup if you want a softer finish with a little woodsy note. Don’t add much more than listed until the apples are fully tender, because the fruit’s sweetness changes a lot as it cooks.
- Nutmeg — Freshly grated nutmeg gives this sauce a brighter, warmer spice than pre-ground. You only need a little, and that small amount disappears into the background in the best way.
What Each Ingredient Is Actually Doing in This Recipe
- Primary ingredient (the star) — Quality matters most. Choose the best you can find.
- Cooking medium (oil, butter, or broth) — This carries flavors and prevents dryness.
- Seasonings (salt, pepper, spices, herbs) — Layer flavors so nothing overpowers. Build depth gradually.
- Aromatics (garlic, onion, herbs) — Cook with fat to bloom flavors. Become the foundation.
- Supporting ingredients — Complement the main ingredient without overpowering it.
- Sauce or liquid (if applicable) — Brings flavors together. Balance richness with acid.
- Acid (lemon, vinegar, wine, or other) — Brightens and prevents flat-tasting results.
- Final finish (garnish, glaze, or sauce) — Prevents one-dimensional taste and adds visual appeal.
How To Cook The Apples Down Without Losing The Butter
Starting the Brown Butter Base
Melt the butter in a large saucepan over medium heat and watch the color, not the clock. You want it just beginning to brown at the edges before the apples go in, with a toasted smell and tiny amber flecks at the bottom. If the butter is smoking, the pan is too hot and the flavor will go sharp instead of nutty. Add the apples immediately so the residual heat stops the browning before it crosses the line.
Softening The Apples Under A Lid
Once the cider, sugar, cinnamon, nutmeg, and salt go in, cover the pan and keep the heat at a steady simmer. You’re waiting for the apples to lose their shape and turn completely soft enough to mash with almost no resistance. If the liquid disappears too quickly, lower the heat; if it’s still noisy and sputtering hard, the pan is too hot and the fruit on the bottom can scorch before the top is done.
Choosing The Texture At The End
Mash the apples while they’re hot, because they break down more cleanly and evenly that way. For chunky applesauce, stop as soon as you like the look of it. For smooth applesauce, use an immersion blender and pulse in short bursts so you don’t make it gluey. Stir in the vanilla after the heat is off or very low, since it tastes brighter that way and doesn’t cook off.
Make It More Tangy
Use a tart apple like Granny Smith with one sweeter variety to keep the flavor balanced. The result is brighter and less dessert-like, which works especially well if you’re serving the applesauce with pork or turkey.
Maple-Sweetened Version
Swap the brown sugar for maple syrup and keep the amount the same. The sauce turns a little softer and more rounded, with a subtle maple note that sits nicely under the cinnamon and nutmeg.
Dairy-Free Applesauce
Use plant-based butter with a neutral flavor. You’ll lose a little of the browned-butter depth, but you’ll still get a rich, smooth sauce if you let the substitute cook until it smells lightly toasted before adding the apples.
Storage and Reheating
- Refrigerator: Store in an airtight container for up to 5 days. The sauce may thicken as it chills.
- Freezer: It freezes well for up to 3 months. Cool completely first and leave a little space at the top of the container because it expands slightly as it freezes.
- Reheating: Warm gently on the stove over low heat or in the microwave in short bursts, stirring in between. If it seems too thick after chilling, add a spoonful of water or cider instead of blasting it with heat, which can make the texture uneven.
Questions I Get Asked About This Recipe
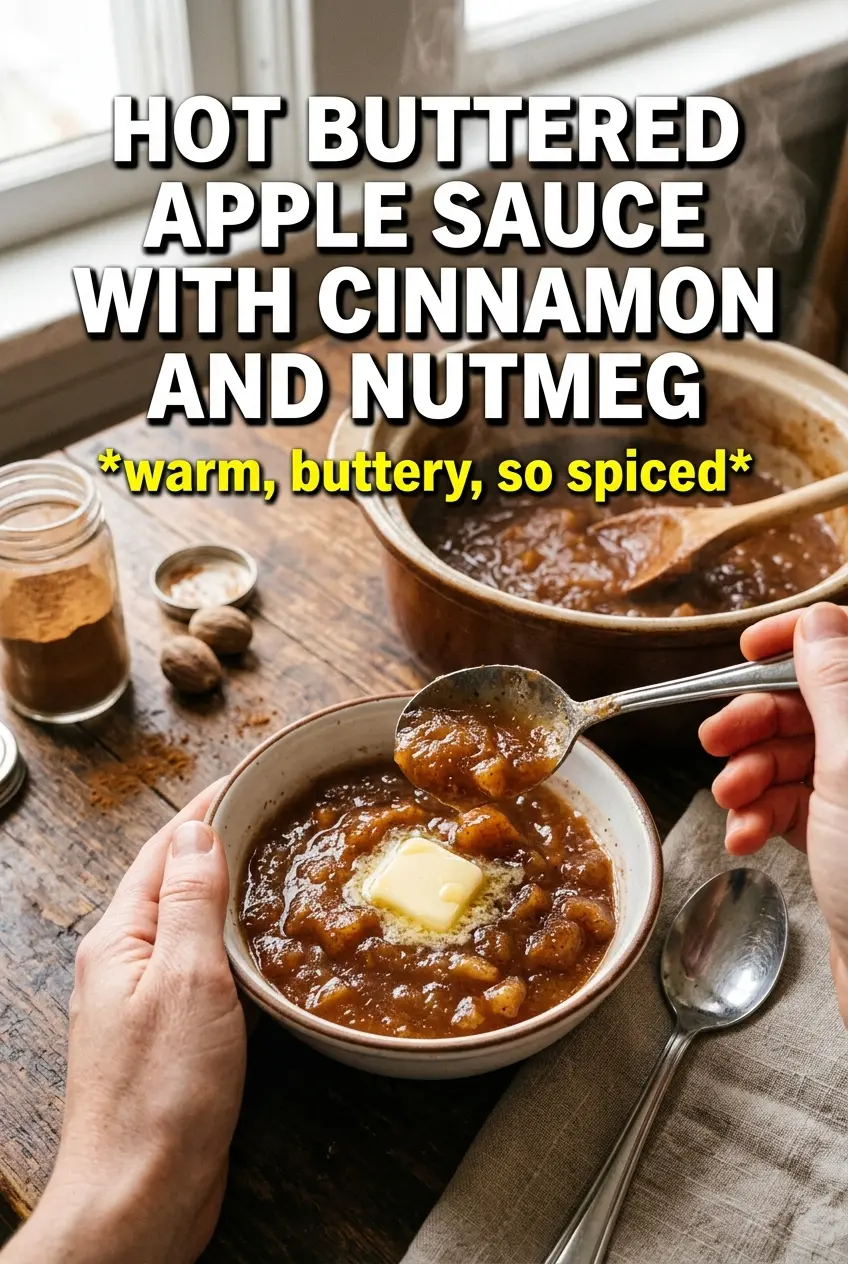
Hot Buttered Apple Sauce With Cinnamon And Nutmeg
Ingredients
Equipment
Method
- Melt the butter in a large saucepan over medium heat until it is just starting to brown, then add the chopped apples immediately so they coat in the warm butter.
- Cook for 3-4 minutes, stirring occasionally, until the apples begin to soften and smell fragrant.
- Add the apple cider (or apple juice), brown sugar (or maple syrup), cinnamon, nutmeg, and salt, then stir to combine.
- Cover and simmer at a gentle simmer for 20-25 minutes, until the apples are completely soft and easily mashed.
- Mash the apples to your desired texture, keeping it chunky or working toward a smoother consistency.
- If you want smooth applesauce, blend it with an immersion blender until silky.
- Stir in the vanilla extract, taste, and adjust sweetness to your preference.
- Serve warm with an extra pat of brown butter and a dusting of cinnamon on top.