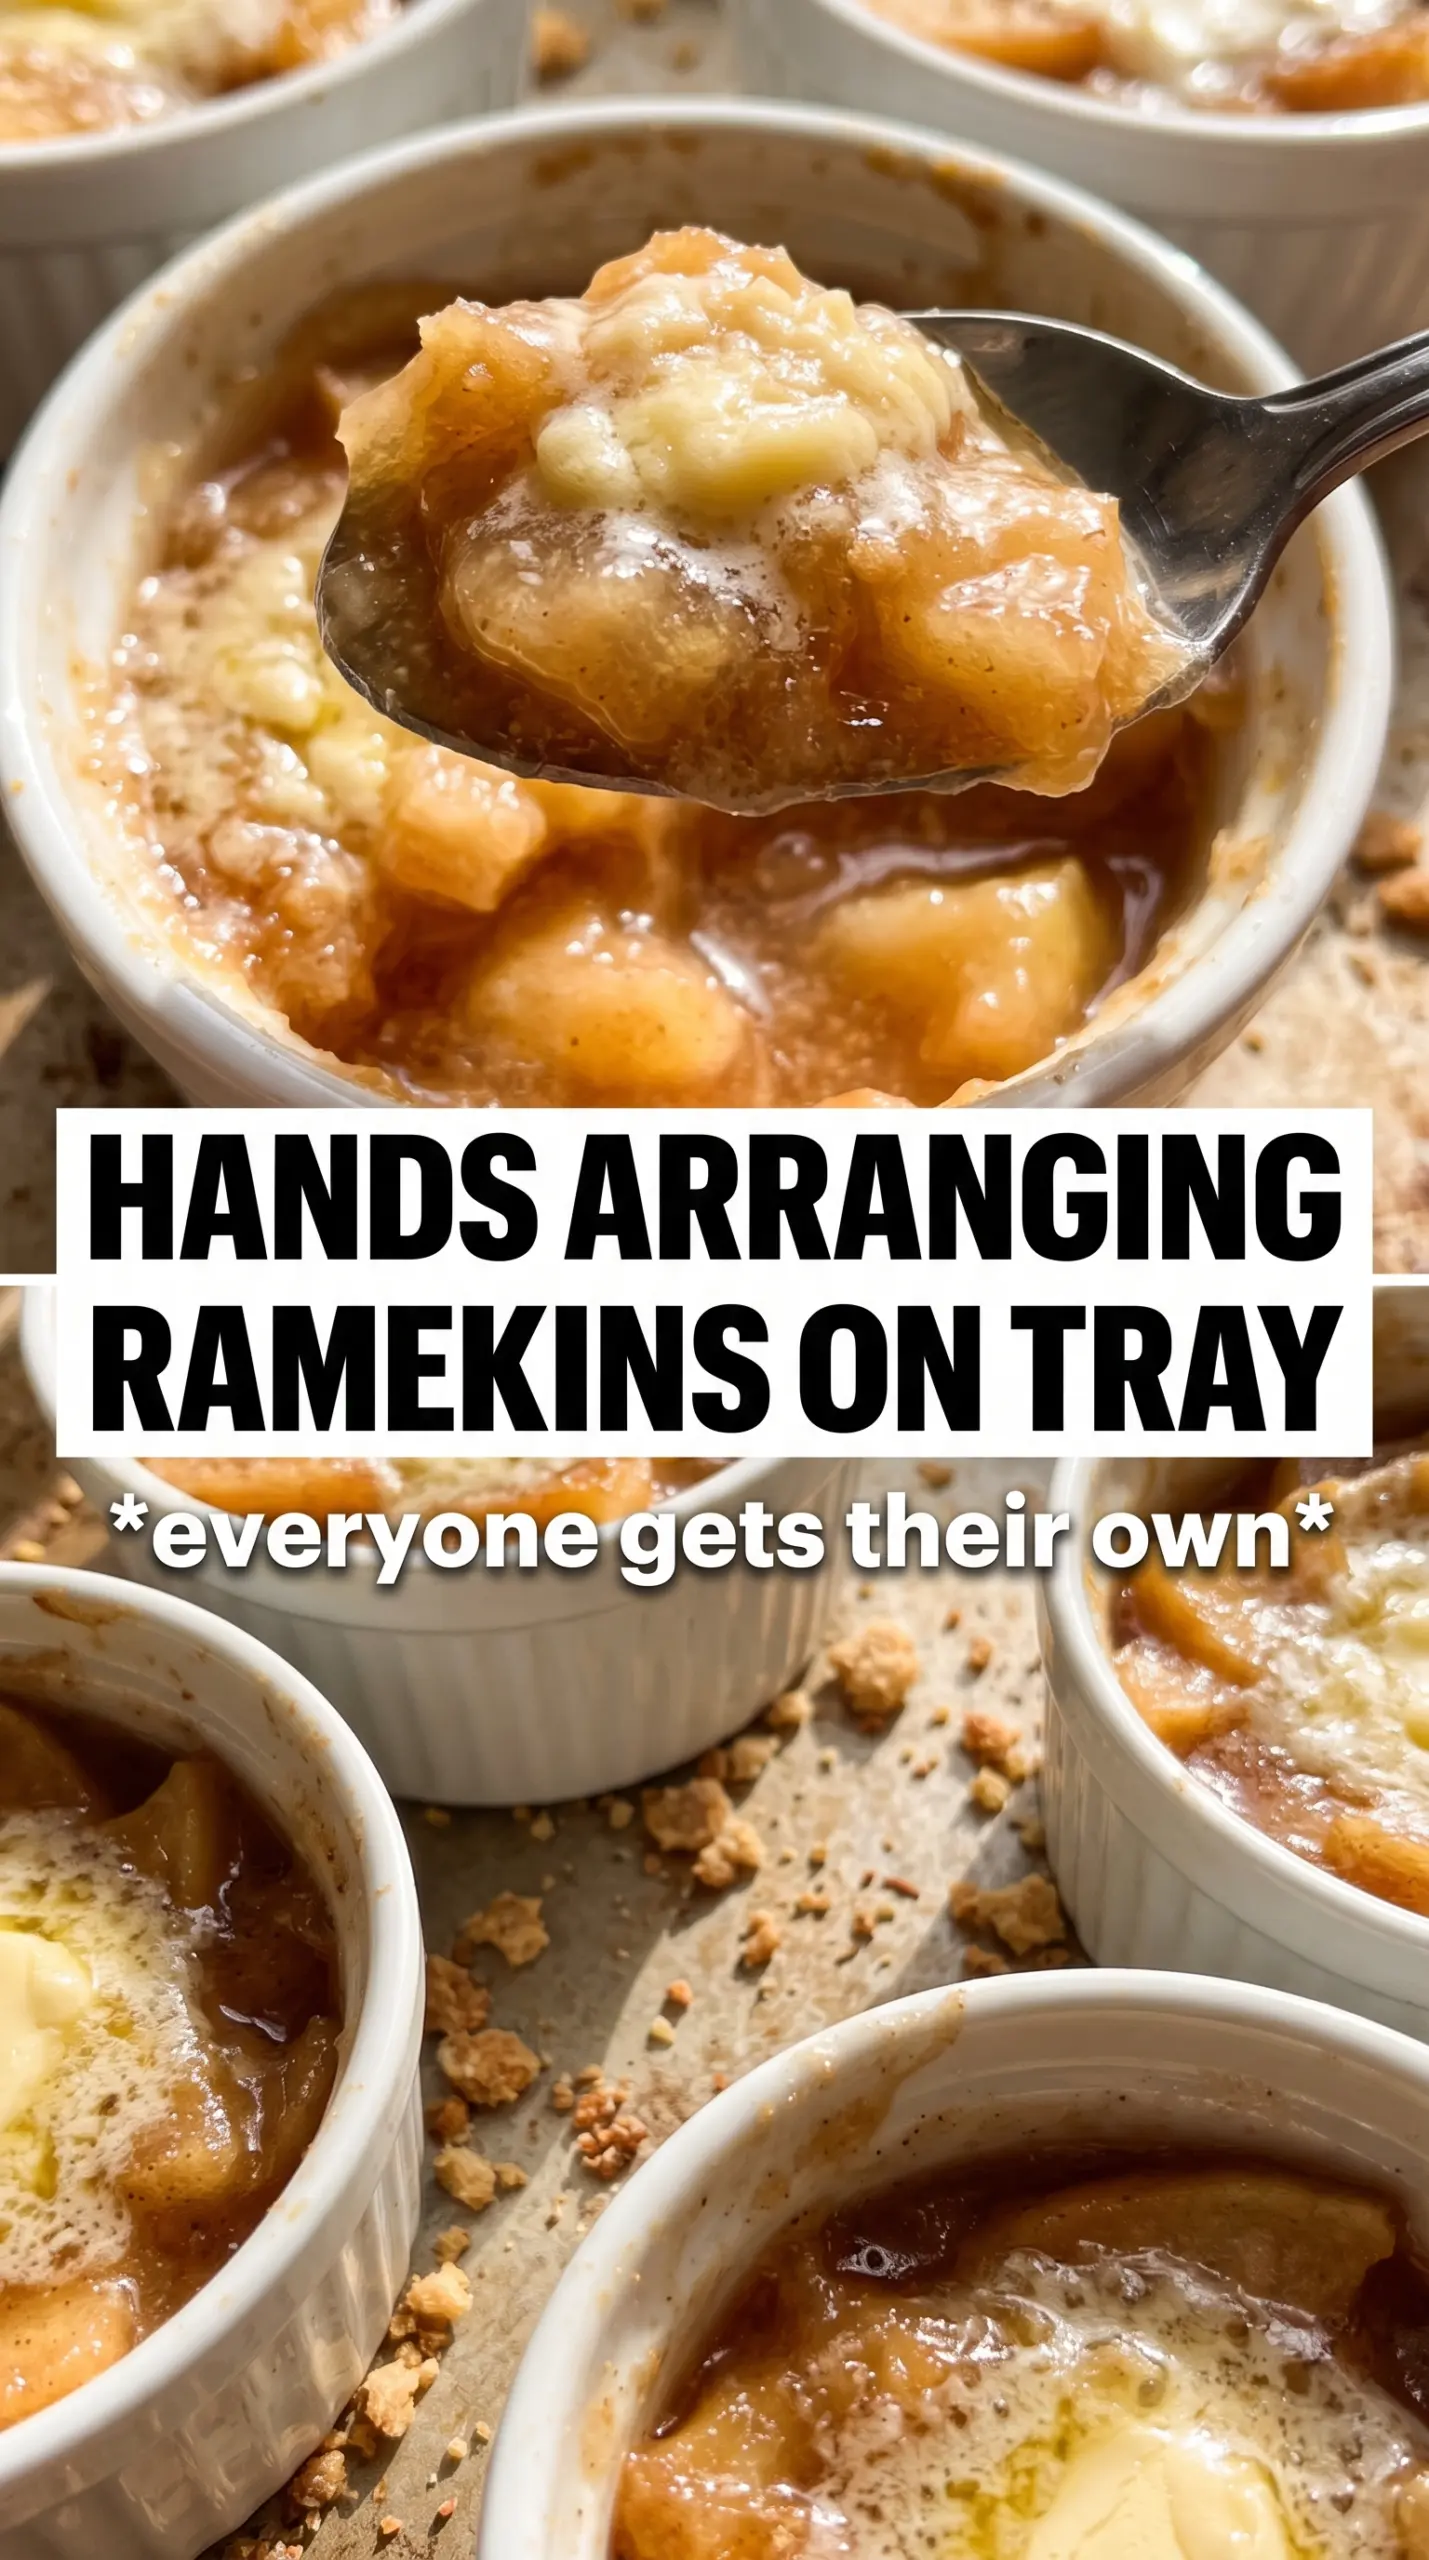
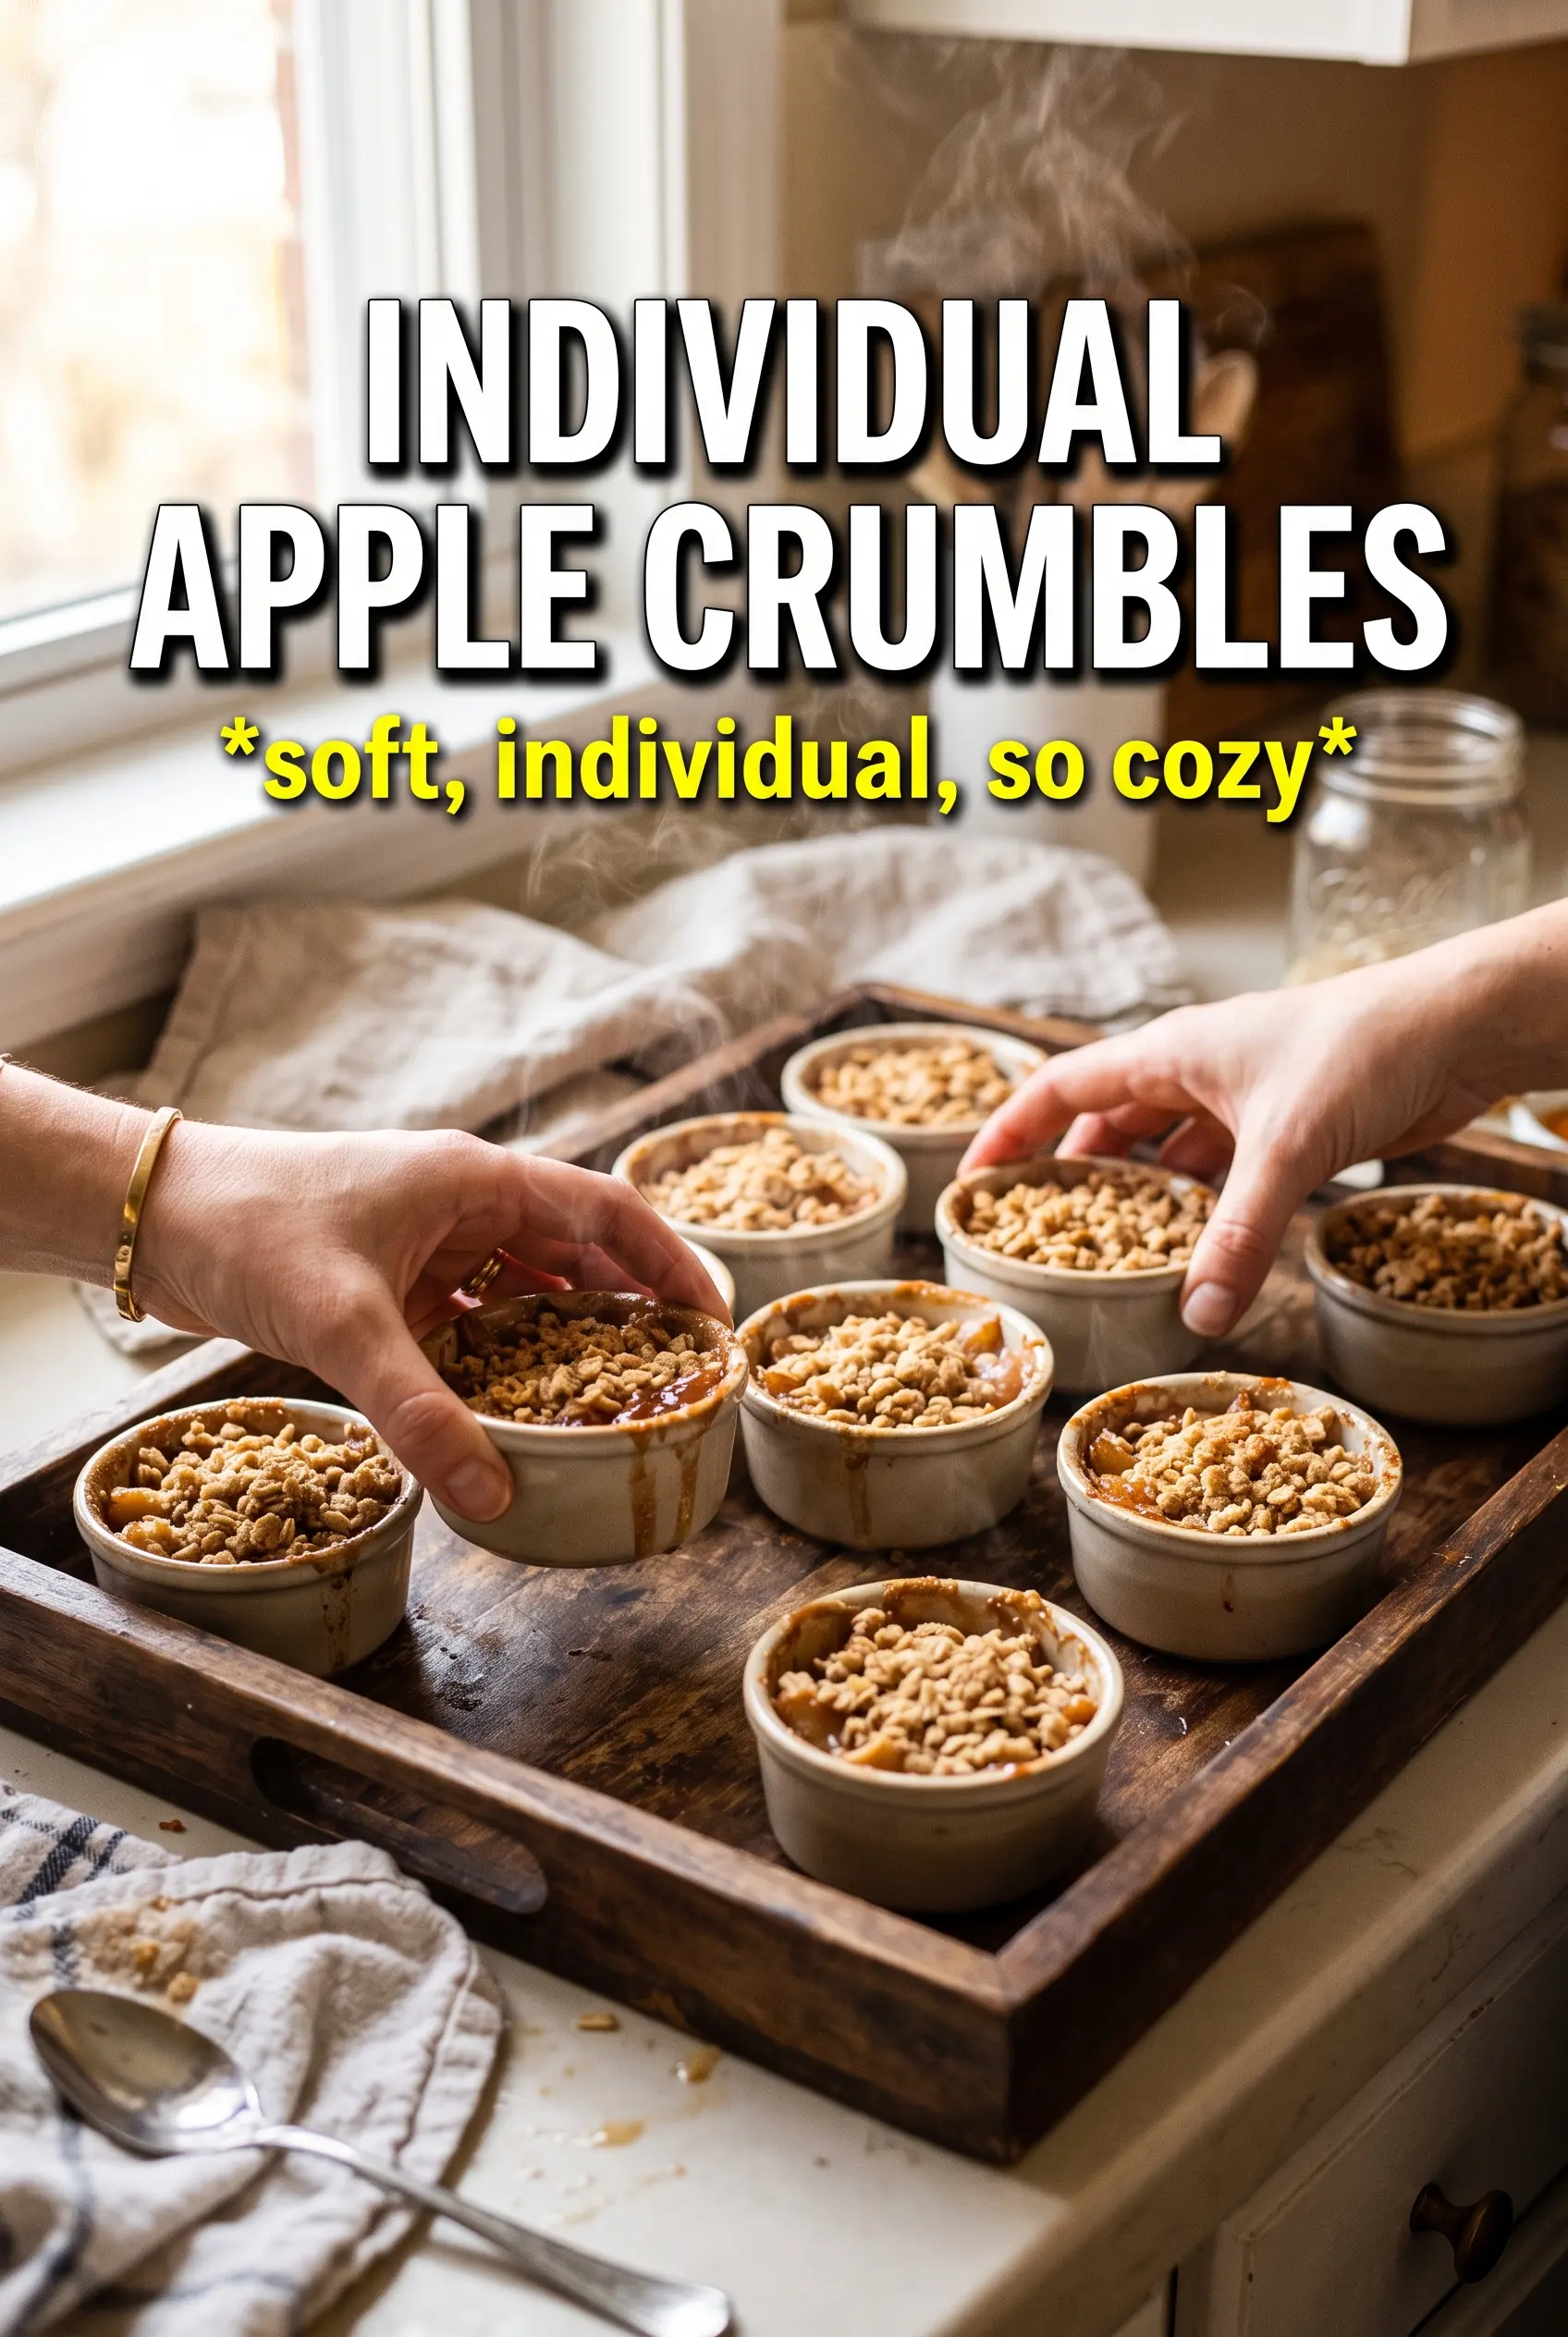
Individual apple crumbles bake into their own little dessert, with tender cinnamon apples bubbling up under a crisp oat topping that turns deeply golden at the edges. Serving them in ramekins changes the whole experience: every portion gets its own ratio of soft fruit to crunchy topping, and there’s no fighting over the corner pieces because every spoonful tastes like a corner piece.
The trick here is cooking the apples just enough before they go into the oven. That quick skillet step keeps the filling thick and glossy instead of watery, which matters because a crumble topping can’t hide a loose filling. Cornstarch, lemon juice, and a brief stovetop cook give you that bakery-style consistency without needing a long bake that dries out the fruit.
Below, I’ll walk through the part that keeps the topping crisp, how to adjust the filling if your apples are extra juicy, and what to do if you want to prep these ahead for dessert later in the day.
The apple filling thickened up in the skillet exactly like you said, and the topping stayed crunchy even after I added ice cream. I used ramekins for the first time and loved that every serving had those caramelized edges.
Save these individual apple crumbles for the nights when you want warm baked apples with a crisp oat topping and melted vanilla ice cream.
The Shortcut That Keeps the Apples Thick, Not Watery
The most common mistake with apple crumbles is treating the filling like it can fix itself in the oven. It usually can’t. Apples release a lot of juice as they bake, and if that juice isn’t thickened first, the bottom turns soupy while the topping browns too fast. Cooking the apples with sugar, butter, cornstarch, and spices for just 5 to 7 minutes gives you a head start on a filling that sets up nicely in the ramekins.
This also lets you judge the texture before baking. You want the apples softened around the edges but still holding their shape, not collapsing into applesauce. The skillet should look glossy and slightly jammy when you divide it between the dishes. If it still looks loose and thin, give it another minute or two; the sauce should coat the fruit and leave a trail when you drag a spoon through it.
- Ramekins — Small individual dishes help the filling bubble up around the topping instead of steaming under one large layer. Use 6- to 8-ounce ramekins and set them on a baking sheet so they’re easier to move.
- Cornstarch — This is what turns the apple juices into a thick, spoonable filling. Flour works in a pinch, but it takes longer to cook out that raw taste and won’t thicken quite as cleanly.
- Butter in the filling — A tablespoon of butter rounds out the sharp edges of the apples and helps the sugars melt into a glossy base. Don’t skip it if you want that rich, bakery-style finish.
What Each Ingredient Is Actually Doing in the Crumble
The oat topping needs both flour and oats to get the right balance of structure and crunch. Oats bring the rustic, knobbly texture, while flour helps the topping hold together in chunky clumps instead of scattering into dry crumbs. Brown sugar is worth using here because it melts into a deeper, more caramel-like crust than white sugar does.
Cold butter matters more than almost anything else in the topping. When you cut it into the dry ingredients while it’s still cold, it stays in little pockets that melt in the oven and leave you with crisp, craggy bits. If the butter softens too much before baking, the topping turns dense and pasty instead of crumbly. The easiest fix is to cube it first, then use your fingers or a pastry cutter until the mixture looks like uneven pebbles and clumps.
- Rolled oats — Old-fashioned oats give the topping bite and texture. Quick oats will work, but the crumble will be finer and less rustic.
- Brown sugar — Packed brown sugar brings moisture and caramel notes that help the topping brown. Light or dark both work; dark brown sugar gives you a deeper molasses flavor.
- Cold unsalted butter — Unsalted butter gives you control over the salt level and cold cubes keep the topping tender. If you only have salted butter, reduce the added salt a bit and keep everything chilled until the topping is in the oven.
From Skillet to Ramekins Without Losing the Crumble
Cooking the Apples Just Until They Start to Soften
Set the skillet over medium heat and let the apples cook with the butter, sugar, spices, cornstarch, and lemon juice until the juices thicken and the apples look slightly softened at the edges. You’re not trying to fully cook them here. If they break down too far, they’ll turn mushy after baking. The filling should look glossy and thick enough to mound into the ramekins without pooling at the bottom.
Building the Topping in Uneven Clumps
Mix the oats, flour, brown sugar, cinnamon, and salt first, then cut in the cold butter until you have a mix of sandy bits and chunky clumps. Those uneven pieces are what make the topping interesting once it bakes. If the mixture looks powdery, add a little more working time with your fingers. If it starts looking greasy or paste-like, the butter is too warm and the topping won’t crisp properly.
Baking Until the Edges Caramelize
Spoon the filling into the ramekins, pile the crumble over the top, and bake them on a sheet pan until the topping is deep golden and the filling is bubbling at the edges. That bubbling is the signal that the cornstarch has fully thickened the juices. If the tops brown before the filling bubbles, loosely cover the ramekins with foil for the last few minutes and let the center finish cooking underneath.
Make It Dairy-Free
Use a plant-based butter that’s meant for baking. The crumble will still brown and hold together, though it may taste a little less rich than the original. Keep the butter cold for the best texture, since dairy-free spreads can soften faster than regular butter.
Make It Gluten-Free
Swap the all-purpose flour for a 1:1 gluten-free baking blend and use certified gluten-free oats. The topping stays crisp and crumbly, but the texture may be a touch more delicate, so handle it gently when sprinkling it over the fruit.
Use Pears or a Mix of Fruit
Replace up to half the apples with peeled diced pears for a softer, more floral filling. Pears release more juice, so keep the cornstarch exactly as written and cook the filling until it thickens in the skillet. A handful of fresh cranberries also works if you want sharper contrast.
Storage and Reheating
- Refrigerator: Store covered for up to 4 days. The topping softens a little in the fridge, but the flavor stays good.
- Freezer: Freeze baked and cooled crumbles tightly wrapped for up to 2 months. Thaw in the refrigerator before reheating, or the centers can stay cold while the tops overbrown.
- Reheating: Warm in a 325°F oven until heated through and the topping crisps again, about 12 to 15 minutes. The microwave will soften the crumble, so use it only if you don’t mind losing the crunch.
Questions I Get Asked About This Recipe
Individual Apple Crumbles
Ingredients
Equipment
Method
- Preheat oven to 375F and grease 6 individual ramekins (6-8 oz each). Arrange ramekins on a baking sheet for easy filling.
- In a skillet over medium heat, cook diced apples with unsalted butter, granulated sugar, cinnamon, nutmeg, cornstarch, and lemon juice for 5-7 minutes, stirring until thickened. Divide the thickened apple filling among the ramekins.
- In a bowl, combine rolled oats, all-purpose flour, brown sugar, cinnamon, and salt. Cut in cold cubed unsalted butter until chunky clumps form.
- Top each ramekin generously with the oat crumble. Place the ramekins on a baking sheet.
- Bake at 375F for 25-30 minutes until the topping is golden and the filling bubbles. Let cool briefly so the crumble sets before serving.
- Serve the apple crumbles warm with vanilla ice cream. Let the ice cream melt over the hot filling for an extra creamy finish.