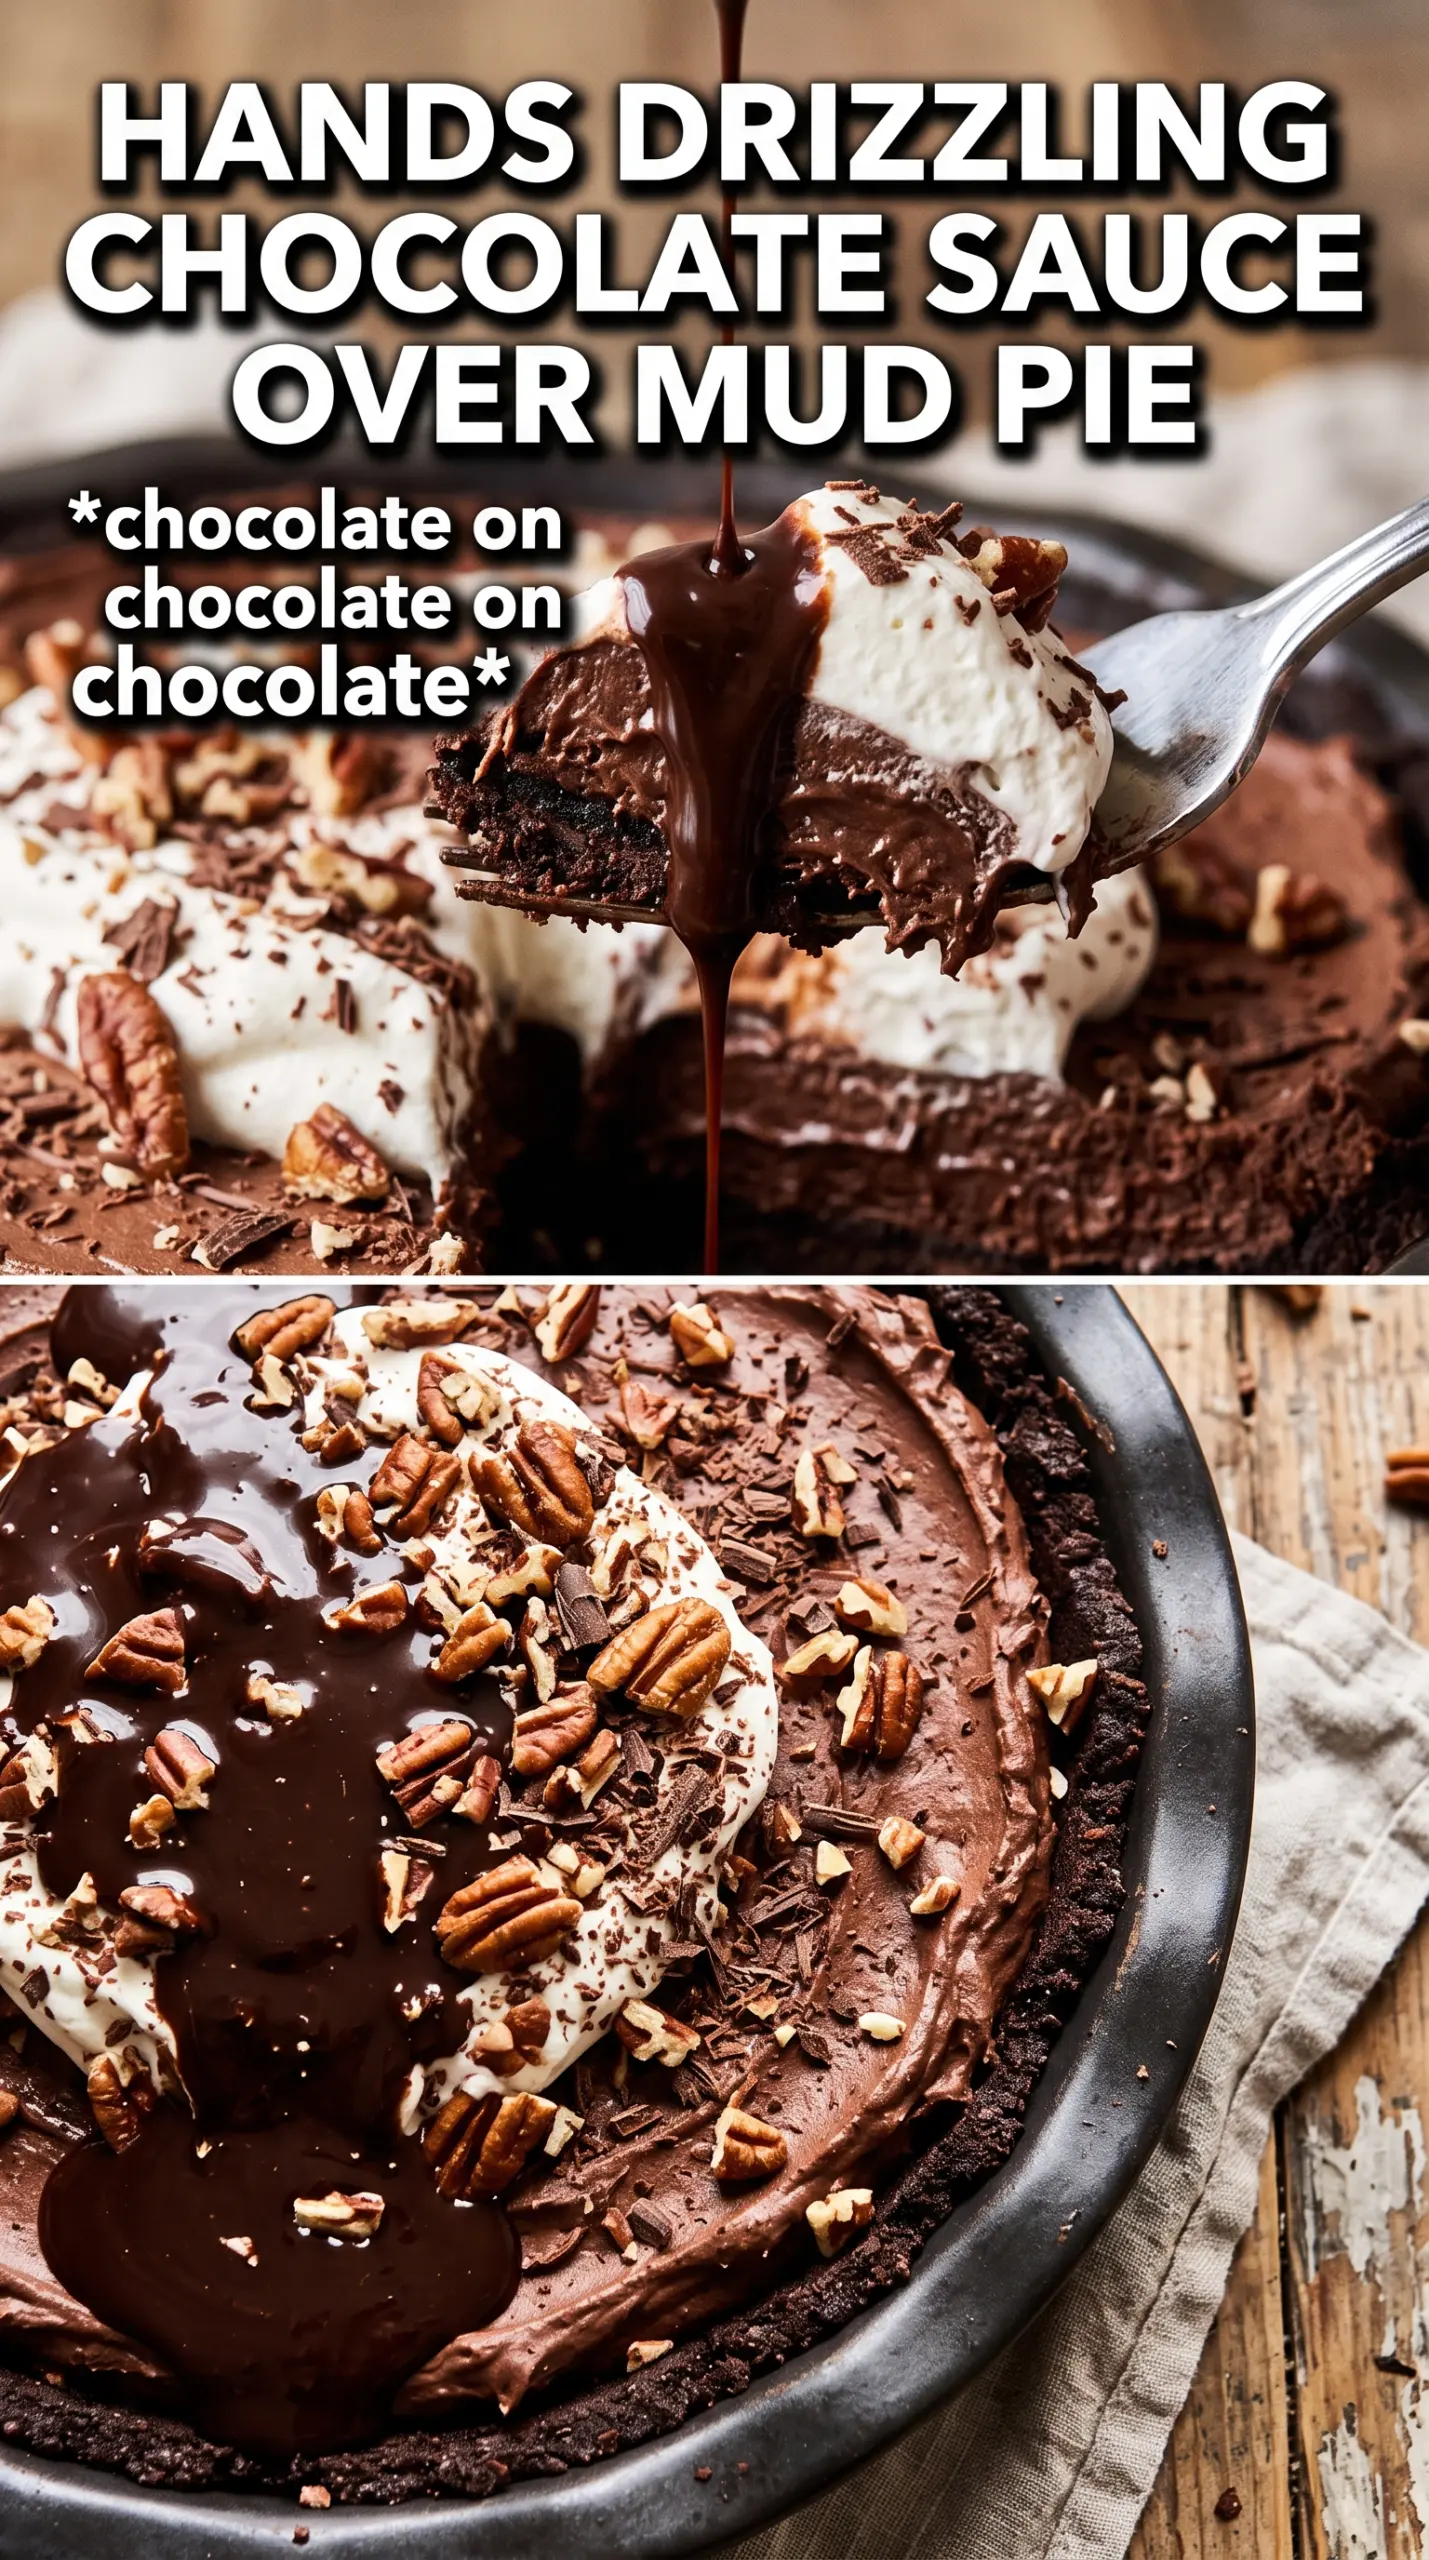
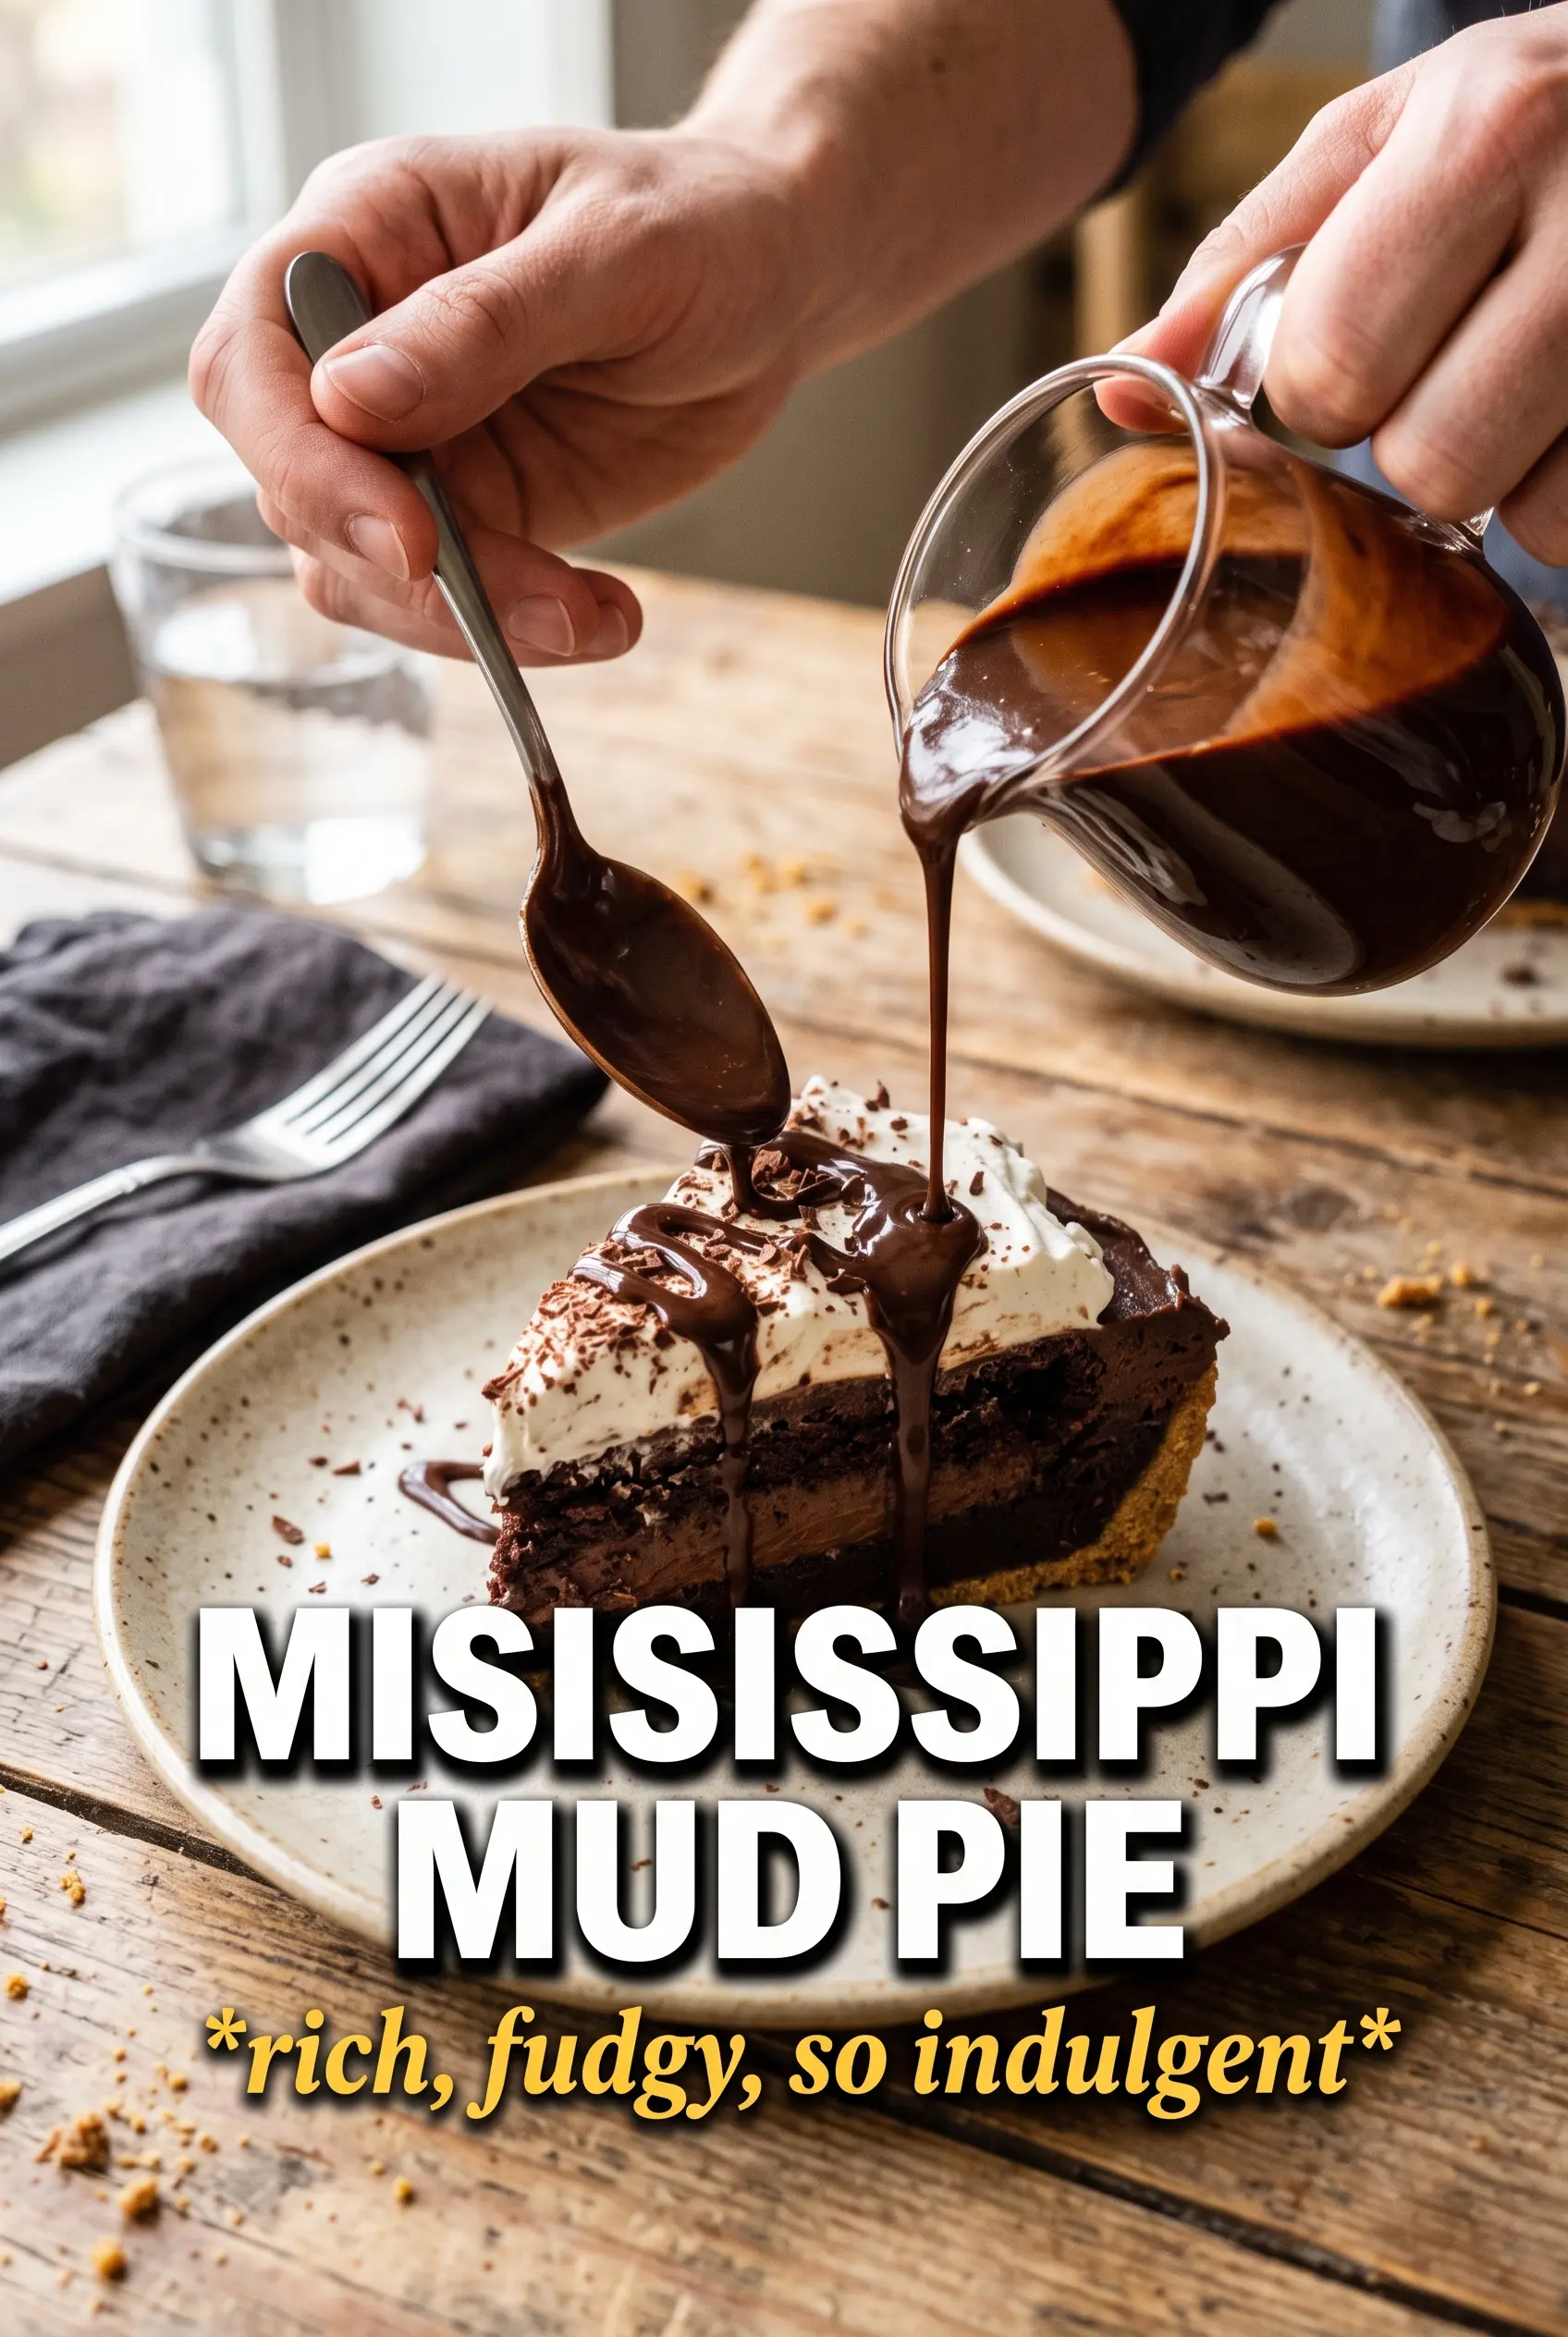
Mississippi mud pie lands with three distinct layers that each earn their place: a dense fudgy brownie base, a soft marshmallow middle, and a glossy chocolate frosting that sets into a sliceable finish. The contrast is the whole point. You get chewy edges, a pillowy top, and a rich chocolate layer that tastes like it belongs on a bakery counter, not a rushed weeknight shortcut.
What makes this version work is timing. The marshmallows go on while the brownies are still hot, so they melt just enough to turn plush without disappearing completely. The frosting is poured on warm, not scorching, which keeps it smooth and spreadable instead of grainy. Once chilled, the whole pan cuts cleanly, which matters when you want neat squares instead of a chocolate landslide.
Below, I’ll show you the exact point where the marshmallows should puff, how to keep the frosting glossy, and what to do if you want to swap the nuts or skip them altogether.
The brownies baked up fudgy instead of cakey, and the marshmallow layer melted into the frosting in the best way. I chilled it overnight and the squares cut cleanly with no mess at all.
Save this Mississippi Mud Pie for the kind of dessert that slices cleanly, chills into three perfect layers, and brings a fudgy chocolate bite every time.
The Trick to Keeping the Brownie Base Fudgy Under the Marshmallows
The brownie layer has to stop short of fully dry, because it keeps cooking once the marshmallows go on. If you bake it until it looks completely done in the center, the finished dessert turns dry under the topping. Pull it when the center is set but still soft enough that a toothpick comes out with thick crumbs, not wet batter.
The other place people lose this dessert is cooling too long before the marshmallows go on. They need the heat from the brownies to melt and puff, so scatter them over immediately after the pan comes out of the oven. That short second bake is just long enough to soften the centers and toast the tops.
What Each Ingredient Is Actually Doing in This Pie
- Butter — The butter in both the brownie base and the frosting brings richness and keeps the texture soft instead of dry. For the best result, use unsalted butter so you control the salt level in both layers.
- Cocoa powder — Cocoa does the heavy lifting on flavor here, so use a good natural cocoa if you can. Dutch-process will make the flavor a little darker and smoother, but the recipe still works either way.
- Mini marshmallows — Mini marshmallows melt evenly and create that soft, stretchy middle layer. Large marshmallows leave gaps and melt unevenly, so they are not the same swap.
- Powdered sugar — This thickens the frosting fast and gives it that glossy, pourable finish once the butter, cocoa, and milk come together. If you cut the sugar, the topping stays loose and won’t set as neatly.
- Walnuts or pecans — The nuts are there for crunch and a little bitterness against all the sweet layers. Pecans taste softer and more buttery; walnuts give a more classic old-school mud pie bite.
Building the Layers Before the Frosting Sets
Mixing the Brownie Batter
Melt the butter first, then whisk in the sugar, eggs, and vanilla until the mixture looks glossy and thickened. That shine tells you the sugar has started dissolving and the brownies will bake up dense instead of crumbly. Fold in the flour, cocoa, and salt just until the streaks disappear. If you beat it hard at this point, you’ll lose the fudgy texture and end up with something closer to cake.
Baking to the Right Point
Spread the batter evenly in a greased 9×13 pan and bake at 350°F until the center is set and the edges look firm. The middle should still have a slight softness; that carryover heat finishes the job. If the top looks dry and cracked all over, it has likely gone too far for the marshmallow layer to soften properly.
Melting the Marshmallow Layer
Scatter the mini marshmallows over the hot brownies the second they come out of the oven. Slide the pan back in just long enough for them to puff and lose their hard edges, about 3 to 4 minutes. Watch them closely. Once they look swollen and glossy, pull the pan out. If they brown too deeply, they’ll get sticky in a way that makes the topping hard to spread.
Finishing with the Warm Frosting
Melt the butter for the frosting, whisk in the cocoa and milk, then take the pan off the heat before adding the powdered sugar and vanilla. That off-heat step keeps the sugar smooth instead of gritty. Pour the frosting over the marshmallows while it’s still warm and fluid, then scatter the nuts across the surface so they stay put. Chill the pie for at least 2 hours before cutting so the layers set cleanly.
How to Adapt Mississippi Mud Pie Without Losing the Good Parts
Gluten-Free Version
Swap the flour for a 1:1 gluten-free baking blend that includes xanthan gum. The brownie base will still bake up fudgy, but don’t expect quite the same chew as the original. Stir gently and keep the bake time the same, then check for a set center rather than relying on the clock alone.
Nut-Free Finish
Leave the walnuts or pecans off entirely, or replace them with toasted coconut if you still want some texture. The pie will be a little sweeter without the nutty edge, so that toasted coconut works well because it adds crunch without making the dessert heavier.
Dairy-Free Version
Use plant-based butter and a dairy-free milk that has some body, like oat milk. The frosting won’t set quite as firmly as the original, so give it the full chill time before slicing. The flavor stays close, but the finish will be a little softer at room temperature.
Storage and Reheating
- Refrigerator: Store covered for up to 5 days. The marshmallow layer will stay soft, but the frosting firms up in a good way.
- Freezer: It freezes well in tightly wrapped slices for up to 2 months. Thaw in the refrigerator so the topping doesn’t sweat and turn sticky.
- Reheating: Serve chilled or let slices sit at room temperature for 15 to 20 minutes. Don’t microwave the whole slice unless you want the marshmallow and frosting to slump.
Answers to the Questions Worth Asking
Mississippi Mud Pie
Ingredients
Equipment
Method
- Preheat oven to 350F and grease a 9x13 pan so the brownie releases cleanly.
- Melt the unsalted butter and whisk in the sugar, then whisk in the eggs and vanilla until glossy and smooth.
- Fold in the flour, cocoa, and salt just until the batter is combined with no dry streaks.
- Bake 25-28 minutes at 350F until the brownie is set around the edges but still fudgy in the center (a toothpick should come out with moist crumbs).
- Immediately scatter the mini marshmallows over the hot brownies so they start melting right away.
- Return to the oven for 3-4 minutes at 350F until the marshmallows puff and turn lightly golden on top.
- Melt the unsalted butter, then whisk in the cocoa powder and whole milk and remove from heat.
- Whisk in the powdered sugar and vanilla until the frosting is smooth and thick enough to pour.
- Pour the warm frosting over the marshmallow layer, covering it evenly for a glossy top.
- Scatter walnuts or pecans over the frosting and press them in lightly so they adhere.
- Refrigerate for 2 hours to set the frosting fully before cutting into squares.