Molasses cookies earn their place in the rotation because they hit that rare middle ground: crisp at the edges, chewy in the center, and deeply spiced without tasting heavy. The sugar coating crackles as they bake, then gives way to a soft, dark, almost sticky crumb that stays tender for days.
This version uses a full blend of warm spices plus a little black pepper, which doesn’t make the cookies spicy in a hot-sauce way. It sharpens the molasses and keeps the flavor from drifting flat. The short chill also matters. It gives the dough time to hydrate, which helps the cookies bake up thick with those classic crinkled tops instead of spreading into thin discs.
Below, I’ll walk through the two small details that make the biggest difference: how to know when to pull them from the oven, and how to keep the centers soft while the edges set properly.
The sugar coating turned into the prettiest crinkles, and the centers stayed soft even the next day. I pulled them right at 10 minutes, and that was the sweet spot.
Crinkled molasses cookies with crisp edges are worth saving for the nights you want a fast, spiced dessert that bakes up beautifully every time.
The Crinkle Top Depends on a Short Chill, Not a Long One
The biggest mistake with molasses cookies is overchilling or skipping the chill entirely. If the dough goes straight from bowl to oven, the cookies usually spread too fast before the sugars have a chance to settle. If it chills for hours, it can become too firm to scoop cleanly and the sugar coating doesn’t cling as evenly.
Thirty minutes is the sweet spot here. It firms the butter just enough to slow the spread, and it gives the flour time to absorb the molasses so the centers bake up chewy instead of loose. You’re looking for dough that’s scoopable but not sticky enough to smear all over your hands. That texture is what helps the tops split and crinkle instead of just doming smoothly.
- Butter temperature matters. Softened butter should yield to pressure, not look oily. If it’s too warm, the cookies flatten before the centers set.
- Molasses should be regular, not blackstrap. Blackstrap tastes bitter and can overpower the spices. Use standard molasses for the deep, rounded flavor these cookies need.
- The spice blend works as a unit. Cinnamon and ginger bring warmth, cloves and allspice add depth, and the black pepper quietly lifts the whole batch.
What Each Ingredient Is Actually Doing in These Cookies

- All-purpose flour — Gives the cookies enough structure to hold their crinkles without turning cakey. A lower-protein flour can make them softer, but it can also make the dough spread more.
- Baking soda — This is what helps the tops crack and the cookies spread just enough. Don’t swap it for baking powder; you won’t get the same chew or color.
- Molasses — This is the backbone of the recipe. It adds moisture, color, and that deep, almost caramel-like flavor you can’t fake with brown sugar alone.
- Brown sugar — Adds extra moisture and keeps the centers soft. Light brown sugar works fine; dark brown sugar gives a stronger molasses note, which some people love.
- Granulated sugar for rolling — The coarse outer coat turns into the crackled sparkle on top. If you skip the heavy roll, the cookies still taste good, but they won’t look the same.
The Mixing Order That Keeps the Cookies Soft Instead of Dry
Whisk the Dry Ingredients First
Start by whisking the flour, baking soda, spices, and salt until everything looks evenly mixed. This keeps little pockets of baking soda from sneaking into one cookie and leaving another flat or bitter. The spices should be distributed before any liquid goes in, because once molasses hits the bowl it becomes harder to smooth things out evenly.
Build the Base Until It Looks Fluffy
Beat the butter with both sugars until the mixture looks lighter and a little aerated, not just combined. That step traps air and helps the cookies bake with a softer middle. Then add the molasses, egg, and vanilla and mix until the batter looks glossy and thick. If the mixture looks slightly split at this point, don’t panic; it comes back together once the flour goes in.
Stop Mixing as Soon as the Flour Disappears
Fold in the dry ingredients just until no dry streaks remain. If you keep beating after that, the cookies get tougher and lose some of that soft chew. The dough should be dense and fragrant, with a slightly tacky feel that’s easy to scoop after chilling. Then refrigerate it for 30 minutes so the dough firms up enough to roll cleanly in sugar.
Bake Until the Tops Look Set but Not Finished
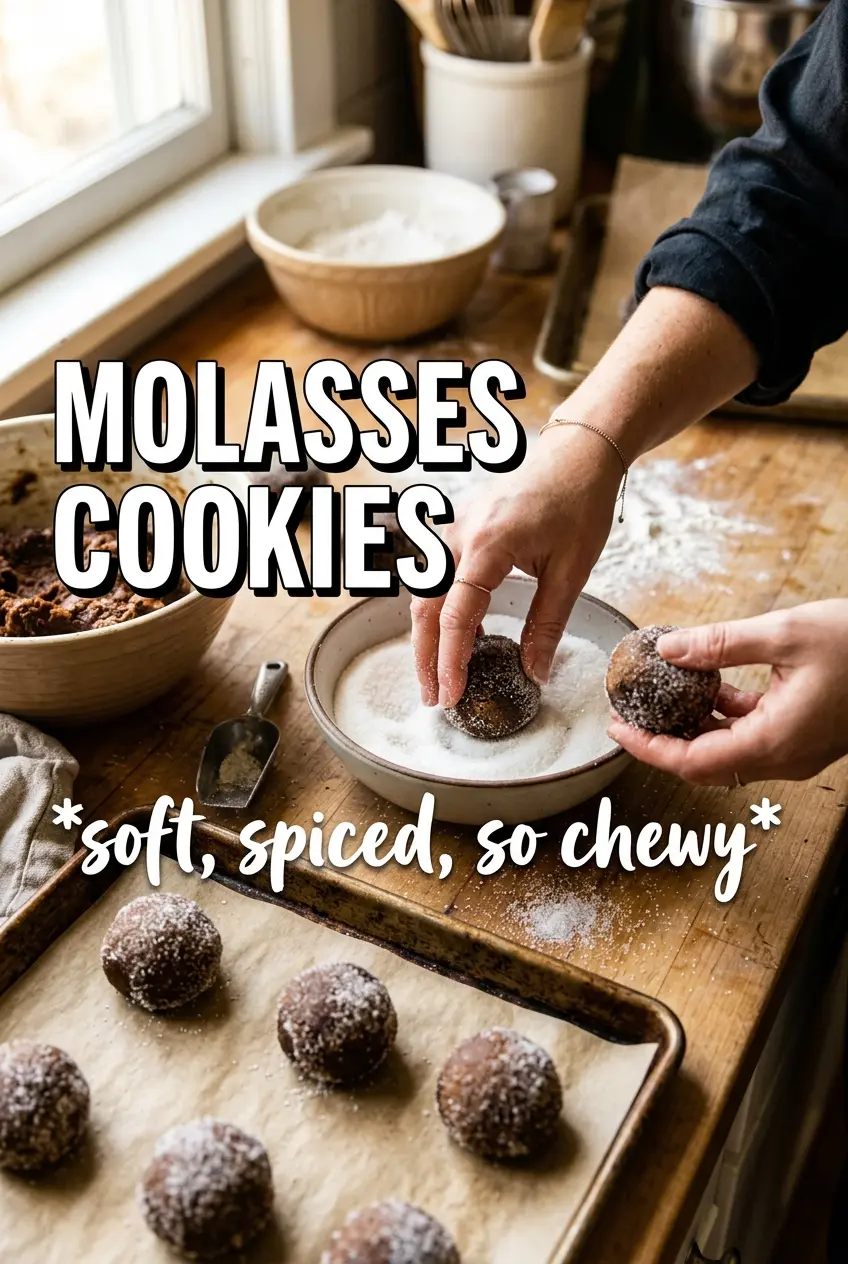
Roll each dough ball generously in sugar, then bake on parchment-lined sheets at 375°F. Pull them when the tops are crinkled and the centers still look a little underdone. That underbaked center is the whole trick: the cookies finish setting on the pan as they cool, which keeps them chewy instead of dry.
Use dark brown sugar for a deeper molasses note
Dark brown sugar pushes the cookies a little richer and darker, with a more pronounced caramel flavor. The texture stays the same, but the molasses flavor becomes more forward, which is great if you want a bolder cookie.
Make them gluten-free with a 1:1 baking blend
A good 1:1 gluten-free flour blend can work here because the cookies don’t rely on delicate structure. Expect a slightly softer, less chewy finish, and chill the dough fully so the cookies hold their shape in the oven.
Add a little orange zest for a brighter finish
A teaspoon of finely grated orange zest lifts the warm spices without changing the cookie’s texture. It works especially well if you like molasses cookies that taste a little lighter and more fragrant.
Storage and Reheating
- Refrigerator: Store in an airtight container for up to 5 days. The cookies stay soft, and the sugar coating may soften a bit on the outside.
- Freezer: Freeze baked cookies for up to 2 months, or freeze scooped dough balls and bake from frozen with 1 to 2 extra minutes.
- Reheating: Warm cookies in a 300°F oven for 3 to 5 minutes. The common mistake is using the microwave, which makes the centers gummy instead of restoring that chewy texture.
Questions I Get Asked About This Recipe
Molasses Cookies
Ingredients
Equipment
Method
- Whisk all-purpose flour, baking soda, cinnamon, ginger, cloves, allspice, black pepper, and salt until evenly combined, with no visible spice clumps.
- Beat unsalted butter, brown sugar, and granulated sugar until fluffy, about 2–3 minutes, then scrape the bowl.
- Beat in molasses, then add the egg and vanilla extract, mixing just until smooth.
- Fold the flour mixture into the wet ingredients until just combined, stopping as soon as no dry streaks remain.
- Refrigerate the dough for 30 minutes to firm it up for rolling.
- Preheat the oven to 375F and line baking sheets with parchment.
- Scoop dough into 1-1/2 tablespoon balls, then roll generously in granulated sugar so they look lightly sparkled on top.
- Bake for 9–11 minutes at 375F until the tops are crinkled and the centers look underdone.
- Cool on the pan for 5 minutes, so the cookies set and firm into a chewy center with crisp edges.