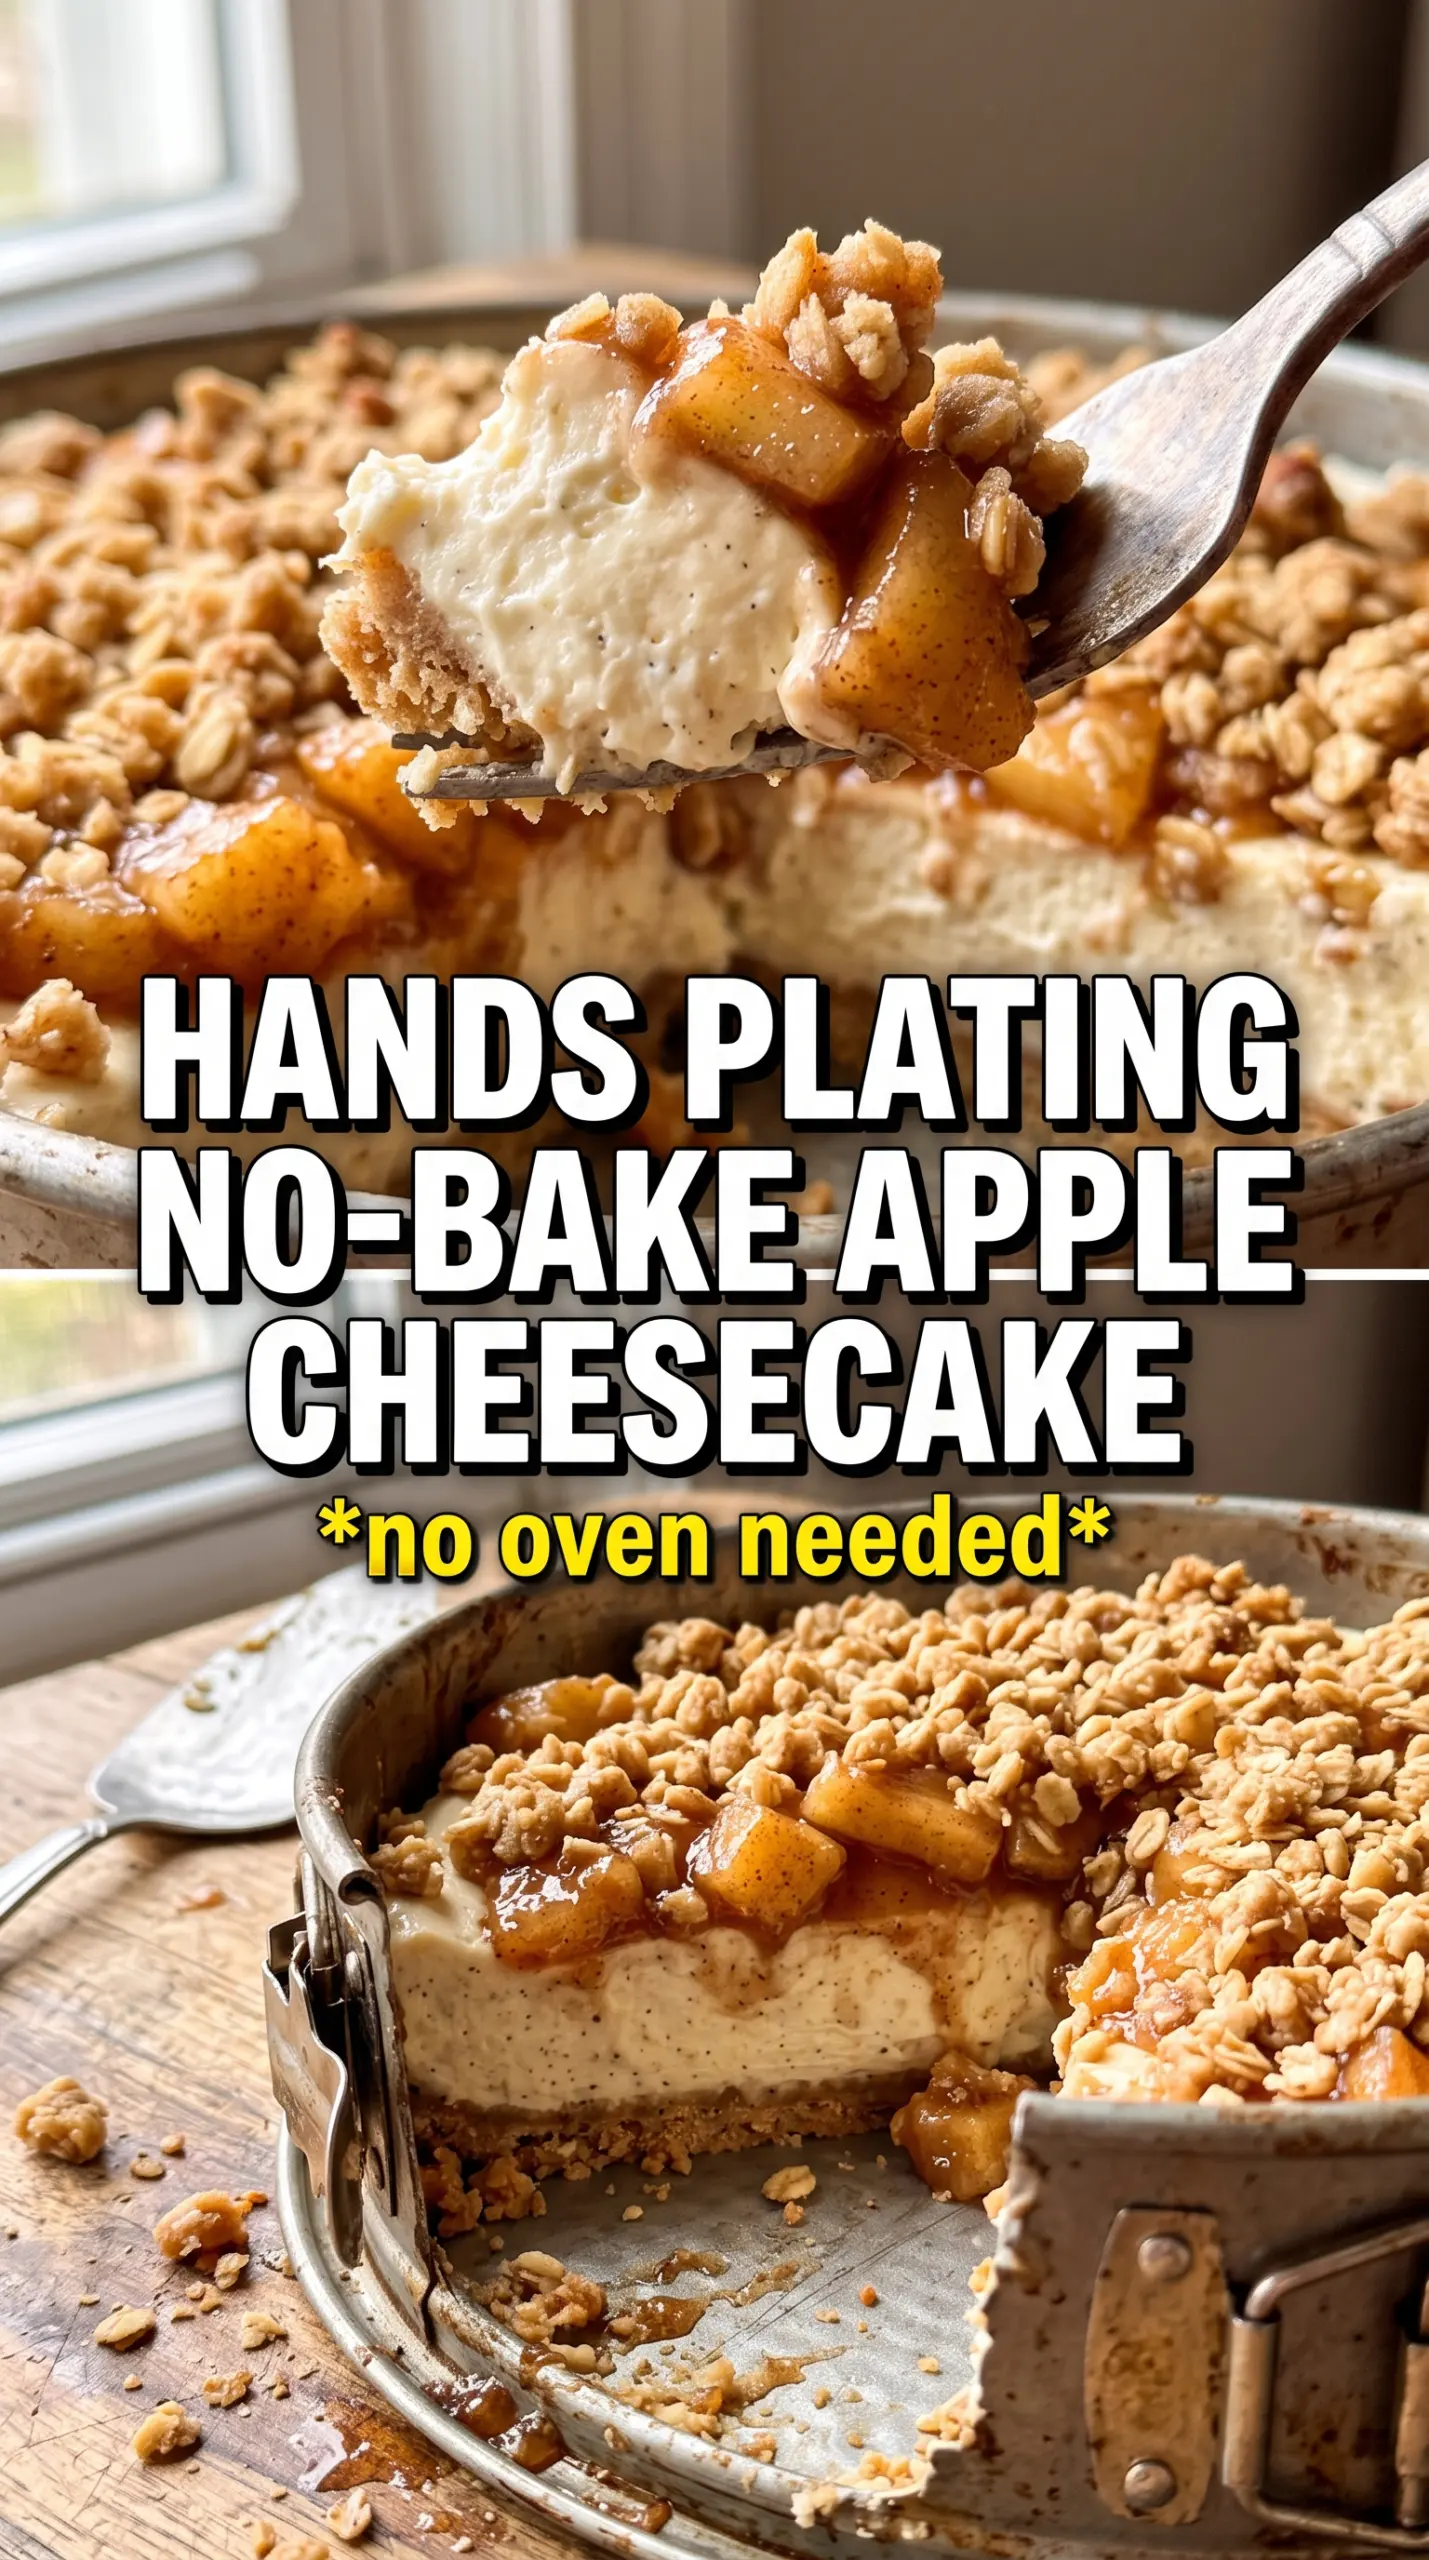
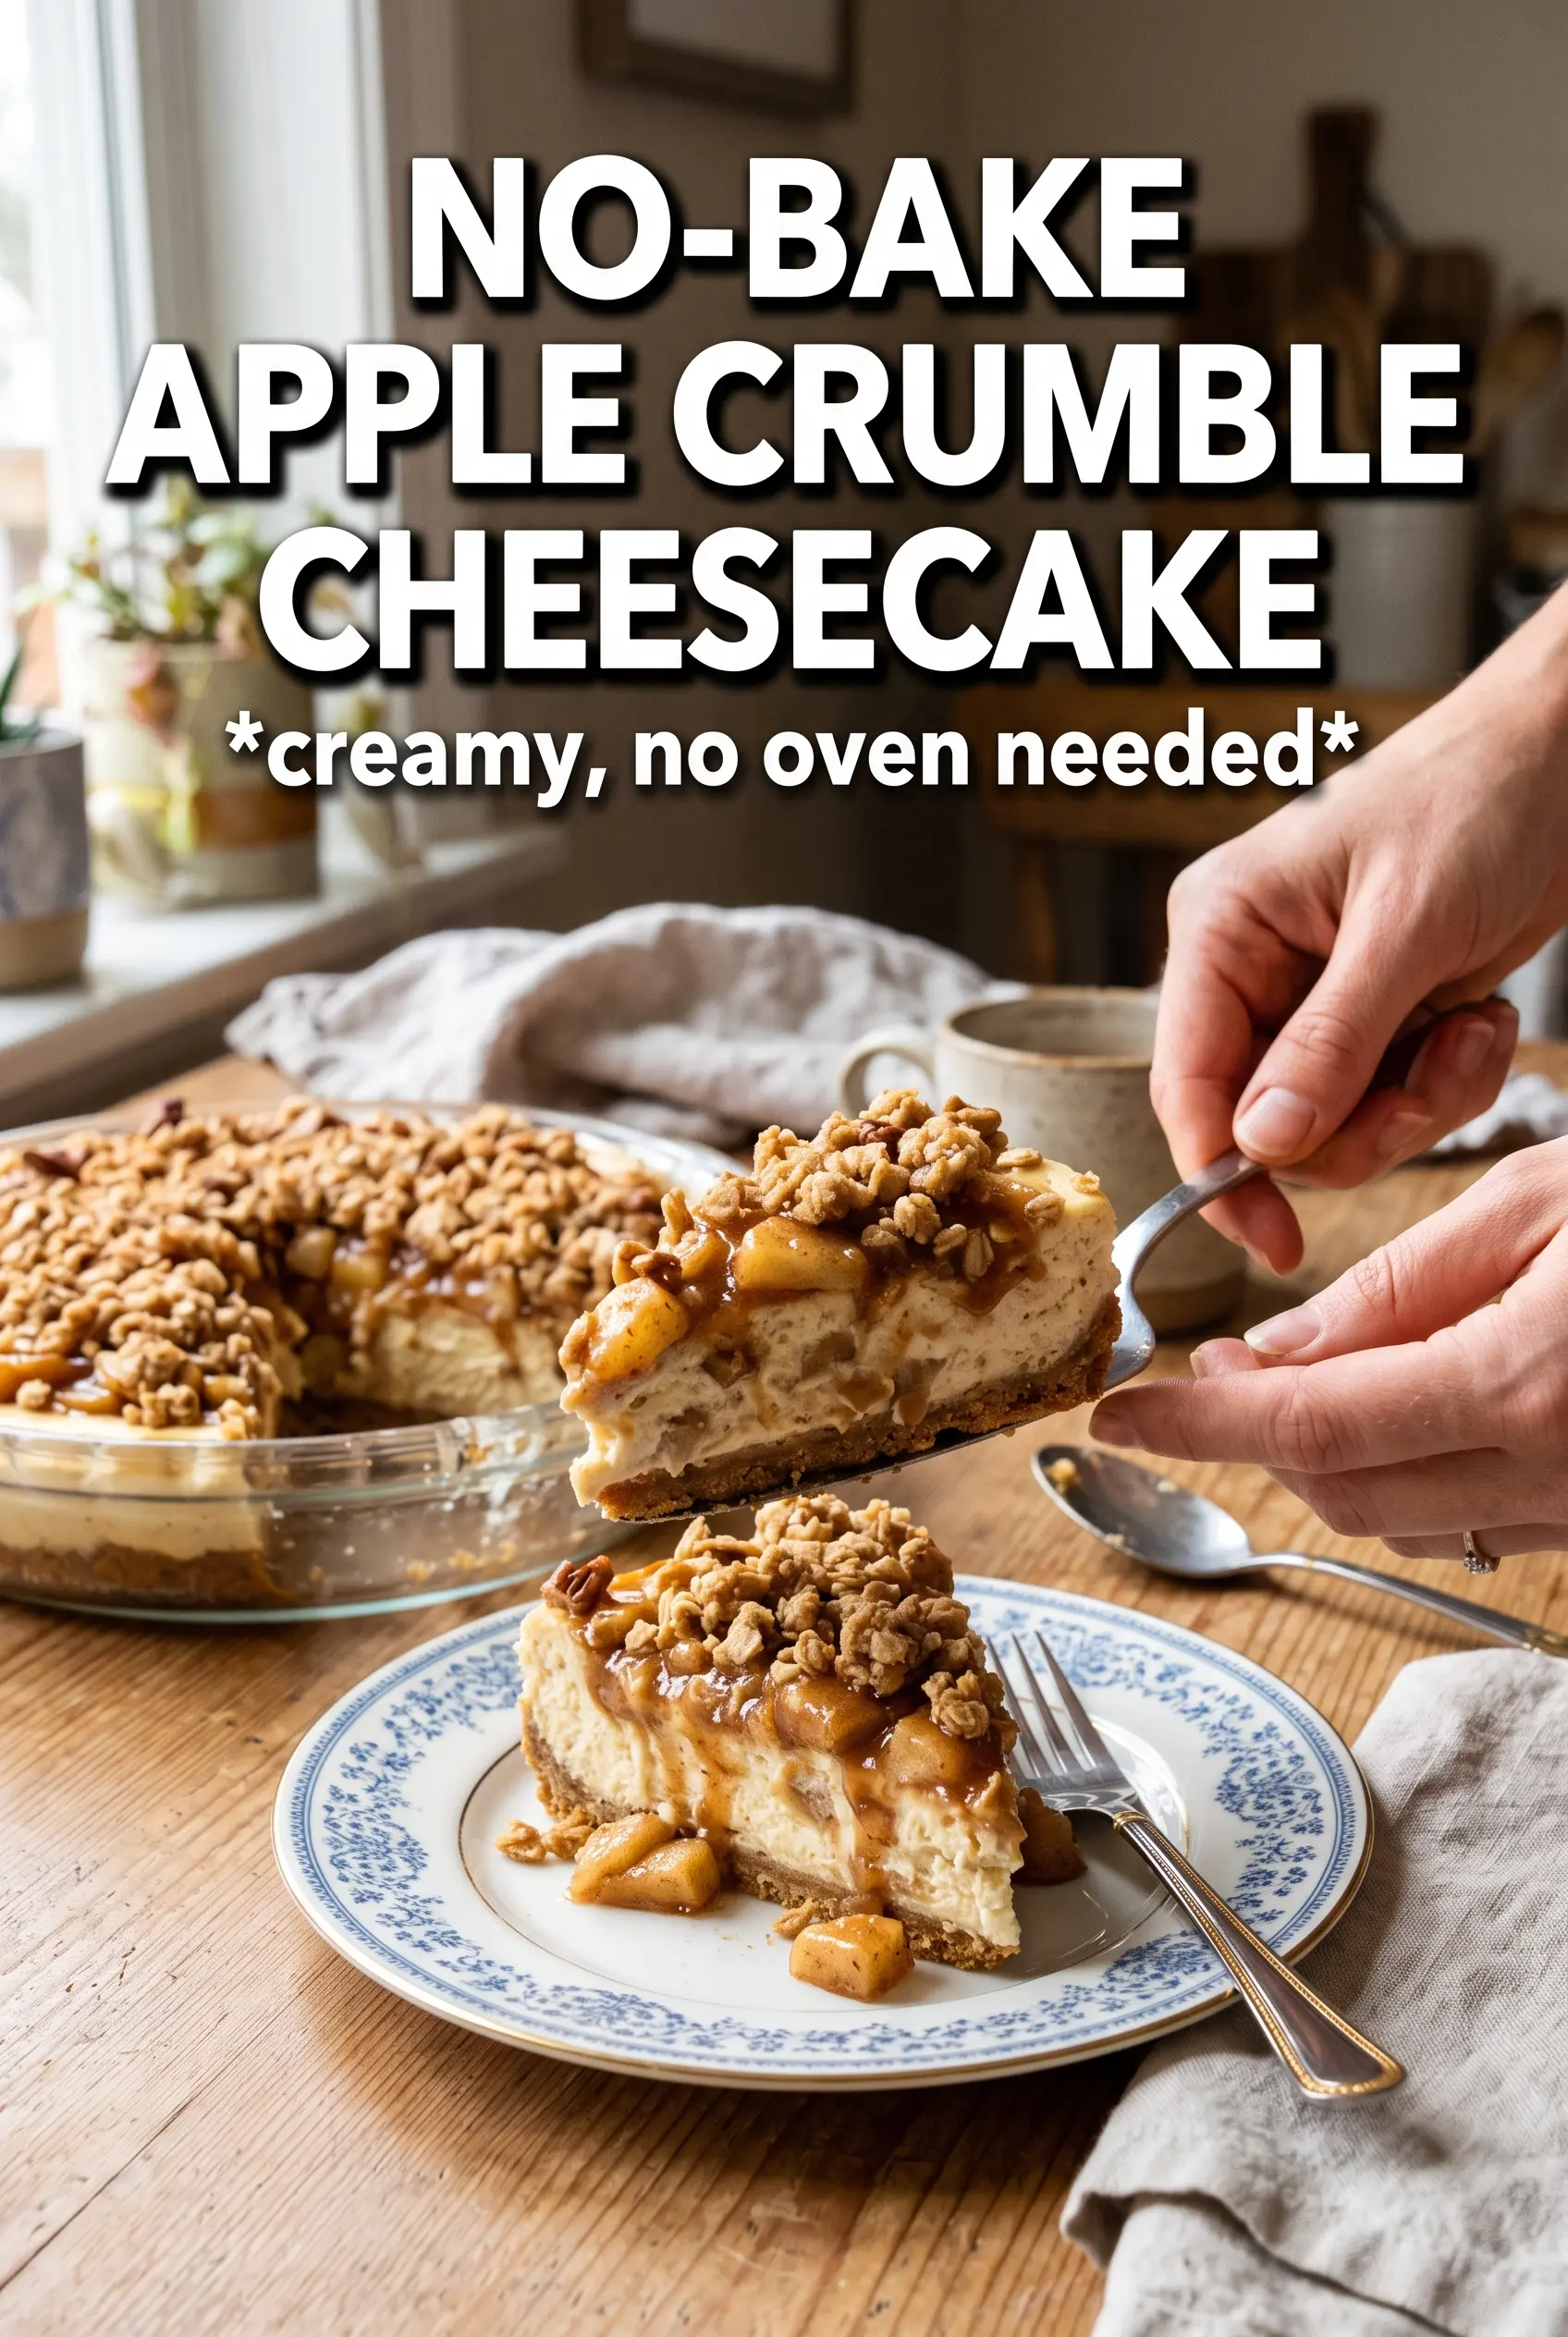
Layers of cold, creamy cheesecake, cinnamon apples, and a buttery oat crumble make this dessert feel like an apple crumble and a cheesecake decided to share one pan. The crust stays sturdy enough to slice cleanly, the filling sets up rich and smooth without baking, and the apple topping keeps every bite bright and spiced instead of heavy.
What makes this version work is the balance between texture and chill time. The oat crumble crust needs to be pressed firmly and chilled before the filling goes in, or it turns loose when you cut it. The cheesecake layer also has to be beaten until completely smooth before the whipped cream is folded in, because any lumps in the base will stay there all the way to the finished slice.
Below, I’ll walk you through the part that matters most: keeping the filling airy while still giving the cake enough structure to hold those apple and crumble layers on top. There’s also a variation for making it ahead without losing the crunch.
The filling turned out silky and the oat crumble stayed crisp even after chilling overnight. I loved that the apple layer didn’t slide around when I sliced it.
Save this no-bake apple crumble cheesecake for the days when you want a make-ahead dessert with a crisp oat crust and spiced apple topping.
The Part That Keeps the Crust from Going Soft
The crust needs to act like a real base, not just a loose layer of crumbs. That means the oats, flour, sugar, and butter have to be mixed until every dry bit is moistened, then pressed firmly into the pan so the butter can set up into something sliceable. If the crust feels sandy or falls apart when you press it with a spoon, it needs a little more mixing before it goes into the pan.
Reserved crumble on top gives this cheesecake its apple crumble finish, but it only works if you keep some of the mixture dry and chunky. Don’t pack that topping down. You want it to bake-freeze-set into little crisp clusters while the filling chills underneath.
- Rolled oats — These give the crust its chew and that classic crumble texture. Quick oats turn softer and more compact, so use them only if that’s what you have, and expect a tighter crust.
- Brown sugar — It deepens the flavor and helps the crumble brown through, even without baking. Light or dark brown sugar both work; dark brown sugar adds a little more molasses note.
- Cream cheese — Full-fat cream cheese gives the filling its clean, firm slice. Low-fat versions can work in a pinch, but the texture is softer and the cheesecake won’t hold as neatly.
- Whipped cream — This is what makes the filling light enough for a no-bake dessert. Whip it to stiff peaks before folding it in, and stop stirring as soon as the mixture looks uniform so you don’t knock the air out.
- Apple pie filling — Canned filling is the shortcut that keeps this dessert dependable. If you use homemade apples, cook them down first until they’re tender and syrupy, or the cheesecake layer can slide under a loose apple topping.
What Each Ingredient Is Actually Doing in This Recipe
- Primary ingredient (the star) — Quality matters most. Choose the best you can find.
- Cooking medium (oil, butter, or broth) — This carries flavors and prevents dryness.
- Seasonings (salt, pepper, spices, herbs) — Layer flavors so nothing overpowers. Build depth gradually.
- Aromatics (garlic, onion, herbs) — Cook with fat to bloom flavors. Become the foundation.
- Supporting ingredients — Complement the main ingredient without overpowering it.
- Sauce or liquid (if applicable) — Brings flavors together. Balance richness with acid.
- Acid (lemon, vinegar, wine, or other) — Brightens and prevents flat-tasting results.
- Final finish (garnish, glaze, or sauce) — Prevents one-dimensional taste and adds visual appeal.
Building the Layers So the Slice Holds Its Shape
Pressing and Chilling the Crust
Mix the crust until every oat is coated and the mixture looks like damp sand with a few larger clumps. Press it firmly into a 9-inch springform pan, pushing it into the edges first and then flattening the bottom. Chill it for the full 20 minutes so the butter can firm up before the filling goes on. If you skip that short chill, the crust will shift when you spread the cheesecake layer.
Making the Filling Smooth Before Anything Else
Beat the cream cheese with both sugars, vanilla, and cinnamon until it looks completely creamy and glossy, with no grainy bits left on the sides of the bowl. Scrape the bowl more than once here; unmixed cream cheese leaves little lumps that are impossible to hide later. Fold in the whipped cream gently with a spatula, using broad turns from the bottom up. If you stir hard, the filling loses volume and the cheesecake sets up dense instead of airy.
Spreading, Topping, and Waiting It Out
Spoon the filling over the chilled crust and spread it all the way to the edges in an even layer. Stir the cinnamon and nutmeg into the apple pie filling before adding it, because the spices distribute better in the bowl than on top of the cheesecake. Scatter the reserved crumble over the apples and chill the whole pan for at least 6 hours, or overnight if you want the cleanest slices. If you rush the chill, the layers will slump when you cut in.
How to Adapt This Dessert for Different Tables
Make It Dairy-Free
Use dairy-free cream cheese and a plant-based whipping cream that holds stiff peaks. The texture will be a little softer, but the dessert still slices well if you give it the full chill time. The flavor stays closest to the original when you choose a plain, tangy cream cheese style rather than a sweetened one.
Gluten-Free Crumble Base
Swap the flour for a 1:1 gluten-free baking blend and use certified gluten-free oats. The crust still presses and chills the same way, though it may be a little more delicate at the edges. Don’t reduce the butter, because it’s what holds the gluten-free version together.
Use Fresh Apples Instead of Canned Filling
Cook peeled, sliced apples with a little butter, brown sugar, cinnamon, and nutmeg until they’re tender and lightly syrupy. Fresh apples give you a brighter bite and less sweetness, but they need that stovetop step or they’ll weep into the cheesecake. Let them cool before spooning them on top so the filling doesn’t soften too early.
Storage and Reheating
- Refrigerator: Store covered for up to 4 days. The crumble softens a little on day two, but the cheesecake stays creamy and slices cleanly.
- Freezer: Freeze well-wrapped slices for up to 1 month. Chill the whole cheesecake first, then wrap tightly so the topping doesn’t pick up freezer odors.
- Reheating: Don’t heat this one. Serve it straight from the refrigerator for the best texture, and let frozen slices thaw in the fridge overnight instead of on the counter so the filling doesn’t get loose.
Answers to the Questions Worth Asking
No-Bake Apple Crumble Cheesecake
Ingredients
Equipment
Method
- Combine rolled oats, flour, brown sugar, and cinnamon, then drizzle melted butter over and toss until evenly moistened.
- Press the crust mixture firmly into a 9-inch springform pan, then refrigerate for 20 minutes to set the base.
- Reserve 1/2 cup of the crust mixture for the crumble topping, and keep it chilled until assembly.
- Beat cream cheese, powdered sugar, brown sugar, vanilla, and cinnamon until completely smooth, with no lumps remaining.
- Fold in whipped heavy cream until no streaks remain, aiming for a thick, uniform filling.
- Spread the filling over the chilled crust in an even layer, using a flat top for clean slices.
- Stir cinnamon and nutmeg into the apple pie filling until the spices are evenly distributed.
- Spoon the spiced apple pie filling evenly over the cheesecake, covering the surface.
- Scatter the reserved crumble over the apple topping so it looks visibly sprinkled across the top.
- Refrigerate for 6 hours or overnight until fully set, then release from the springform for clean edges.