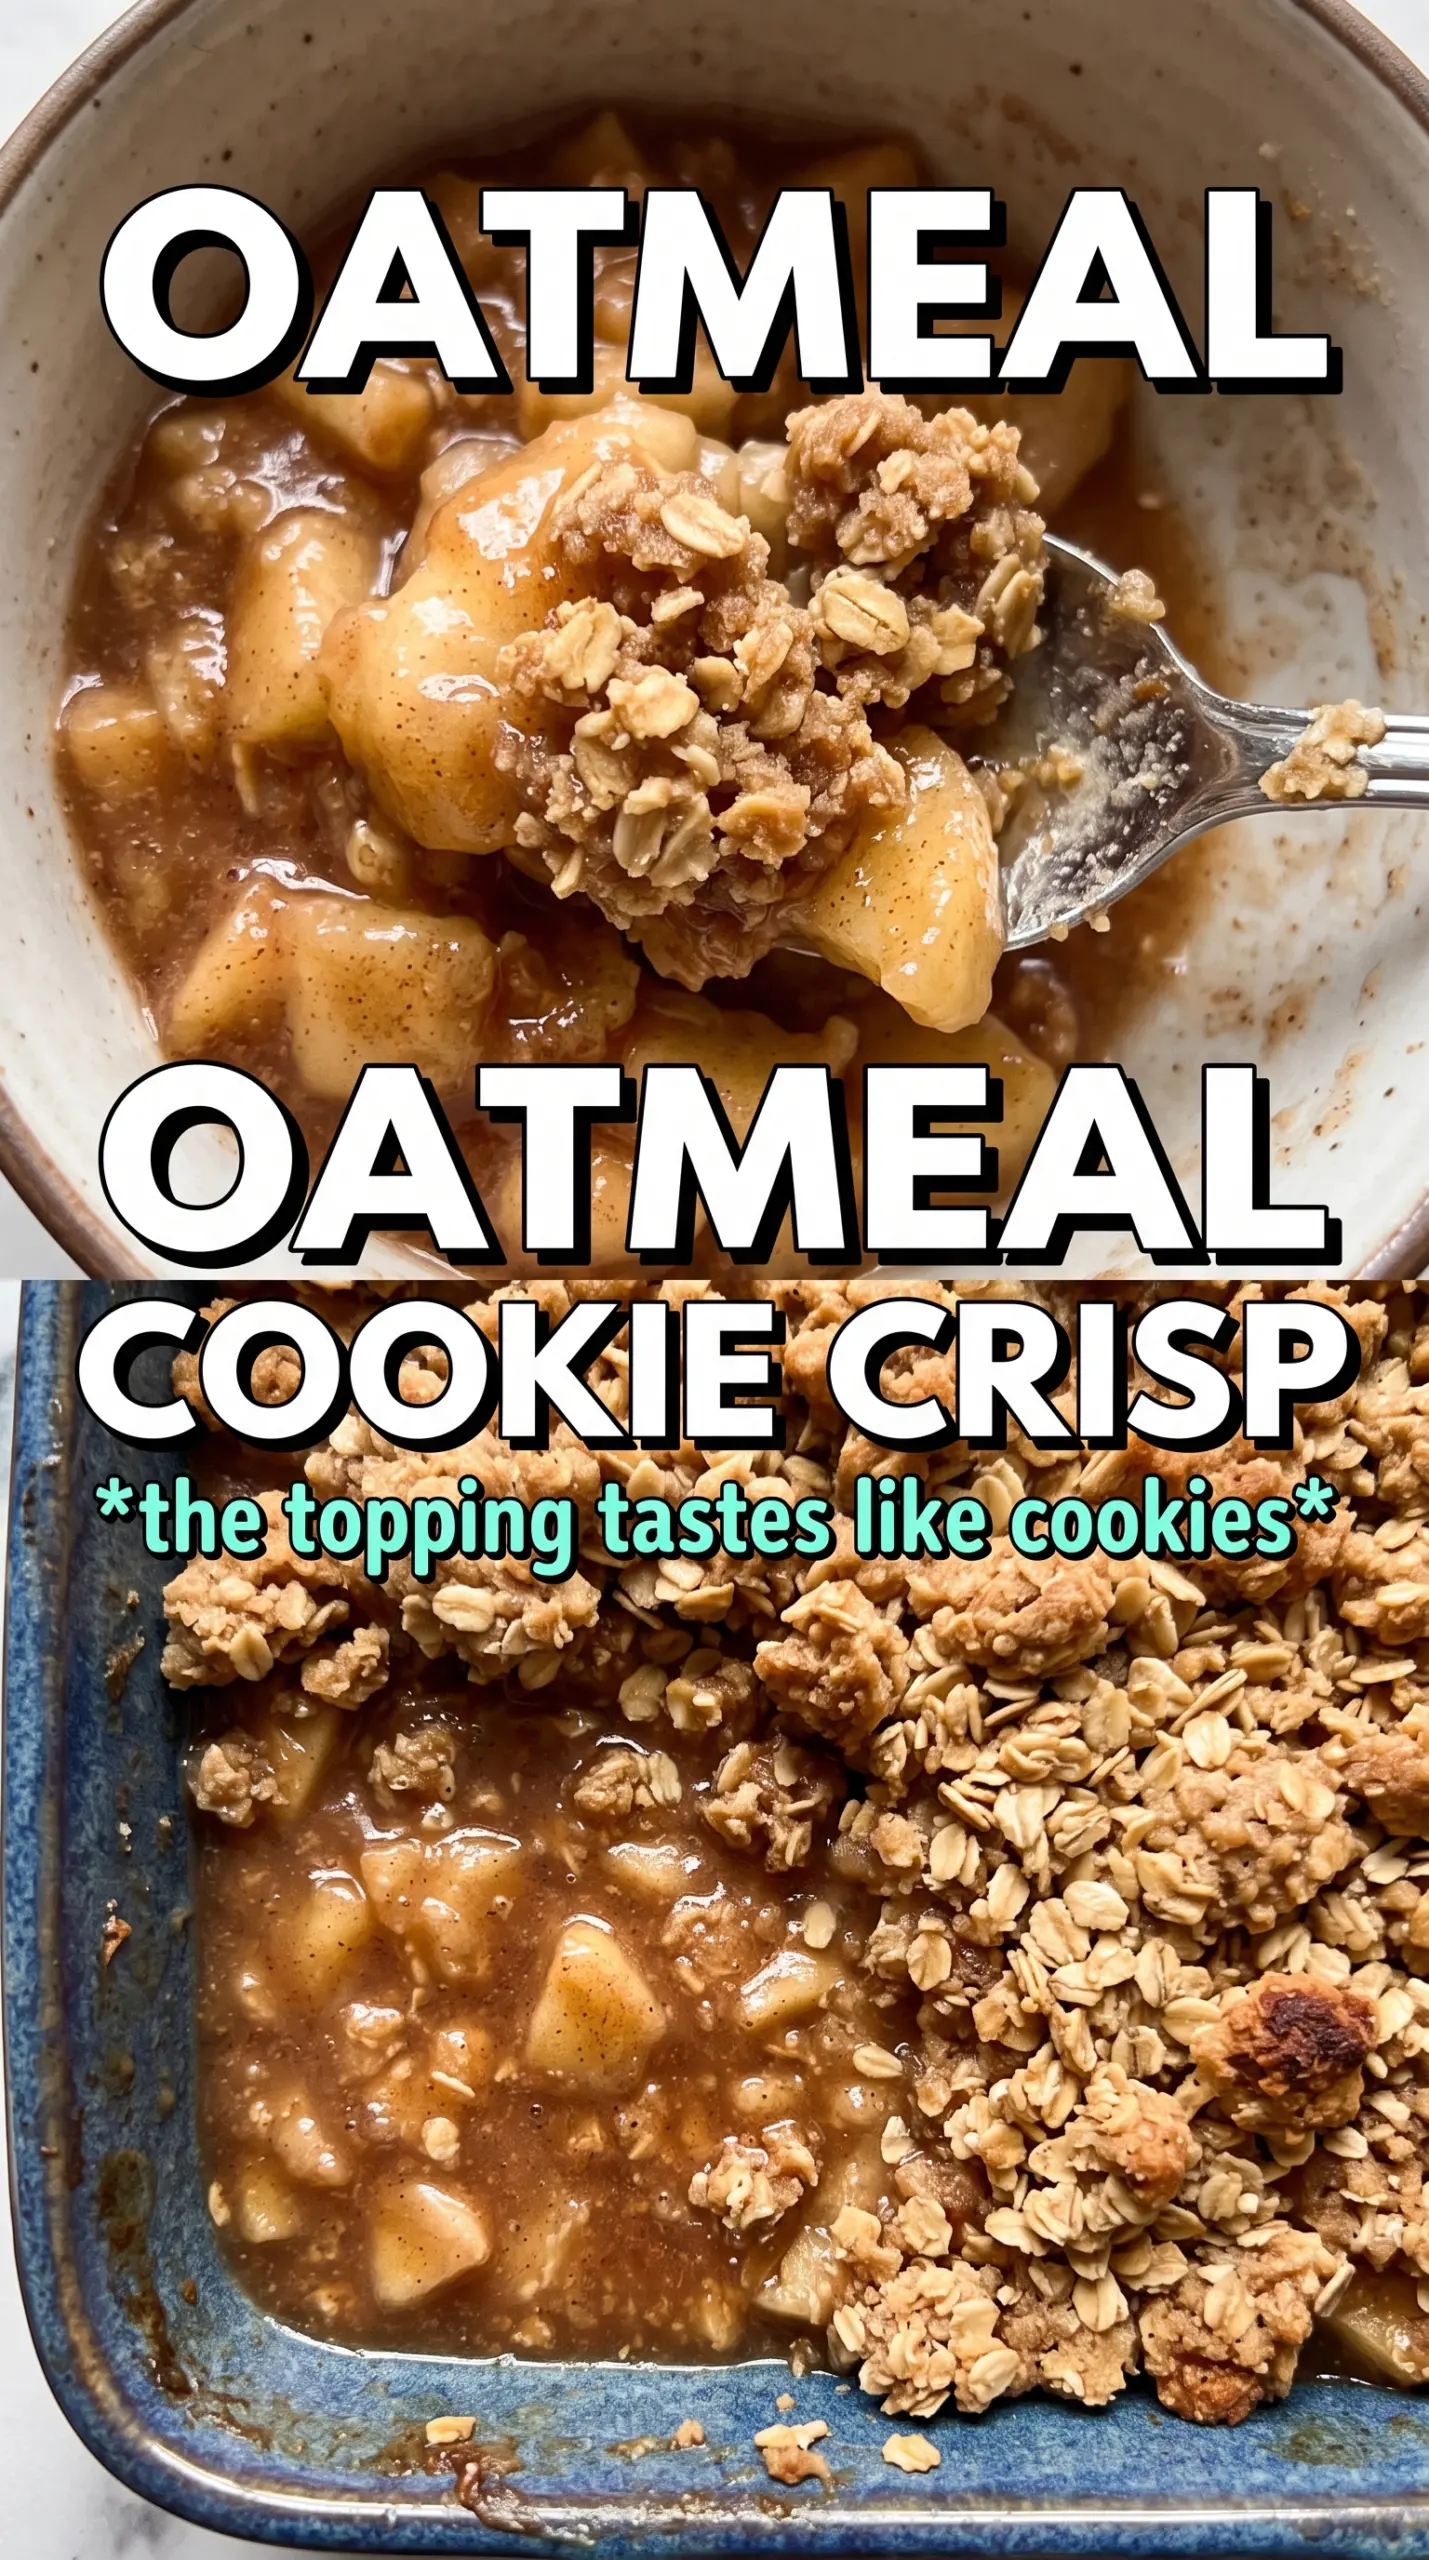
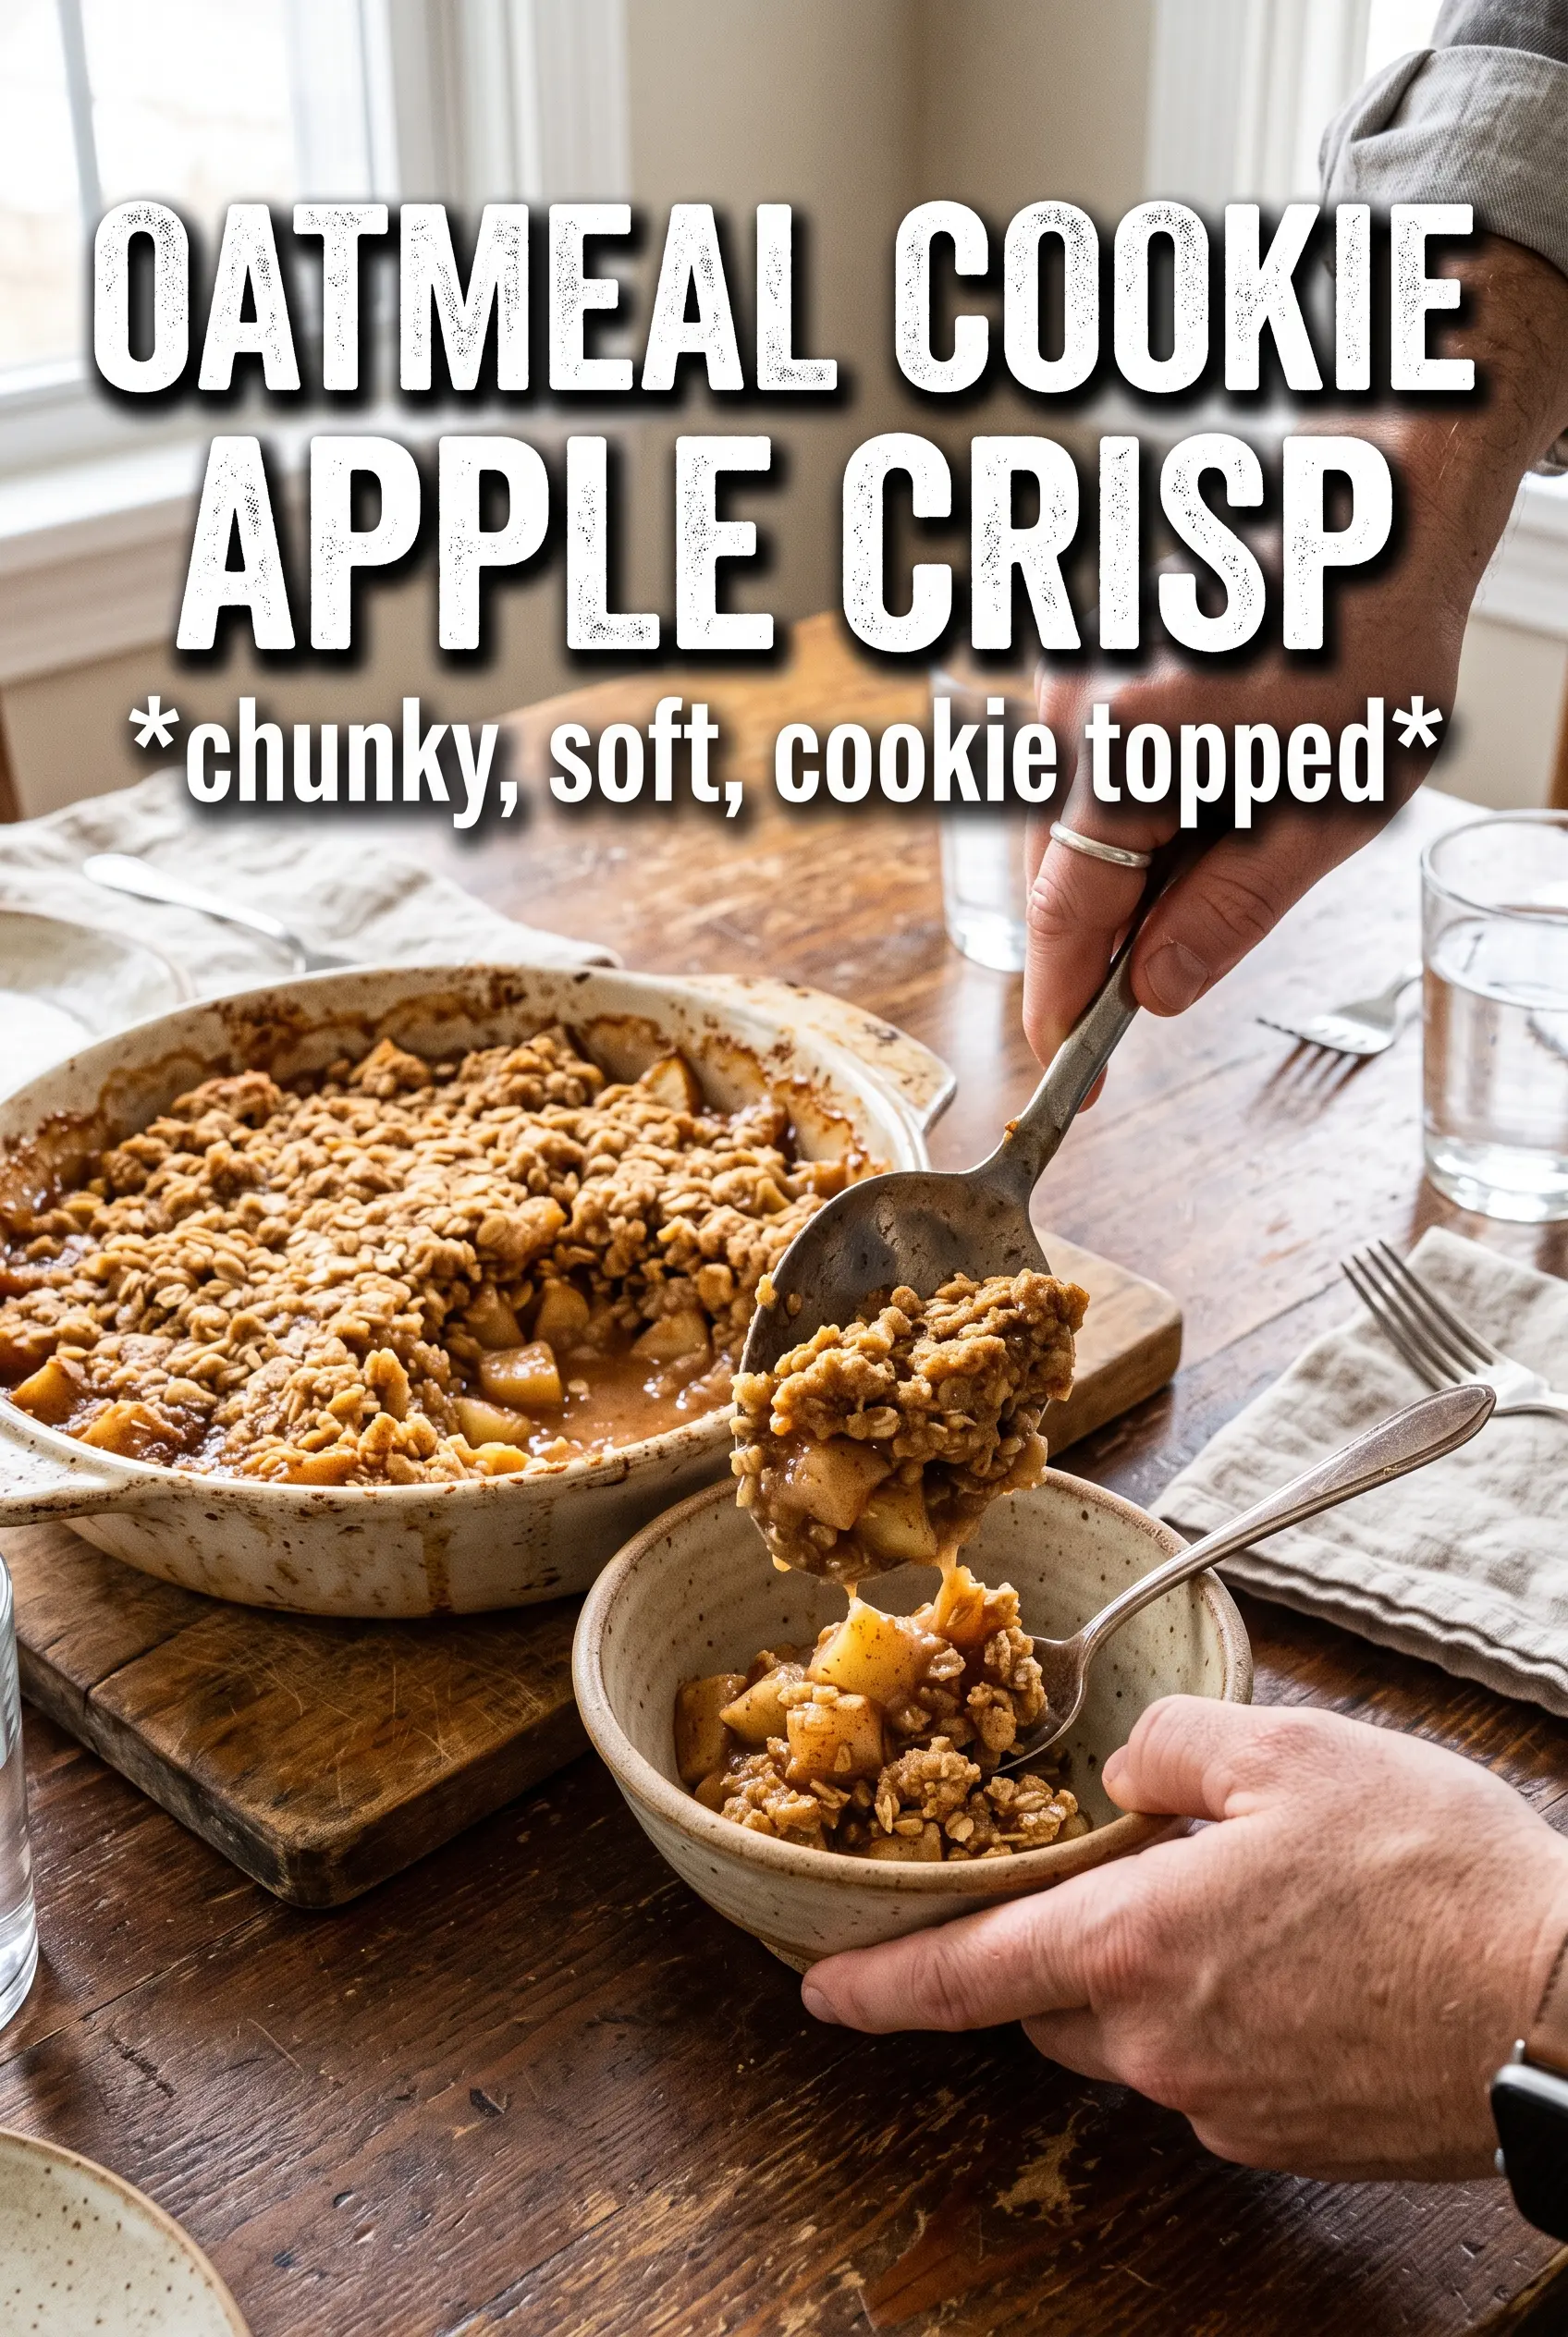
Oatmeal Cookie Apple Crisp bakes up with a thick, golden topping that lands somewhere between a classic crisp and a soft-baked oatmeal cookie. The edges turn caramelized and crunchy while the center stays slightly chewy, and the cinnamon apple filling bubbles up underneath in all the right places. It’s the kind of dessert that gets scooped up fast, especially when you serve it warm with vanilla ice cream melting into the cracks.
This version works because the crumble isn’t just dry oats and sugar tossed over fruit. Melted butter, honey, and vanilla coat the oat mixture so it bakes into real cookie-like clumps instead of sandy crumbs. Cornstarch in the apples keeps the filling thick without turning gluey, and a short rest after baking gives the juices time to settle so the first scoop holds together instead of running all over the pan.
Below, I’ll walk you through the one thing that keeps the topping crisp, the ingredient swaps that actually matter, and how to store the leftovers without losing that cookie-like texture.
The topping came out in big cookie-like chunks and the apples thickened up instead of turning watery. I let it rest ten minutes like you said, and it sliced into perfect scoops for ice cream.
Save this oatmeal cookie apple crisp for the nights when you want a bubbling apple dessert with a chewy, golden cookie topping.
The Part That Stops the Topping From Turning Sandy
The topping needs enough moisture to clump before it goes into the oven. That’s why the melted butter, honey, and vanilla get stirred together and then tossed through the dry ingredients until every oat is lightly coated. If the mixture still looks dusty, it will bake up loose and crumbly instead of forming those cookie-style chunks people actually want.
The other mistake is scattering the topping too evenly. Leave some larger pieces on purpose. Those uneven mounds bake into crisp ridges and chewy pockets, while a blanket of fine crumbs tends to dry out faster. The apples underneath also need a chance to bubble through at the corners, so don’t press the topping flat.
- Butter — Melted butter gives the crumble its cookie-like texture and helps the oats toast evenly. Cold butter won’t coat the dry ingredients as thoroughly, which changes the whole result.
- Honey — This adds stickiness and a light caramel note. Maple syrup can work, but the topping will bake a little softer and less clustered.
- Rolled oats — Old-fashioned oats give the topping structure. Quick oats turn pasty faster and don’t keep that rough, craggy texture.
- Cornstarch — This thickens the apple juices as they bake. Flour can do the job in a pinch, but cornstarch gives a cleaner, glossier filling without clouding the fruit.
What Each Ingredient Is Actually Doing in the Pan
- Apples — Use firm baking apples so the fruit keeps some shape after 45 minutes in the oven. Softer apples can collapse before the topping is fully browned.
- Lemon juice — A small amount keeps the apples bright and stops the filling from tasting flat. It doesn’t make the dessert sour; it just wakes up the fruit.
- Brown sugar — This is what gives the crumble its deeper, cookie-like sweetness. White sugar works, but the topping tastes less rich and bakes up a little less chewy.
- Baking soda — A tiny amount nudges the topping toward a more cookie-like texture and color. Skip it and the crumble will still work, but it won’t brown the same way.
- Raisins or dried cranberries — Optional, but they add chewy bursts that work well against the soft apples. If you use them, fold them in with the oat mixture so they don’t sit on top and dry out.
Building the Layers So the Crisp Bakes Evenly
Coating the Apples First
Toss the sliced apples with sugar, cinnamon, nutmeg, cornstarch, and lemon juice until every piece looks lightly glossed. You want the cornstarch distributed before the fruit hits the pan, or you’ll end up with pockets of chalky thickener. Spread the apples in an even layer so the filling cooks at the same pace across the dish.
Mixing the Cookie Crumble
Combine the oats, flour, brown sugar, cinnamon, baking soda, and salt, then pour in the melted butter, honey, and vanilla. Stir until the dry mixture clumps when squeezed. If it still falls apart like dry cereal, add another spoonful of melted butter; if it looks greasy, you’ve gone too far and the topping may bake up heavy.
Baking Until the Edges Bubble
Scatter the crumble over the apples in uneven handfuls, then bake at 375°F until the top is deep golden and the filling is bubbling around the edges. Bubbling matters more than color alone because it tells you the cornstarch has had enough heat to thicken the fruit. Pull it from the oven too early and the center can stay thin and watery under the crust.
Letting It Set Before the First Scoop
Rest the crisp for about 10 minutes before serving. That short pause lets the juices settle and keeps the topping from sliding off the apples in one messy layer. It also protects your tongue from the hot fruit filling, which always seems to hold heat longer than the topping suggests.
How to Adapt This for Different Tables and Pantry Swaps
Make It Gluten-Free
Swap the all-purpose flour for a good 1:1 gluten-free baking blend. The oats are naturally gluten-free only if they’re certified, so check the package if you’re cooking for someone with celiac disease. The topping will still bake into those same craggy clusters, though it may feel a touch more delicate when it cools.
Dairy-Free Version
Use a plant-based butter that’s meant for baking and has a similar fat content to real butter. The crumble won’t taste quite as rich, but the texture stays close if the butter alternative melts cleanly and coats the oats well. Skip any spread that comes loaded with water, or the topping can bake up soft.
Swap the Fruit Without Losing the Structure
Pear slices work well if they’re firm, and a mix of apples and pears gives you a softer filling with a little more perfume. Stone fruit can work too, but it releases more juice, so add an extra teaspoon of cornstarch. The topping stays the same; the filling just needs adjusting for how wet the fruit is.
Storage and Reheating
- Refrigerator: Store covered for up to 4 days. The topping softens a little as it sits, but the flavor holds up well.
- Freezer: Freeze baked crisp in a tight layer once fully cooled, or freeze the unbaked assembled dish for up to 2 months. Bake from thawed if you can; straight-from-frozen baking takes longer and can brown the top before the apples finish.
- Reheating: Warm leftovers in a 350°F oven until the filling is hot and the top re-crispens, about 15 to 20 minutes. The microwave works in a pinch, but it turns the topping soft instead of bringing back that cookie-like crunch.
Questions I Get Asked About This Recipe
Oatmeal Cookie Apple Crisp
Ingredients
Equipment
Method
- Preheat the oven to 375°F and grease a 9x13 baking dish. Set the dish aside so it’s ready for the apples.
- Toss the apple slices with granulated sugar, cinnamon, nutmeg, cornstarch, and lemon juice until evenly coated. Spread the mixture in the greased dish in a single layer.
- Combine rolled oats, all-purpose flour, brown sugar (packed), cinnamon, baking soda, and salt. Stir until the dry mixture is uniform.
- Stir the melted unsalted butter, honey, and vanilla extract together until smooth. Pour over the oat mixture and toss until evenly moistened.
- Fold in raisins or dried cranberries if using. Scatter the oatmeal crumble in large chunks over the apples so the filling stays visible at the corners.
- Bake for 40-45 minutes at 375°F until the topping is golden and the filling is bubbling. Look for caramelized edges around the perimeter.
- Rest for 10 minutes before serving. This helps the juices thicken slightly and makes the crisp easier to portion.