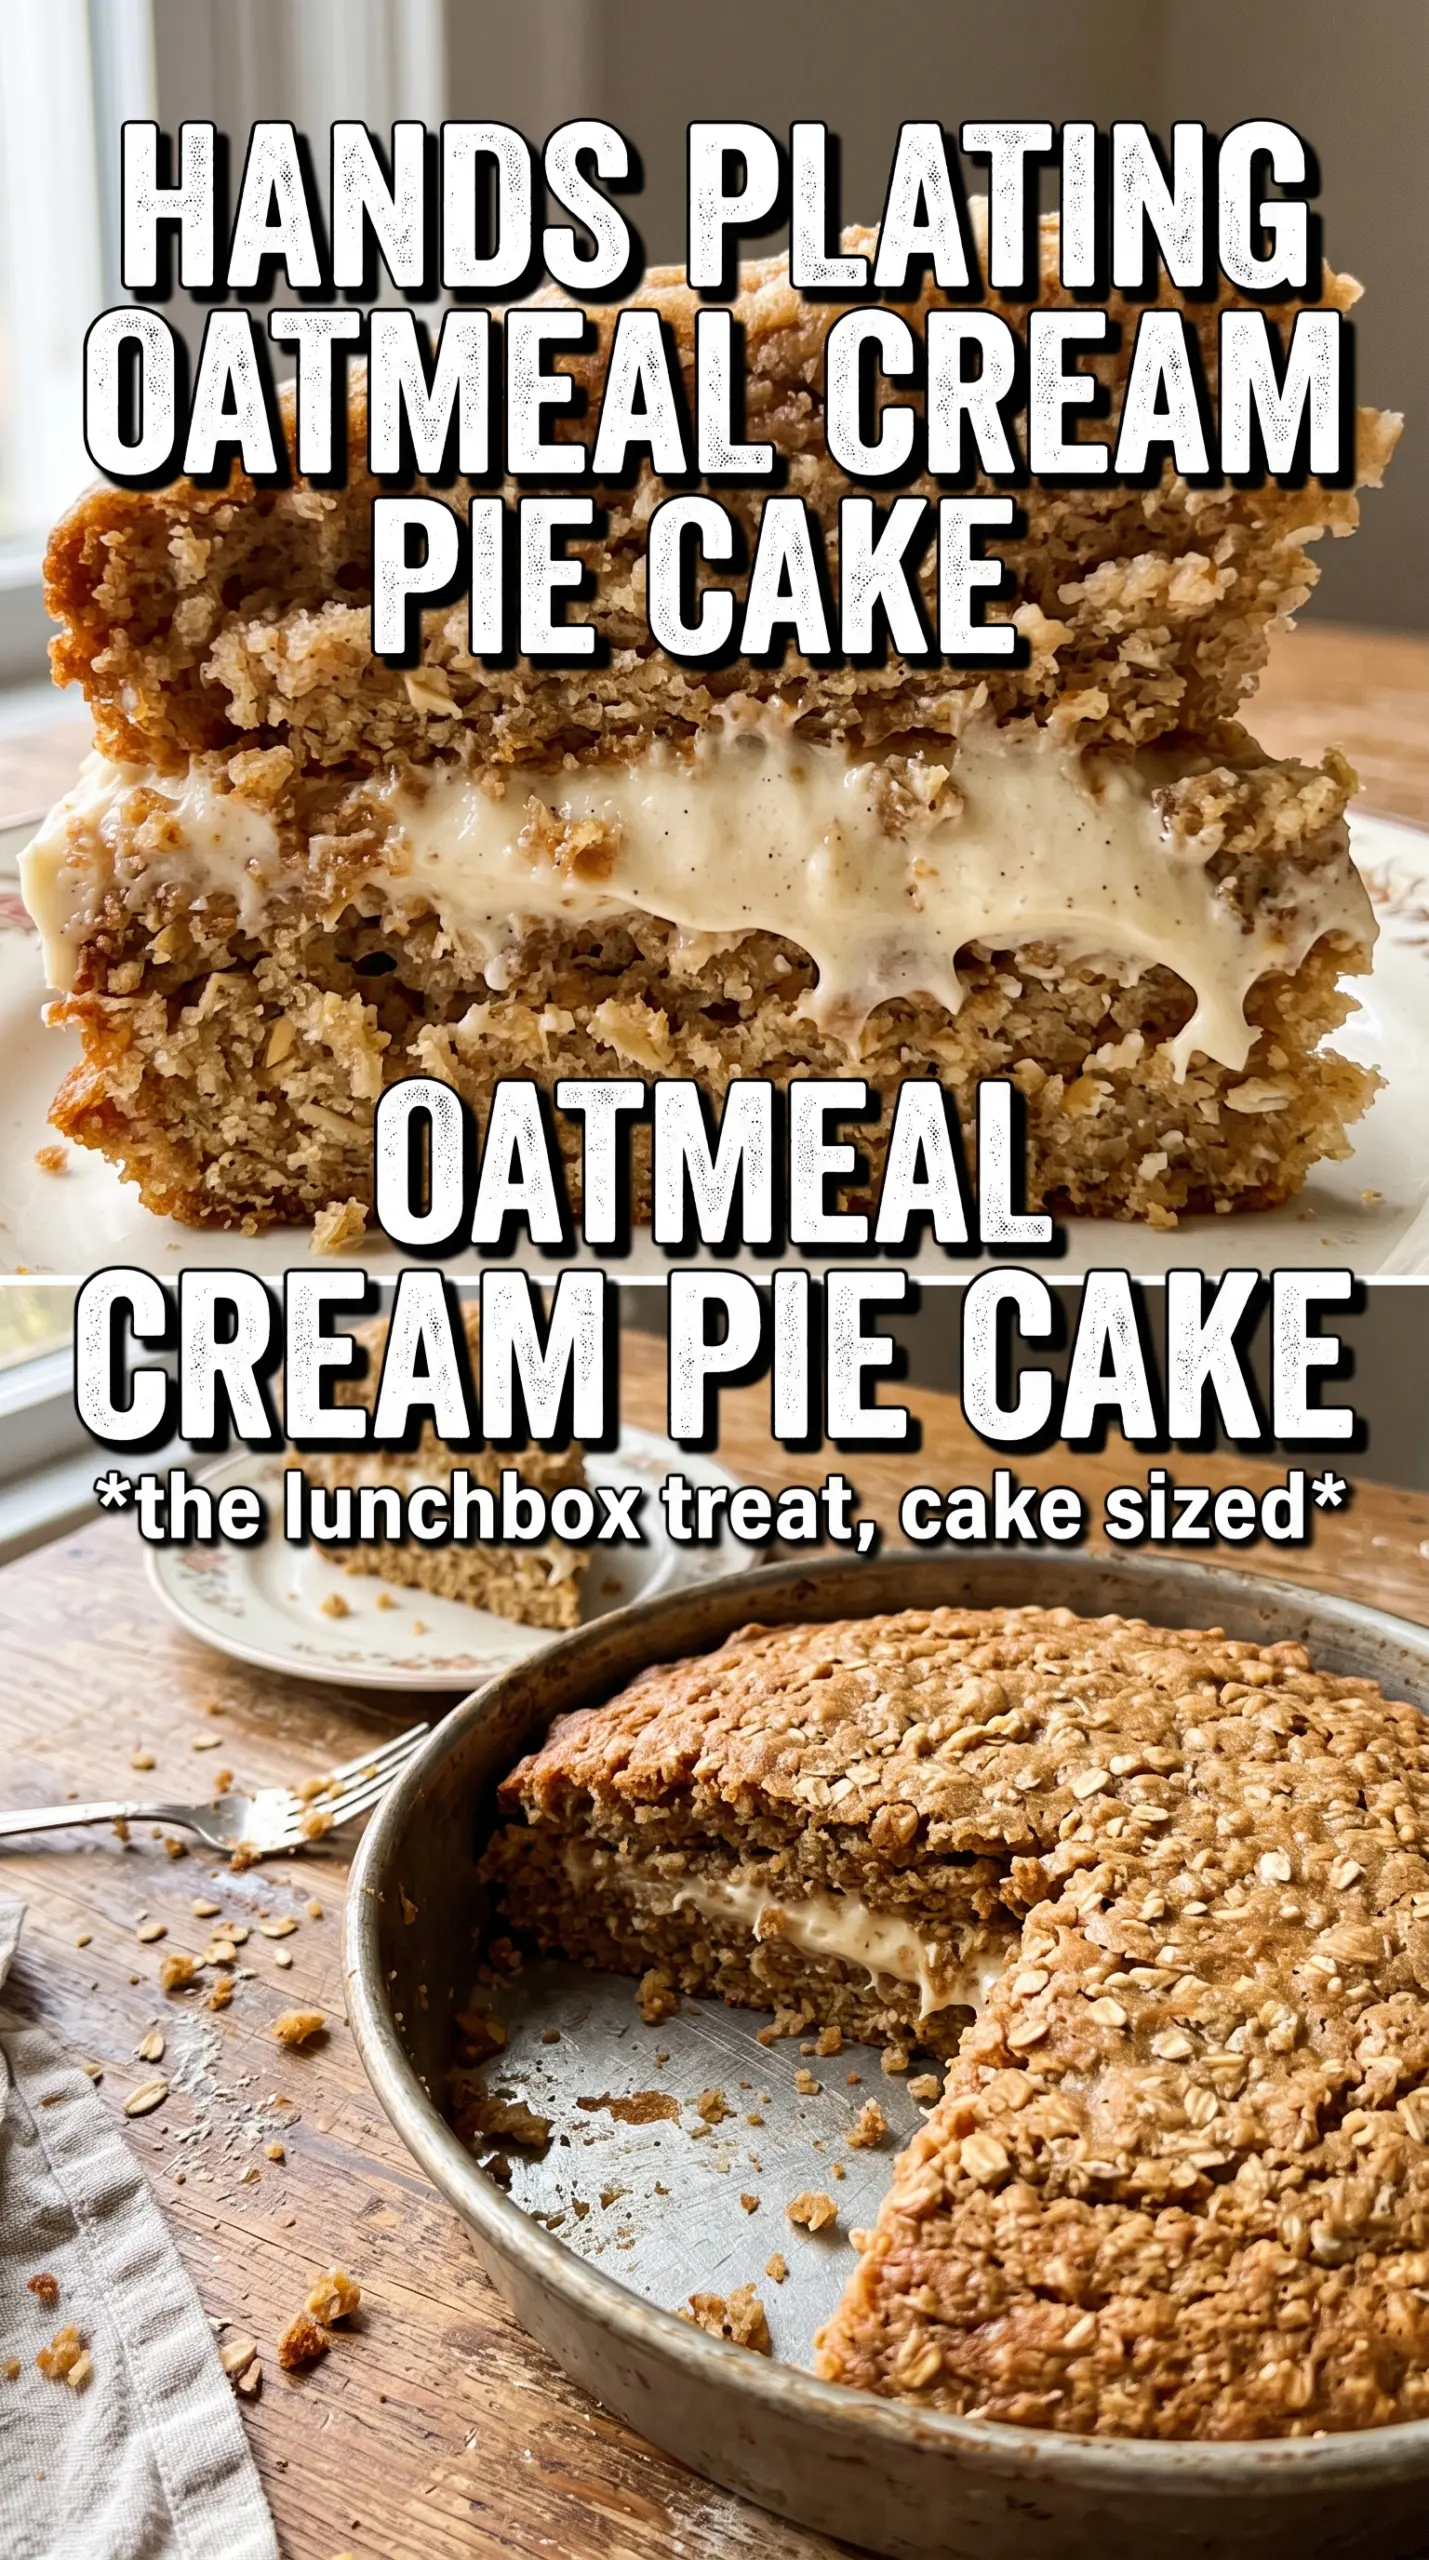
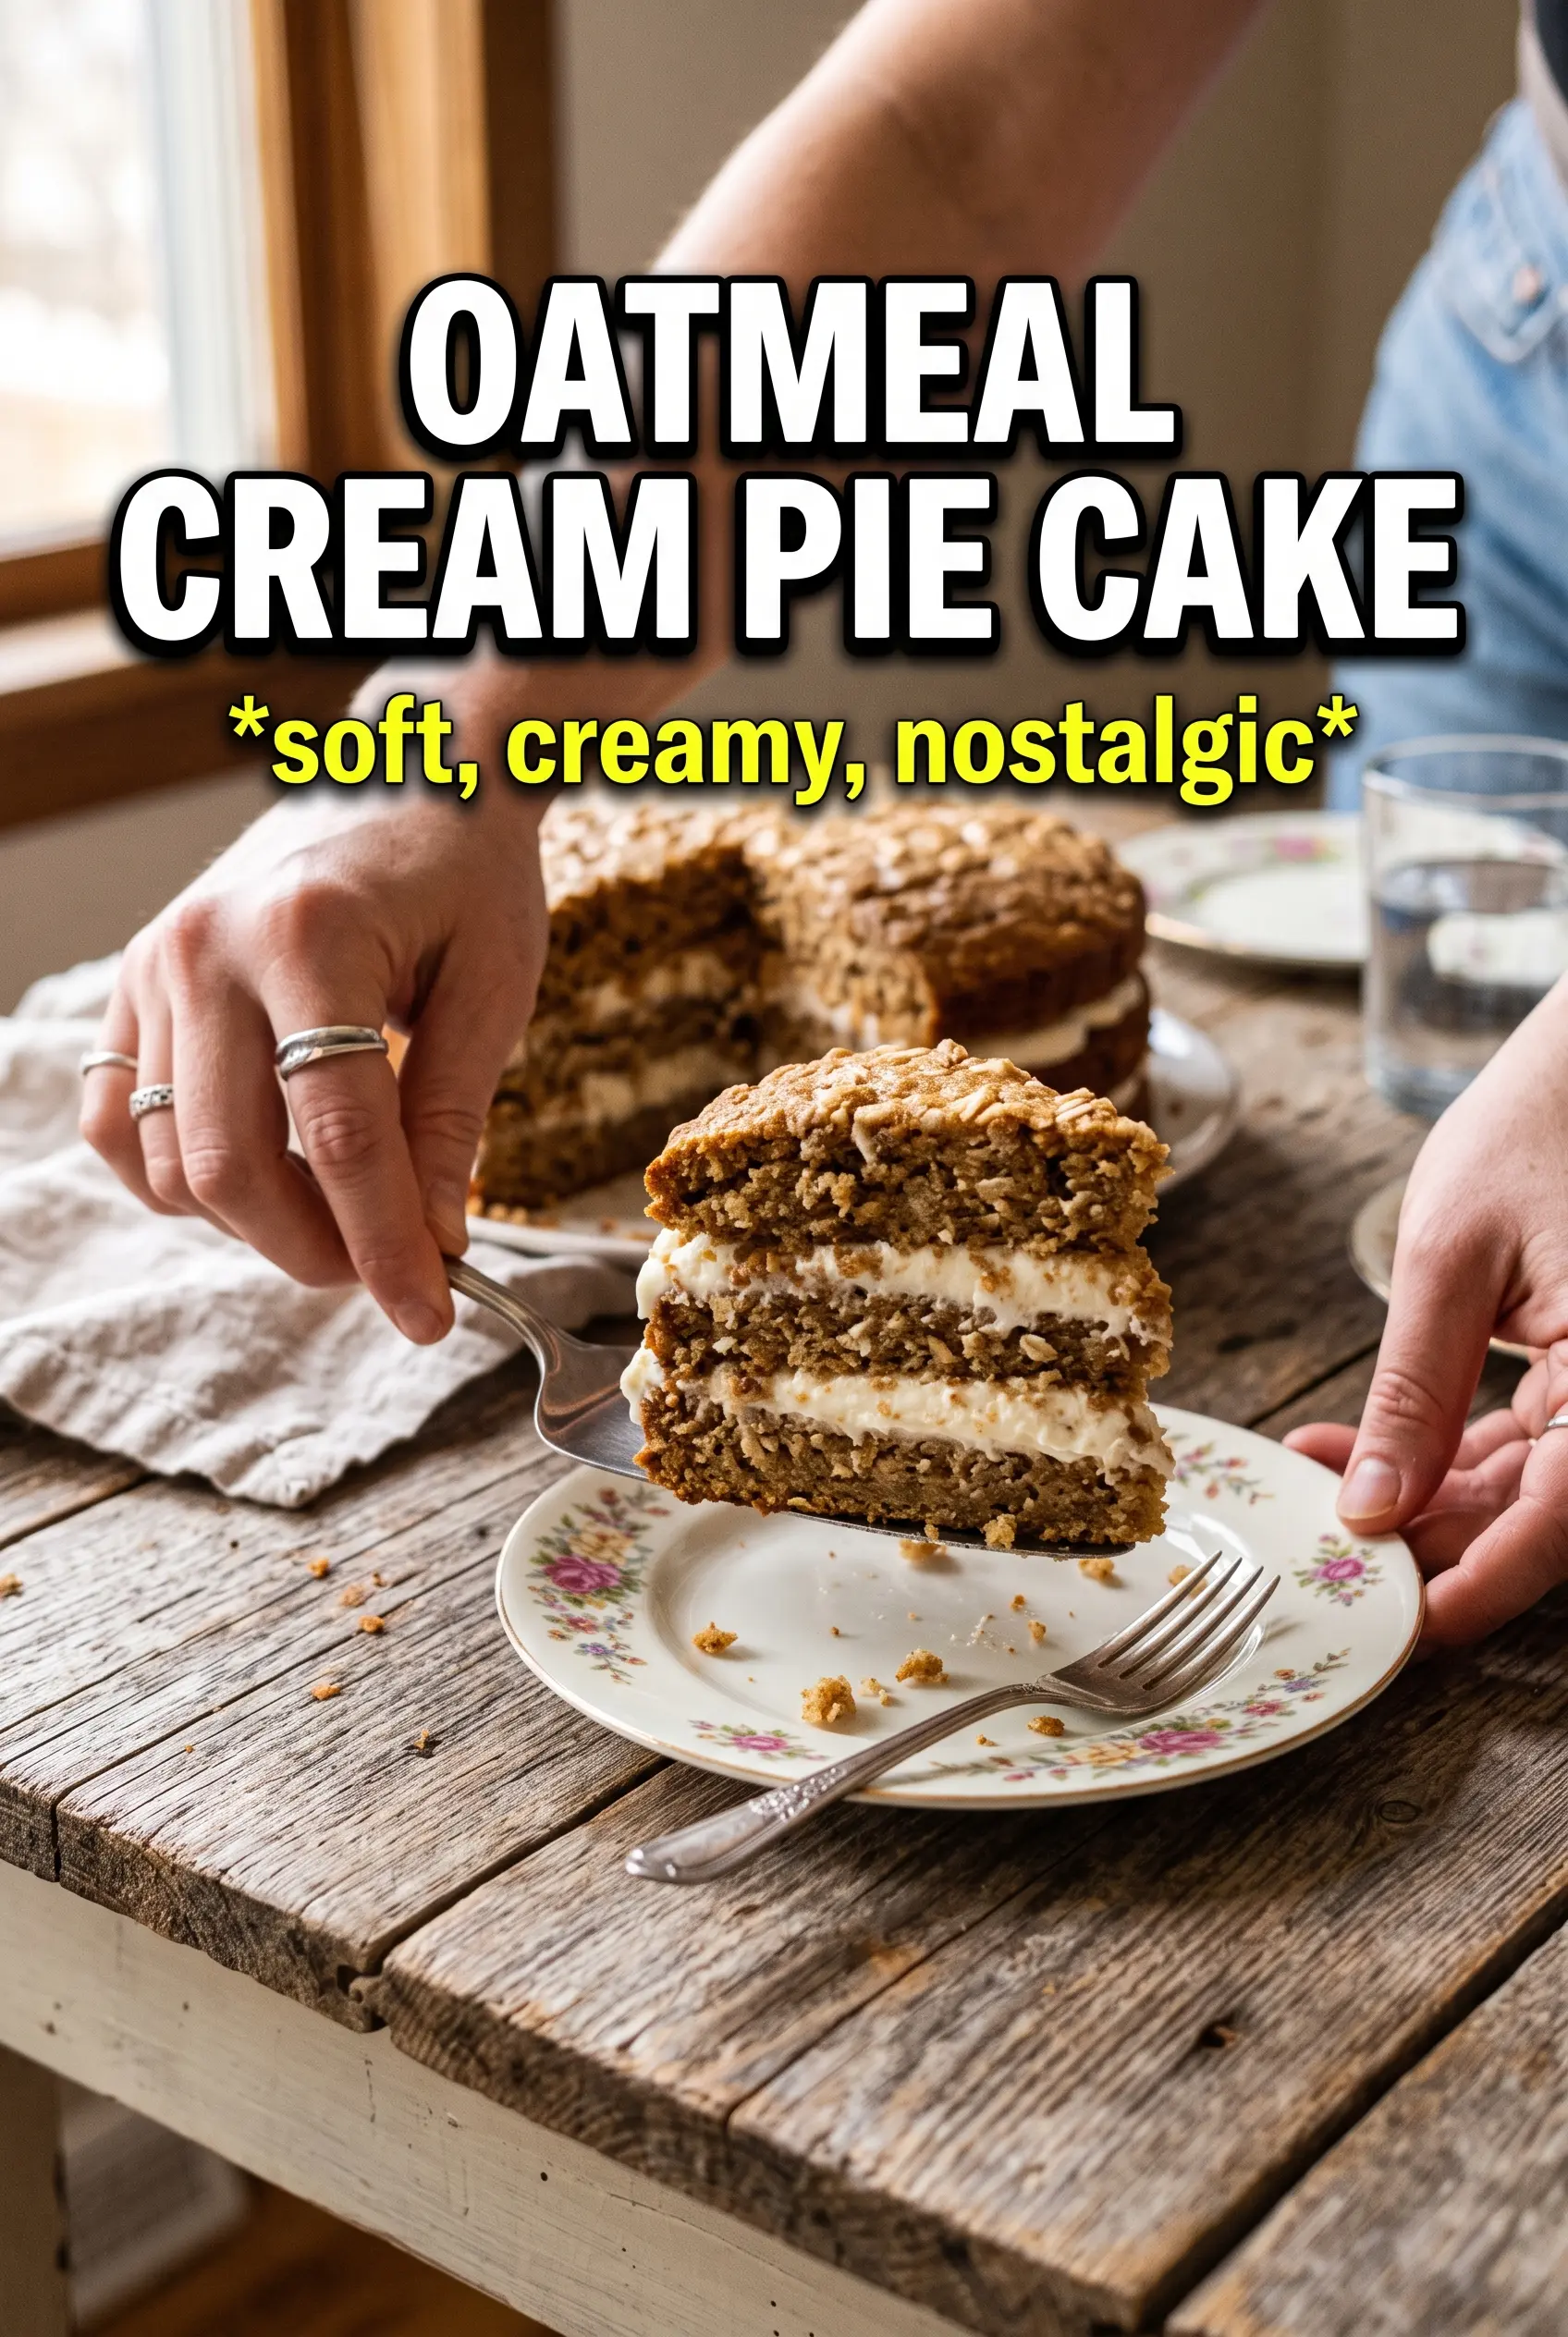
Oatmeal Cream Pie Cake brings everything people love about the classic snack cake into a soft, layered dessert that slices cleanly and tastes even better the next day. The cake is tender and warmly spiced, with enough oat texture to keep it from feeling plain, and the marshmallow cream filling gives it that nostalgic, bakery-style sweetness without turning heavy. It’s the kind of cake that gets people lingering at the table for “just one more” piece.
What makes this version work is the balance. Brown sugar and sour cream keep the layers moist, while the oats add a gentle chew instead of weighing the crumb down. The filling is built with butter, cream cheese, and marshmallow creme, which gives it structure and a fluffy finish instead of a loose frosting that squishes out when you cut the cake. I also like that the spices stay present but not loud; cinnamon does most of the work, with just enough nutmeg to round things out.
Below, you’ll find the little details that matter here: how to keep the cake layers tender, how to beat the filling until it’s spreadable and stable, and a few swaps if you need to adjust the recipe for a different pantry or occasion.
The layers baked up moist and the filling set up fluffy instead of sliding out the sides. I let it chill for an hour before slicing, and the cinnamon in the cake tasted just like the oatmeal cream pies I remember.
Save this Oatmeal Cream Pie Cake for the next time you want a soft spice cake with that nostalgic marshmallow filling.
The Trick to Keeping Oatmeal Cake Tender Instead of Heavy
The biggest risk with oatmeal cake is density. Oats can make a batter feel hearty in a good way, but if the flour is overmixed or the cake bakes too long, the layers turn tight and dry instead of soft enough to support the filling. Here, the sour cream and brown sugar do a lot of the work, but only if you stop mixing once the dry ingredients disappear.
Another thing that matters is the oats themselves. Rolled oats soften in the batter just enough to give the crumb that classic oatmeal cookie feel without turning gummy. Don’t swap in quick oats if you want the same texture; they break down faster and make the cake a little pastier. Let the layers cool all the way before filling them, or the marshmallow cream will melt and slide.
What Each Ingredient Is Doing in the Cake and Filling
- Rolled oats — These soften as the cake bakes and give the crumb its familiar oatmeal cookie texture. Quick oats will work in a pinch, but the cake won’t have the same hearty bite.
- Brown sugar — This keeps the layers moist and adds that deep caramel note that belongs in anything oatmeal-based. Light or dark brown sugar both work; dark brown sugar gives a little more molasses flavor.
- Sour cream — It’s the moisture insurance here. You need that acidity and fat to keep the cake tender and to balance the sweetness of the filling.
- Cream cheese and butter — The cream cheese adds a faint tang that keeps the filling from tasting flat, while the butter gives it body. Both need to be soft before mixing, or the filling stays lumpy no matter how long you beat it.
- Marshmallow creme — This is what makes the filling taste like an oatmeal cream pie instead of a standard frosting. A homemade marshmallow fluff substitute won’t quite behave the same way, so use the jarred version if you can.
Building the Layers So the Filling Stays Thick and Fluffy
Mix the batter just until it comes together
Start by creaming the butter and brown sugar until the mixture looks lighter and a little fluffy, then add the eggs one at a time so the batter stays emulsified. Once the sour cream and vanilla go in, the batter may look a little curdled for a moment; that’s fine and it settles once the dry ingredients are added. Fold in the flour mixture only until the last streaks disappear. If you keep beating at this point, the cake turns tough instead of soft.
Bake until the centers spring back
Divide the batter evenly between the two pans so the layers bake at the same rate. The cakes are done when the tops spring back lightly and a toothpick comes out with a few moist crumbs, not wet batter. If the edges pull away hard from the pan and the tops are deeply browned, they’ve gone too far and will feel dry once cooled. Let them sit in the pans for a few minutes, then turn them out onto racks and leave them alone until they’re completely cool.
Whip the filling until it holds its shape
Beat the butter and cream cheese first until the mixture is smooth, then add the marshmallow creme, powdered sugar, and vanilla. Keep going until the filling looks glossy and fluffy, with no grainy sugar left at the bottom of the bowl. If it seems loose, the butter or cream cheese was too warm; chill the bowl for 10 to 15 minutes and beat again. Spread it between the layers and around the outside, then chill the cake before slicing so the filling firms up enough to cut cleanly.
How to Adapt This Cake for Different Needs
Use quick oats for a softer crumb
Quick oats make the cake a little smoother and less chewy. That’s handy if you want a more tender, snack-cake-style texture, but you lose some of the rustic oat bite that makes this dessert stand out.
Make it gluten-free with a 1:1 baking flour blend
A good cup-for-cup gluten-free flour blend works well here as long as it includes xanthan gum or a similar binder. The texture will be slightly more delicate, so cool the layers fully before moving them.
Dairy-free version with plant-based swaps
Use a plant-based butter and a thick dairy-free sour cream alternative in the cake, then replace the cream cheese with a dairy-free cream cheese in the filling. The filling won’t be quite as tangy, but it still pipes and spreads well if the substitutes are full-fat.
Storage and Reheating
- Refrigerator: Store covered for up to 4 days. The cake actually slices best after chilling, though the crumb softens a little over time.
- Freezer: Freeze individual slices well wrapped for up to 2 months. Freeze them uncovered first on a tray if you want the frosting to stay neat, then wrap once firm.
- Reheating: Let refrigerated slices sit at room temperature for 20 to 30 minutes before serving. Don’t microwave the whole cake; the filling will loosen and the layers can slide.
Questions I Get Asked About This Recipe
Oatmeal Cream Pie Cake
Ingredients
Equipment
Method
- Preheat oven to 350F, then grease two 9-inch round pans. Keep them ready so the batter can go in right away.
- Beat butter and brown sugar until combined, then add eggs, sour cream, and vanilla. Mix just until the batter looks smooth.
- Fold in flour, rolled oats, baking powder, baking soda, cinnamon, nutmeg, and salt. Stop mixing when no dry streaks remain.
- Divide batter between the two pans and spread evenly. Bake for 30-35 minutes at 350F, until the centers spring back when touched.
- Cool the cakes completely in the pans before filling. This prevents the marshmallow cream from melting or sliding.
- Beat the softened unsalted butter and softened cream cheese until smooth. Scrape the bowl so everything blends evenly.
- Add marshmallow creme and beat until thick and creamy. Continue mixing until the filling looks uniform with no lumps.
- Beat in powdered sugar and vanilla until very fluffy. Pause to scrape the bowl for a light, spreadable texture.
- Frost between the cooled cake layers with the marshmallow cream filling. Use an even layer so the cake holds together when sliced.
- Spread the remaining marshmallow cream on the outside of the cake. Smooth the surface and dust lightly with any leftover cinnamon-scented flavor if desired.