One-Pan Taco Skillet is the kind of dinner that lands on the table fast, disappears even faster, and doesn’t leave you with a sink full of pans. The beef gets deeply seasoned, the beans and corn soak up the taco-spiced sauce, and the melted cheese on top pulls the whole skillet together into something spoonable, hearty, and exactly right for busy nights.
What makes this version work is the balance of moisture. The beef broth and Rotel keep everything saucy at first, then the simmer tightens it up just enough so it doesn’t turn soupy under the cheese. Draining the beef after browning matters here too, because a greasy skillet will blur the seasoning and make the filling feel heavy instead of rich.
Below, I’ve included the little details that keep the skillet from going flat or watery, plus a few swaps that make it easy to adjust for what’s in your fridge. If you’ve ever had a taco filling that tasted fine but felt loose on the plate, this one fixes that.
The sauce tightened up perfectly after the simmer, and the cheese melted into the filling instead of sitting on top in a greasy layer. I served it with lime and cilantro, and my husband went back for seconds before I even sat down.
Love the cheesy, saucy finish on this One-Pan Taco Skillet? Save it to Pinterest for an easy taco dinner that comes together in one pan.
The Trick to Keeping the Taco Filling Saucy, Not Soupy
Most taco skillets go wrong in one of two ways: they dry out before the cheese goes on, or they stay wet and muddy by the time you serve them. This version works because it starts with a controlled amount of liquid and gives the skillet a few minutes to reduce before the cheese hits the top. That simmer is doing the heavy lifting.
The other thing that matters is the order. Brown the beef first so you get flavor in the pan, then add the seasoning with water so it clings to the meat instead of floating around in a puddle. Once the beans, corn, Rotel, and broth go in, the mixture should bubble gently and thicken just enough to coat a spoon. If it still looks loose, give it another minute or two uncovered. Cheese melts best over a filling that’s already tightened up.
What Each Ingredient Is Doing in the Skillet
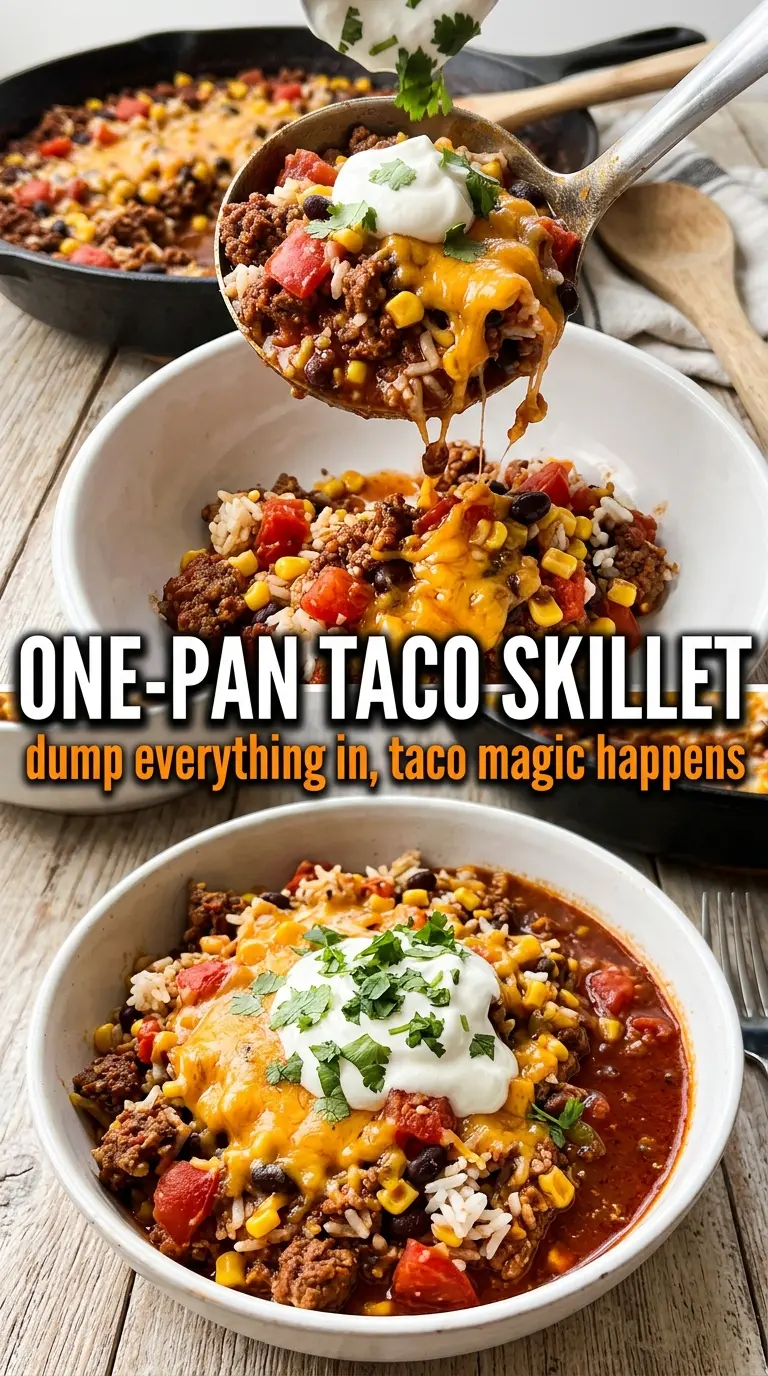
- Ground beef — This gives the skillet its hearty base and carries the taco seasoning well. An 80/20 blend gives the best flavor, but lean beef works if you don’t skip the broth and simmer time that keep everything moist.
- Onion — The onion softens into the beef and adds sweetness that keeps the filling from tasting flat. Dice it small so it disappears into the skillet instead of standing out in chunks.
- Taco seasoning — This is where the Tex-Mex flavor comes from, and a packet is fine here because it’s consistent and fast. If you want to use homemade seasoning, use about 2 tablespoons and add a little extra salt only if needed.
- Rotel — The tomatoes and green chiles bring acidity, heat, and moisture in one can. Regular diced tomatoes will work in a pinch, but you’ll lose some of the punch that makes the skillet taste finished.
- Black beans and corn — These stretch the skillet into a full meal and give it a mix of creamy and sweet bites. Frozen corn is perfect straight from the bag; there’s no need to thaw it first.
- Beef broth — This helps the seasoning spread through the filling and keeps the skillet from tightening too early. Water can work, but broth adds depth that makes the whole dish taste less one-note.
- Mexican cheese blend — Use a good melting cheese here, because it’s the finish that pulls everything together. Pre-shredded is convenient, but freshly shredded melts a little smoother if you have the time.
Building the Skillet Without Losing the Cheese Melt
Brown the Beef and Onion First
Cook the ground beef and onion over medium-high heat until the beef is no longer pink and the onion has turned soft and translucent. You want some browning on the meat, not a pale steamed look, because those browned bits are what give the skillet its savory base. Drain off the excess fat after cooking. If you leave too much in the pan, the taco seasoning won’t cling cleanly and the finished filling can taste greasy.
Wake Up the Seasoning in the Pan
Stir in the taco seasoning and water and let it simmer for about 2 minutes. The mixture should look glossy and smell intensely spiced, with the seasoning coating the meat instead of sitting in separate pockets. This short simmer matters because it gives the spices a chance to hydrate. If the pan looks dry before the 2 minutes are up, the heat is too high and you’ll want to lower it so the seasoning doesn’t scorch.
Reduce the Filling Before the Cheese Goes On
Add the black beans, corn, Rotel, and beef broth, then bring everything to a gentle simmer. Let it cook 5 to 7 minutes until the sauce thickens slightly and the mixture no longer looks watery around the edges. You’re aiming for a spoonable filling, not a stew. If it still runs across the skillet like soup, keep simmering uncovered until the liquid has reduced enough to hold together under the cheese.
Cover Just Until the Cheese Melts
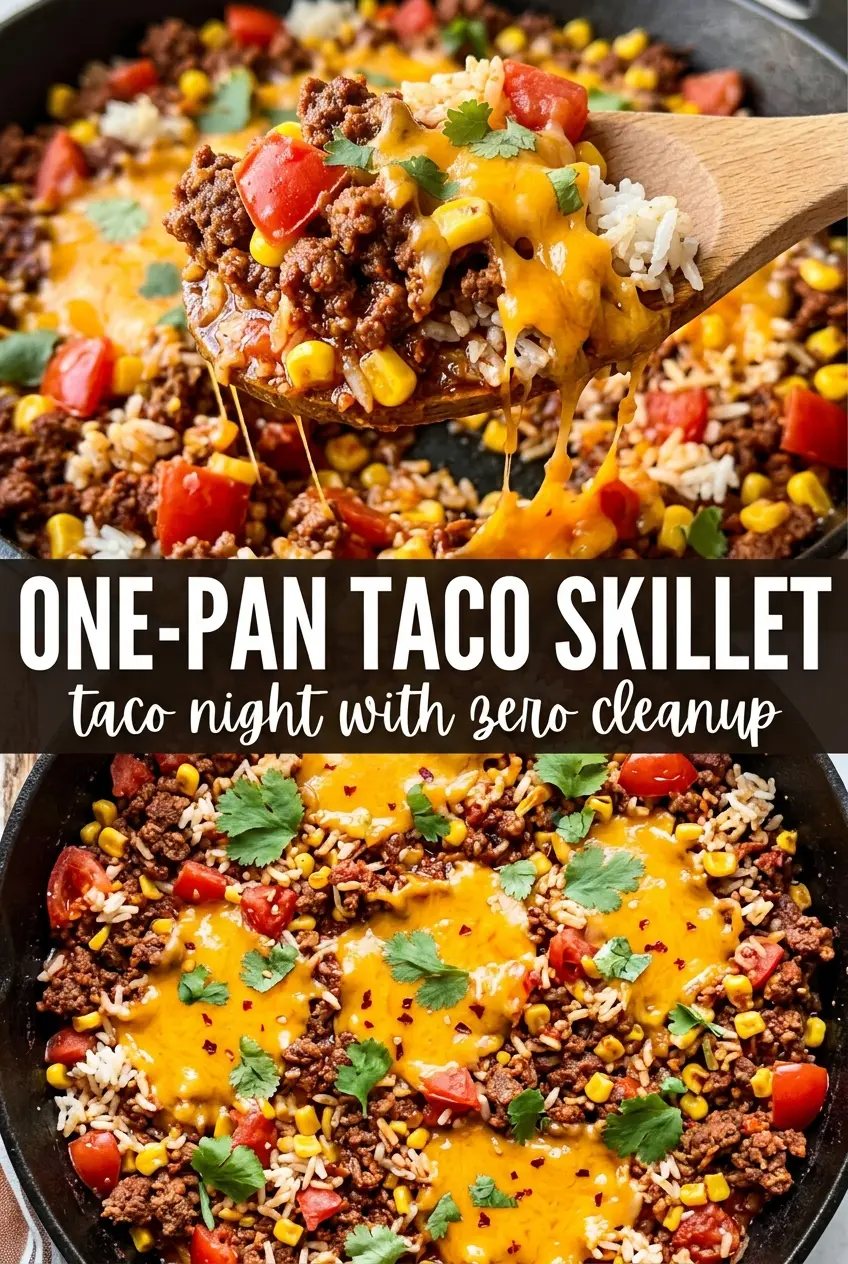
Scatter the shredded cheese over the top, cover the skillet, and heat just until the cheese melts into a smooth layer. Don’t leave it covered too long or the beans and corn can start to lose their texture. As soon as the cheese looks glossy and has softened all the way across the top, take the skillet off the heat and finish it with sour cream, guacamole, jalapeños, cilantro, and lime.
How to Adapt This Taco Skillet for Different Nights
Make It with Ground Turkey
Ground turkey works well here if you want something lighter, but it needs the broth and tomatoes to keep the filling from tasting dry. Use the same method, and don’t skip the onion, because turkey benefits from the extra savoriness.
Make It Dairy-Free
Leave off the cheese or use a dairy-free shredded blend that melts well. The skillet itself is already dairy-free, so the toppings are the only part you need to change. Add extra cilantro, avocado, and lime so the finish still feels bright and full.
Make It Lower-Carb
Skip the corn and add an extra half can of black beans if you want to keep some bulk without the extra starch. You’ll lose a little sweetness, so a squeeze of lime at the end matters even more.
Storage and Reheating
- Refrigerator: Store leftovers in an airtight container for up to 4 days. The filling thickens as it chills, which is normal.
- Freezer: It freezes well for up to 2 months. Cool it completely first, then freeze without the fresh toppings for the best texture.
- Reheating: Warm it gently in a skillet over medium-low heat with a splash of broth or water. The biggest mistake is blasting it in the microwave until the cheese separates and the beef dries out.
Questions I Get Asked About This Recipe
One-Pan Taco Skillet
Ingredients
Equipment
Method
- Brown ground beef with diced onion in a large cast iron skillet over medium-high heat, then drain off excess fat.
- Add taco seasoning and water, stir to coat, and simmer for 2 minutes until the seasoning smells toasted.
- Stir in black beans, frozen corn, Rotel diced tomatoes, and beef broth, then bring the mixture to a simmer.
- Cook for 5–7 minutes, stirring once or twice, until the sauce thickens slightly.
- Top the skillet with shredded Mexican cheese blend.
- Cover the skillet and heat for 2 minutes until the cheese is fully melted and glossy.
- Serve immediately with sour cream, guacamole, jalapeños, cilantro, and lime wedges.