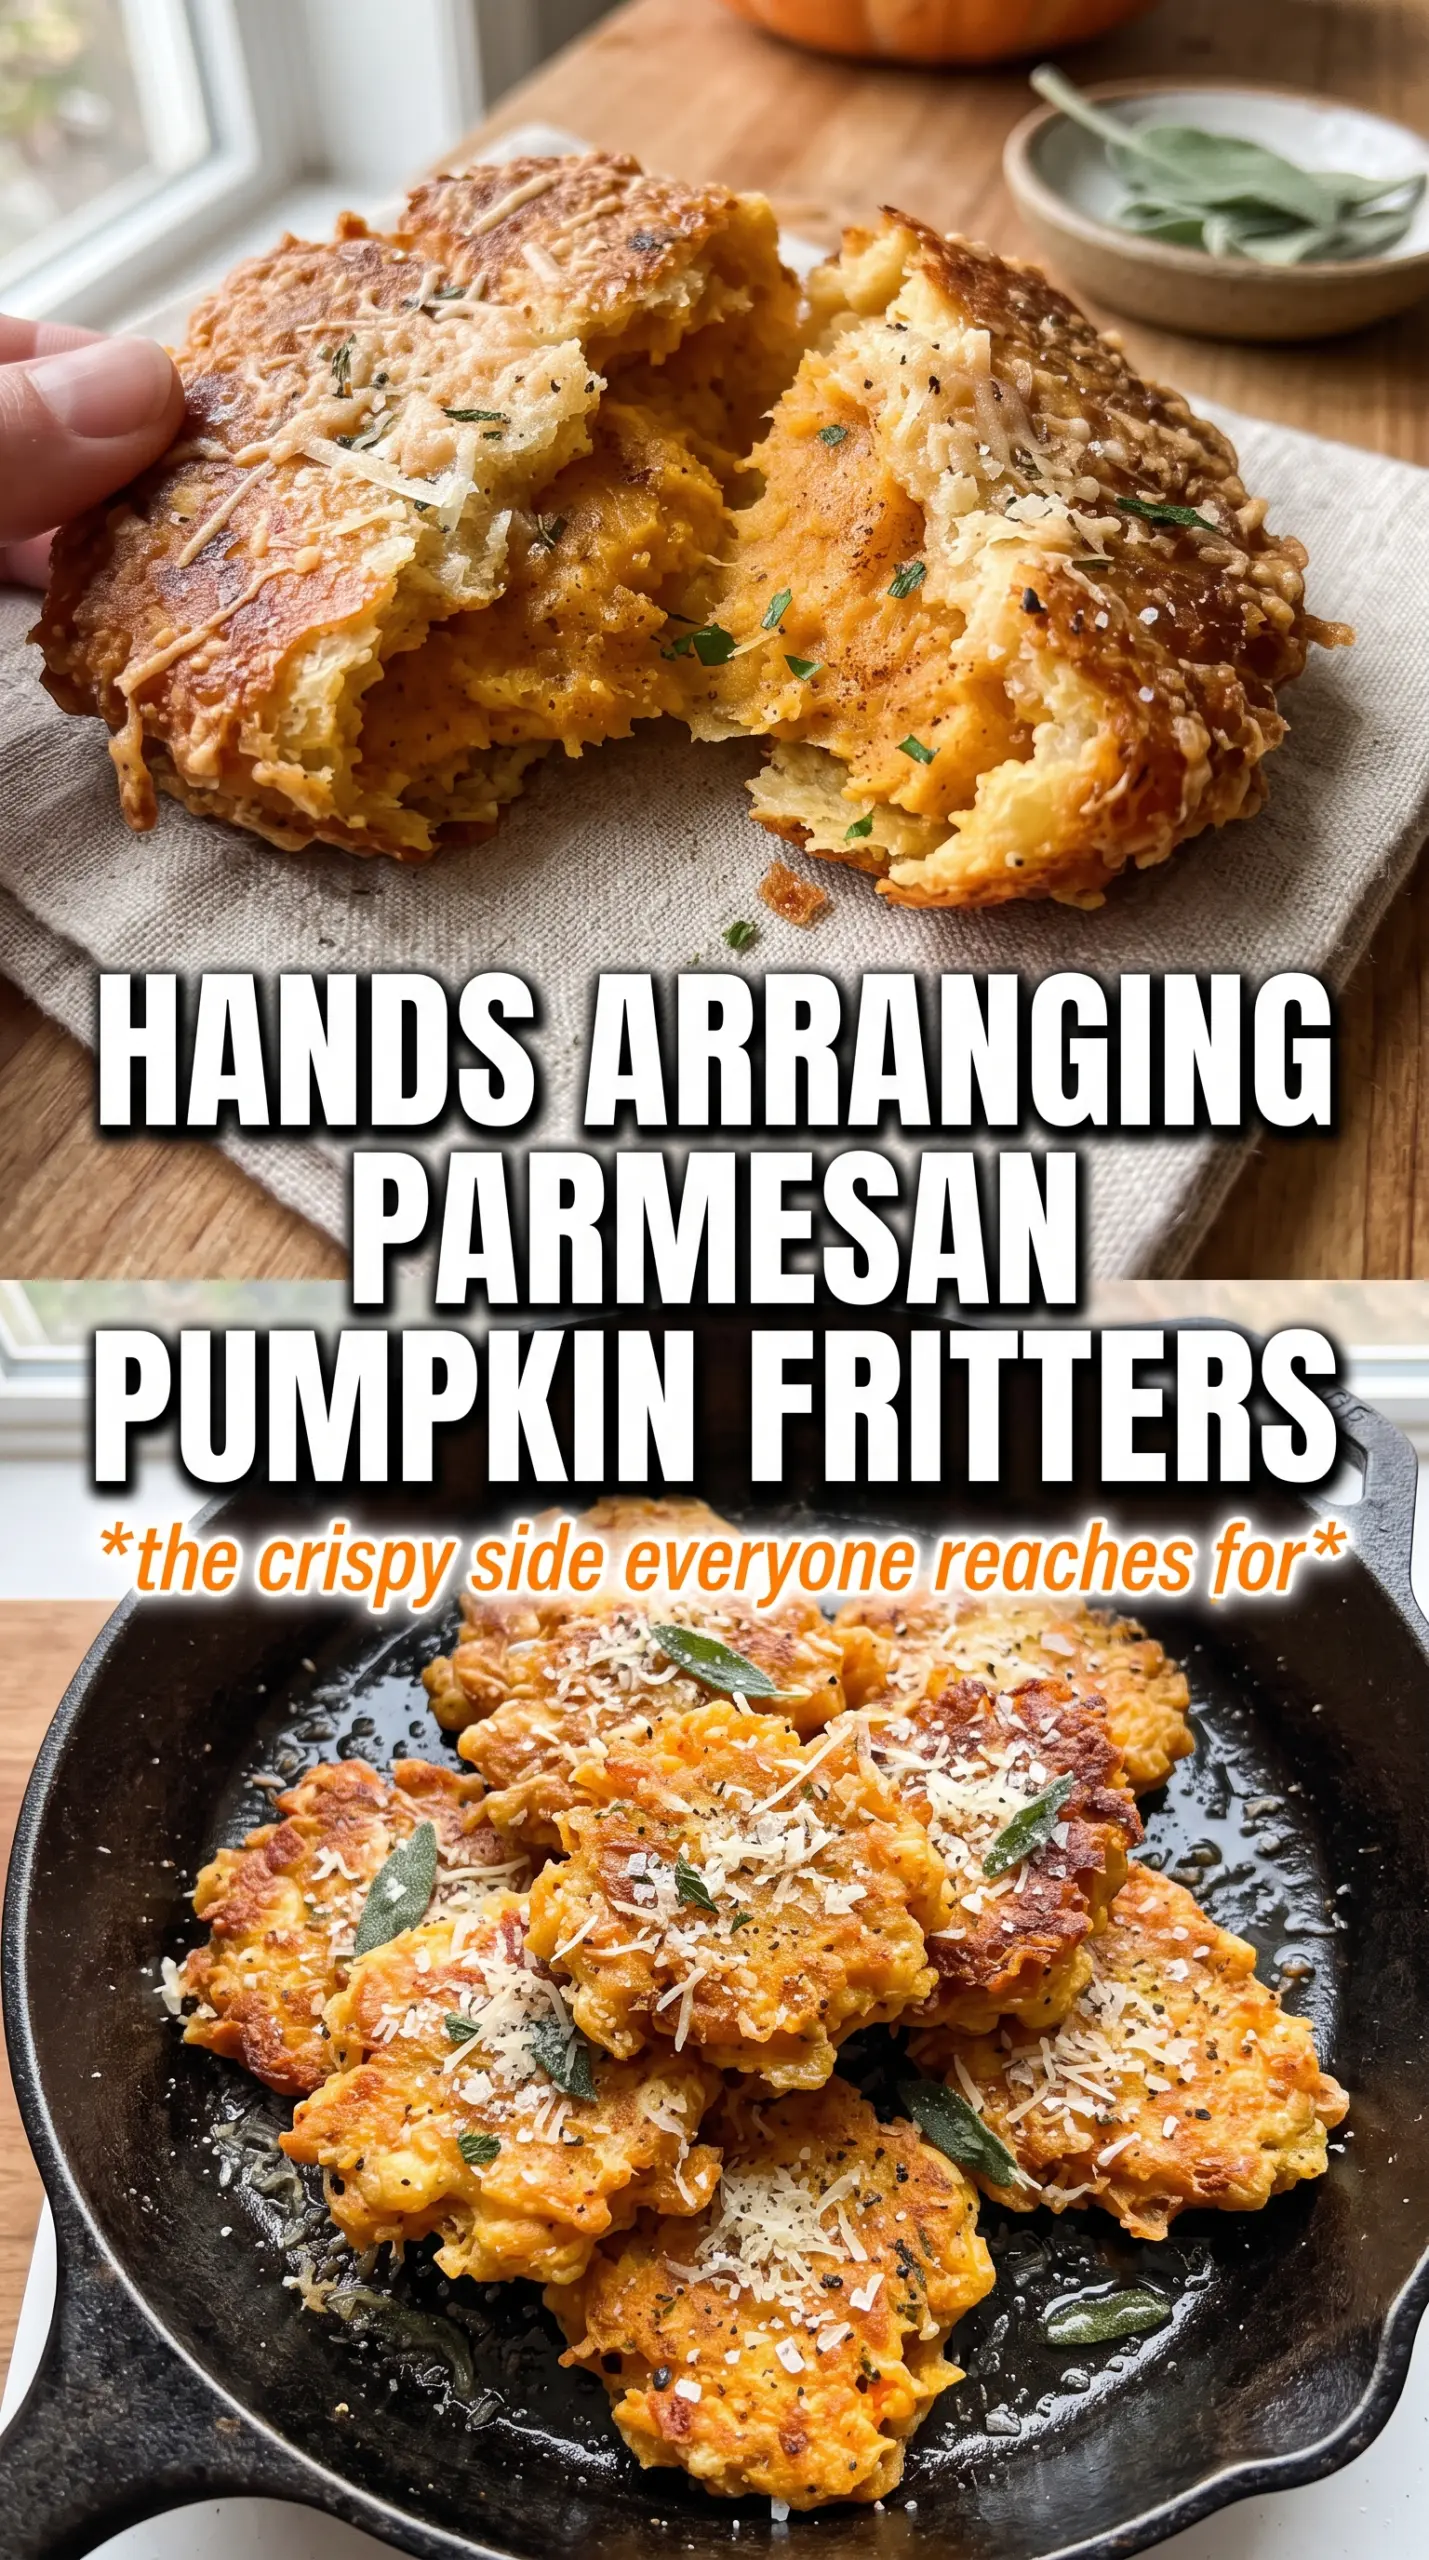
Parmesan pumpkin fritters are the kind of side dish that disappears from the pan faster than you expect. The edges turn deeply golden and crisp while the centers stay tender and savory, with enough pumpkin flavor to keep them from tasting like just another vegetable pancake. The parmesan does more than add saltiness; it gives the fritters their lacy, bronzed crust and helps them hold together in the skillet.
The part that makes this recipe work is moisture control. Pumpkin puree can look thick and still carry a lot of water, and if you skip the blotting step the fritters spread, steam, and go soft before the crust has a chance to form. A short rest on paper towels changes everything. I also keep the seasoning simple and direct: chives or sage for freshness, garlic for depth, and a little nutmeg to round out the pumpkin without making it taste like dessert.
Below, I’ve included the details that matter most when you’re frying these so they stay crisp, plus a few easy ways to adapt them if you want to swap herbs or make them gluten-free.
The fritters held together beautifully and got that crisp parmesan crust I was hoping for. Blotting the pumpkin first made a huge difference — mine browned instead of turning soggy.
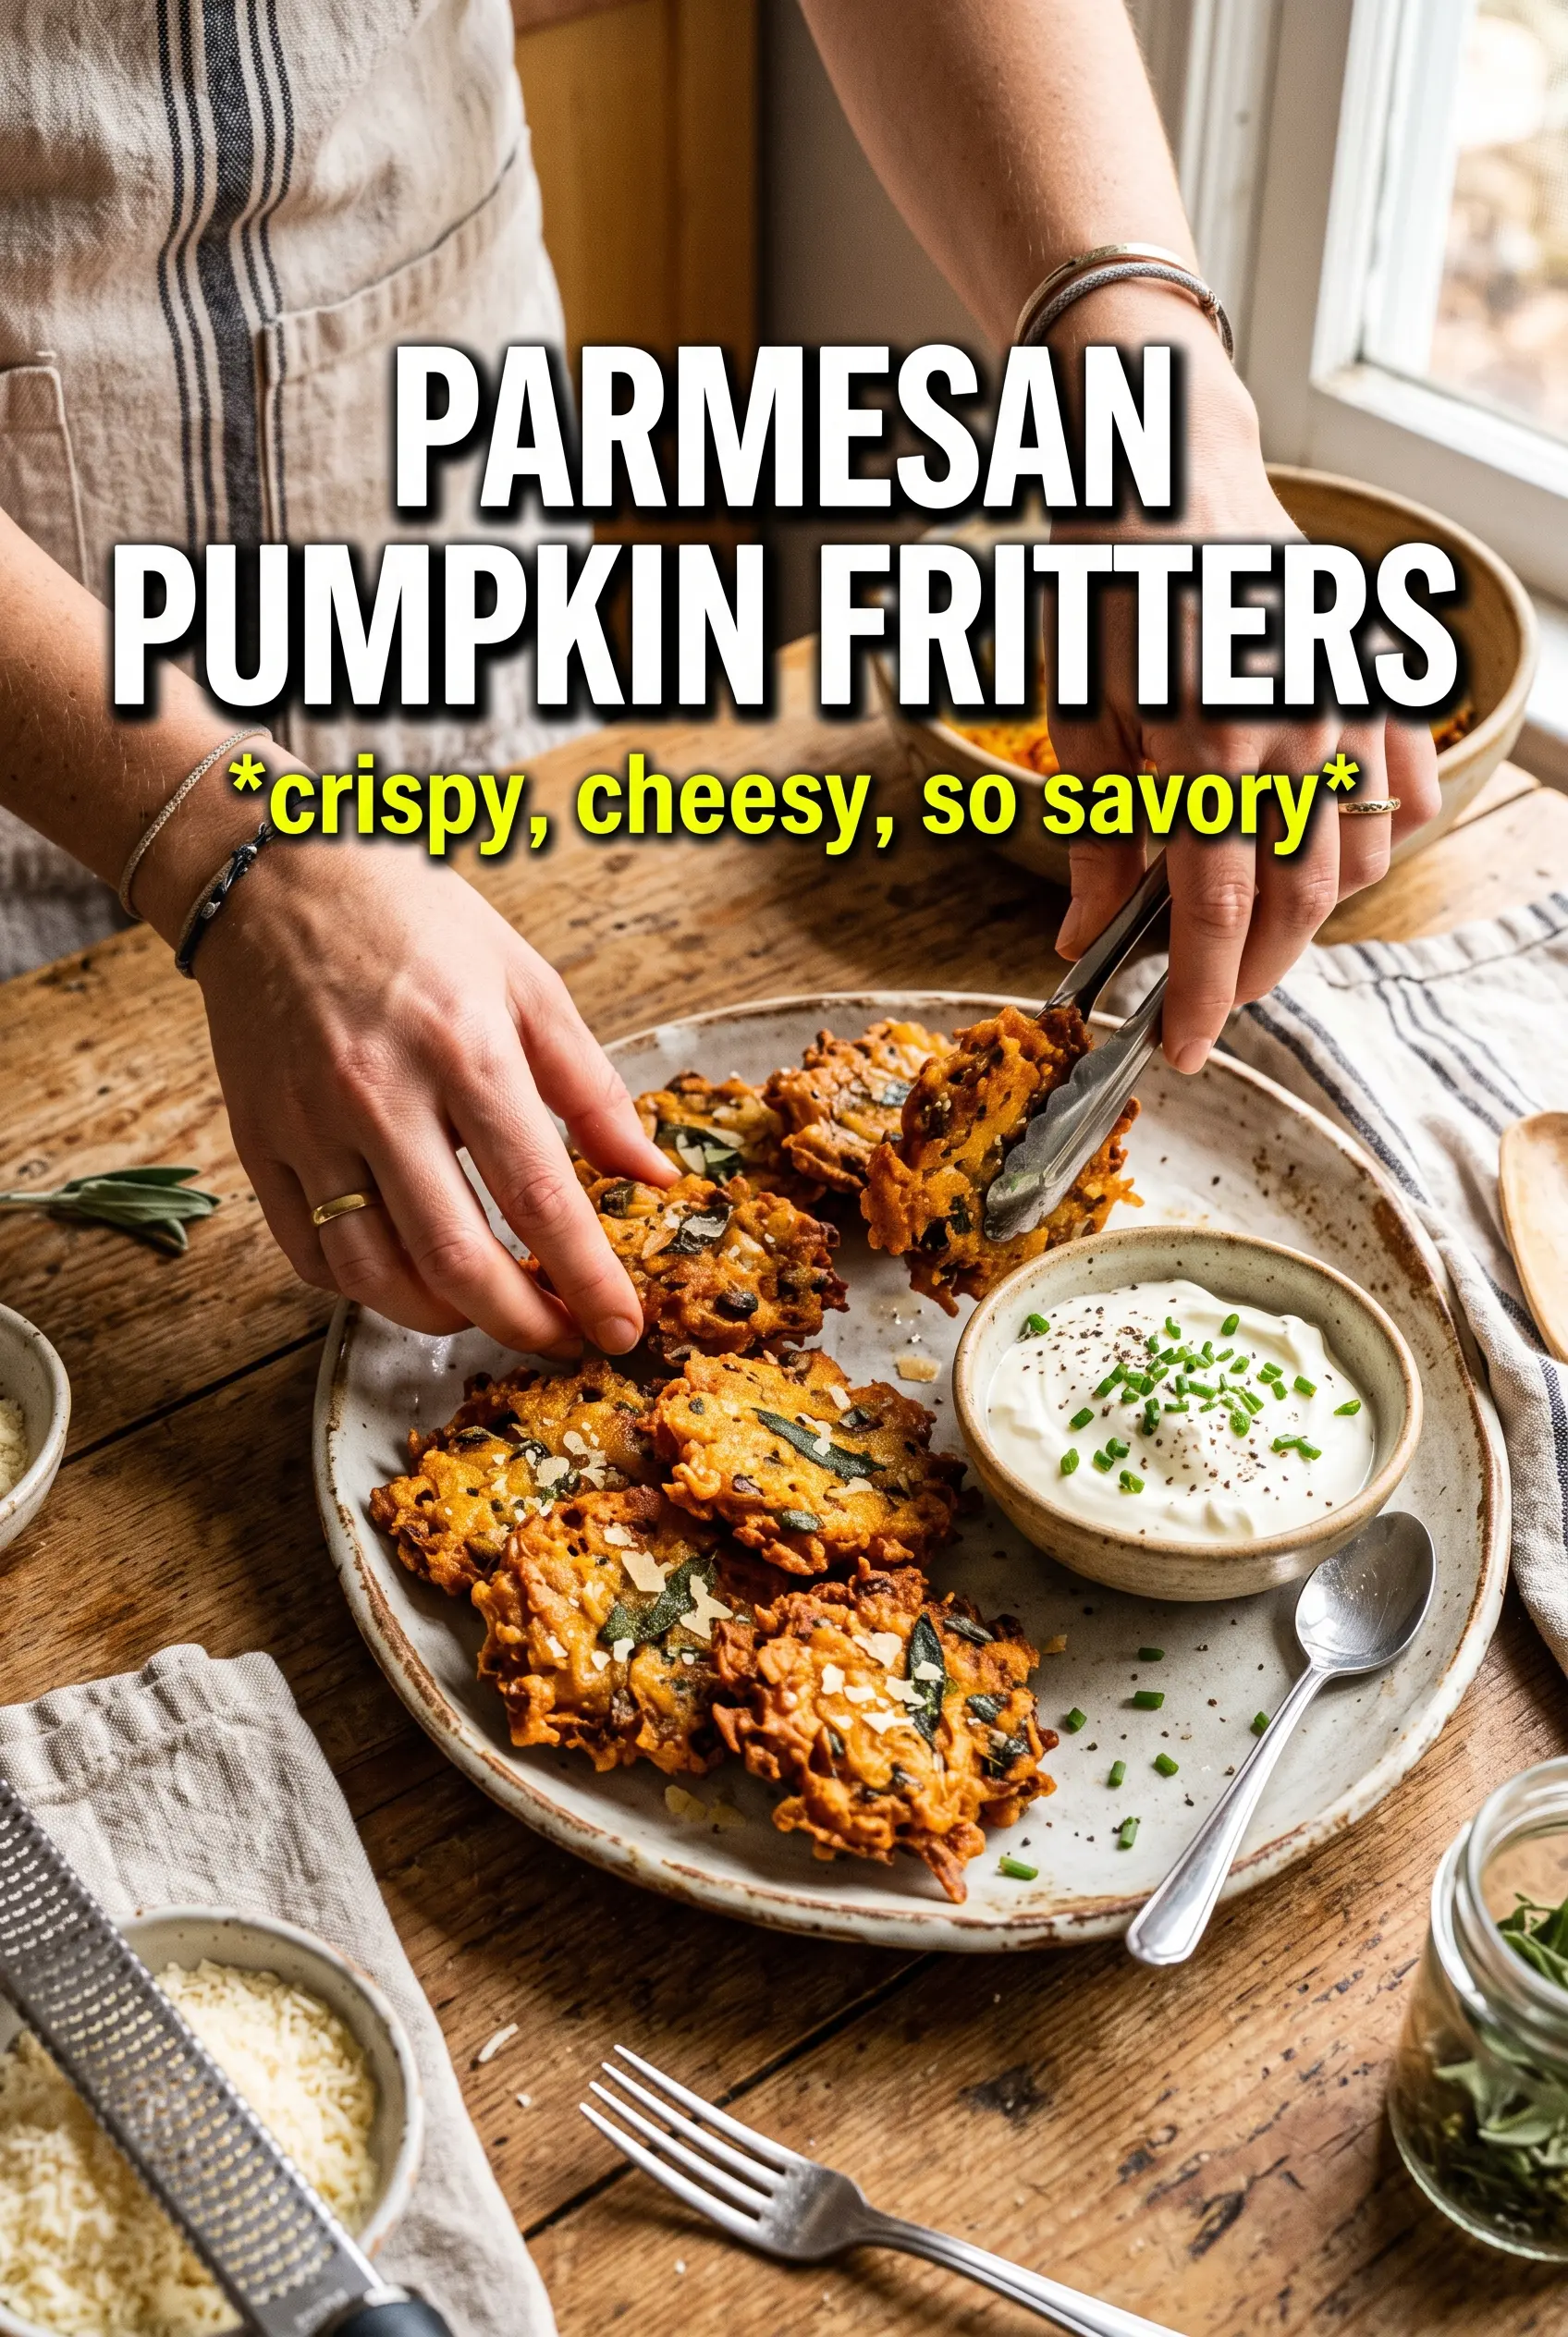
Save these Parmesan Pumpkin Fritters for the nights when you want a crisp, savory side with a creamy sour cream dip.
The Dry Pumpkin Trick That Keeps These Fritters Crispy
Pumpkin fritters fail in the same way potato pancakes fail: too much moisture and not enough structure. If the puree is even a little wet, the batter loosens in the pan, the fritters spread, and the edges never get the hard, crisp shell you want. Blotting the pumpkin until it feels almost pasty is the difference between a fritter that fries and one that steams.
The second thing that matters is heat. Medium heat gives the parmesan time to brown before the eggs in the batter turn the outside rubbery. If the skillet is too hot, the outside darkens before the center sets. If it’s too cool, the fritters soak up oil and taste heavy instead of crisp.
- Blotted pumpkin puree — This is the structural base. Canned puree works fine, but it needs to be pressed between paper towels until it loses that wet, glossy look.
- Finely grated parmesan — The fine grate melts into the batter and helps form the crust. Pre-grated parmesan won’t melt as smoothly and can leave the fritters a little grainy.
- Flour — Just enough to bind the batter without making it cakey. If you add too much, the fritters get bready and lose that soft center.
What Each Ingredient Is Actually Doing in This Batter
- Pumpkin puree — This gives the fritters their body and earthy sweetness. Fresh cooked pumpkin can work, but canned puree is more predictable as long as you dry it well.
- Eggs — They bind the batter and help the fritters set in the skillet. If you reduce the eggs, the mixture gets crumbly and harder to flip.
- Parmesan — This adds salt, savoriness, and the crisp edges that make the recipe stand out. Grating it yourself gives the best melt and browning.
- Chives or sage — Chives keep things light and grassy, while sage brings a warmer, more classic pumpkin note. Use fresh herbs here; dried herbs read dusty in a fritter like this.
- Nutmeg — Just a little is enough. It doesn’t make the fritters taste sweet; it quietly supports the pumpkin and parmesan.
Getting the Batter Into the Pan Without Losing the Crust
Mix Just Until the Batter Comes Together
Once the pumpkin is dry, mix it with the eggs, parmesan, flour, herbs, garlic, salt, pepper, and nutmeg until everything is evenly distributed. Stop as soon as you no longer see dry flour. If you beat the batter hard, the flour tightens up and the fritters can turn dense instead of tender.
Let the Skillet Tell You When It’s Ready
Heat a thin layer of olive oil over medium heat and wait until it shimmers. Drop a small bit of batter into the pan; if it sizzles right away without smoking, you’re in the right zone. If the oil is barely moving, the fritters will absorb it. If it smokes, the outside will brown before the inside has time to set.
Press, Fry, and Leave Them Alone
Use about 3 tablespoons per fritter and flatten each mound lightly with the back of a spoon. You want enough thickness to keep the centers soft, but not so much that they stay raw in the middle. Let them cook 3 to 4 minutes per side until the bottoms are deeply golden and the edges look set before you flip. If you try to turn them too soon, they’ll tear.
Drain Briefly, Then Serve Right Away
Set the cooked fritters on paper towels just long enough to catch excess oil. Don’t stack them hot or the steam will soften the crust. Serve them while the edges are still crisp with sour cream and a scatter of fresh chives.
How to Change These Fritters Without Losing the Crisp Edge
Gluten-Free Version
Swap the all-purpose flour for a 1:1 gluten-free baking blend. The texture stays close to the original, though the fritters may be a touch more delicate when flipping, so let the first side set fully before you turn them.
Dairy-Free Adaptation
Use a dairy-free hard-style cheese alternative in place of the parmesan. You’ll lose a little of that sharp, nutty crust, but the fritters will still brown well if the substitute is finely grated and not overly moist.
Herb Swap for a Different Finish
Use sage for a warmer, more savory result, or keep chives for a fresher finish. Both work, but sage reads a little more autumnal and chives keep the fritters brighter next to the sour cream.
Storage and Reheating
- Refrigerator: Store leftovers in an airtight container for up to 3 days. They’ll soften a bit in the fridge, which is normal.
- Freezer: Freeze in a single layer, then move to a freezer bag for up to 2 months. They freeze well, but the crust is best before freezing.
- Reheating: Reheat on a baking sheet in a 400°F oven or in a dry skillet over medium heat until the edges crisp again. The common mistake is microwaving them, which makes the exterior soft and the center gummy.
Questions I Get Asked About This Recipe
Parmesan Pumpkin Fritters
Ingredients
Equipment
Method
- Blot the pumpkin puree extremely dry between paper towels to remove excess moisture. Press firmly and swap paper as needed.
- Combine blotted pumpkin puree, eggs, parmesan, all-purpose flour, minced chives (or sage), minced garlic, salt, black pepper, and nutmeg until just combined. Stop mixing as soon as the batter comes together.
- Heat olive oil in a skillet over medium heat until shimmering. Keep the heat at medium so the outside browns without burning.
- Drop 3-tablespoon portions of batter into the skillet and flatten slightly. Leave space so each round can crisp evenly.
- Cook the first side 3-4 minutes, until golden and crispy. If the edges darken too fast, lower the heat slightly.
- Flip the fritters and cook 3-4 minutes more, until golden and crispy on the second side. Press lightly only if the rounds won’t hold together.
- Transfer fritters to paper towels and drain in batches. Repeat with the remaining batter, adding more olive oil to the skillet as needed.
- Serve the fritters immediately with sour cream and extra chives. Plate while still crisp for the best texture.