Golden, bubbling apple crisp is at its best when the topping turns deeply browned and the apples underneath soften into a spoonable filling without collapsing into mush. This version gets both parts right: tart Granny Smith apples hold their shape, while the oat crumble bakes into thick, buttery clumps with crisp edges and a little chew in the middle. The result is the kind of dessert that disappears fast once it hits the table.
The little details matter here. A touch of flour in the apple layer keeps the juices from turning watery, and the cold butter in the topping creates those craggy crumbs that make apple crisp worth serving in the first place. Baking powder sounds small, but it helps the crumble lift and stay sandy instead of packing down into a dense sheet.
Below, I’ll walk through the parts that keep the topping crisp and the filling from going soupy, plus the best way to adapt it if you need to change the fruit or work ahead.
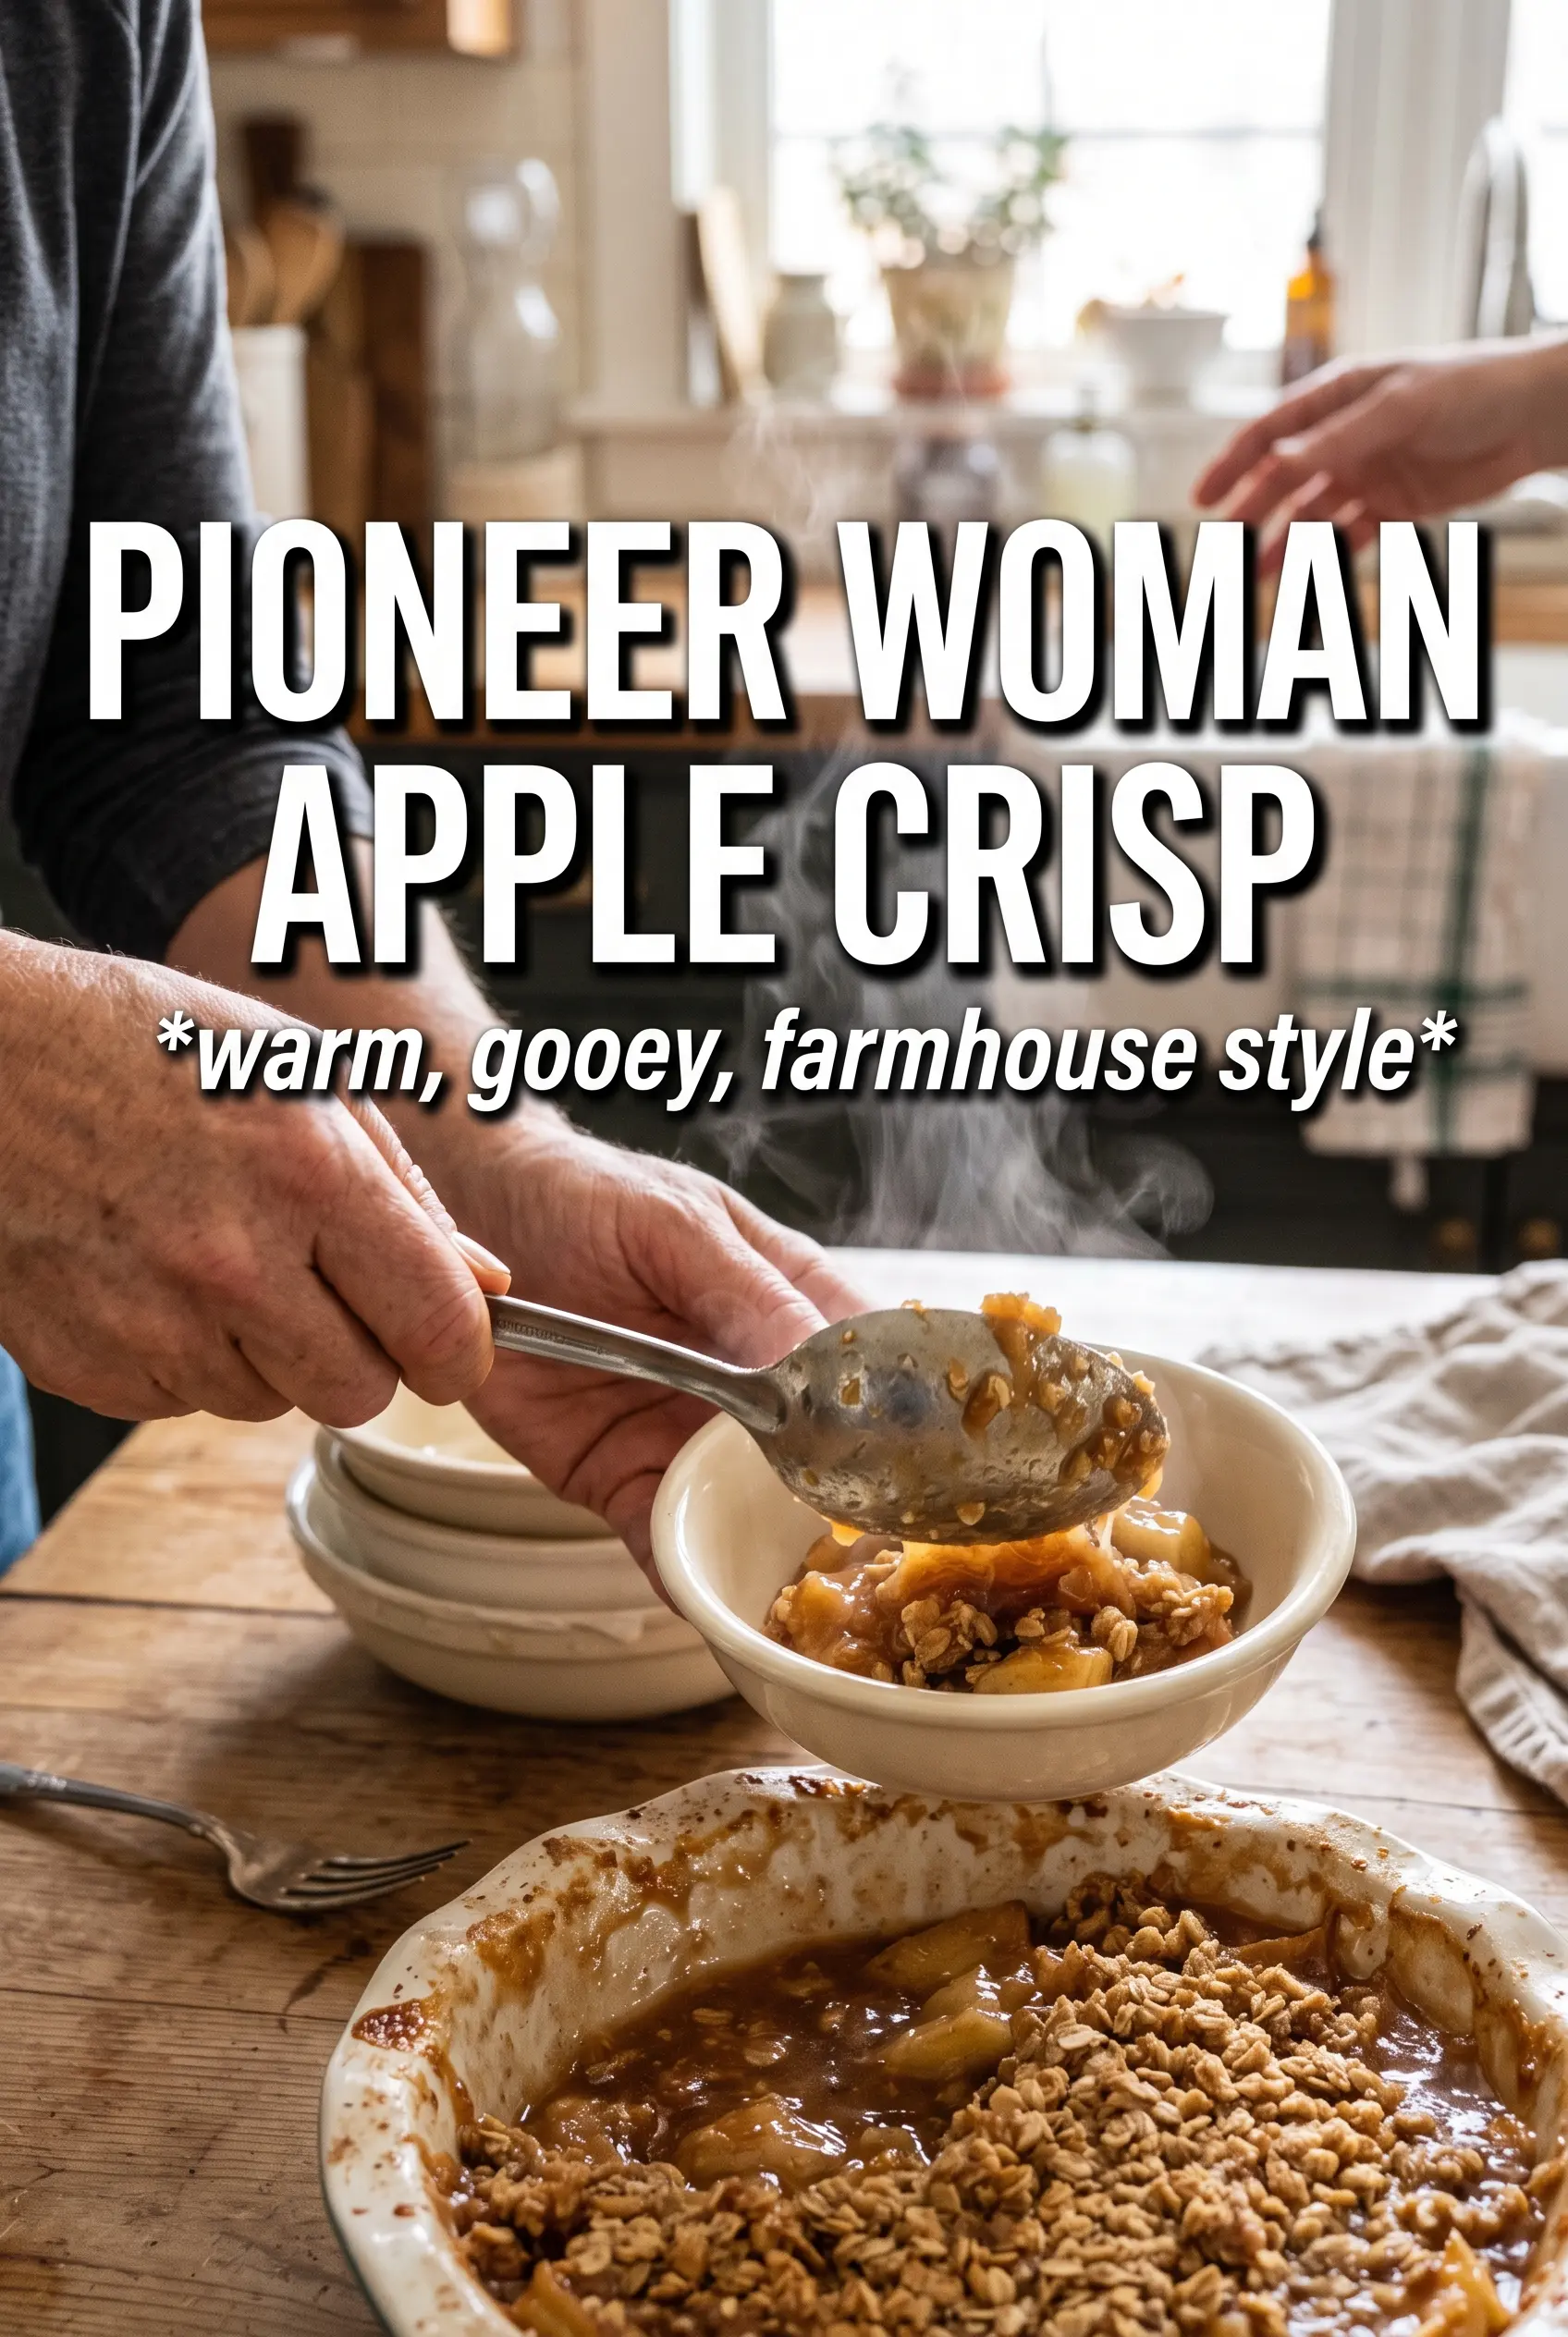
The topping baked up in big buttery clumps instead of turning sandy, and the apples were tender with just enough bite. I served it with vanilla ice cream and the pan was empty faster than I expected.
Save this Pioneer Woman Apple Crisp for the nights when you want a bubbling fruit dessert with a thick brown sugar-oat crumble and no fuss.
The Apple Layer That Keeps the Crisp from Turning Watery
The biggest mistake in apple crisp is treating the fruit like it only needs sweetener. Apples release a lot of juice as they bake, and if the filling has no structure, that juice runs thin and pools under the topping. The flour in the filling looks minor, but it helps the juices thicken enough to cling to the fruit instead of soaking the crumble from below.
Granny Smith apples earn their place here because they stay tart and firm in the oven. Softer apples can taste nice, but they tend to break down too quickly and leave you with a jammy layer instead of distinct slices. If your apples are on the sweet side, the dessert can still work, but the filling will lose that sharp contrast against the brown sugar topping.
- Granny Smith apples — Their tartness balances the topping, and their firm texture keeps the fruit from dissolving during the long bake.
- Flour in the filling — Just enough to thicken the juices. Cornstarch works in a pinch, but it can turn the filling a little glossier and less rustic.
- Cinnamon — It should support the apples, not dominate them. Too much and the filling starts tasting muddy instead of bright.
What the Oat Crumble Is Really Doing Here
Ingredients for the topping aren’t just about sweetness. The oats give the crumble body and a little chew, while the mix of brown sugar and granulated sugar creates both caramel depth and crispness. Brown sugar brings moisture, so the granulated sugar matters too; it helps the top bake up with a drier, snappier finish.
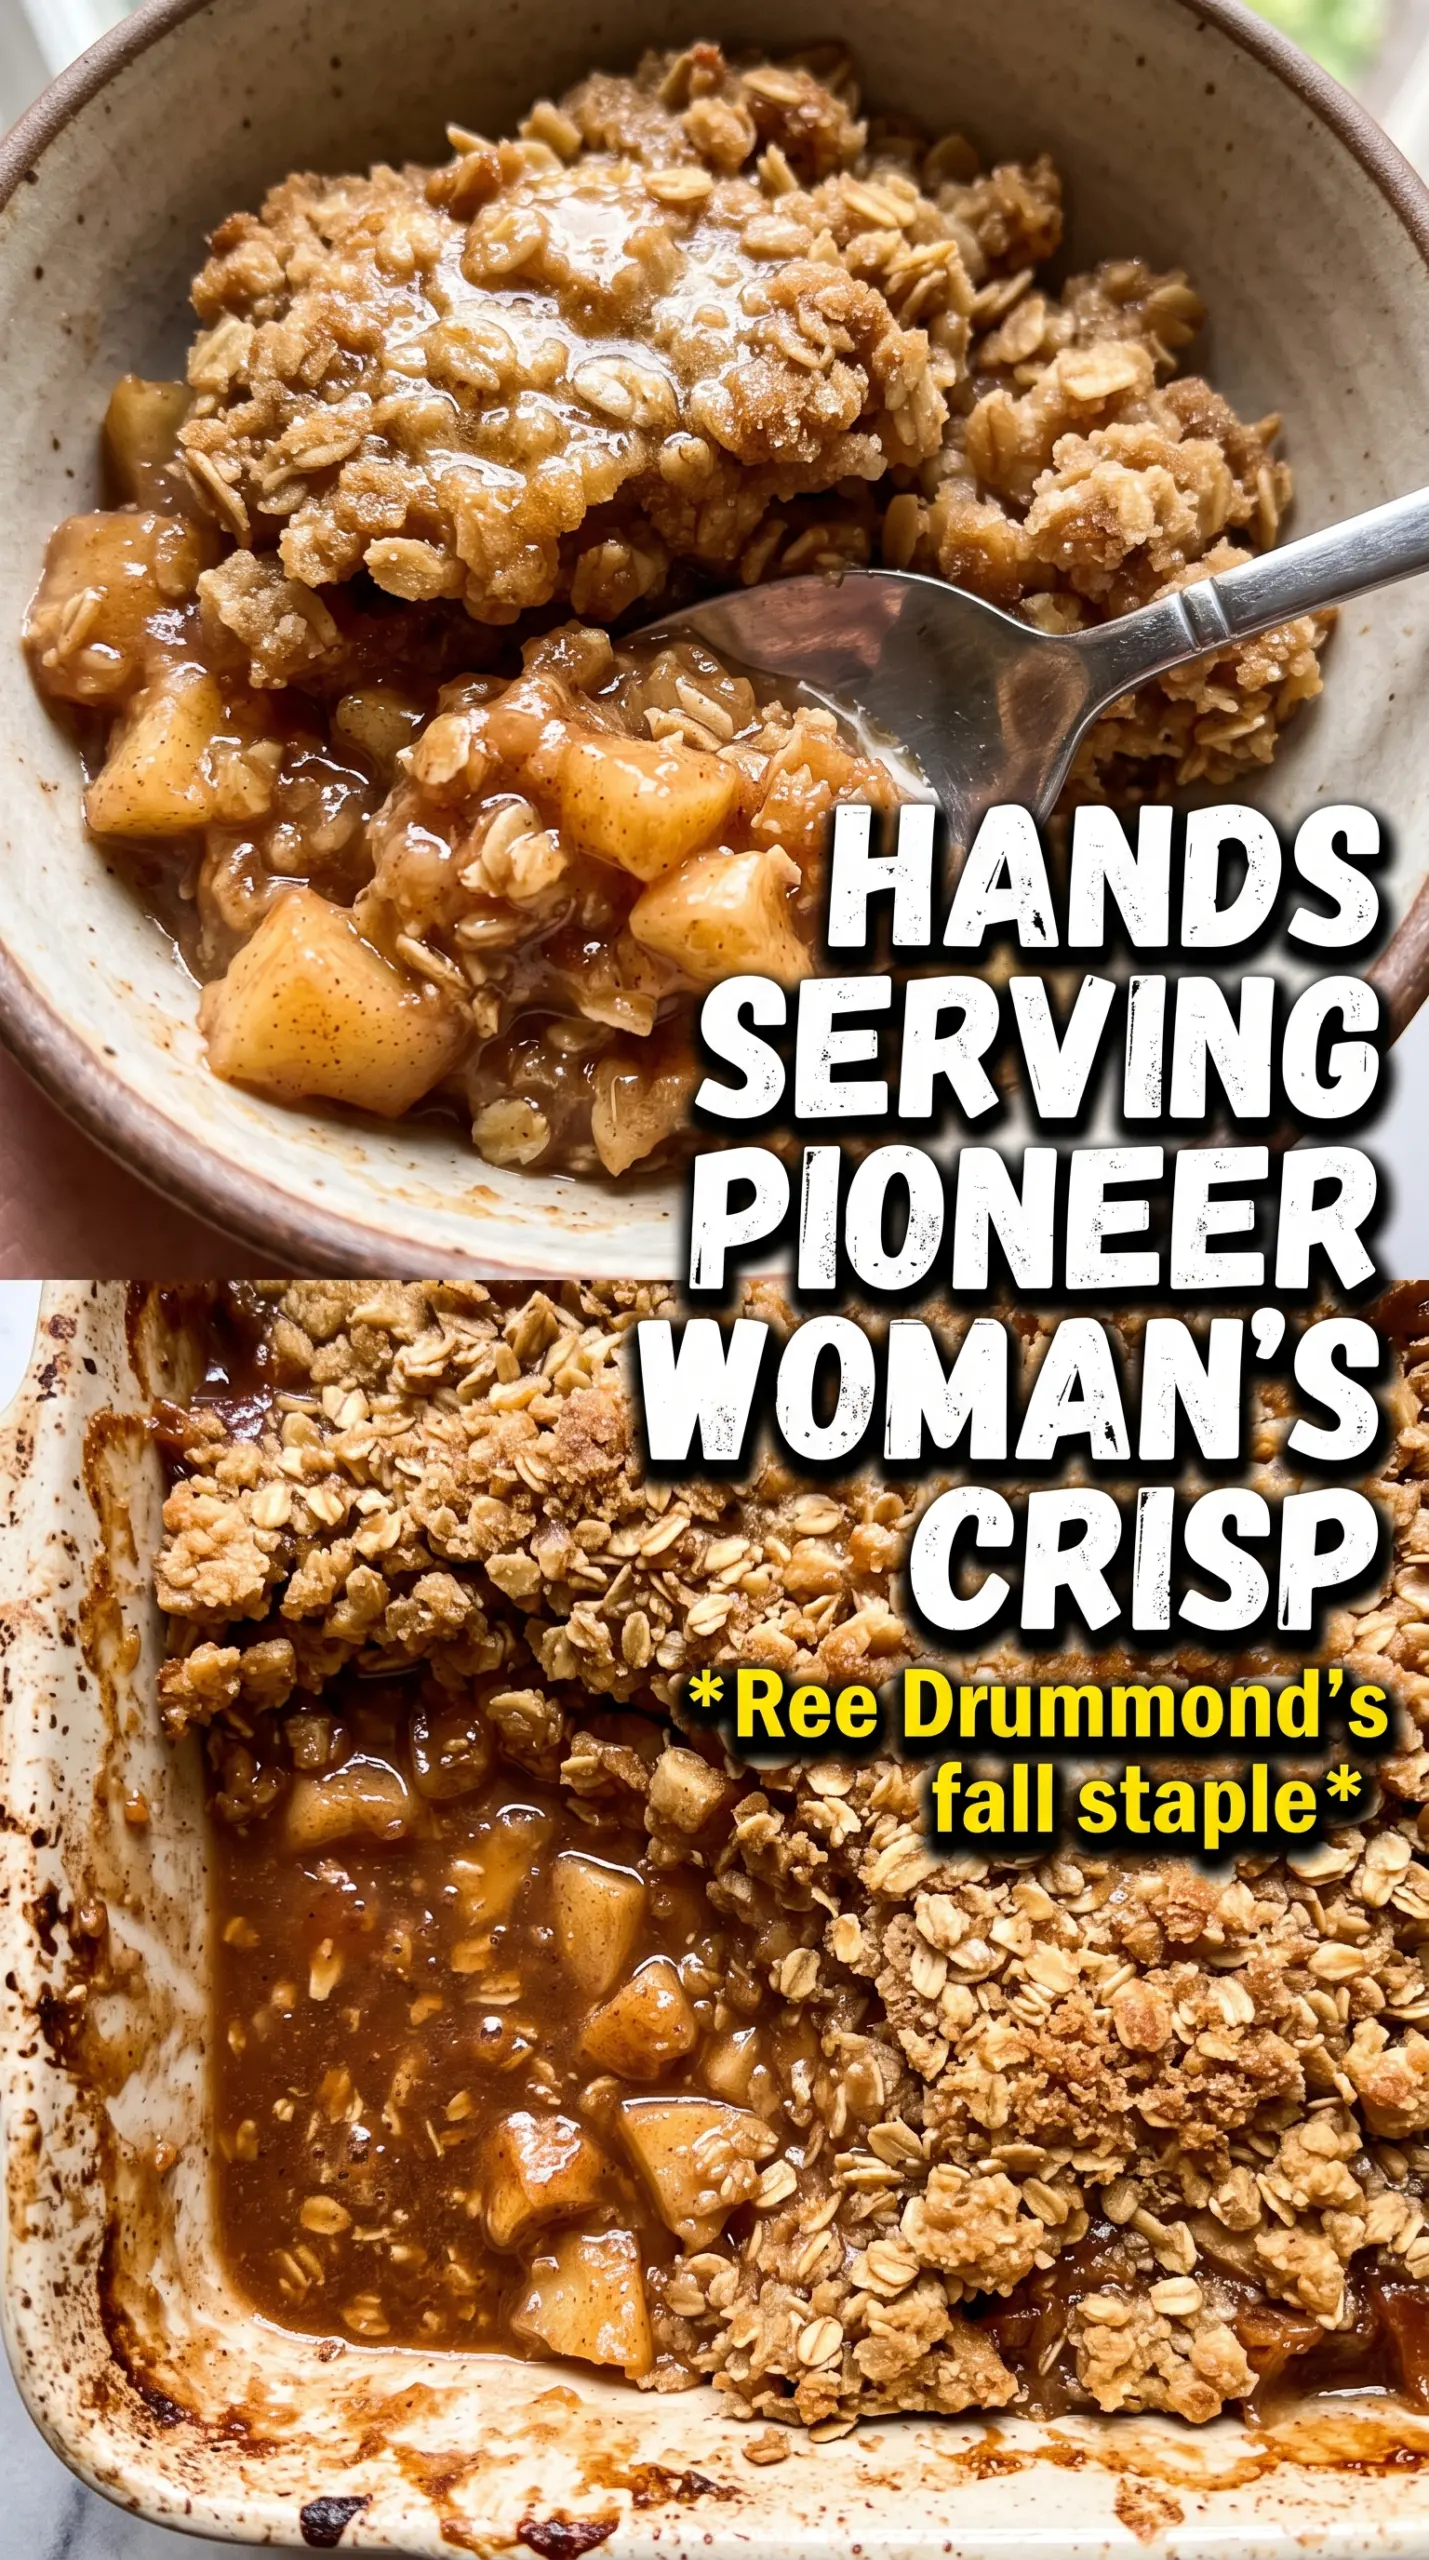
- Rolled oats — Use old-fashioned oats, not quick oats. Quick oats collapse too much and make the topping pasty instead of craggy.
- Cold butter — Cold cubes are the difference between a sandy topping and one with large, buttery clumps. Warm butter melts into the dry mix before the oven gets a chance to create texture.
- Baking powder — This helps the topping stay light enough to break apart when you spoon into it. Without it, the crumble can bake into a denser crust.
- Brown sugar — This gives the topping that caramel edge and a deeper color. Light brown sugar is fine; dark brown sugar makes it more molasses-heavy.
Building the Crisp So the Topping Stays Chunky
Coating the Apples First
Toss the sliced apples with the sugar, flour, and cinnamon before they go into the pan. That coating starts pulling the fruit juices together right away, so the filling thickens in the oven instead of leaking out under the topping. Spread the apples in an even layer so they soften at the same pace; a piled-up center bakes unevenly.
Making Large Butter-Streaked Clumps
Mix the topping until the butter is cut in but still visible in pea-sized and walnut-sized pieces. Those little streaks of butter melt and leave behind pockets of crunch. If the mixture starts looking like damp sand, you’ve gone too far, and the crumble will bake up flat instead of bumpy.
Baking Until the Edges Bubble
Pull the crisp only when the topping is deeply golden and the filling is bubbling around the perimeter. That bubbling is the signal that the apples have released enough juice and the flour has thickened it properly. If the top browns before the filling bubbles, lay a sheet of foil loosely over the dish and keep baking until you see steady movement at the edges.
Make It With Pears Instead of Apples
Use firm pears and keep the slices thick so they don’t vanish during baking. Pears bring a softer, floral sweetness, so the filling tastes less tart and a little more delicate, but you’ll still want the flour thickener because pears release plenty of juice too.
Gluten-Free Apple Crisp
Swap the all-purpose flour in the filling and topping with a good 1:1 gluten-free baking blend. The texture stays close to the original, though the topping may bake a little more tender than crisp. Check that your oats are certified gluten-free if that matters for your kitchen.
Dairy-Free Version
Use a plant-based butter that bakes well and stays solid when cold. The crisp won’t taste exactly the same because butter brings a distinct richness, but you’ll still get good browning and a sturdy crumb if the substitute holds shape in the dough.
Storage and Reheating
- Refrigerator: Store covered for up to 4 days. The topping softens a bit as it sits, but the flavor holds up well.
- Freezer: It freezes reasonably well after baking. Cool completely, wrap tightly, and freeze for up to 2 months; thaw overnight in the refrigerator before reheating.
- Reheating: Warm in a 325°F oven until the center is hot and the topping crisps back up. The common mistake is microwaving it until the apples are hot but the topping turns soggy.
Questions I Get Asked About This Recipe
Pioneer Woman Apple Crisp
Ingredients
Equipment
Method
- Preheat the oven to 350F. Generously butter a 9x13 baking dish so the topping can crisp and release cleanly.
- Toss the apple slices with granulated sugar, all-purpose flour, and cinnamon. Pour into the baking dish and spread into an even layer.
- Combine all-purpose flour, rolled oats, brown sugar, granulated sugar, cinnamon, baking powder, and salt in a bowl. Mix until the dry ingredients are evenly distributed.
- Cut in the cold cubed butter with your hands until large, butter-streaked clumps form. Stop once the mixture looks crumbly but still clumps together when pinched.
- Pour the topping over the apples and spread evenly to cover the surface. Ensure the crumble reaches the edges so it turns golden and crisp.
- Bake for 55-60 minutes until the topping is golden brown and the apple filling bubbles at the edges. Rest briefly during serving so juices thicken slightly.
- Serve warm with whipped cream or ice cream. Add right before eating for the best contrast between crisp topping and warm fruit.