Pumpkin chili hits the bowl with a thick, spoon-coating body and a deep, savory warmth that tastes like it simmered all afternoon. The pumpkin doesn’t make it sweet or dessert-like; it smooths out the tomatoes, rounds the spice, and gives the chili a richer texture than a standard bean-heavy pot. Every bite feels hearty, balanced, and just a little more substantial than you expect from a 40-minute dinner.
The key is blooming the spices in the pan after the onion softens. That short minute or two wakes up the chili powder, cumin, smoked paprika, and cinnamon so they taste layered instead of dusty. Pumpkin puree also works best when it gets time to simmer with the tomatoes and broth, because it needs that gentle heat to blend into the base and lose any canned aftertaste.
Below, I’ll walk through the part that matters most: how to keep the chili thick without turning it pasty, how to season it at the end, and what changes when you want to make it with turkey, extra heat, or a dairy-free topping.
The pumpkin made the chili thick and hearty without tasting sweet, and the cinnamon gave it this warm depth that tasted like it had been simmering for hours. I used turkey and it still came out rich.
Save this pumpkin chili for a thick, cozy pot of dinner that gets even better after the flavors settle together.
The Secret to Keeping Pumpkin Chili Thick, Not Pastelike
Most pumpkin chili goes wrong when the pumpkin is treated like a flavor bomb instead of a texture builder. It should thicken the pot and soften the tomato edge, not take over the whole bowl. That’s why this version leans on broth, beans, and diced tomatoes for structure, then lets the pumpkin quietly do the work in the background. If the heat is too high during the simmer, the bottom can catch before the pumpkin has time to melt into the broth, and the chili ends up tasting flat instead of balanced.
The other common mistake is stopping too soon. Right after the beans go in, the chili will look loose. After 25 to 30 minutes at a steady simmer, the beans release a little starch, the pumpkin settles in, and the liquid turns glossy and thick. That’s the point where it starts to eat like chili instead of soup.
- Browned beef gives the pot its savory base. Don’t rush that step; the browned bits on the bottom are part of the depth.
- Pumpkin puree adds body without turning the chili sweet. Use plain puree, not pumpkin pie filling.
- Beans help thicken the broth as they simmer and make the chili feel substantial.
- Broth keeps everything loose enough to simmer. Start with the full amount, then cook it down until the texture looks right.
What Each Ingredient Is Actually Doing in the Pot

- Ground beef or turkey gives the chili its backbone. Beef brings a richer finish, while turkey keeps it lighter; both work because the spice and pumpkin carry the flavor either way.
- Pumpkin puree is the ingredient that changes the texture the most. Canned puree is the right choice here because it’s smooth and consistent; fresh pumpkin can be watery and less predictable.
- Rotel and diced tomatoes build the tangy, slightly smoky tomato base. If you want less heat, use plain diced tomatoes and add a little extra chili powder at the end instead.
- Black beans and kidney beans bring body, bite, and a fuller chili feel. Drain them well so the broth stays seasoned instead of muddy.
- Chili powder, cumin, smoked paprika, and cinnamon make the flavor taste layered, not one-note. The cinnamon should stay in the background; it warms the pot without reading as sweet.
Building the Pot So the Flavors Melt Together
Brown the Meat First
Cook the ground beef or turkey in a large pot until it loses its pink color and picks up some browned edges. If you’re using beef, drain off the excess fat so the chili doesn’t turn greasy; if you leave too much behind, the pumpkin can’t balance it out later. A little browning matters here because it gives the whole pot a deeper, meatier taste before anything else goes in.
Wake Up the Spices in the Onion
After the onion softens, add the garlic, chili powder, cumin, smoked paprika, and cinnamon and cook them for about 2 minutes. They should smell fragrant and warm, not scorched. If the pot looks dry, lower the heat and stir more often; burnt spices will make the whole chili taste harsh, and there’s no fixing that later.
Let the Simmer Do the Work
Add the pumpkin, tomatoes, beans, and broth, then bring everything to a boil before reducing to a steady simmer. You want small bubbles around the edges, not a hard, rolling boil. That gentler heat gives the pumpkin time to dissolve into the broth and keeps the beans intact instead of broken down into mush. Stir now and then so the thicker base doesn’t stick on the bottom.
Finish With Salt, Then the Toppings
Taste the chili at the end and season with salt and pepper until the tomato flavor pops and the pumpkin tastes savory instead of bland. This is the point where the chili often needs more seasoning than people expect, especially if the broth was low-sodium. Spoon it into bowls and add sour cream, cheddar, and sliced jalapeños while it’s hot so the toppings soften into the surface.
How to Adapt This for Different Eaters and Different Nights
Use Ground Turkey for a Lighter Chili
Ground turkey works well here because the pumpkin and spices supply the richness that lean meat usually lacks. If you go this route, don’t skip the browning step; turkey needs that color on the pan to avoid tasting bland.
Make It Dairy-Free Without Losing the Creamy Finish
Skip the sour cream and use a spoonful of plain coconut yogurt or a drizzle of olive oil instead. You’ll lose a little tang, but the chili still gets that smooth finish on top, and the pumpkin keeps the bowl feeling rich.
Turn Up the Heat Without Changing the Base
Add more Rotel, a diced jalapeño with the onion, or a pinch of cayenne with the spices. That gives you a hotter chili without making the pumpkin taste off-balance, because the heat stays layered into the base instead of sitting on top.
Storage and Reheating
- Refrigerator: Keeps well for 4 days. It thickens as it sits, so expect a denser texture the next day.
- Freezer: Freezes well for up to 3 months. Cool it completely first and leave a little headspace in the container.
- Reheating: Warm it gently on the stovetop over medium-low heat with a splash of broth if needed. High heat can make the chili stick and can push the beans toward mush.
Answers to the Questions Worth Asking
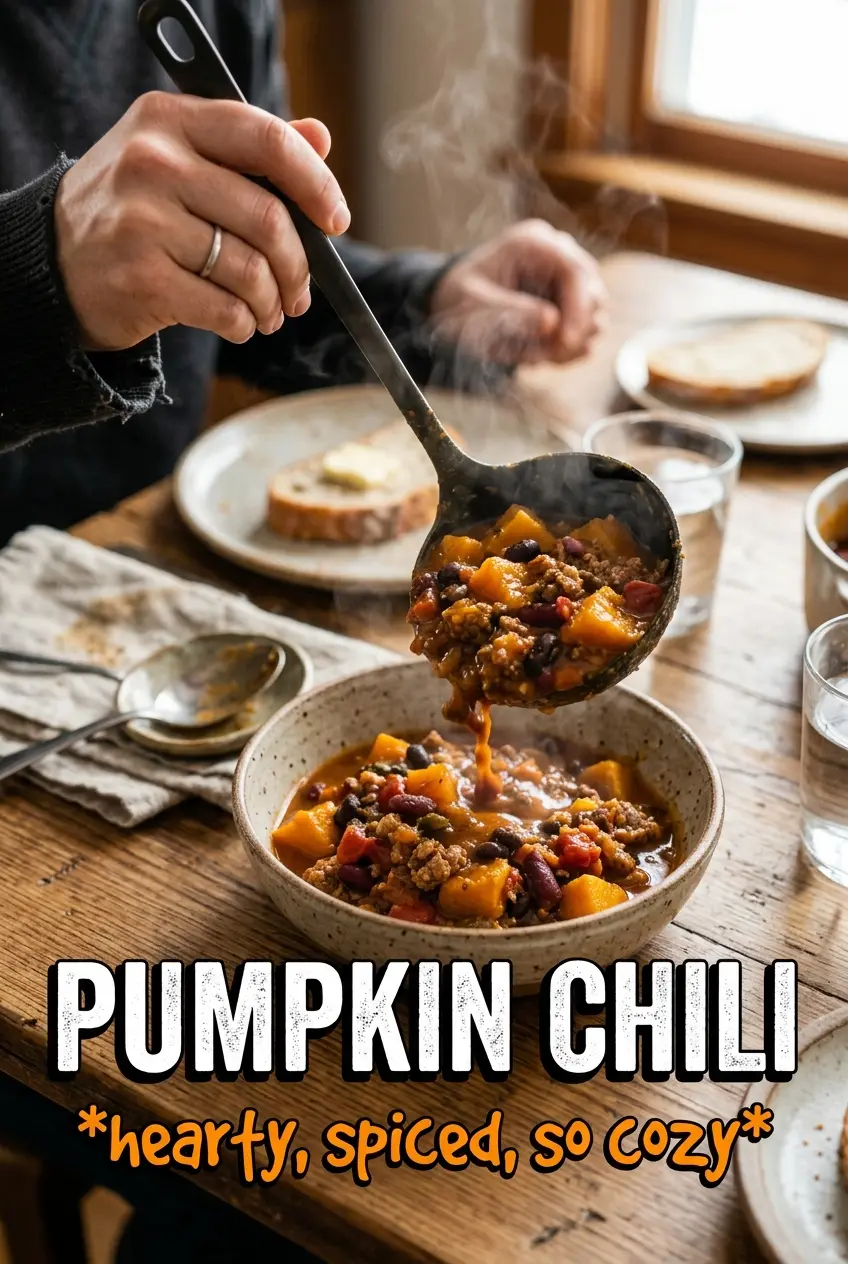
Pumpkin Chili
Ingredients
Equipment
Method
- Brown ground beef in a large pot over medium-high heat and drain the fat. This should leave small bits of browned meat in the pot.
- Sauté onion for 4 minutes, then add garlic, chili powder, cumin, smoked paprika, and cinnamon and cook for 2 minutes. Stir until fragrant and the spices darken slightly.
- Add pumpkin, both tomatoes, both beans, and beef broth to the pot and bring to a boil. Scrape up any browned bits from the bottom as it heats.
- Reduce heat and simmer for 25-30 minutes until flavors meld. Keep it at a gentle simmer so it thickens without boiling over.
- Season with salt and pepper to taste. Stir well and taste for balance before serving.
- Serve with sour cream, cheddar, and jalapeño. Add toppings directly to each bowl so they stay fresh.