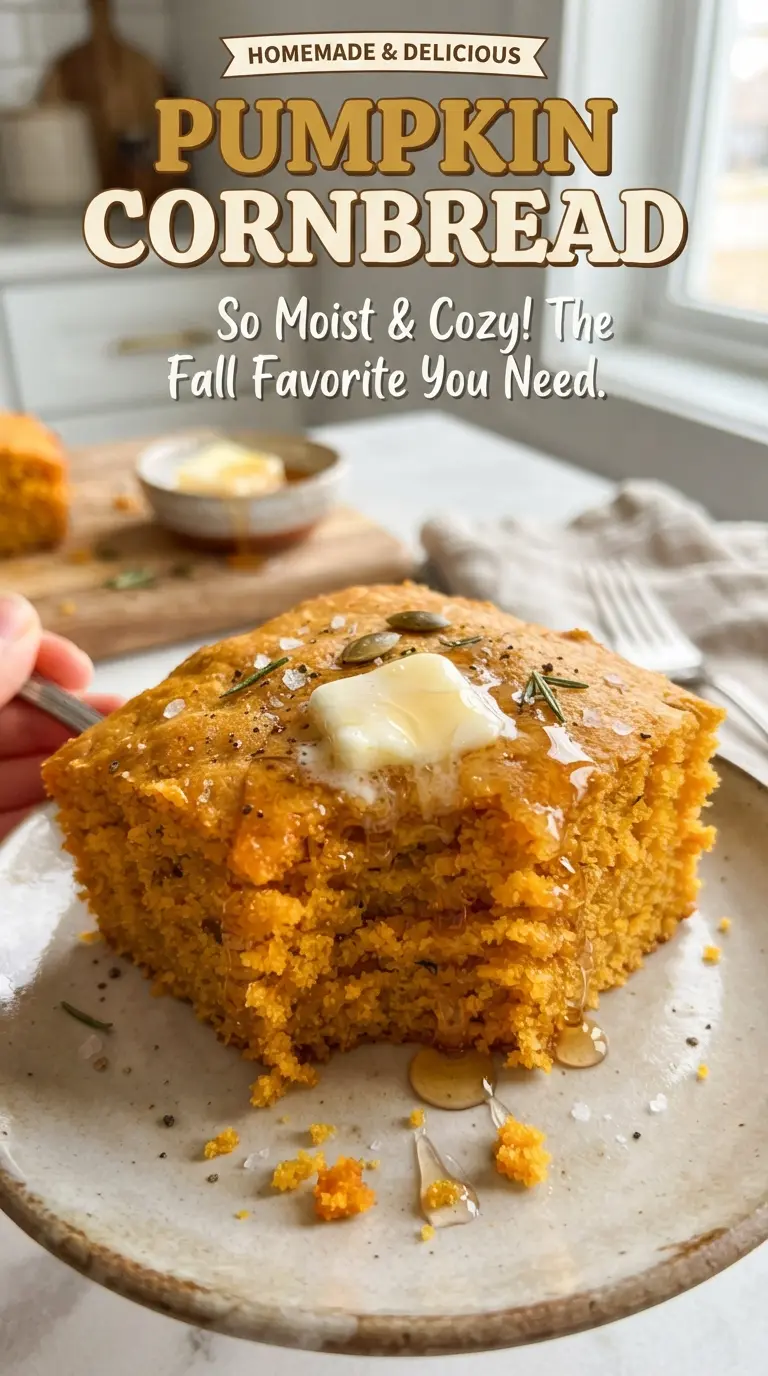
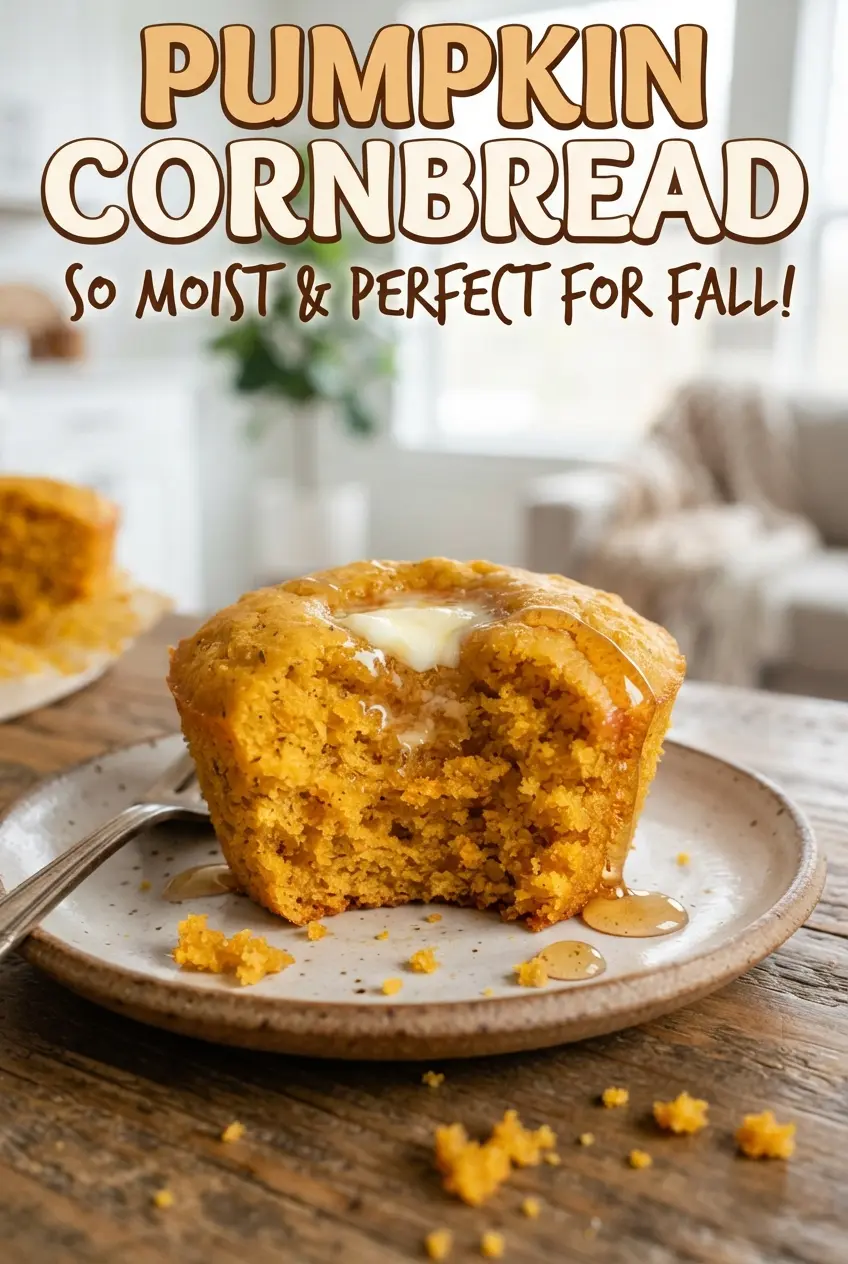
Golden pumpkin cornbread lands with a tender crumb, crisp edges, and just enough sweetness to make a warm slice feel special without turning it into cake. The pumpkin keeps the interior moist for days, while the cornmeal still gives you that classic grainy bite that makes cornbread worth baking in the first place. A brush of maple butter on top turns the whole pan into something people hover around while it’s still hot.
What makes this version work is the balance: pumpkin puree adds body and moisture, buttermilk keeps the crumb soft, and melted butter carries the flavor without weighing it down. The brown sugar and maple syrup deepen the color and give the cornmeal a little extra roundness, but the loaf still tastes like cornbread first. Don’t overmix once the wet ingredients hit the dry ones. That’s the difference between a tender square and a tight, bready one.
Below, I’ve included the ingredient details that matter most, the exact point where the batter comes together, and a few smart ways to adapt it depending on what you’ve got on hand.
The crumb stayed soft for two days and the maple butter on top made the pumpkin flavor taste richer without getting too sweet. I baked it in my cast iron skillet and the edges came out beautifully crisp.
Save this pumpkin cornbread for the day you want crisp edges, a soft center, and a maple-kissed finish in one pan.
The Trick to Keeping Pumpkin Cornbread Tender Instead of Dense
Pumpkin cornbread can go heavy fast, and the problem usually starts before it even hits the oven. Pumpkin puree brings a lot of moisture, but it also adds weight, so the batter needs enough lift and enough gentle handling to stay light. The best result comes from whisking the dry and wet ingredients separately, then combining them just until the flour disappears. If you stir until the batter looks perfectly smooth, you’ve already gone too far.
The other thing that matters here is the bake. A hot oven sets the edges quickly, which helps the cornbread rise before the center overbakes. That gives you a square that slices cleanly but still feels soft in the middle. If the top is browned and the center still looks glossy, give it another few minutes; if you pull it too early, the middle can collapse as it cools.
What Each Ingredient Is Doing in the Pan
- Cornmeal — This gives the bread its classic texture and keeps it from eating like a plain pumpkin snack cake. Medium-grind cornmeal works best because it stays a little nubby after baking. If you only have fine cornmeal, the bread will be softer and less rustic, but it still works.
- All-purpose flour — Flour holds the batter together and gives the loaf enough structure to slice cleanly. Replacing it all with cornmeal makes the cornbread crumbly and dense. For a gluten-free version, use a 1:1 gluten-free baking flour blend rather than trying to swap in almond flour.
- Pumpkin puree — Use plain pumpkin puree, not pumpkin pie filling. The puree adds moisture, color, and that earthy flavor that makes the cornbread taste rounded instead of one-note. If your puree looks watery, stir it well before measuring so the batter doesn’t end up loose.
- Buttermilk — The acidity tenderizes the crumb and plays nicely with the baking powder for a lighter rise. Regular milk can work in a pinch, but the texture won’t be quite as soft. If you need a substitute, mix 3/4 cup milk with 2 teaspoons lemon juice or vinegar and let it sit for 5 minutes.
- Brown sugar and maple syrup — These sweeteners deepen the flavor without making the cornbread taste like dessert. Brown sugar adds moisture, while maple syrup gives the finish a warm, almost caramel note. If you cut either one too much, the pumpkin flavor gets flatter and the crumb dries out faster.
Mixing the Batter Without Beating the Air Out of It
Start With the Dry Ingredients
Whisk the cornmeal, flour, brown sugar, baking powder, salt, and pumpkin pie spice together until the mixture looks even and no clumps of brown sugar remain. This matters more than it sounds like it should, because uneven leavening gives you pockets that rise too fast and others that stay flat. A quick whisk now saves you from a streaky, uneven crumb later.
Bring the Wet Ingredients Together
In a separate bowl, whisk the pumpkin puree, eggs, buttermilk, melted butter, and maple syrup until the mixture looks smooth and glossy. The butter should be melted, not hot, or it can start cooking the eggs and leave you with little ribbons of scrambled egg in the batter. If the butter is warm from the microwave, let it sit for a minute before adding it.
Stop Stirring the Second the Flour Disappears
Pour the wet mixture into the dry ingredients and stir just until no dry streaks remain. The batter should look thick and a little lumpy, not silky. That’s what you want. Overmixing develops gluten in the flour and makes the finished cornbread chewy instead of tender.
Bake Until the Center Springs Back
Spread the batter into your greased pan and bake at 400°F until the top is golden and a toothpick comes out clean, usually 22 to 25 minutes. The edges should pull slightly from the pan and the center should spring back when you touch it lightly. If the top browns too fast, the oven is running hot, so start checking a few minutes early next time.
How to Adapt This Pumpkin Cornbread for Different Pans and Diets
Skillet Cornbread With Crispier Edges
Bake it in a well-greased 10-inch cast iron skillet for deeper browning around the edges and a little more lift from the hot metal. The center stays soft, but the crust gets more pronounced, which is exactly what you want if you like cornbread with a bit of chew on the outside.
Dairy-Free Pumpkin Cornbread
Swap the buttermilk for unsweetened non-dairy milk mixed with 2 teaspoons lemon juice, and use melted vegan butter or neutral oil in place of the butter. The crumb stays tender, but the flavor is a little less rich, so a brush of dairy-free butter on top after baking helps.
Less Sweet, More Savory
Cut the brown sugar to 2 tablespoons and reduce the maple syrup to 1 tablespoon if you want a cornbread that leans toward dinner instead of brunch. You’ll lose a little moisture and caramel note, but the pumpkin and corn flavor will come through more clearly next to chili, soup, or roasted vegetables.
Storage and Reheating
- Refrigerator: Store slices in an airtight container for up to 4 days. The texture tightens a little in the fridge, but it softens again when warmed.
- Freezer: This freezes well. Wrap individual squares tightly, then place them in a freezer bag for up to 2 months.
- Reheating: Warm slices in a 300°F oven for 8 to 10 minutes or microwave briefly with a damp paper towel. Don’t blast it on high heat or the edges dry out before the center loosens up.
Questions I Get Asked About This Recipe
Pumpkin Cornbread
Ingredients
Equipment
Method
- Preheat the oven to 400F and grease an 8x8-inch pan or 10-inch cast iron skillet.
- Whisk yellow cornmeal, all-purpose flour, brown sugar, baking powder, salt, and pumpkin pie spice in a bowl until evenly combined, with no dry streaks.
- Whisk pumpkin puree, large eggs, buttermilk, melted butter, and maple syrup until smooth and glossy.
- Stir the wet mixture into the dry mixture just until combined, stopping as soon as you don’t see visible flour.
- Spread the batter into the prepared pan, then bake for 22-25 minutes at 400F until golden and a toothpick comes out clean.
- Serve warm with butter, letting it melt over the top for a soft, moist finish.