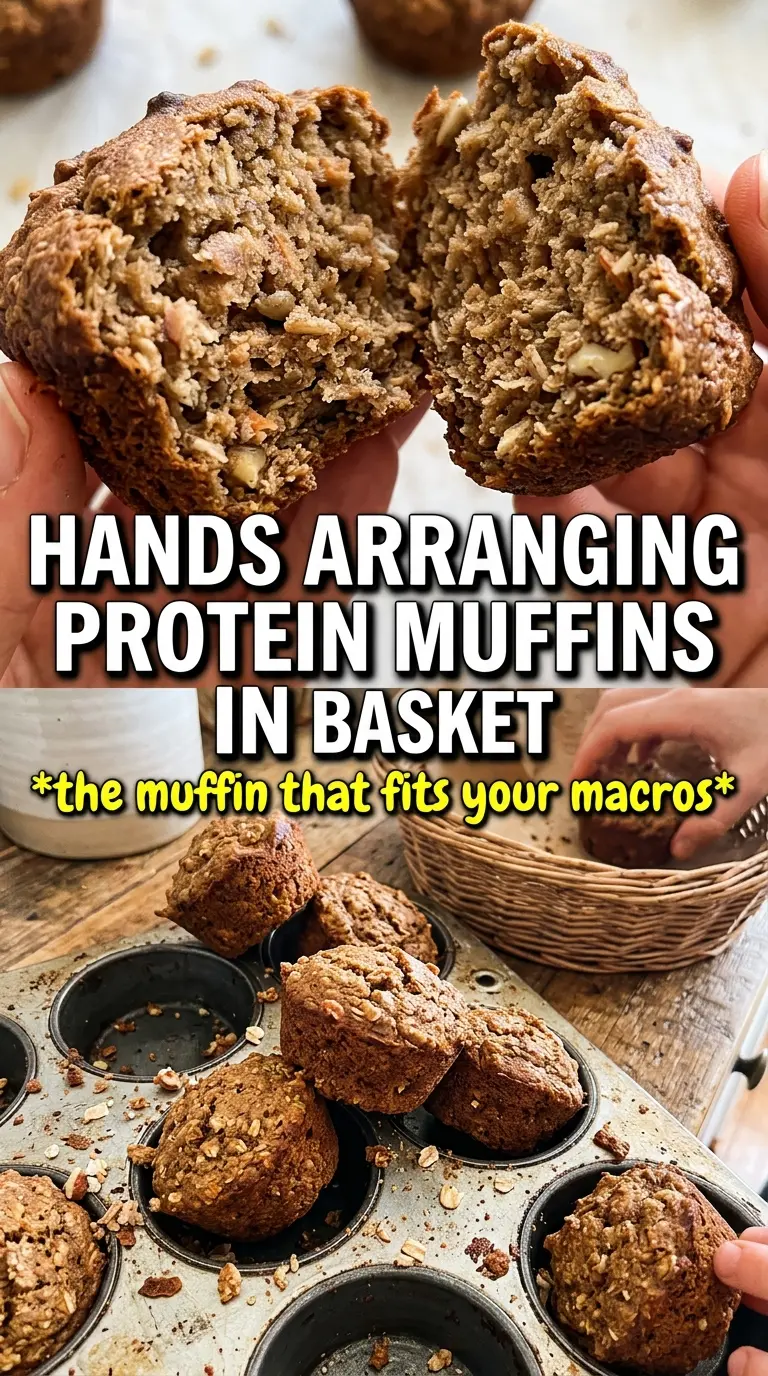
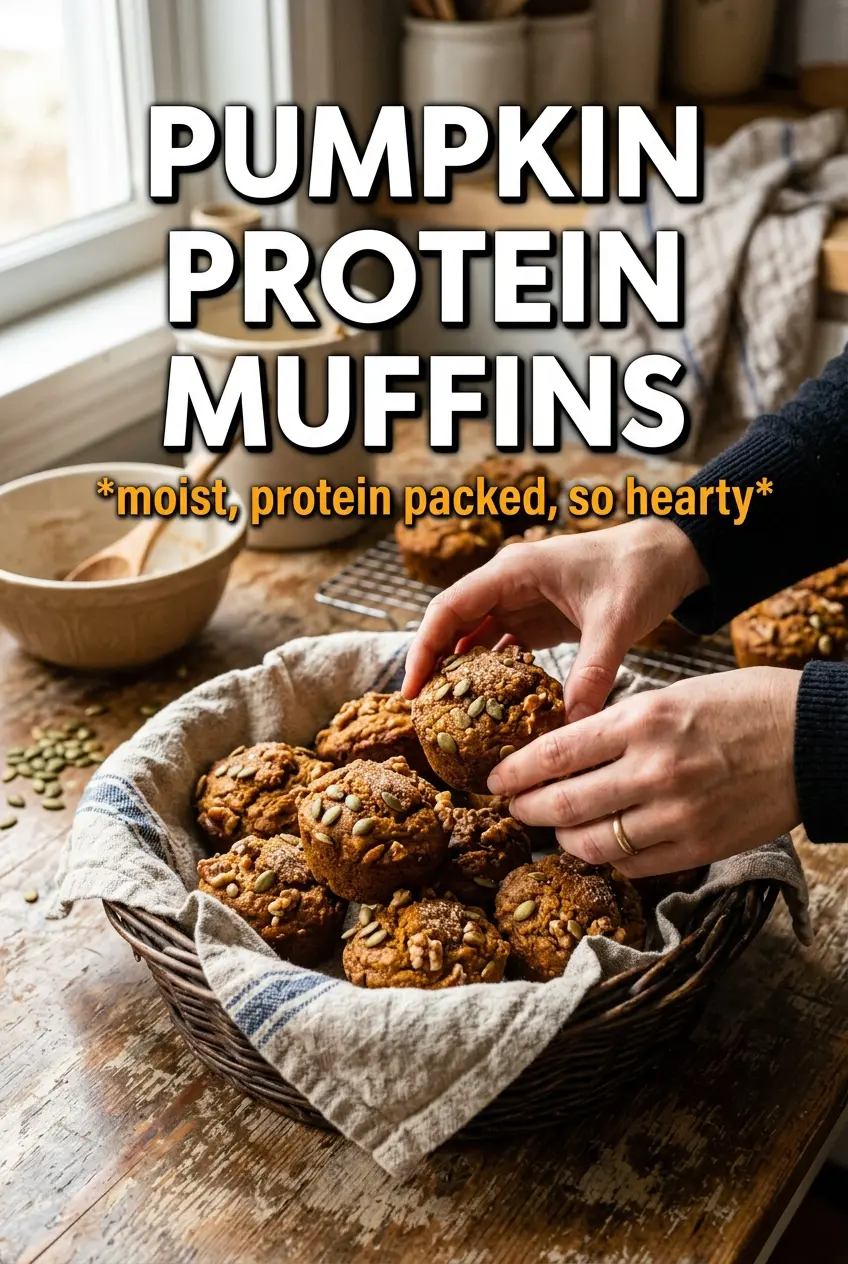
These pumpkin protein muffins bake up tall, tender, and pleasantly hearty, with a soft crumb that still feels substantial enough to carry you through breakfast. The pumpkin keeps them moist, the vanilla protein powder adds a gentle sweetness, and the oats give the whole batch a little more body than a standard muffin ever has. The pumpkin seeds on top crackle just enough in the oven to make each one look bakery-made.
What makes this version work is the balance. Pumpkin puree brings moisture, but Greek yogurt and eggs give the muffins enough structure so they don’t turn gummy. Blending oats into flour helps create a finer crumb, which matters here because protein powder can make baked goods dry if the base is too coarse. The batter also comes together fast, so once the dry ingredients hit the wet, you only need a few folds before the muffins go into the tin.
Below you’ll find the small details that keep these muffins from sinking in the center, plus a few smart swaps if you need to work with what you’ve got in the pantry.
The crumb came out moist and sturdy, not dry like a lot of protein muffins, and the pumpkin seeds on top gave them a nice little crunch. I baked mine right at 21 minutes and they were perfect for grabbing on the way out the door.
Love these pumpkin protein muffins? Save them to Pinterest for a sturdy, not-too-sweet breakfast you can batch bake and grab all week.
The Secret to Muffins That Rise Instead of Turn Dense
The biggest risk with protein muffins is a heavy, rubbery crumb. That usually happens when the batter gets overmixed or the protein powder is left to do all the work without enough moisture and fat around it. Here, the oats act like a softer flour base, while pumpkin puree, eggs, coconut oil, and yogurt keep the batter from tightening up in the oven.
Another thing that matters is the mixing order. Once the dry ingredients are folded into the wet, stop as soon as the flour streaks disappear. If you keep stirring, the oats absorb too much liquid and the muffins bake up tougher than they should. A few lumps are fine; a smooth, whisked batter is not what you want here.
- Oat flour base — Blending old-fashioned oats gives you a finer texture than leaving them whole, which helps the muffins bake more evenly and keeps the crumb from feeling gritty.
- Protein powder — Vanilla powder adds sweetness and structure. Different brands behave differently, so if yours is very absorbent, expect the batter to thicken quickly and avoid adding extra dry ingredients unless the batter is truly loose.
- Pumpkin puree — Use plain pumpkin puree, not pie filling. Pie filling is already sweetened and spiced, which throws off both the texture and the balance of the batter.
- Greek yogurt — This adds moisture and a little tang. Sour cream works in the same amount if that’s what you have; it gives nearly the same tenderness.
What Each Ingredient Is Actually Doing in This Recipe
- Primary ingredient (the star) — Quality matters most. Choose the best you can find.
- Cooking medium (oil, butter, or broth) — This carries flavors and prevents dryness.
- Seasonings (salt, pepper, spices, herbs) — Layer flavors so nothing overpowers. Build depth gradually.
- Aromatics (garlic, onion, herbs) — Cook with fat to bloom flavors. Become the foundation.
- Supporting ingredients — Complement the main ingredient without overpowering it.
- Sauce or liquid (if applicable) — Brings flavors together. Balance richness with acid.
- Acid (lemon, vinegar, wine, or other) — Brightens and prevents flat-tasting results.
- Final finish (garnish, glaze, or sauce) — Prevents one-dimensional taste and adds visual appeal.
Getting the Batter Ready Before the Oven Does the Work
Building the Dry Base
Blend the oats until they look like a fine flour, not a coarse meal. Then whisk them with the protein powder, spices, baking powder, baking soda, and salt so the leaveners are spread evenly through the batch. If the baking soda is clumped in one spot, you’ll taste it later and the muffins won’t rise evenly.
Mixing the Wet Ingredients
Whisk the pumpkin puree, eggs, maple syrup, melted coconut oil, vanilla, and Greek yogurt until the mixture looks smooth and thick. The coconut oil should be melted but not hot, or it can start cooking the eggs at the edges. If the oil hardens when it hits the cold pumpkin, let the bowl sit for a minute and whisk again until the mixture loosens up.
Folding and Portioning
Fold the dry mixture into the wet with a spatula just until the flour disappears. The batter should look thick and scoopable, not pourable. Divide it evenly among the muffin cups, filling each one almost to the top so the muffins dome instead of spreading flat. Press a few pumpkin seeds on top before baking so they stay put and toast instead of sliding off after the muffins rise.
Baking to the Right Center
Bake at 375°F until the tops are set, the cracks look dry, and a toothpick comes out clean or with a few moist crumbs. If the centers still look shiny, give them a few more minutes. Pulling them early can leave the middle slightly sunken, especially because pumpkin batters often look done before they actually are.
How to Change These Muffins Without Losing the Texture
Dairy-Free Version
Swap the Greek yogurt for an equal amount of unsweetened dairy-free yogurt with a thick texture. A thinner yogurt can make the batter loose, which gives you muffins that spread more and rise less. Keep the rest of the recipe the same.
Gluten-Free Enough for Most Kitchens
Old-fashioned oats are naturally gluten-free, but use certified gluten-free oats if cross-contamination matters. The texture stays the same because the oats are already being ground into flour, so this swap is about ingredient safety rather than changing the bake.
No Coconut Oil
Melted butter works one-for-one and gives the muffins a slightly richer flavor. Neutral oil also works, though the muffins lose a little of the soft, rounded taste that coconut oil brings. Whatever you use, let it cool slightly before mixing so it doesn’t scramble the eggs.
Storage and Reheating
- Refrigerator: Store in an airtight container for up to 5 days. The muffins stay moist, but the tops soften a bit after day one.
- Freezer: These freeze well. Wrap individually and freeze for up to 3 months, then thaw at room temperature or overnight in the fridge.
- Reheating: Warm in the microwave for 15 to 20 seconds or in a 300°F oven for about 5 minutes. Don’t overheat them or the protein powder can make the crumb dry and a little rubbery.
Questions I Get Asked About This Recipe
Pumpkin Protein Muffins
Ingredients
Equipment
Method
- Preheat the oven to 375F and line a 12-cup muffin tin.
- Blend the old-fashioned oats into flour, then combine with vanilla protein powder, pumpkin pie spice, cinnamon, baking powder, baking soda, and salt.
- Whisk pumpkin puree, eggs, maple syrup, melted coconut oil, vanilla, and plain Greek yogurt until smooth.
- Fold the dry mixture into the wet mixture just until combined, then divide the batter among the muffin cups.
- Top each muffin with pumpkin seeds, then bake 20-22 minutes at 375F until a toothpick comes out clean.