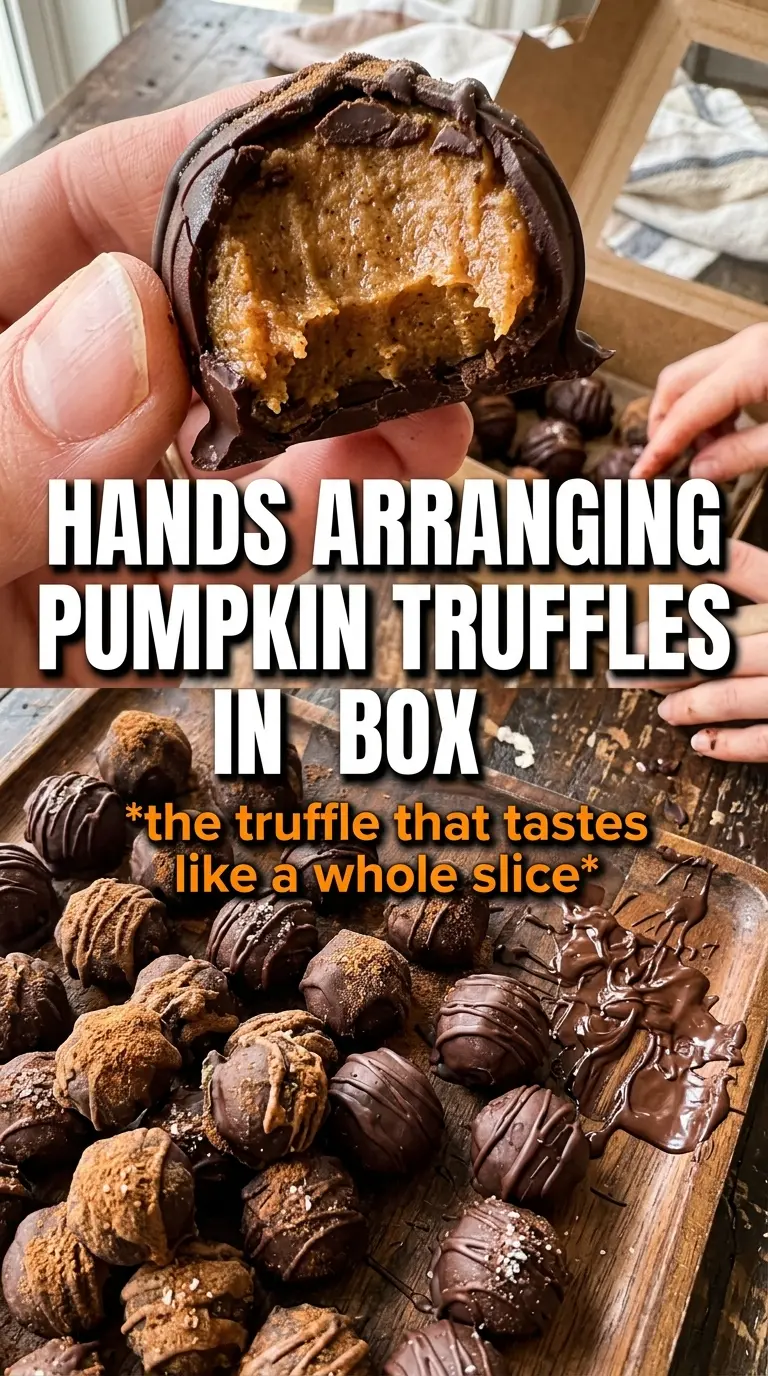
These pumpkin truffles hit that sweet spot between creamy and spiced, with a center that tastes like pumpkin pie filling rolled into a little bite-sized candy. The white chocolate shell gives each one a clean snap, and the pumpkin pie spice on top keeps them from tasting flat or overly sweet. They disappear fast because they feel polished enough for a dessert tray but are easy enough to make on a quiet afternoon.
The part that makes this recipe work is drying the pumpkin puree before it goes into the bowl. Pumpkin brings a lot of moisture, and if you skip that step the filling turns soft and sticky instead of rolling cleanly. Cream cheese gives the truffles their smooth, tangy base, while graham cracker crumbs help the mixture set with a more truffle-like texture rather than a frosting-like one. Chilling in stages matters here too: first to firm the mixture, then again after shaping so the coating goes on neatly.
Below you’ll find the small details that keep the filling firm, the chocolate smooth, and the coating set without cracking. There’s also a few simple variations if you want to swap the shell or make them ahead.
I was worried the pumpkin would make them too soft, but blotting it first made the filling hold its shape beautifully. The white chocolate set up smooth and the spice on top gave them that pumpkin pie finish my family kept reaching for.
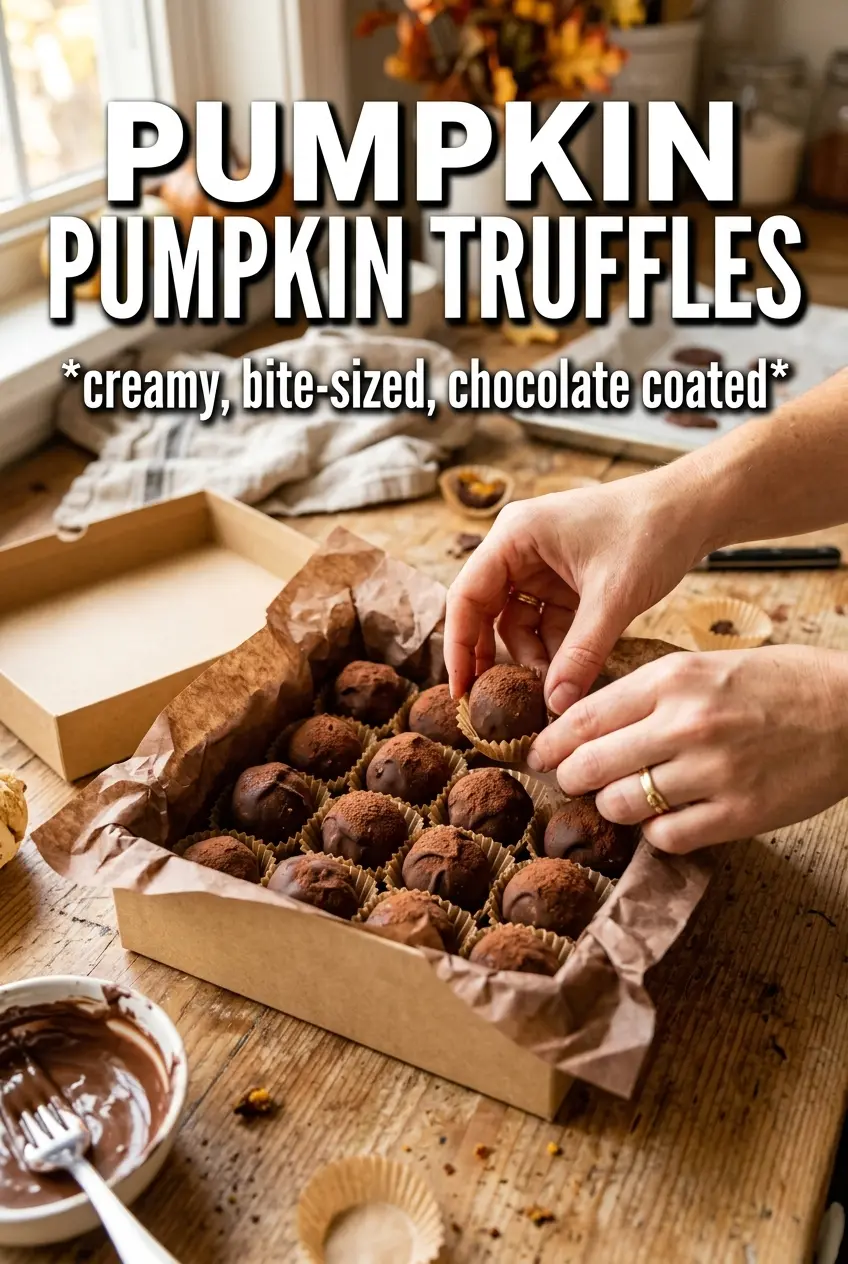
Pumpkin Truffles are the kind of sweet bite that rewards a dry filling and a clean white chocolate shell.
The Reason Pumpkin Truffles Stay Firm Instead of Going Soft
Pumpkin truffles fail for one simple reason: too much moisture. Pumpkin puree looks harmless in the bowl, but even a couple extra spoonfuls of water can turn the center from scoopable to sticky. Blotting the puree first pulls out enough liquid that the powdered sugar and crumbs can do their job instead of fighting a loose filling.
The other thing people miss is the balance between cream cheese and dry ingredients. Cream cheese gives you richness and a smooth bite, but it also softens fast at room temperature. That is why the chilled rest and the quick freeze before dipping matter. You want a center that is cold all the way through so the coating sets before the truffle starts slumping.
- Blotted pumpkin puree — This is the difference between a truffle that rolls and one that smears. Press the puree between layers of paper towel until it looks thicker and less glossy.
- Graham cracker crumbs — They add structure and that pie-crust note that makes these taste like pumpkin pie in candy form. If you swap them out, you lose some of that familiar dessert flavor, but finely crushed vanilla wafers will still work in a pinch.
- White chocolate or orange candy melts — White chocolate tastes better, but candy melts coat more smoothly if you want a neater finish without tempering. If the chocolate seems thick, the coconut oil helps it thin enough for dipping.
What Each Ingredient Is Doing in the Filling and Coating
- Cream cheese — This is the base that keeps the center rich and slightly tangy. Full-fat cream cheese gives the best texture; reduced-fat cream cheese can work, but the filling tends to soften faster.
- Pumpkin puree — Use plain pumpkin puree, not pumpkin pie filling. The filling version already has sugar and spices mixed in, which throws off both the flavor and the texture.
- Powdered sugar — It sweetens the filling and helps it set. If your kitchen is humid, you may need a spoonful or two more to keep the mixture firm enough to scoop.
- Pumpkin pie spice and cinnamon — This combination gives the truffles their warm, bakery-style flavor. Pumpkin pie spice carries the clove and nutmeg notes; cinnamon rounds everything out.
- Vanilla — A small amount deepens the flavor so the pumpkin doesn’t taste one-note. Don’t skip it.
- White chocolate or candy melts — White chocolate tastes creamier, while candy melts are easier if you want a smooth, quick coating. Either one works, but keep the melted coating warm and fluid, not hot.
- Coconut oil — Just a teaspoon loosens the coating enough for dipping. Too much will make the shell soft, so keep it measured.
The Chilling Window That Keeps the Centers from Smearing
Building the Filling
Beat the softened cream cheese until it is smooth before anything else goes in. If you leave lumps at this stage, they stay in the finished truffles. Add the blotted pumpkin, sugar, spices, and vanilla, then mix until the filling looks thick and even. Fold in the graham cracker crumbs last so they stay intact and help the mixture tighten up.
Letting the Mixture Rest
Refrigerate the bowl until the mixture is firm enough to scoop without dragging. If it still sticks to the spoon like frosting, it needs more time. A full 45 minutes is usually enough, but if the pumpkin was extra wet, give it longer. The goal is a filling that holds a mound when you scoop it.
Shaping and Freezing
Scoop into 1-inch balls and roll them quickly between your palms. Don’t overwork them or the heat from your hands will soften the mixture. Freeze them for about 15 minutes before dipping. That short freeze firms the outside just enough that the truffles stay round when they hit the warm coating.
Coating and Finishing
Melt the white chocolate with coconut oil until smooth and glossy. If it gets too hot, it can seize or coat too thinly, so use gentle heat and stir often. Dip each chilled truffle, let the excess drip off, then dust with pumpkin pie spice before the shell sets. The topping needs to go on right away or it won’t stick cleanly.
Orange candy melt shell
Use orange candy melts instead of white chocolate if you want a brighter look and a coating that sets quickly with less fuss. The tradeoff is flavor — it tastes more like candy coating than real chocolate, but it makes a cleaner finish for parties and gift boxes.
Gluten-free version
Swap the graham cracker crumbs for gluten-free graham crumbs or finely crushed gluten-free vanilla cookies. You still need that dry, sandy texture in the filling, so use something that behaves like a cookie crumb rather than almond flour.
Dairy-free option
Use a firm dairy-free cream cheese and dairy-free white chocolate or candy melts. The texture won’t be quite as rich, but chilling becomes even more important because plant-based cream cheese can soften faster than the original.
Make-ahead storage
- Refrigerator: Store in an airtight container for up to 5 days. The coating stays best when the truffles are kept cold.
- Freezer: Freeze in a single layer, then transfer to a container with parchment between layers. They freeze well for about 1 month, and the texture holds up after thawing in the fridge.
- Reheating: No reheating needed. Let them sit at room temperature for 5 to 10 minutes before serving so the center softens slightly, but don’t leave them out long enough for the coating to sweat.
Questions I Get Asked About This Recipe
Pumpkin Truffles
Ingredients
Method
- Blot the pumpkin puree dry, then beat the cream cheese until completely smooth with no lumps. Visual cue: the mixture looks glossy and uniform.
- Add blotted pumpkin, powdered sugar, pumpkin pie spice, cinnamon, and vanilla, then beat until smooth. Visual cue: the color turns evenly orange and the texture becomes thick.
- Fold in the graham cracker crumbs, then refrigerate for 45 minutes. Visual cue: the filling firms up and holds shape when pressed.
- Scoop the mixture into 1-inch balls and place on a tray. Visual cue: balls are even in size for consistent dipping.
- Freeze the truffles for 15 minutes. Visual cue: they feel firm and cold to the touch, so chocolate won’t smear.
- Melt the white chocolate (or candy melts) with coconut oil until smooth. Visual cue: the coating flows like thin paint with no grainy bits.
- Dip each frozen truffle into the melted chocolate, letting excess drip back to the bowl. Visual cue: a smooth, fully coated shell forms around the center.
- Dust the truffles with pumpkin pie spice before the coating sets. Visual cue: the spice sticks lightly and doesn’t fall off as the shell hardens.