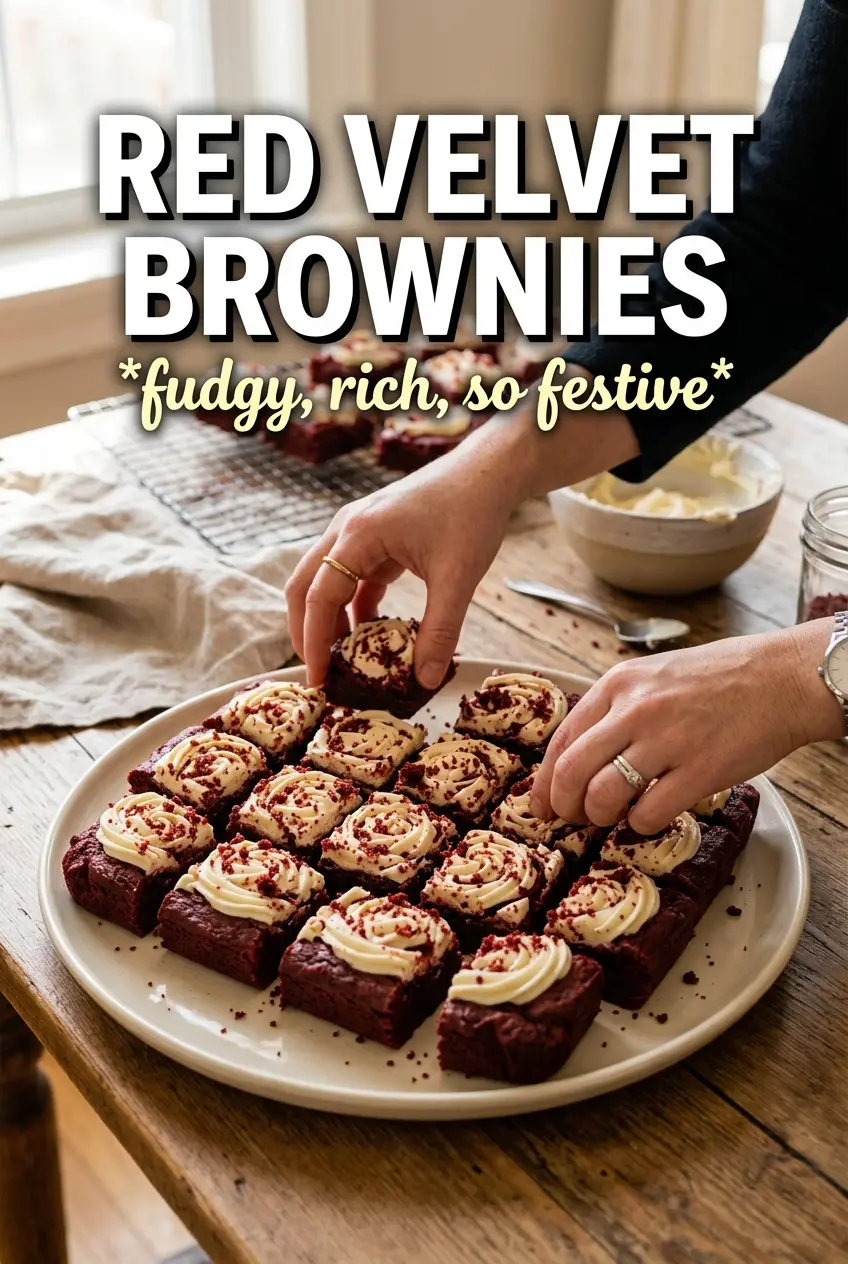
These red velvet brownies bake up with the kind of dense, fudgy center that makes people cut a second square before they’ve finished the first. The cream cheese swirl stays tangy and soft against the cocoa-rich base, and every slice comes out with that dramatic red-and-white marbling that looks like you worked a lot harder than you did.
The trick here is keeping the batter simple and the mixing gentle. Melted butter gives these brownies their chew, while the vinegar sharpens the cocoa and helps the color stay vivid instead of muddy. The cream cheese layer gets beaten smooth first, then dolloped over the batter so it swirls instead of sinking. That little bit of structure matters more than people think.
Below you’ll find the exact swirl technique that keeps the topping from disappearing into the pan, plus a few practical swaps and storage notes for when you want to bake these ahead.
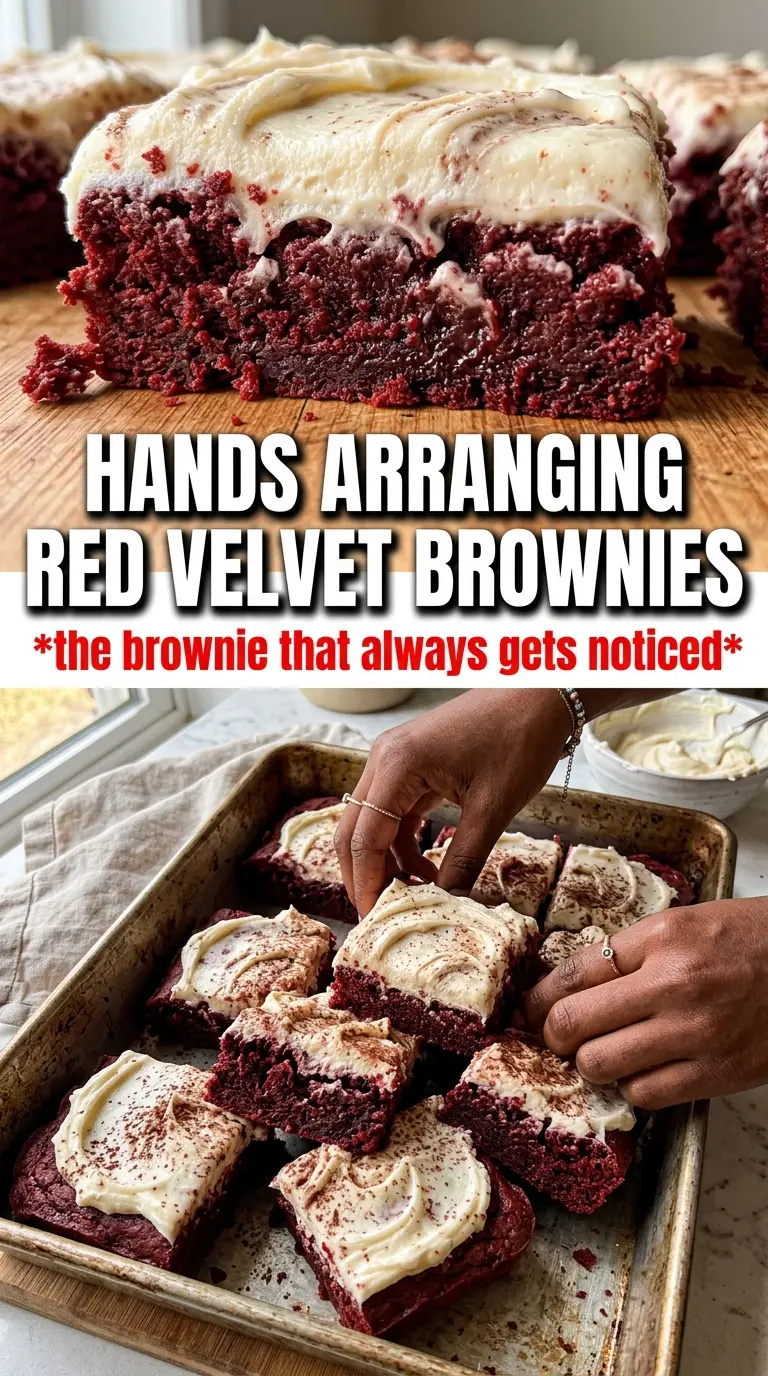
The brownies came out fudgy in the middle with crisp edges, and the cream cheese swirl stayed clean instead of melting into the batter. I baked them for 28 minutes and they cut into neat squares after cooling completely.
Save these red velvet brownies for the nights when you want a fudgy bar with a tangy cream cheese swirl and a deep red center.
The Trick to Keeping the Swirl on Top Instead of Losing It
Red velvet brownies can go wrong in one of two ways: the batter turns cakey, or the cream cheese layer sinks and disappears into the pan. This version avoids both problems by keeping the brownie base thick and the swirl mixture smooth but not runny. Melted butter gives you a denser crumb than creamed butter, and the flour stays low enough that the bars stay fudgy instead of turning into cake.
The other detail that matters is the swirl. If the cream cheese mixture is too loose, it will blend into the batter instead of sitting on top in visible ribbons. Beat it until it’s completely smooth, then drop it in dollops across the surface and only drag a knife through a few times. Over-swirling muddies the red color and makes the top uneven.
- Butter — Melted butter is what gives these brownies their rich, dense bite. Don’t swap in oil if you want the same chew; oil makes the texture softer and less structured.
- Vinegar — The vinegar doesn’t make the brownies taste sour. It wakes up the cocoa and helps the red color stay bold instead of dulling out in the oven.
- Cocoa powder — Use unsweetened cocoa powder, not Dutch-process, if you want that classic red velvet flavor balance. Dutch-process can mute the tang and deepen the batter too much.
- Cream cheese — Full-fat cream cheese works best here. Reduced-fat versions can turn watery and won’t hold that neat swirled pattern as well.
What Each Ingredient Is Actually Doing in This Recipe
- Primary ingredient (the star) — Quality matters most. Choose the best you can find.
- Cooking medium (oil, butter, or broth) — This carries flavors and prevents dryness.
- Seasonings (salt, pepper, spices, herbs) — Layer flavors so nothing overpowers. Build depth gradually.
- Aromatics (garlic, onion, herbs) — Cook with fat to bloom flavors. Become the foundation.
- Supporting ingredients — Complement the main ingredient without overpowering it.
- Sauce or liquid (if applicable) — Brings flavors together. Balance richness with acid.
- Acid (lemon, vinegar, wine, or other) — Brightens and prevents flat-tasting results.
- Final finish (garnish, glaze, or sauce) — Prevents one-dimensional taste and adds visual appeal.
Building the Batter and the Swirl in the Right Order
Mixing the Brownie Base
Whisk the melted butter and sugar first until the mixture looks glossy and thick. That step helps dissolve the sugar enough to give you a shiny top later. Add the eggs one at a time if you can, then stir in the vanilla and red food coloring until the batter turns a deep, even red. Fold in the dry ingredients just until no flour streaks remain; if you keep mixing after that, the brownies get tight and bready.
Making the Cream Cheese Layer
Beat the cream cheese, sugar, egg, and vanilla until completely smooth and pale. Any little lumps will show once baked, and they also make the swirl harder to spread evenly. The mixture should be thick enough to hold its shape when dropped by spoonfuls, not pour like cake batter. If it looks loose, the cream cheese was too warm or the egg was added before the cheese was fully softened.
Swirling and Baking to the Right Set
Spread the brownie batter in an even layer, then drop the cream cheese mixture over the top in spaced dollops. Run a butter knife through once or twice in wide figure-eight motions so the layers marble together without blending completely. Bake until the edges look set and the center no longer sloshes when you nudge the pan; a few moist crumbs on a tester are fine, but wet batter means the middle still needs time. Let the pan cool all the way before cutting, or the swirl will smear and the squares will collapse at the edges.
Three Ways to Change These Without Losing the Point
Gluten-Free Red Velvet Brownies
Use a good 1:1 gluten-free baking flour in place of the all-purpose flour. The texture will still be fudgy, though it may set just a touch more tender at the center, so start checking a couple of minutes early.
Dairy-Free Version
Swap the butter for melted dairy-free baking sticks and use a plant-based cream cheese that’s thick and tangy, not whipped. The swirl won’t set quite as firmly as the original, but it still gives you a good marbled look and a rich finish.
Extra-Intense Chocolate
Add a tablespoon of espresso powder to the brownie batter if you want the cocoa to taste deeper and less sweet. It won’t make the bars taste like coffee; it just pushes the chocolate note forward and gives the red velvet base more contrast against the tangy swirl.
Storage and Reheating
- Refrigerator: Store covered for up to 5 days. The cream cheese layer firms up in the fridge, which actually makes the bars easier to cut cleanly.
- Freezer: These freeze well. Cut into squares, wrap individually, and freeze for up to 2 months. Thaw in the refrigerator so the swirl doesn’t weep.
- Reheating: These are best served at room temperature rather than warm. If you want to take the chill off, leave a square out for 20 to 30 minutes. Microwaving makes the cream cheese layer soft and can dry out the edges.
Answers to the Questions Worth Asking
Red Velvet Brownies
Ingredients
Equipment
Method
- Preheat the oven to 350F and line a 9x13 pan with parchment.
- Whisk melted unsalted butter and granulated sugar until smooth, then add eggs, vanilla, and red food coloring.
- Fold in all-purpose flour, cocoa powder, white vinegar, and salt until the batter is combined.
- Spread the batter evenly into the lined pan.
- Beat cream cheese, sugar, egg, and vanilla until smooth.
- Dollop the cream cheese mixture over the brownie batter and swirl it through the top.
- Bake at 350F for 25-30 minutes, until the center looks set rather than wet.
- Cool completely before cutting so the cream cheese swirl firms up cleanly.