Skillet corn with honey butter lands with that sweet-savory balance that keeps people going back for one more spoonful. The kernels pick up real char in the pan, then get glossed in a buttery honey coating that clings instead of pooling at the bottom. It tastes like a side dish that took more effort than it did.
The trick is starting with a hot skillet and leaving the corn alone long enough to brown. That little bit of patience gives you the toasted edges that make the whole dish taste deeper and more interesting. Once the garlic, smoked paprika, and cayenne go in, the heat comes down so they don’t burn before the butter and honey finish the sauce.
Below, I’m walking through the small details that matter most: how to get good char, why the butter is divided, and what to do if you’re using frozen corn instead of fresh. There’s also a storage note for the leftovers, because this one holds up better than you might expect.
The corn got those crispy browned spots on the bottom before I stirred it, and the honey butter coated every kernel without turning watery. I used frozen corn and it still came out sweet, smoky, and perfect with grilled chicken.
Save this skillet corn with honey butter for the side dish that brings smoky char, sweet glaze, and barely any cleanup.
The Char Is Doing More Than Just Looking Good
The first mistake people make with skillet corn is stirring too early. If the kernels move around right away, they steam and stay pale. Leave them in a single layer on high heat long enough for the bottom side to take on color, then toss them once so a second surface can catch some of that same sweetness and bitterness from the pan.
That char is what keeps this from tasting like plain buttered corn. It gives the honey something to balance and keeps the final dish from leaning flat or candy-sweet. A cast iron skillet helps because it holds heat when the corn goes in, but any heavy skillet with enough surface area can work if you don’t crowd it.
- Don’t crowd the pan — too much corn lowers the heat and you lose browning.
- Keep the first cook dry — butter is there at the start, but the corn itself should brown before the honey goes in.
- Lower the heat before the garlic — garlic burns fast and turns bitter if you keep the burner high.
- Finish with honey at the end — it keeps the glaze shiny and prevents scorching.
What the Butter, Honey, and Spice Each Bring to the Pan
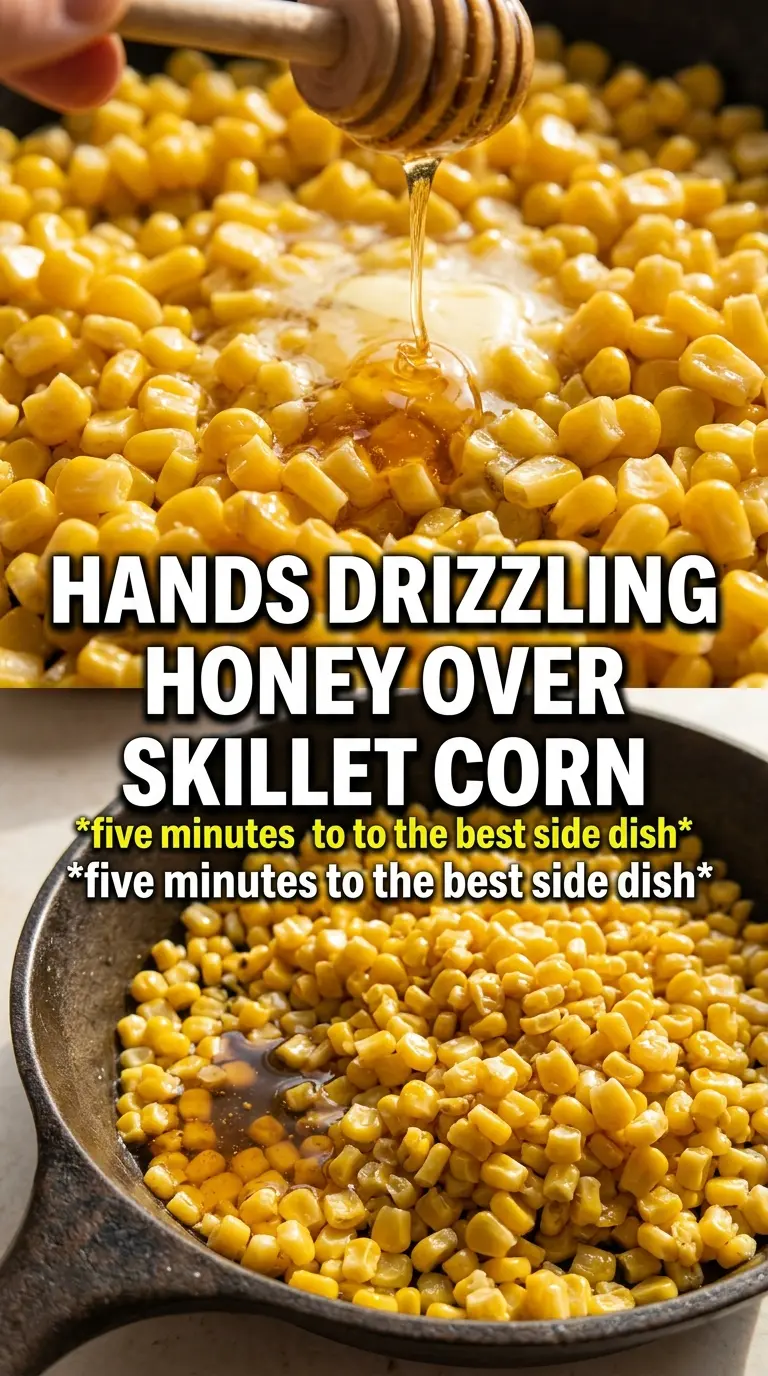
- Corn — Fresh corn gives the sweetest flavor, but thawed frozen corn works well here because the skillet is hot enough to drive off extra moisture. If you use frozen, thaw it first and pat it dry so it can brown instead of sit wet in the pan.
- Butter — Dividing the butter matters. The first portion helps start the sear, while the second melts at the end to coat everything without dulling the char.
- Honey — This is the glaze, not the main flavor. Use enough to round out the spice and toasted corn, but add it only after the heat comes down so it doesn’t scorch.
- Smoked paprika and cayenne — Smoked paprika deepens the corn with a warm, almost grilled note, while cayenne keeps the sweetness from taking over. If you want less heat, cut the cayenne in half, but keep the paprika.
- Fresh chives and flaky salt — Chives add a fresh, oniony finish that cuts through the butter. Flaky salt right at the end gives you little pops of seasoning instead of a dull, all-over saltiness.
Getting the Sauce Glossy Without Burning the Garlic
Start With a Hot, Open Skillet
Melt the first two tablespoons of butter over high heat, then add the corn in a single layer. The butter should sizzle as the kernels hit the pan, and you should hear a lively, steady crackle rather than a wet simmer. If the pan is overcrowded, the sound goes soft and the corn steams instead of searing. Let it sit untouched for 3 to 4 minutes until the bottoms are browned in spots.
Turn the Kernels and Build More Color
Toss the corn and keep cooking for another 3 to 4 minutes. You’re looking for a mix of charred edges, deep yellow color, and kernels that look a little blistered but still plump. If the pan looks dry, that’s fine; the remaining butter and honey are coming later. This second pass is where the flavor deepens, so don’t rush it just because the corn already looks cooked.
Use the Low Heat Finish for the Glaze
Lower the heat before adding the garlic, smoked paprika, and cayenne, then cook for about 1 minute until the garlic smells fragrant. Stir constantly here because garlic goes from fragrant to bitter fast. Add the remaining butter and honey, toss until the kernels are coated, then season generously with salt and pepper. The sauce should look shiny and cling to the corn, not puddle under it.
Make It Smokier
Add a little extra smoked paprika or finish with a pinch of chipotle powder. You’ll get more grill-like depth, which works especially well if you’re serving this with barbecue, burgers, or anything rich that needs a sharp, smoky side.
Make It Dairy-Free
Use a good dairy-free butter that melts cleanly and keep the heat moderate when you add it at the end. You won’t get quite the same rich finish as dairy butter, but the honey still helps the sauce coat the kernels and the char keeps the dish from tasting flat.
Make It Milder
Skip the cayenne and keep the smoked paprika. The corn still tastes layered and balanced, just without the heat. This is the version I’d use for kids or for a table where people are sensitive to spice.
Storage and Reheating
- Refrigerator: Store leftovers in an airtight container for up to 3 days. The glaze will thicken as it chills, but the flavor stays good.
- Freezer: Freezing isn’t ideal here. The corn can get a little soft after thawing, and the honey butter loses some of its fresh gloss.
- Reheating: Warm it in a skillet over medium heat with a small knob of butter or a splash of water. Microwaving works in a pinch, but it can make the corn soggy and dull the charred edges.
Questions I Get Asked About This Recipe
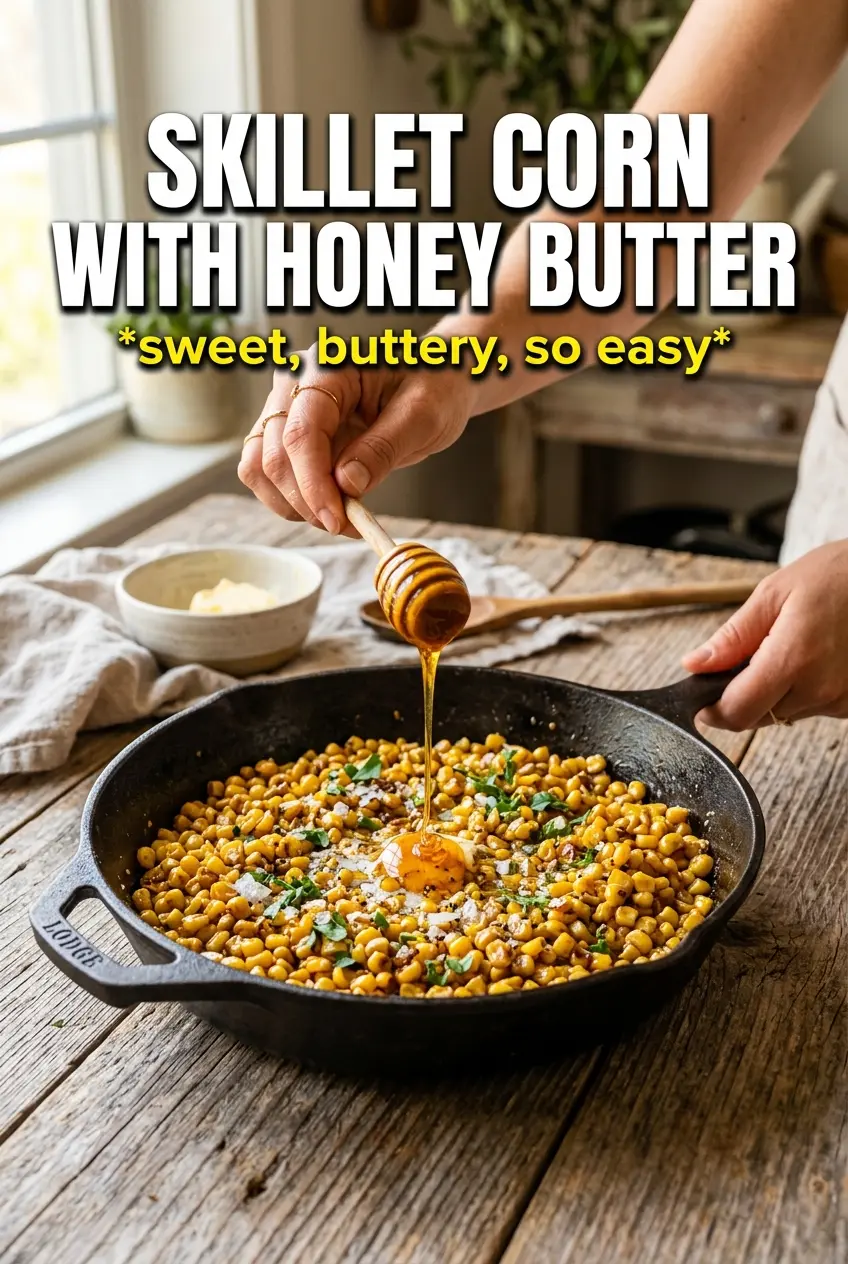
Skillet Corn With Honey Butter
Ingredients
Equipment
Method
- Melt 2 tablespoons butter in a large cast iron skillet over high heat. The butter should become hot and foamy but not browned.
- Add corn in a single layer and cook without stirring 3-4 minutes until charred on the bottom. Look for dark, caramelized spots through the kernels.
- Toss the corn and cook another 3-4 minutes. Continue until more edges deepen in color and the corn looks glossy.
- Reduce heat, then add garlic, smoked paprika, and cayenne and cook 1 minute. Stir to distribute and cook until fragrant.
- Add remaining butter and honey, then toss until the corn is coated. The sauce should look shiny and lightly cling to the kernels.
- Season generously with salt and black pepper. Taste and adjust so the char is balanced by sweetness and heat.
- Top with fresh chives and flaky sea salt. Finish right before serving for the brightest herb flavor.