Golden banana bread with a tender, cakey crumb is one of those bakes that disappears fast because it feels like more than the sum of its parts. This version keeps the ingredient list stripped down to just three basics, but it still bakes up with a soft center, a lightly crisp top, and enough banana flavor to taste like a real loaf, not a shortcut.
The trick is using bananas that are deeply ripe and mashing them until smooth, so they melt into the batter instead of leaving dry pockets or stringy bits. Self-rising flour does the quiet heavy lifting here, giving the loaf lift without needing a long ingredient list, and the sweetener is just enough to round out the banana without making the crumb heavy.
Below, I’ve included the pan size that changes the bake time the most, the easiest substitution if you only have all-purpose flour, and a few practical fixes for banana bread that comes out gummy in the middle or too dense at the bottom.
The center baked up soft but not wet, and the top got that nice golden crackle I usually only get with a longer ingredient list. I used the loaf pan and it sliced cleanly after cooling.
Like this minimalist banana bread? Save it to Pinterest for the days when three ripe bananas are all you need for a soft, golden loaf.
The Part That Keeps This Banana Bread From Turning Gummy
With a recipe this short, the small details matter. The most common failure is overmixing after the flour goes in, which tightens the crumb and makes the loaf bake up heavy instead of light. Stir only until the dry flour disappears, then stop. A few streaks are fine as long as there isn’t any visible flour left in the bowl.
The other thing worth watching is banana texture. Smooth mashed bananas blend into the batter and keep the loaf even from edge to center, while chunky bananas can leave wet pockets that look underbaked even when the edges are done. If your bananas are only lightly spotted, they won’t give you the same sweetness or moisture, and the loaf will taste flatter no matter how carefully you bake it.
What the Three Ingredients Are Actually Doing Here
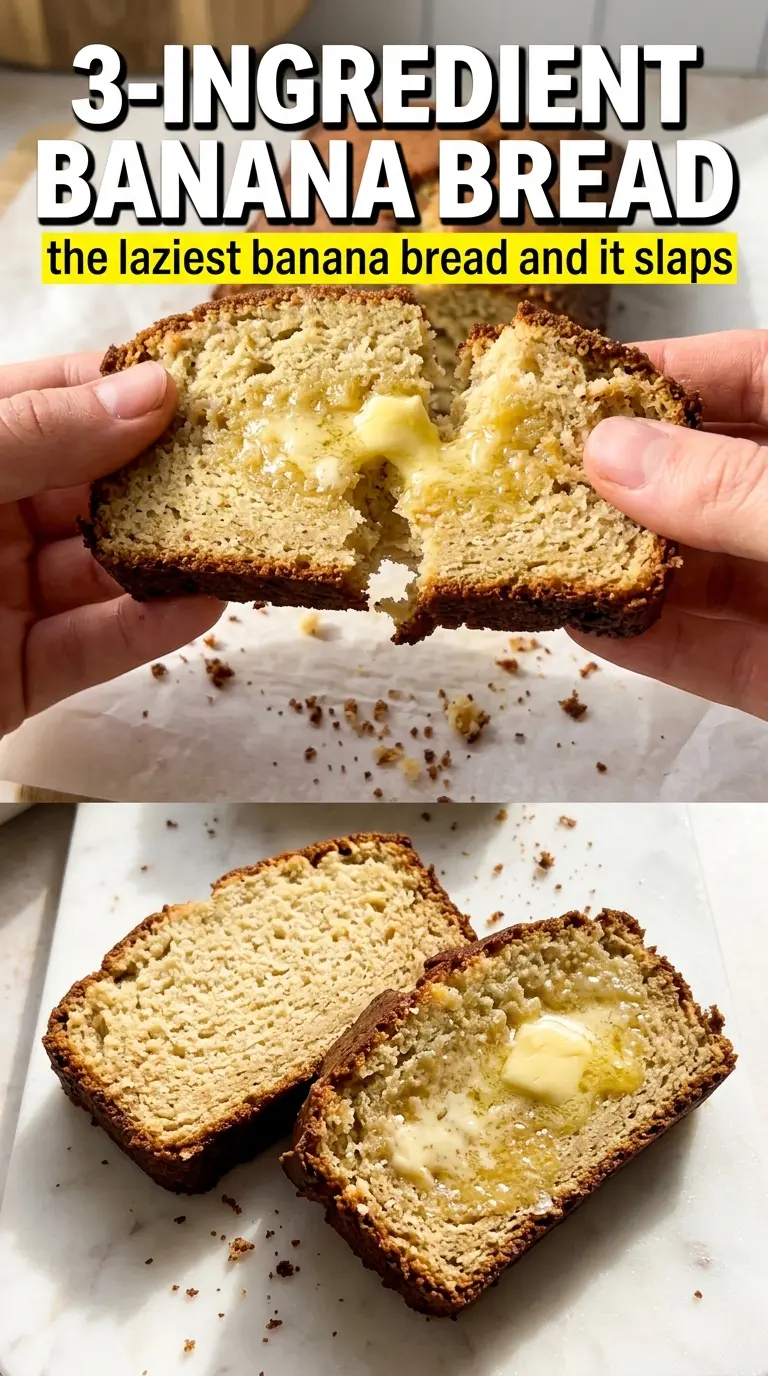
- Ripe bananas — These are the backbone of the recipe. You want bananas that are deeply speckled or nearly black because they mash smoother, taste sweeter, and bring enough moisture to form the batter without eggs or milk.
- Self-rising flour — This is what gives the bread its lift. It already contains leavening and salt, which is why the recipe stays so short; if you swap in all-purpose flour, you need the baking powder and salt listed in the notes or the loaf will bake up dense.
- Honey or sugar — This doesn’t just sweeten the bread. It helps the top brown and keeps the crumb from tasting flat, especially if your bananas are ripe but not intensely sweet. Honey gives a slightly softer, moister loaf; sugar keeps the flavor a little cleaner and more classic.
Baking the Loaf So the Center Sets Before the Top Overbrowns
Mashing the Bananas Until They Disappear
Start by mashing the bananas until they’re almost a puree. A few tiny soft bits are fine, but big chunks leave uneven pockets in the finished loaf and can make the middle look underdone. If the bananas are cold, warm them at room temperature first so they mash more smoothly and blend into the flour without needing extra mixing.
Bringing the Batter Together Without Working It Too Much
Stir the bananas and sweetener together first, then add the flour and mix just until the batter comes together. The batter will look thick and a little rustic, and that’s exactly what you want. If you keep stirring once the flour is hydrated, the loaf tightens up and loses that soft, cakey texture that makes this recipe worth making.
Choosing the Pan for the Texture You Want
An 8×8 square pan bakes faster and gives you more of that golden edge-to-center ratio, while a 9×5 loaf pan gives you the classic banana bread shape with a taller slice. The loaf pan needs more time because the batter sits deeper, so the center has to bake through without the outside drying out. Bake until the top is deeply golden and a toothpick comes out clean or with a few moist crumbs, not wet batter.
Cooling Enough to Slice Cleanly
Let the bread rest in the pan for about 10 minutes before turning it out or slicing. If you cut it while it’s blazing hot, the crumb compresses and can look gummy even when it’s baked through. Once it’s cooled a bit, the slices hold together and you get that soft, tender interior instead of a messy crumble.
How to Adjust This Recipe When You’re Missing One Piece
Use all-purpose flour instead of self-rising
This works well as long as you add the baking powder and salt listed in the ingredients note. The loaf will still be tender, but the rise depends on those extras, so skipping them gives you a heavier, flatter bake.
Swap honey for sugar
Sugar gives a slightly drier crumb and a more straightforward banana bread flavor, while honey makes the loaf a touch more fragrant and soft. Use the same amount either way; just know that honey browns a little faster, so keep an eye on the top during the last 10 minutes.
Make it dairy-free or egg-free without changing anything
This recipe already skips both dairy and eggs, which is part of why it works so well with such a short ingredient list. If you serve it with butter, use a plant-based spread and you’ve got the same soft, simple loaf without changing the batter at all.
Add-ins for a little more texture
A handful of chopped walnuts or chocolate chips fits neatly into the batter, but keep the add-ins modest so the loaf still bakes evenly. Too many extras weigh down the crumb and can make the center take longer to set.
Storage and Reheating
- Refrigerator: Store for up to 4 days, wrapped well or in an airtight container. The crumb firms up a little in the fridge, but the flavor holds nicely.
- Freezer: Banana bread freezes well. Wrap slices or the whole loaf tightly, then freeze for up to 2 months; thaw at room temperature before reheating.
- Reheating: Warm slices in a toaster oven or microwave just until soft and fragrant. The biggest mistake is overheating, which turns the crumb rubbery and dries out the edges before the center warms through.
Answers to the Questions Worth Asking
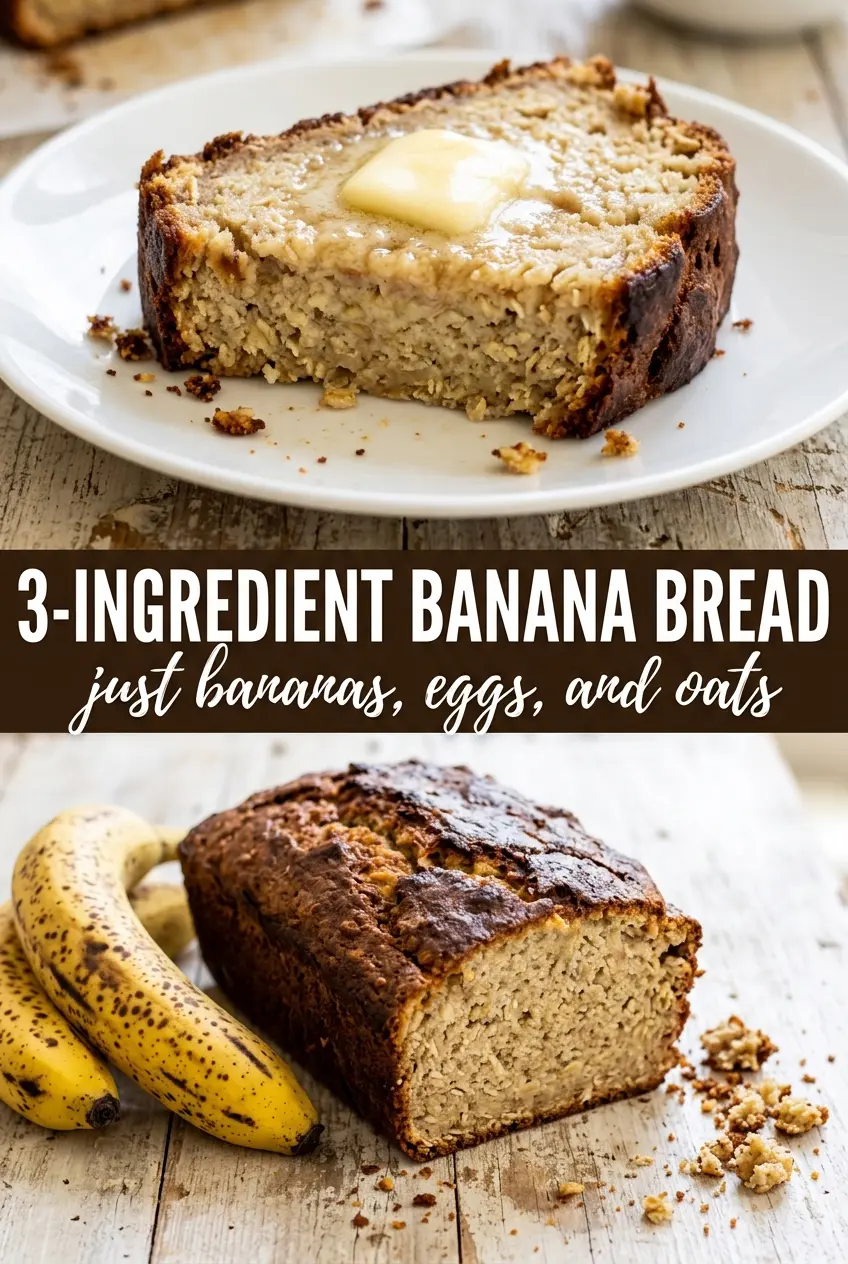
3-Ingredient Banana Bread
Ingredients
Equipment
Method
- Preheat the oven to 350°F and grease a 9x5 loaf pan or an 8x8 square pan.
- Mash the bananas as completely smooth as possible, using ripe bananas for the sweetest bread.
- Stir the honey (or sugar) into the mashed bananas until evenly combined.
- Add the self-rising flour and stir just until combined, stopping when no dry flour remains.
- Pour the batter into the prepared pan and smooth the top.
- Bake until golden and a toothpick comes out clean—30–35 minutes for a square pan or 50–60 minutes for a loaf pan.
- Cool the bread for 10 minutes before slicing, then serve.