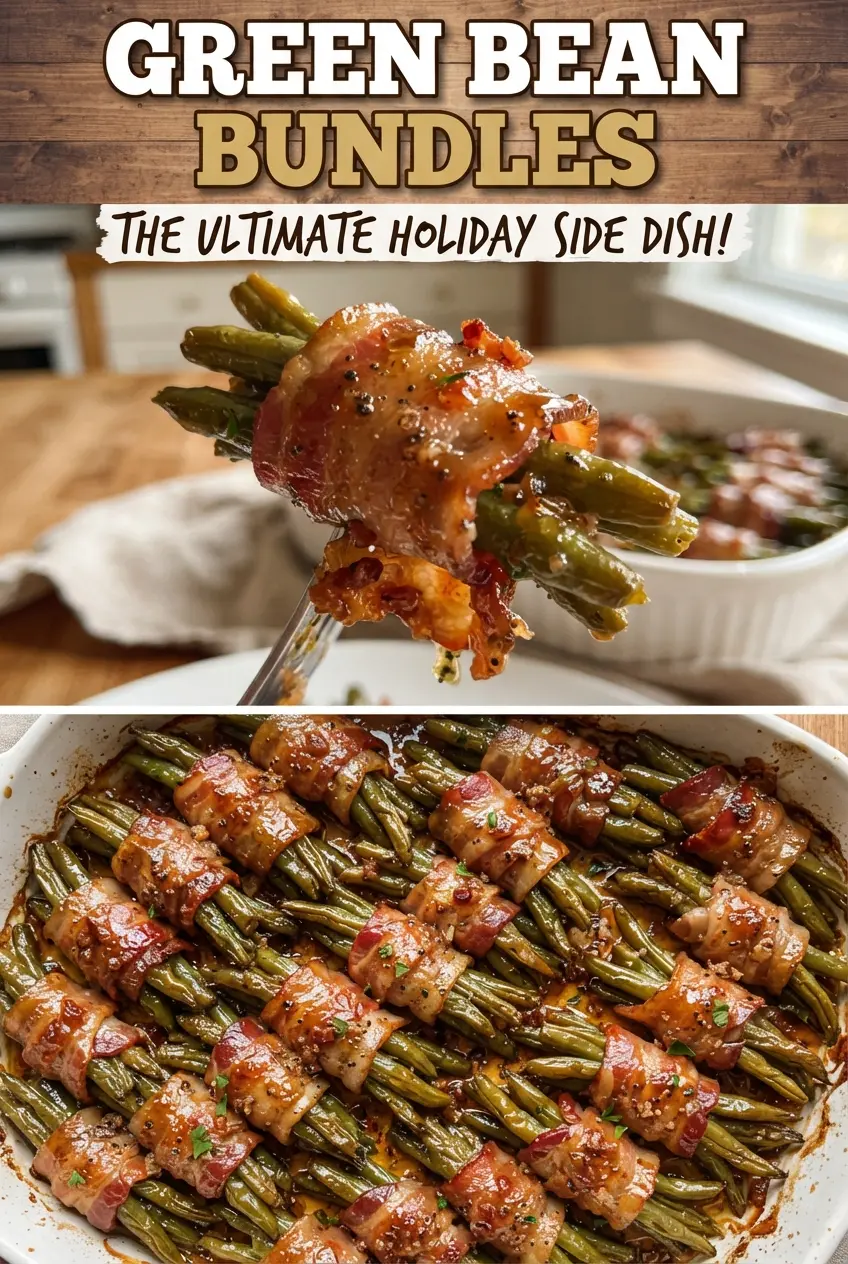
Green bean bundles hit that rare sweet spot where the vegetables stay bright and snappy while the bacon turns crisp at the edges and the glaze settles into a sticky, savory-sweet coating. They look polished on the plate, but the method is straightforward enough for a weeknight side or a holiday table.
The key is blanching the beans first so they cook through before the bacon overdoes it. That quick dip in boiling water, followed by an ice bath, locks in the color and keeps the bundles from going limp in the oven. The glaze matters too: brown sugar gives it body, garlic and soy sauce keep it from tasting flat, and melted butter helps everything cling to the bacon and beans instead of running off the pan.
Below, I’ve included the little details that keep the bundles neat, the bacon crisp, and the glaze glossy. If you’ve ever had green beans go dull or bacon turn rubbery, this version fixes both problems.
The beans stayed bright and the bacon crisped up just right. I spooned the glaze from the pan over the bundles before serving and it made them taste like something from a nice dinner party.
Save these green bean bundles for the nights when you want a glossy side dish with crisp bacon and a sticky garlic-brown sugar glaze.
The Secret to Crisp Bacon and Tender Beans in the Same Pan
The part that trips people up is the timing. Green beans and bacon don’t naturally finish at the same pace, and if you skip the blanching, the bacon usually wins while the beans stay too firm. A three-minute boil gives the beans a head start, then the ice bath stops the cooking so they stay bright green instead of turning drab and soft.
Wrapping the bundles seam-side down helps them hold together as the bacon tightens in the oven. The glaze also does more than add sweetness: it protects the beans a little, adds shine, and collects in the bottom of the pan so you can spoon it back over the finished bundles for that sticky, glossy finish.
- Blanching the beans keeps them tender without making them mushy. Don’t skip the ice bath; it’s what locks in the color and stops carryover cooking.
- Using half slices of bacon gives each bundle enough fat to crisp without overwhelming the vegetables.
- Placing the seam down helps the bacon stay put while it renders and tightens.
- Letting the glaze bubble in the oven thickens it enough to cling instead of pooling like thin syrup.
Why Each Ingredient Earns Its Place Here

- Fresh green beans hold their shape and stay snappy after baking. Thin, tender beans work best; very thick beans can stay a little too firm unless you blanch them an extra minute.
- Bacon brings salt, fat, and the crisp outer layer that makes these feel special. Standard sliced bacon is the right choice here; thick-cut bacon can take longer to crisp and may leave the beans overcooked.
- Butter carries the glaze and keeps the brown sugar from clumping. Melted butter is important because it helps the glaze pour evenly over every bundle.
- Brown sugar melts into that sticky finish and balances the salt from the bacon. Light or dark both work, but dark brown sugar gives a deeper molasses note.
- Garlic and soy sauce keep the glaze from tasting one-note sweet. If you need a gluten-free version, use tamari instead of soy sauce and the flavor stays just as savory.
- Black pepper gives the glaze a little edge so the whole dish doesn’t lean candy-sweet.
How to Assemble and Bake Them Without Losing the Shape
Blanch the beans first
Bring a pot of water to a boil, add the trimmed green beans, and cook them for about three minutes. They should turn bright green and still have some bite. Drain them fast and plunge them into ice water right away. If they sit in the hot water too long, they’ll go soft before they ever reach the oven.
Wrap tight bundles
Gather 8 to 10 beans at a time and wrap each bundle with a half slice of bacon. Keep the wrap snug but not strangling the beans, and set each bundle seam-side down in the baking dish. If the bundles are loose, the bacon can shrink away as it cooks and leave the beans exposed.
Glaze and bake until bubbling
Whisk the melted butter, brown sugar, garlic, soy sauce, and pepper until smooth, then pour it evenly over the bundles. Bake at 400°F until the bacon looks crisp at the edges and the glaze is bubbling in the pan, about 25 to 30 minutes. If the bacon is cooked but pale, give the dish a couple more minutes so the sugar has time to caramelize around the edges.
Spoon the pan glaze over the top
Pull the dish from the oven and spoon the hot glaze from the pan over the bundles before serving. That last step matters because the glaze in the pan is the most concentrated part. Serve them warm, while the bacon is still crisp and the sauce is glossy.
How to Adapt Green Bean Bundles for Different Tables
Make Them Gluten-Free
Swap the soy sauce for tamari or coconut aminos. Tamari keeps the same savory depth, while coconut aminos make the glaze a little sweeter and lighter. Either one works without changing the texture of the glaze.
Use Turkey Bacon for a Lighter Side
Turkey bacon works, but it won’t render the same rich drippings or crisp quite as hard as pork bacon. Brush the bundles lightly with a little extra melted butter before baking so they don’t dry out. The result is leaner and less smoky, but still good with the sweet glaze.
Make the Glaze Less Sweet
Cut the brown sugar back slightly and add an extra pinch of black pepper or a small splash more soy sauce. That keeps the glaze sticky without pushing the dish into dessert territory. This is the move if you’re serving it alongside rich mains like roast beef or ham.
Storage and Reheating
- Refrigerator: Store leftovers in an airtight container for up to 3 days. The beans soften a bit and the bacon loses some crispness, but the flavor holds up well.
- Freezer: I don’t recommend freezing these. The beans turn watery after thawing and the bacon texture gets soft.
- Reheating: Warm them in a 375°F oven until heated through and the bacon re-crisps, about 10 minutes. The microwave will work in a pinch, but it turns the bacon chewy and thins out the glaze.