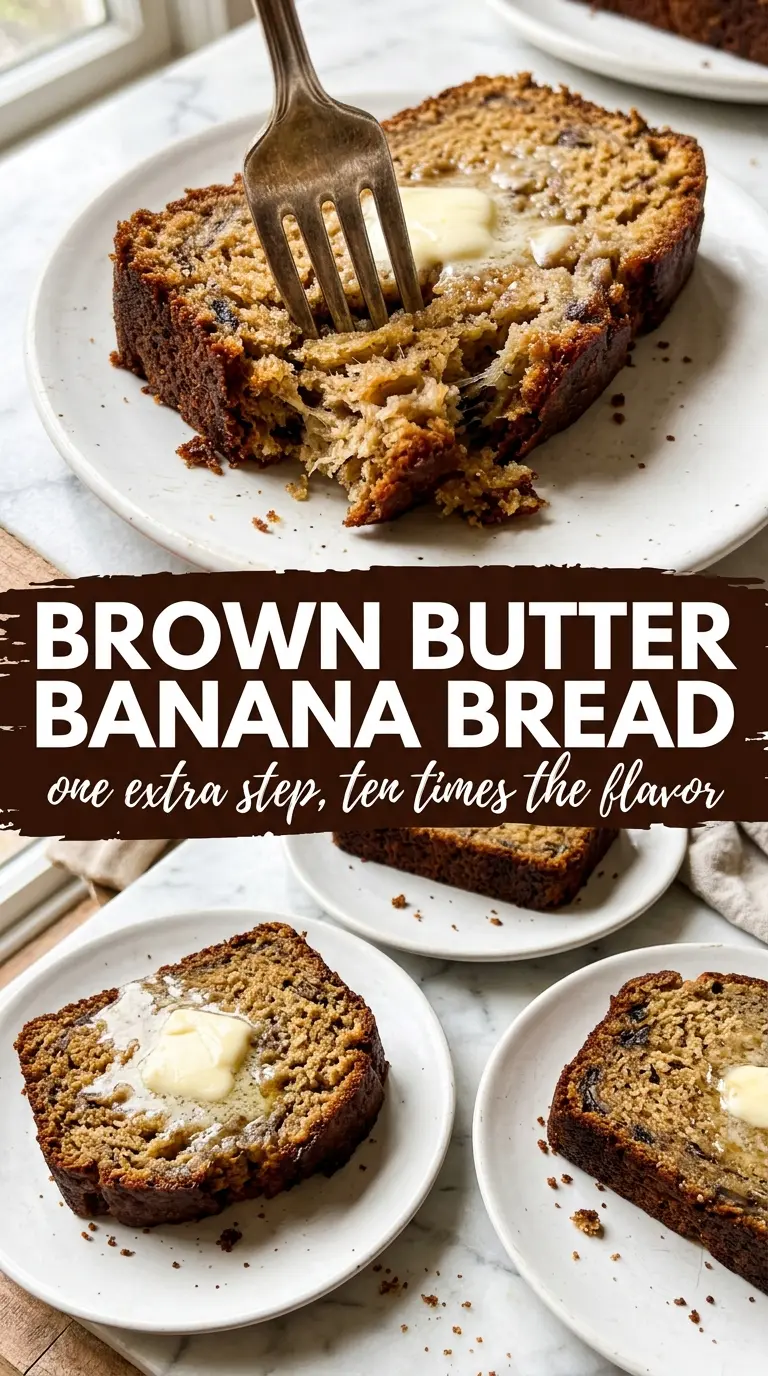
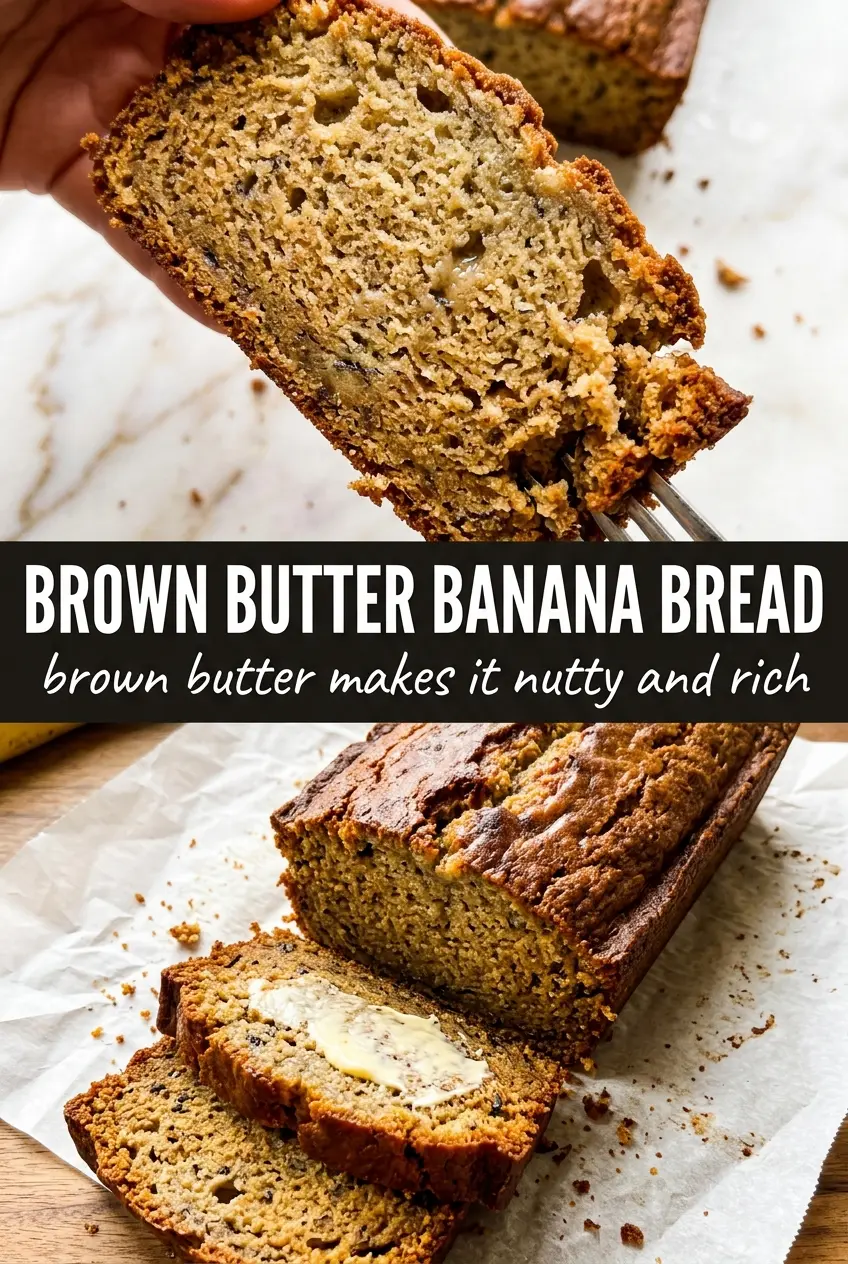
Brown butter banana bread bakes into a loaf with a darker crust, a softer middle, and a nutty depth that plain banana bread never quite reaches. The browned butter doesn’t just add flavor; it makes the whole loaf taste rounder and more balanced, with caramel notes that sit right up against the sweetness of the bananas.
The trick is letting the butter cook until the milk solids turn golden and smell like toasted hazelnuts, then giving it a few minutes to cool before it meets the sugar and eggs. That short pause matters. If the butter is too hot, it can scramble the eggs or make the batter greasy instead of smooth.
Below, I’ll walk through the part that matters most: how to brown the butter without crossing the line, how to mix the batter so the crumb stays tender, and what to watch for in the oven so the center finishes without drying out the edges.
The browned butter gave the loaf this deep caramel smell while it baked, and the crumb stayed moist for days. I added chocolate chips and it sliced cleanly after cooling, which never happens with my usual banana bread.
Love the nutty crust and rich crumb of this brown butter banana bread? Save it to Pinterest for the days when you want banana bread that tastes bakery-level without extra fuss.
The Brown Butter Step That Gives the Loaf Its Edge
The difference between ordinary banana bread and a loaf with real character starts before the batter even comes together. Browning the butter concentrates the milk solids, which means you get toasted, nutty notes instead of plain dairy richness. That flavor carries through the whole loaf, and it also deepens the crust into a more bronzed, bakery-style finish.
The biggest mistake here is rushing the butter or taking it off too early. Pale butter tastes flat; burnt butter tastes bitter and throws off the whole loaf. Use a light-colored pan so you can see the color change, and pull it the moment the solids look golden and the aroma turns nutty. The residual heat keeps cooking it for a few seconds after it leaves the burner.
What Each Ingredient Is Actually Doing in This Loaf
- Brown butter — This is the whole point of the recipe. You’re not just adding fat; you’re adding toasted milk solids that make the loaf taste deeper and less one-note. Use unsalted butter so you control the seasoning, and don’t skip the cooling time before mixing it in.
- Ripe bananas — The darker the peel, the better the banana flavor and moisture. Bananas that are soft and heavily speckled mash easily and blend into the batter without leaving stringy bits. If yours are under-ripe, the loaf will taste flatter and need more sweetness to carry it.
- Brown sugar — Brown sugar pairs naturally with the browned butter and helps the crumb stay soft. White sugar works in a pinch, but you lose some of that caramel depth and a bit of the tender, moist texture.
- All-purpose flour — This keeps the loaf sturdy enough to slice without turning heavy. Don’t swap in a flour with a lot of protein unless you want a tighter, more bread-like crumb.
- Baking soda — It reacts with the bananas and gives the loaf lift. If your bananas are very ripe, this works even better because the batter has the acidity it needs for a good rise.
- Walnuts or chocolate chips — Optional, but useful. Walnuts echo the nutty brown butter flavor, while chocolate chips make the loaf taste richer and more dessert-like. Fold them in at the end so they stay evenly distributed.
Mixing the Batter Without Losing the Tender Crumb
Brown the Butter Until the Foam Tells You the Truth
Set the butter in a light-colored saucepan and let it melt over medium heat. Once it starts foaming, watch for the milk solids to sink, then turn golden and smell toasted. Swirl the pan often so the solids brown evenly instead of sticking in one spot and scorching. As soon as you see amber flecks and catch that nutty aroma, pull it off the heat and pour it into a bowl to cool.
Build the Batter in the Right Order
Whisk the cooled brown butter with the brown sugar first, then add the eggs and vanilla before the bananas go in. That order helps the sugar dissolve and keeps the batter smooth instead of greasy. Once the bananas are in, the mixture will look loose and textured, which is exactly what you want before the dry ingredients go in.
Fold, Don’t Beat
Add the flour, baking soda, cinnamon, and salt last, and stir only until the dry streaks disappear. Overmixing develops the flour and gives you a tight loaf with tunnels running through it. The batter should look thick and slightly lumpy. If you’re using walnuts or chocolate chips, fold them in at the very end so you don’t overwork the batter while trying to distribute them.
Bake Until the Center Sets
Scrape the batter into a greased 9×5 loaf pan and bake at 350°F. The top should rise into a deep golden dome, and the center should test clean with just a few moist crumbs clinging to the toothpick. If the top browns too quickly before the center is done, lay a loose piece of foil over it for the last part of baking. Let the loaf cool in the pan briefly, then move it to a rack so the bottom doesn’t steam and turn gummy.
How to Adapt This Banana Bread Without Losing the Good Part
Chocolate chip version
Fold in the chocolate chips at the very end so they don’t melt into the batter. This version leans more dessert-like and gives you little pockets of sweetness against the nutty brown butter crumb.
Walnut banana bread
Use chopped walnuts if you want the loaf to taste even more toasted and bakery-style. The nuts add crunch and echo the browned butter, but don’t use too many or they’ll crowd the crumb and make slicing messy.
Dairy-free version
Use a plant-based butter that browns well, but test it first if yours contains a lot of added water. You’ll still get some toastiness, though not quite the same hazelnut depth as real butter.
Make it gluten-free
Swap in a good 1:1 gluten-free baking blend with xanthan gum already included. The loaf will be a little more delicate when warm, so let it cool fully before slicing or the crumb can crumble apart.
Storage and Reheating
- Refrigerator: Keep the loaf wrapped or in an airtight container for up to 5 days. The crumb firms up in the fridge, but the flavor stays excellent.
- Freezer: This freezes well. Wrap slices individually, then store them in a freezer bag for up to 3 months so you can thaw just what you need.
- Reheating: Warm slices in a toaster oven or a low oven until just heated through. The common mistake is blasting banana bread in the microwave too long, which makes the crumb rubbery and dulls the browned butter flavor.
Questions I Get Asked About This Recipe
Brown Butter Banana Bread
Ingredients
Equipment
Method
- Brown the butter in a light-colored saucepan over medium heat, swirling frequently, until the milk solids turn golden brown and smell nutty; remove from heat and cool 10 minutes.
- Preheat the oven to 350°F and grease a 9x5 loaf pan.
- Whisk cooled browned butter and brown sugar together until smooth, then whisk in eggs and vanilla.
- Stir in mashed bananas until fully combined.
- Fold in flour, baking soda, cinnamon, and salt until just combined, then fold in any mix-ins.
- Pour the batter into the pan and bake for 60–70 minutes until the top is deeply golden and a toothpick comes out clean.