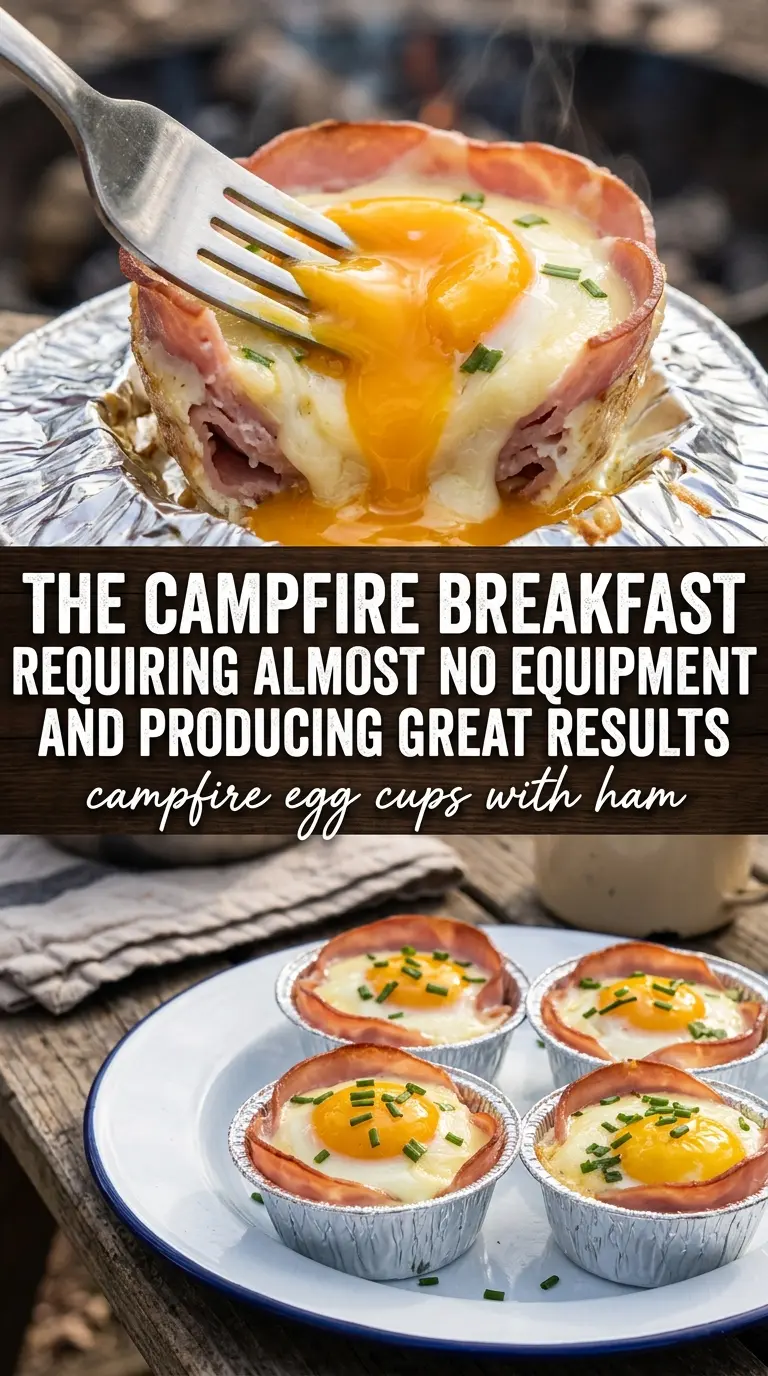
Golden egg cups with ham and cheddar are the kind of campfire breakfast that earns a repeat trip to the cooler. The ham turns crisp at the edges while the egg bakes up tender in the center, and the whole thing comes out in neat little portions that are easy to lift, pass around, and eat without fuss. They look special on the grate, but the method is simple enough for a relaxed morning at camp.
The key is using the ham as both the liner and the seasoning. It keeps the eggs from sticking, adds salt without needing much else, and gives each cup enough structure to hold the fillings while the eggs set. A metal muffin tin matters here, too, because it handles direct heat better than silicone and helps the bottoms firm up instead of staying soft and pale. Cheese goes on top so it melts into the eggs instead of sinking to the bottom, and the foil cover traps heat long enough to cook the tops through without drying out the edges.
Below, you’ll find the cue that tells you the eggs are done even if the campfire heat isn’t perfectly even, plus a few smart swaps if you want to change the filling or make these at home in the oven.
Campfire Egg Cups with Ham are the kind of grab-and-go breakfast that cooks cleanly in a muffin tin and comes out with crisp edges and melty cheddar.
The Part Where the Ham Does More Than Hold Everything Together
These cups work because the ham isn’t just a wrapper. It protects the eggs from direct contact with the tin, seasons the whole cup from the outside in, and gives the finished breakfast enough structure to lift out cleanly with a spoon or your fingers. If your ham is thin and floppy, that’s fine, but press it firmly into the corners of the muffin cup so it overlaps itself a little. That overlap helps it stay in place once the egg goes in and the heat starts to tighten everything up.
The biggest mistake here is rushing the cook with an open flame that’s too hot. Campfire heat can jump fast, and if the tin is sitting too close to the coals, the bottoms can overcook before the centers set. Medium heat and a foil cover give you a more even bake, which is what keeps the whites tender instead of rubbery.
- Deli ham: Thin slices are easiest to shape and usually hold the cup better than thick-cut ham. If your slices are extra wide, trim them if needed so they don’t fold over the top of the eggs and block the heat.
- Cheddar cheese: Sharp cheddar gives the best payoff because it stands up to the smoky campfire environment. Pre-shredded cheese works, but freshly shredded melts a little smoother and less clumpy.
- Bell peppers and onions: Dice them small so they soften in time with the eggs. Bigger pieces stay crunchy, which can be nice, but they need a little longer over the heat than this recipe allows.
- Metal muffin tin: This is the one piece of equipment I wouldn’t swap if you can help it. Metal conducts heat evenly and gives you better browning; silicone tends to insulate too much for this kind of direct-campfire cooking.
What Each Ingredient Is Actually Doing in Campfire Egg Cups with Ham
- Protein (quality, proper thickness): Good quality protein tastes better. Even thickness ensures even cooking.
- Seasoning (bold, distributed throughout): Don’t be shy with salt and pepper. Quality seasoning elevates everything.
- Oil or fat (protective and flavorful): The fat helps develop crust and carries flavors. Use generously.
- Heat management (appropriate temperature for the protein): Too high and the outside burns before the inside cooks. Too low and it steams.
- Technique (sear, then finish based on thickness): Proper technique creates flavor. Sear for crust, then cook through gently.
- Aromatics and seasonings (garlic, herbs, spices): These add complexity and depth. Distribute them throughout the cooking process.
- Resting time (let it rest before serving): Resting allows juices to reabsorb. This keeps the protein moist and tender.
- Optional: finishing sauce or glaze: A light sauce adds richness without overwhelming. Apply at the very end.
How to Cook Them Through Without Burning the Bottoms
Building the Ham Cups
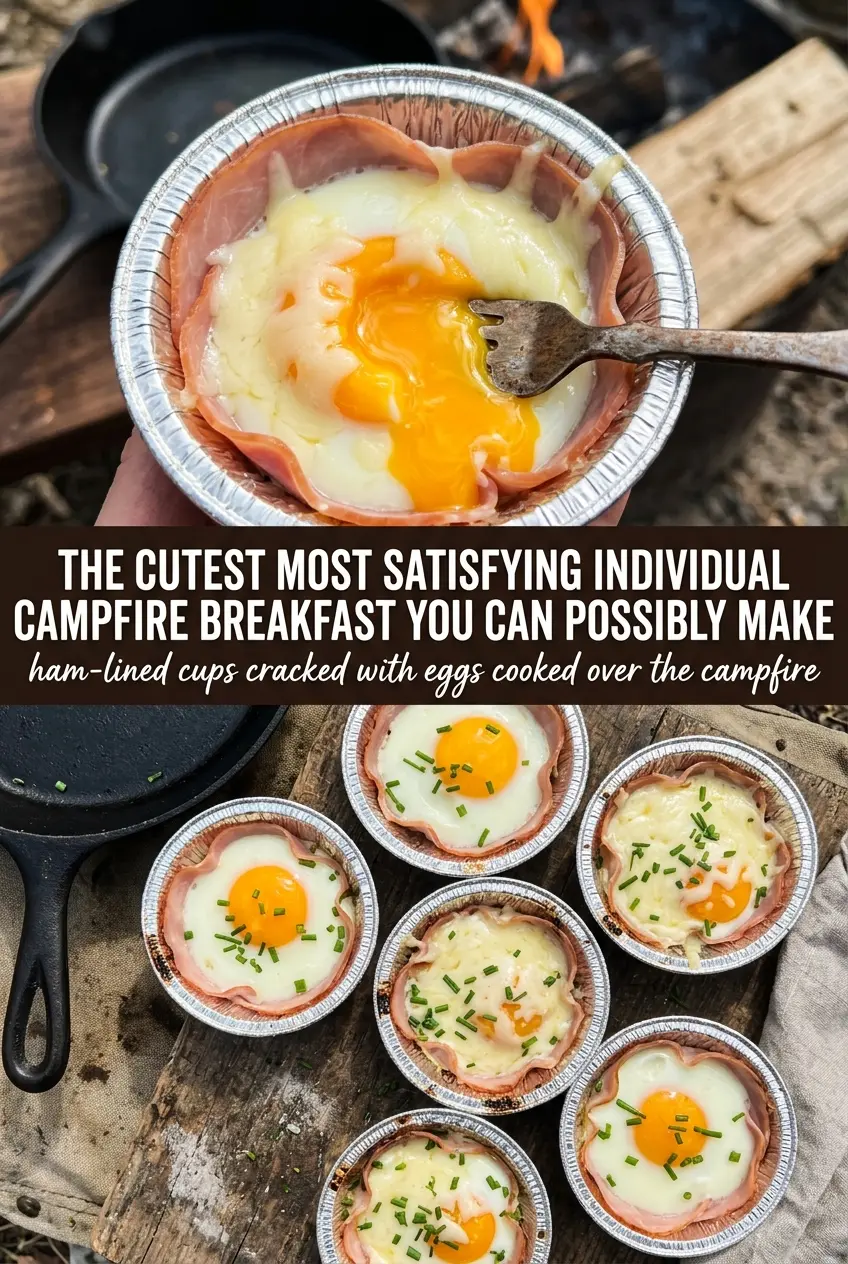
Spray the muffin tin well, then press one slice of ham into each cup so it looks like a little bowl. Don’t leave gaps at the bottom if you can help it, because the egg will find those spots and glue itself to the pan. If the ham tears a little, overlap the pieces and keep going. The goal is a snug liner that reaches up the sides of the cup, not a perfect molded shape.
Filling and Seasoning
Crack one egg into each ham cup, then add the cheese, peppers, onions, and a small pinch of salt and pepper. Keep the fillings on top so the yolk has room to settle in the center. If you dump the cheese into the bottom, it can act like a barrier and make the whites cook unevenly. A light hand with the seasoning works best because the ham and cheddar already bring plenty of salt.
Covering the Tin Over the Fire
Set the tin on a campfire grate over medium heat and cover it with foil. That foil matters more than people think it traps the top heat so the eggs cook from both directions instead of just from underneath. If the fire is too aggressive, move the tin farther from the coals or lift it for a minute. You’re looking for set whites and yolks that still have a little softness if you want them tender.
Knowing When They’re Done
After 18 to 20 minutes, check the center of the cups. The whites should be opaque and set, and the tops should look puffed instead of wet. If the eggs jiggle like liquid when you tap the pan, give them a few more minutes covered. Pull them as soon as they look done; carryover heat will finish the job, and leaving them on the fire too long is what turns them dry.
How to Adapt These Egg Cups for a Cooler, a Kitchen, or a Different Diet
Oven-Baked Version
Bake these in a 375°F oven for about 18 to 22 minutes, until the whites are set and the centers no longer look glossy. You’ll get the same structure with a little less smoke, and it’s the easiest way to make a batch at home before a trip.
Dairy-Free Egg Cups
Leave out the cheese and add a little extra pepper for balance. You lose the melted top layer, but the ham still gives enough salt and structure that the cups hold together well.
Vegetable-Heavy Filling
Swap the peppers and onions for finely chopped spinach, mushrooms, or zucchini, but keep the pieces small and cook off excess moisture first if you’re using watery vegetables. That step keeps the cups from turning soggy and gives you a cleaner set in the center.
Make-Ahead Cooler Prep
You can line the tin with ham ahead of time and pre-dice the vegetables, but crack the eggs right before cooking. Eggs held in the ham cups for too long can seep and make the bottoms a little watery before they ever hit the heat.
Storage and Reheating
- Refrigerator: Store leftovers in an airtight container for up to 3 days. The ham stays tasty, but the eggs firm up a bit after chilling.
- Freezer: These freeze, but the texture of the eggs gets a little spongy after thawing. If you do freeze them, wrap each one well and thaw in the fridge before reheating.
- Reheating: Warm them in a 300°F oven or a covered skillet over low heat until heated through. Microwaving works in a pinch, but use short bursts so the eggs don’t turn rubbery.
Questions I Get Asked About This Recipe
Campfire Egg Cups with Ham
Ingredients
Equipment
Method
- Spray a metal muffin tin with cooking spray to prevent sticking and help the ham release cleanly.
- Line each cup with a slice of ham, pressing it into a cup shape so it holds the egg.
- Crack one egg into each ham cup, keeping the yolk centered within the ham.
- Top each egg with cheese, peppers, and onions, then season with salt and pepper.
- Place the muffin tin on the campfire grate over medium heat and cover with aluminum foil.
- Cook for 18-20 minutes until the eggs are set and the tops look puffed and golden.
- Carefully remove the egg cups and serve warm right away for best texture.